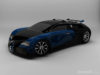
Rendering yellow Ferrari

As you can see above, this is the final image. It took 15 mins to achieve this look with a dual Xeon 3.0 and 2 gb ram.
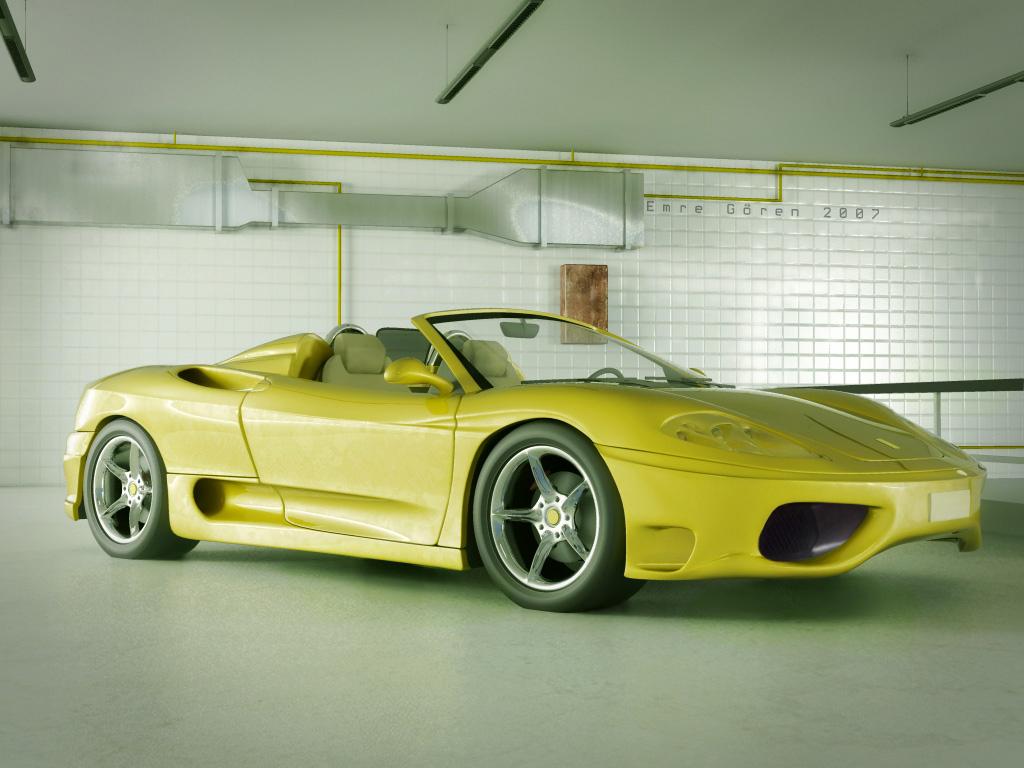
Here is the scene layout in 3dsmax ( I use version 9 )
The main idea for this image was to have soft shadows and realism.. So I used Area Lights, I placed two Area Lights and a Skylight which is not fancy, didnt touch parameters of kylight..(Skylight is needed for Final Gather) Usually, for reflections, HDR images are cool but for this situation HDR is useless..Environment was lit quite enough to compete with HDR lighting or reflections..

Scene scale is one of the most important thing when you work with both area lights and GI, in some situations you have to do some trial & error to catch the mood, I made some trials too.

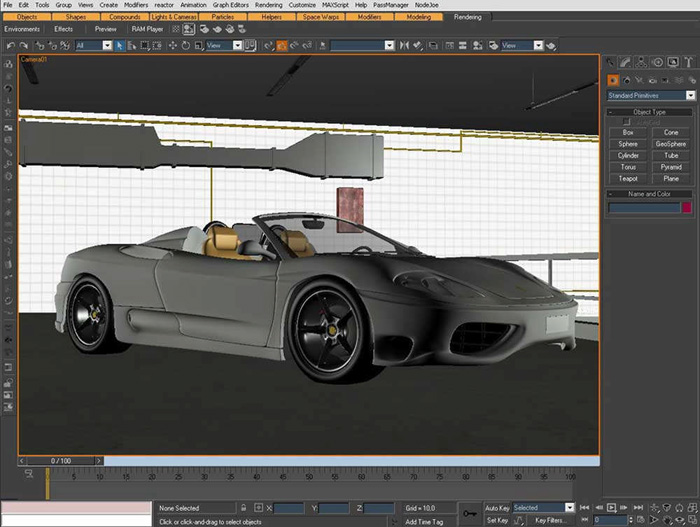
Below is the Car paint Shader of Mental Ray
I left the walls open behind the camera, so environment color can pass to the scene and reclected on the car body and the rest..I put a gradient ramp on a slot, selected spherical environment mapping and choosed this for Max’s environment..Its allways better to use a gradient ramp to mimic atmosphere..In this case environment color is not seen well on the scene but it helps a lot for the progress..
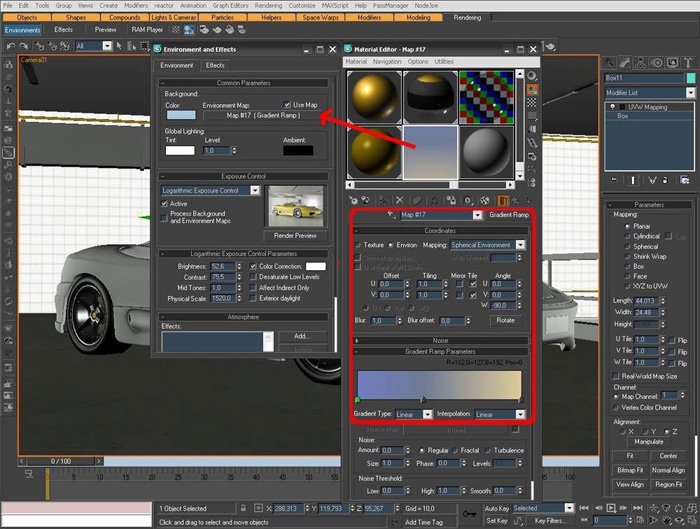
Here is the most powerful stuff, Exposure Control, its again related to the scene scale and units, there is no standart lighting setup for each scene..Exposure control helps you a lot when you have dark images and fixes the rest if you dont want to play light’s parameters a lot..

I have used default settings for GI and “Hi” preset for the Final Gather..Basic color correction applied in Photoshop for the final image. I hope you enjoyed this small making of stuff..
Emre Goren (c) 2007