Making of 'Ibaloy Warrior'
This tutorial will explain how I was able to make this piece. There’s nothing special about the process of making it. It was just a product of right and correct composition, color, and lighting with the exception of additional elements such as the usage of custom brush textures.
Inspiration
The muse behind the selection of this character is rooted from the indigenous group of Ifugaos in the Philippines. They are mostly found in the Southern part of Benguet which is located in the Cordilleras of North Luzon. I have always had an eye on them because of the uniqueness of their costume and the play of colors that surround them – making them stand out from the rest of the Filipinos.
In the same way that they have taught me what it is to have a sense of individualism, I have made them a source of a unique selection that chooses to differ from the usual fantasy and/or sci-fi inspired works. And as my selection speaks for itself and for me, I have chosen it believing that there is also a sense of beauty of going against the mainstream by showing a different perspective. In my case, that would be going back to a “lost” culture of my ancestors. I found beauty in realist art that reflects facets of truth based on a character that is grounded on culture and history.
And so the Ibaloy warrior has risen not just for the sake of art but also for me as an artist – so that I could also stand and show to the rest of my fellow Filipinos and to the rest of the world that I do not solely rely on Western or international art but that I also know where my roots are from and that I’m proud to be able to give life to a painting slash portrait of a Filipino as a Filipino.
Here lies a history of a warrior who has stood amidst violence to fight for his tribe – to be their protector, to be their survivor, and to be their hero against evildoers and subjugators.
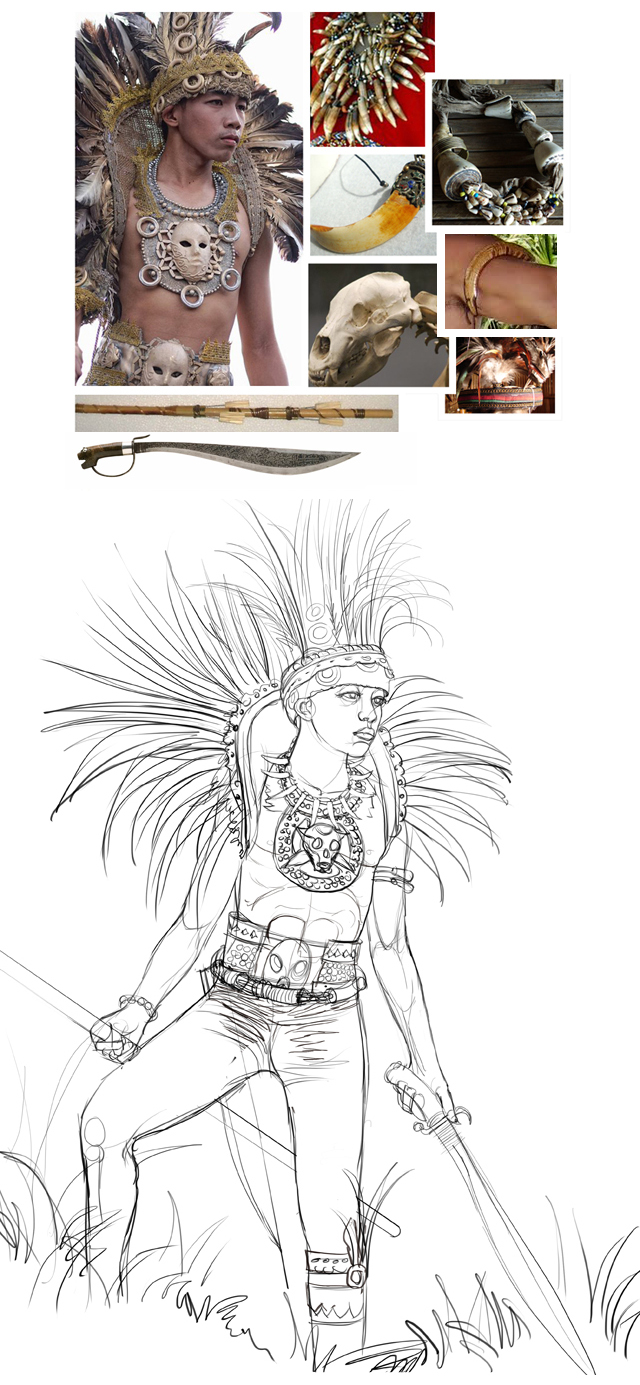
The first thing I did was to find a photo reference on the Internet that would fit with the idea I have in mind and with how I planned on accomplishing it using the available resources I have. I am also very fond of collecting photos because I see a certain importance to them for future references of art. While searching for references, I was lucky enough to have talked to a friend who was also a photographer and who had beautiful subjects such as the picture of this man in the painting. It was after such that I was able to start composing a sketch that looked like this.

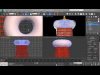
This is where I started to make my background. I hide my sketch on a different layer. I wanted a simple and abstract background which became possible through custom brushes that helped develop watercolor effects shaped like clouds, smoke, and such. These were the brushes that I used to make the background.

After fixing the background, I added my sketch on a separate layer. I created another layer where I painted my base color. I used custom brushes for the feather on the headdress.

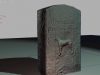
In this figure, I used the standard brush but with added texture in its settings. I then started painting the body choosing a dark tone. My style of painting flows from dark to light which is based from my experience as a traditional painter.

I made sure that I am working on a separate layer so as to avoid any mistake and to make sure that I can easily fix any changes if there will be some. I started shading and adding details, tone, and highlights. I still used the standard brush with texture.

I followed this by adding details to the head. I also started painting highlights at this stage. I started setting shady and/or dark lighting. I wanted the setting to look like a war has just ended and everything’s dark and chaotic. There will be a little bright area which will be in red hues and there will smoke from a fire most likely from their village.

After detailing the face, I started detailing the rest of the body including the accessories and ornaments worn by the warrior. I also added details to the skin because I wanted it to look fresh from war which means looking a bit dirty, sweaty, and bloody. I used the splatter custom brush that I used in creating the background of the painting. I just adjusted the opacity to suit the effect to the feel and the look of the art. In this image, you’ll notice my generous amount of brown hues and this is solely because I feel a certain classicism and dramatic effect to the color. I also took consideration of the warrior’s outfit which is like most Filipino costumes that are rich in brown and red hues.

I started detailing the image here along with the accessories and weapons which I based from my reference. I used a custom brush for the grass and added lighting from the left side.
The image here is almost complete. I just added a tattoo to make the subject more interesting. I decided to add a tattoo because most of our male ancestors use tattoos to symbolize their bravery and their stature in life.

This is how the workflow looks like. I made the tattoo manually and on a separate layer using a standard brush with a hard edge and with pen pressure enabled. I always use separate layers so that if there will be additional changes, I can easily go back to the layer containing the area I need to modify.
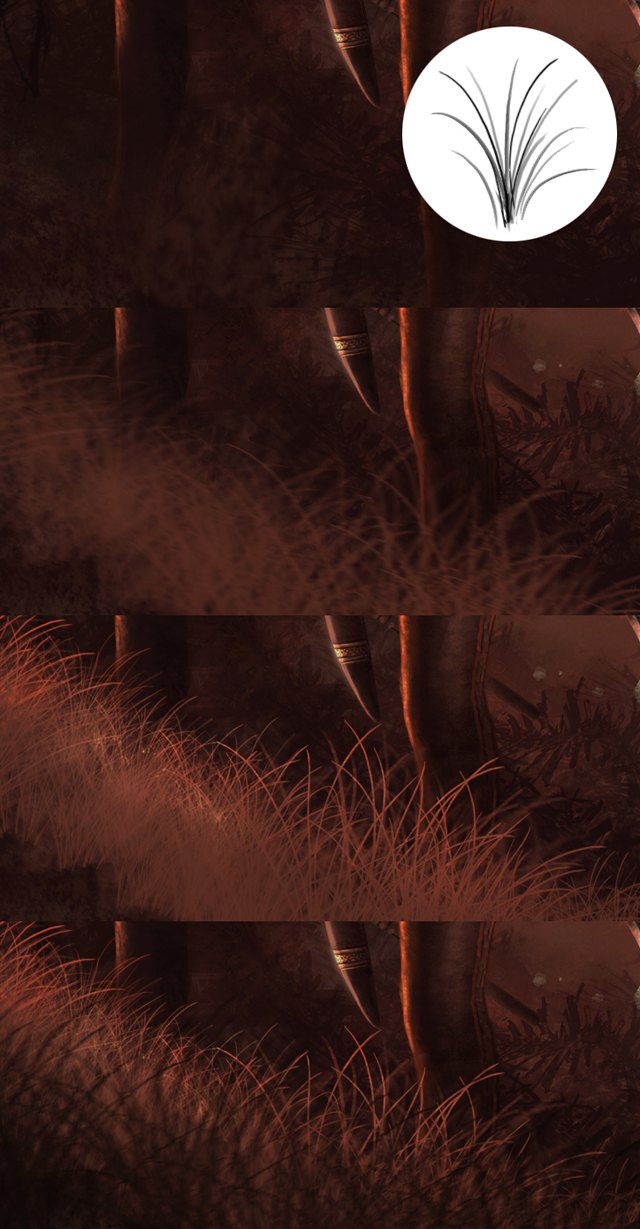
I used a custom brush for the grass in this image. I have three copes of grass layers. The first layer has a motion blur coming from the bottom of the image. The second layer doesn’t have a motion blur but has more lighting. In adding the lighting, I enabled the lock transparency so as not to cause unnecessary changes to the background and simply to add lighting to the grass alone. The third layer of grass is darker because it acts as a foreground and it also has the motion blur effect to show some sort of wind motion in this out-of-focus camera perspective.
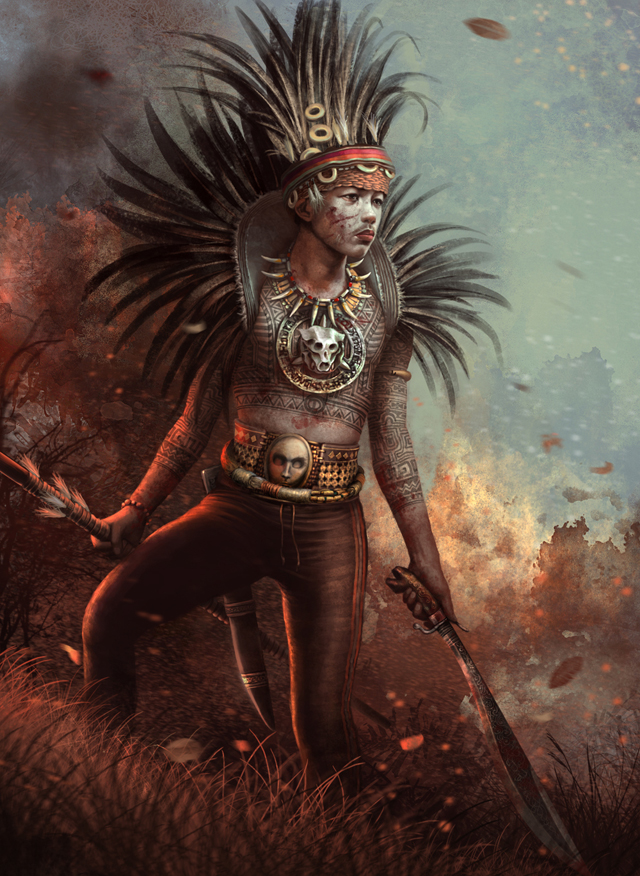
After finishing the warrior and the grass, I added some effects to the surrounding such as leaves that are being blown by the wind which are in motion blur as well and I added some ember to show the existence of fire.

Finally, I added lighting to the background and a little retouch for the highlights. I used color dodge for the highlights and adjusted the contrast for final touches.
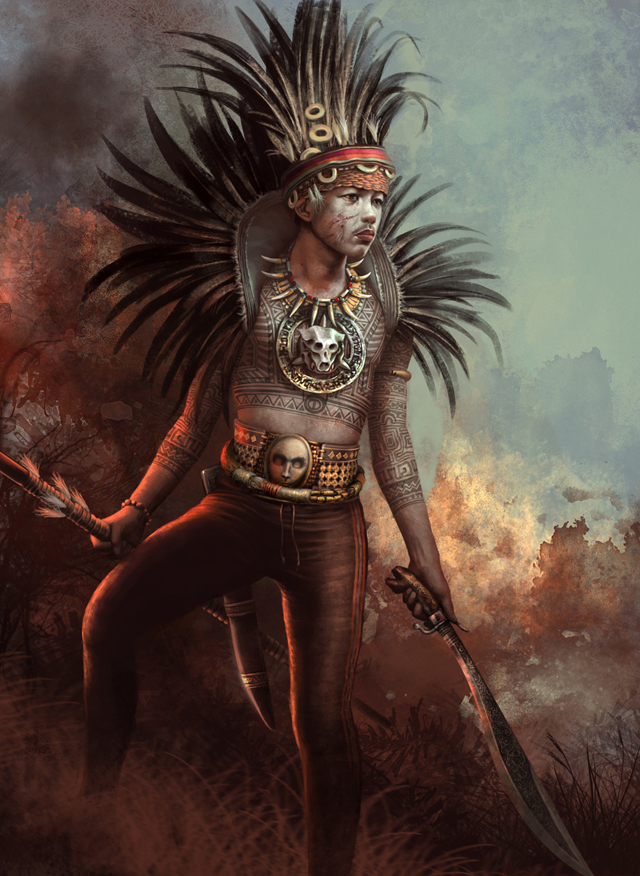
This is my final image. I’m happy with the results and I find it a pleasure to be able to share this.
Conclusion
I hope that this tutorial has been helpful in making beautiful art pieces such as this or even inspire people to do better works. This is how I usually create my art pieces. How a person creates art is surely a subjective process and my way might be different from others too. What’s important is that we remember that the proper usage of composition, lighting, and color is strongly important in considering an artwork a masterpiece.
Source:3DTotal.com