Making of Bugatti Veyron
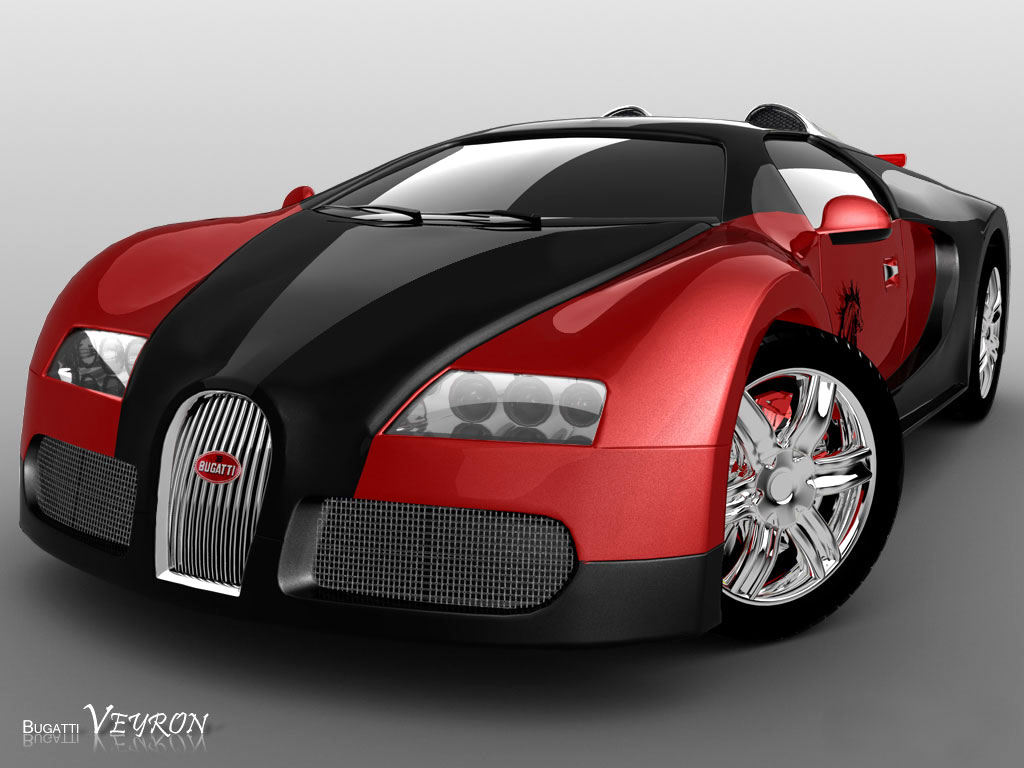
Bugatti Veyron – One of the fastest and popular speedcar…. This 3D Model was created in 2 Days completely. I used 3DS Max for this. I had seen some of the wallpapers of this car and was so inspired that the same night i began to work on this model.
This model has has been very popular to the 3D Community so I decided to put out the tutorial / the making of Bugatti Veyron.
These are the Blueprints ( References ) for the model.


Here it Starts
Quad/Mesh Modelling is the simplest way to startup. So I began with a Quad. Basically this process involves extruding of edges and building the frame.
Simple, I applied the blueprints as the viewport backgrounds and started off. Just created a quad and went on extruding the edges to get the basic shape.

Aspect ratio of the model in all the views has to be maintained. This extruding proces goes on and on.
The Quad which I created is nothing but a rectangular face which I had converted to an “Editable Poly”


Poly modelling is preferred because I could have control of the open faces also the NURBS Toggle. So whenever I need to preview, I just toggle NURBS as seen below.

Now on, the model has got the basic shape and look. So coming up is only small additons…

The Back is also bit tough because minute detailing has to be taken care of…

The Engine is also a mashup of Simple shapes which I playes around some modifications like Bend, Taper etc.

Now that I the car is almsot complete, I have added some dummy wheels to get the final look…For the Render I have Created some nice wheels which I will be explaining in future tutorials.
Seems to be looking pretty good, Ha!

AND…. coming to the end of modelling, I placed a Camera n positioned to the view below.

Render Setup
I used Brazil for this cos to my knowledge Brazil is a good render engine for Car Material. I know V Ray is good but have no knowledge on V Ray.
- Brazil Advanced material with Fresnel Fallof Reflection
- Skylight Enabled
- Grey Floor with a Matte/Shadow material to receive ony Shadows
- A White Oval Plane above the car to get the studio kind of reflections
- One Negitive is that I had not enabled Global Illumination ( GI ) at that time cos I was still learning Brazil
Andbelow is the screenshot just before the render.

Render Output


And here is what I got… Please click on the image below to view the Hi Res Version
Hope you liked this Content and Gained something from this. I will be posting some more articles and tutorials in the future…


