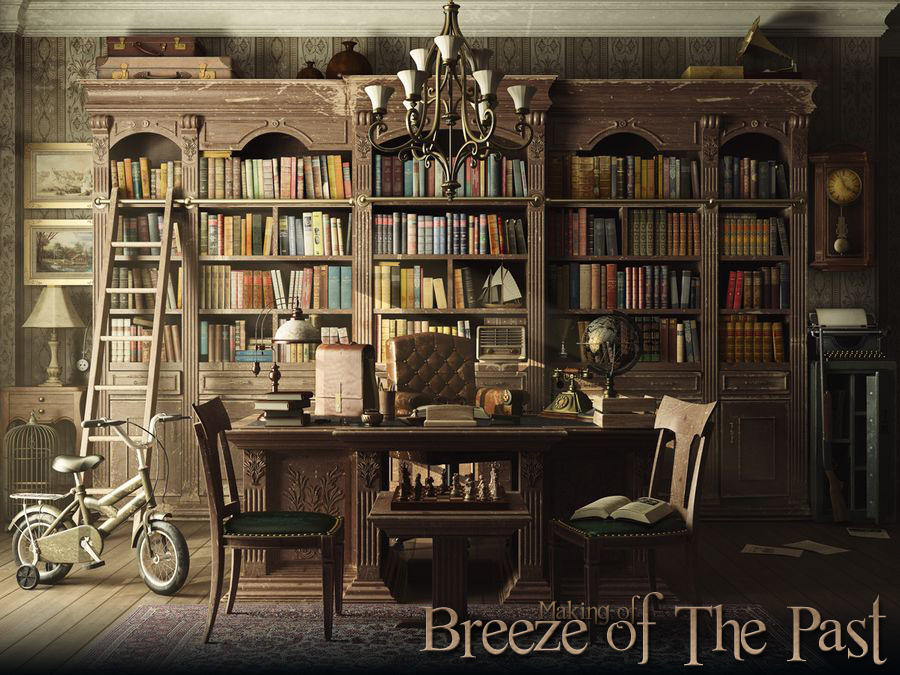
Making of breeze of the past
The work consists of an old office room in good condition, still in use even now. I started this work wanting to create a silent story, so I made the components of the room appear to be speaking for themselves.
ConceptThe work consists of an old office room in good condition, still in use even now. I started this work wanting to create a silent story, so I made the components of the room appear to be speaking for themselves. Each piece tells you a story and is reminiscent of memories. Software used: 3DS Max, Photoshop & VRay. ReferencesFirstly before making the modeling I search for suitable pictures which will be fit for the project for easier modeling. I search for these pictures in web search engines, as Google, yahoo and flicker. |
 |
ModelingTo look at the project; we will find that the modeling seems to be slightly more and this feel that the project is difficult but in fact it is not, The project is very simple in the shape and content, all the modeling was mad by using the editable Spline and editable poly. |
 |
| Inside the 3ds Max I use the editable Splline and editable poly to convert this blueprint to the, 3d model. Not only the library but I can complete all other furniture in the same previous way; as it is manifest “plain” |
 |
| In this point I will add only the making of the ornaments in the scene. I know that there is many ways to do this ornaments and always I use very simple way (this is personal opinion) for not bored with the project and finally it give the wanted shape. Simply this ornaments is group of repeated tree leafs begin by one leaf then multiply to be formed an identical de curative group to do this ornaments follow up these steps |
|
 |
 |
 |
 |
|
About the other parts of the project, I did it in a separate form, to put it in the project, and this is some of the models which used in the project |
|
 |
 |
 |
 |
| By putting the content of the separate files in the original one this will be the result. | |
 |
|
 |
|
Materials and texturesUsually I use simple to make it simpler. |
 |
 |
 |
|
I will only explain how I did wood material as example and how I use the old book picture which used as mask which I said before |
 |
LightingFor lighting, I’ve used V-Ray light, Target Direct light with V-ray shadows and HDRI Image.The settings for these lights can be seen in figures below |
 |
|
|
RenderingThe settings that I used for the render can be seen in fig below |
 |
Post-ProductionIt’s the important stage in the work as a whole, and the simplest, the target of this stage is adding atmosphere mood to the scene. |
 |
 |
Related linksEmail: abuyhia@hotmail.com Web-site: abuyhia.cgsociety.org Profile: abuyhia.3dm3.com |


About The Author
You might be interested in