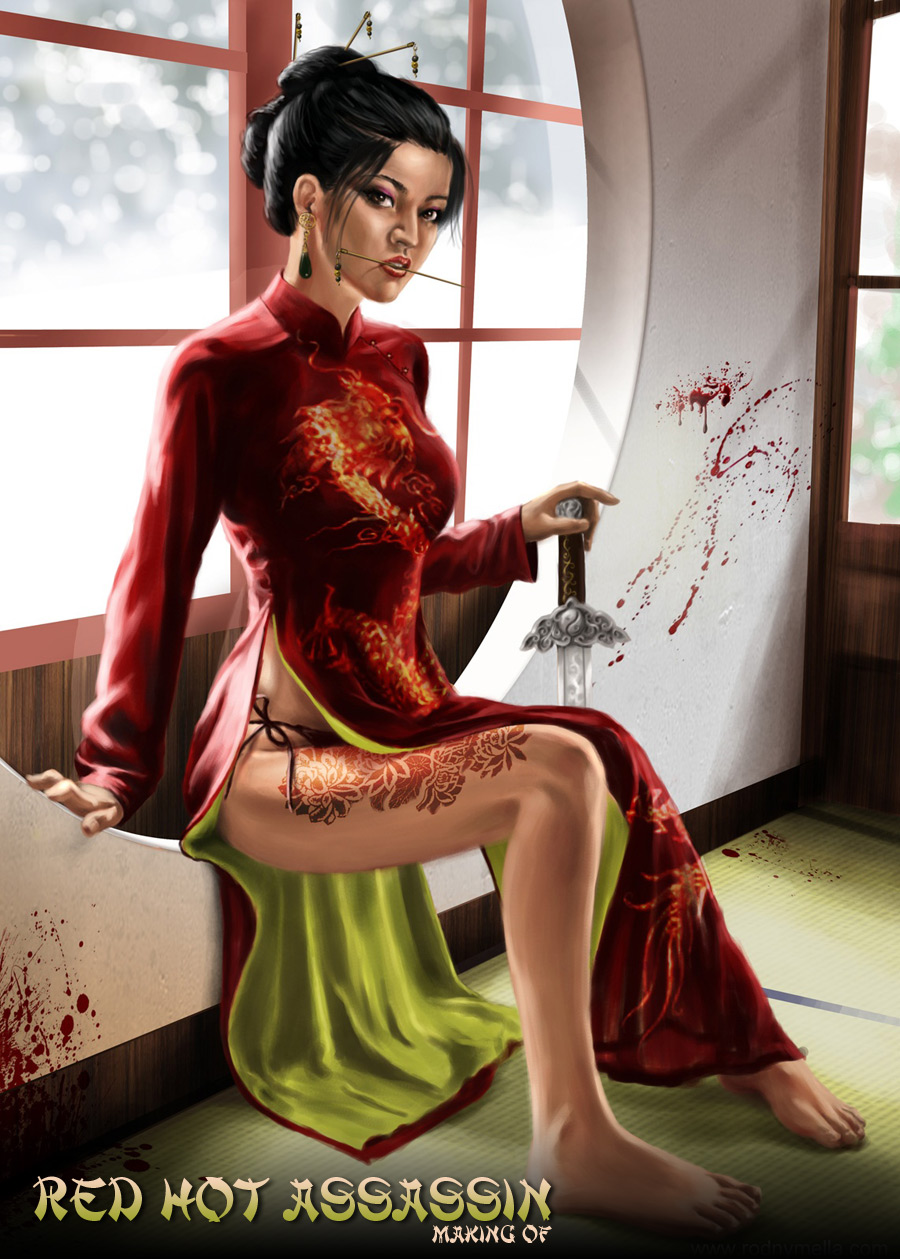
Making of Red Hot Assassin
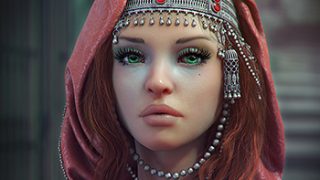
Hong Mei Li is a seductive lady with deadly skills. She can mask innocence at the same time secrecy. Clean-up after a kill is a painting done with Photoshop CS2.
|
Hong Mei Li is a seductive lady with deadly skills. She can mask innocence at the same time secrecy. Clean-up after a kill is a painting done with Photoshop CS2. Before I start the painting I usually prep my brushes. I don’t really use special brushes just the ordinary brush presents in Photoshop. Occasionally I will mix new brushes depending on my painting need. As usual I start with 50% opacity and 50% flow for sketching. |
|
 |
 |
| For this painting I will use dark color background. Then I make a new layer where I do quick sketching of the outline in white or any color in bright contrast. This will be my general guide and eventually it will take form as the painting progress. | Next step is color filling the drawing. Still having 50% opacity I made a new layer on top of the outline. I choose red for the qipao dress and light flesh for the lady. I applied it quickly like in speed painting, the reason I use dark backround is that while I paint over the character I can also see where the shade will go. |
 |
 |
| Whenever I am working on the details specially if it’s a character I start with the head specifically the eyes. To maintain the color schematics I always place a color palettes beside the drawing. | It helps to know the correct placement of shadows and highlights because it will give proper form to the object, further more correct dispersion of light can define the surface materials. I decided to place the source light at the back of her body. |
 |
 |
| Cloth’s foldings are always a challege, for this I started painting randomly until I see some shapes but having reference also will help achieve correct foldings. | I paint the inner dress in green color. The paint process is the same as painting the red dress. Some trick I do when making a rough painting is that I squint my eyes then move a little back, this ways I’ll be able to see the flow of the painting and the overall picture. |
 |
 |
| I have completed the first round of the character after few hours of painting. The next step is always the fun part of digital painting, atleast for me…the detailing. I added a black strip underwear, paint the feet and hands. It has been my style whenever I do digital painting to leave brush strokes seen because it felt really more like a traditional painting. | I decided to put a golden dragon embroidery in the dress. First I paint in separate layer a dragon in brownish yellow color. Then I change the layer opacity to color dodge. What it does is that it will saturate the color of the brownish dragon when overlaid on to the red dress turning it into golden redish color. I suggest to play with the opacity mode of the layer when overlaying an image onto another image, sometimes you’ll never know what it will produce. |
 |
 |
| The following process is shaping the dragon on to the foldings of the fabric. To do this, while still on the dragon layer I press Ctrl + t shortcut for Free Transform. | On the top menu in Photoshop find and press the button in red circle. What it does is it switch the Free Transform tool into Warp Mode. |
 |
Here you can manipulate the nodes, move and transform the image according to the shape of the dress. When everything are set the way how I like it I press "enter" and it will save the transformed image. |
 |
 |
| I add another layer and this time I set the mode to "Screen", this is to add highlight on the dragon like a that shown in the image and gives off a golden shimmer. I also paint details on the sword, I set the brush option to "shape dynamics" this will give me tapered brush. | The second part of character painting is retouching and adding embellishments. The same process I applied for the tattoo on her thigh like what I did with the dragon using "warp mode". Now that I have the completed the character painting I flattened it’s layers. It has been my custom to save the unflattened file separately so that I can go back again if I wanted to change anyting. After saving the unflattened version I flattened the character layers to save me some processor memory. |
 |
 |
| I clean up her face. Added the hair pins, earing, retouched the eyes and nose and add detailed strands on the hair. Painting hair is sometimes difficult but one trick I learn is while painting the highlight I make brush opacity and flow to 50% or less. Then I repaint the strokes again and again until I get the proper highlight on place. After this I added small strand of hairs so as to get more natural looking hair. | Next step is painting the background. Since the focus of the painting is the lady I decided to blur the background image. I paint the background window in greyish blue color, dab some circular white color and some dark colors to it, then on the top menu bar in Photoshop I press "Filter" choose "Blur" and the click "Gaussian blur" and set to 2 pixels. This will produce me enough depth of field. |
 |
 |
| The interior basically is white concrete with wooden windows. I used pen tool to draw straight lines and perfect curves. Here below is the final result of the house interior. The tatami floor is an image I took from the internet and skewed it to the shape of the floor. | The blood spatter is a unique brush I downloaded from deviant art. By the way many users contribute their self-made brushes there. At deviantart I just type water color brush and it will search several brushes. This one I used splatter brushes. I set a new layer and paint the blood splatters on to the wall in dark red color. |
 |
 |
| Then I unhide the character layer for the next and final process…painting shadows and highlights. The source light from the outside is very bright so logically the highlight should be bright as well, so I hightend the color highlights of the dress and hair into almost white. | The source of light are coming in from the two windows. It uses ambient light, meaning that light source is coming from all direction and light bounces everywhere too therefore creating soft shadows. I painted the cast shadows darkers at the corner to show the occlusion effects. Finally I flattened the background and applied "Gaussian Blurr" in order to get the proper depth in the picture…now it’s complete — The Red Assassin. |
|
|
|
|
To view larger image with finer details please visit my Gallery. If you have any questions regarding this tutorial you can leave me a message in my site guestbook. Cheers! Related Links: Website: www.rodnymella.com |


 About Me:


