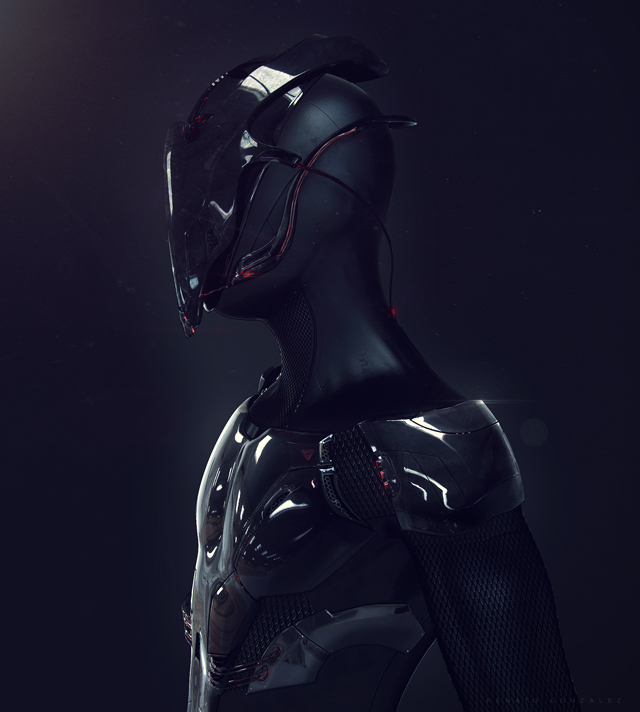
Making of Trooper
I’d like to tell you about how I made my picture Trooper, and I hope you enjoy this Making Of.
Introduction
Hi, I’m Renato Gonzalez, an animation student from Chile. I’d like to tell you about how I made my picture Trooper, and I hope you enjoy this Making Of.
Design
A few months ago I started to work on a new personal project – a short film that needed droids, robots, guns and machines – and this character was born there. So I started looking for references, which is an important part of the process. I spent days studying references, because I knew this would help me to make a credible character. I looked at robots from different artists, one of whom was Josh Nizzi. When I saw part of his artwork I decided I wanted to create a droid with very light armor.
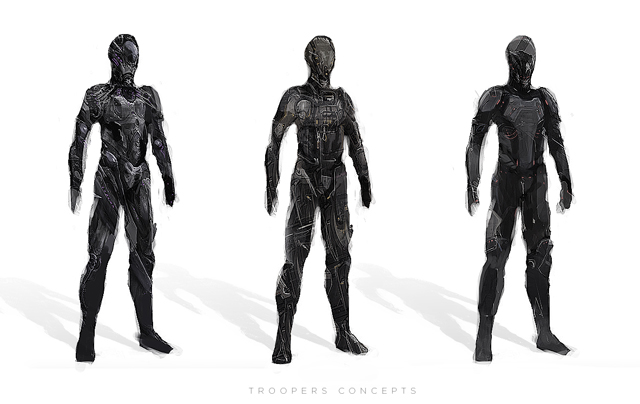
Normally when I make a 3D model, I start by doing a very basic sketch in Photoshop so I can try out different variations of the same idea and text out the possibilities (Fig.01). At this point I don’t spend too much time on the details; my only purpose with sketching is to find a stronger silhouette and the basic shape of the character.
Modeling
For this character I used Maya and the ordinary polygonal technique to make the model. I needed hard surfaces, so first I started blocking in shapes to get something similar to the initial sketch. When doing this I like to work with an instance duplicate so I can model in a symmetrical way.
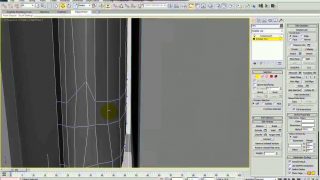
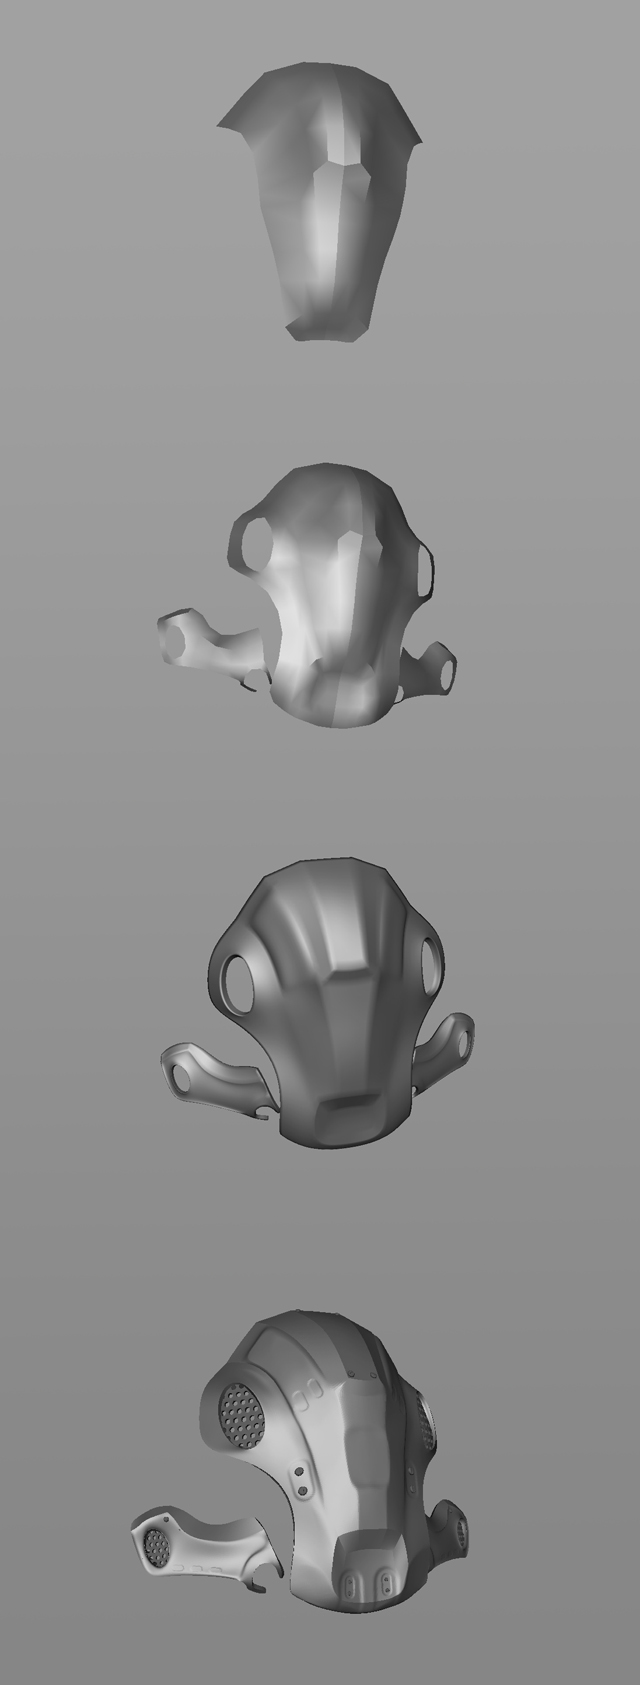
Once I was happy with the overall proportions, I started to crease edges to get a nice surface and the closest shape to the original design. Later I added the details, like the screws, wires, grids, little lights, etc. For example, the chin (Fig.02 – 03).
Texture
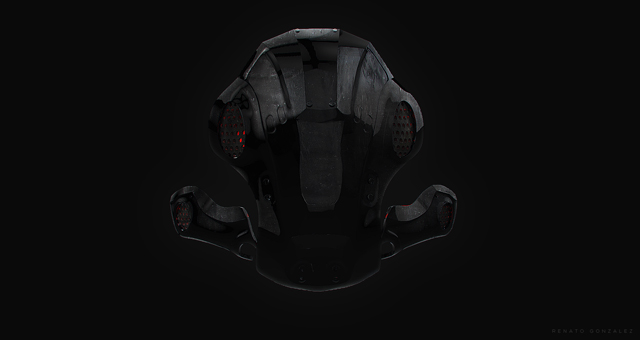
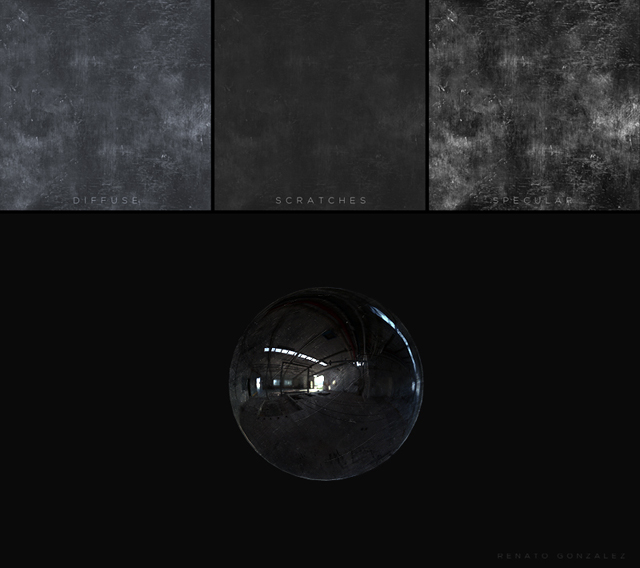
I was looking for realism with my model. Normally I generate textures, and Normal and Displacement maps in ZBrush, but in this case I only wanted to work with Maya and Photoshop and so I created all my textures there. The two most important materials for this character were the metallic shader and the suit shader. For example, for the metallic shader I created a Specular map from the Diffuse (Fig.04). I worked with the scratches masked in an empty layer. This fact made it easier because it allowed me to change their color, brightness and blend mode.
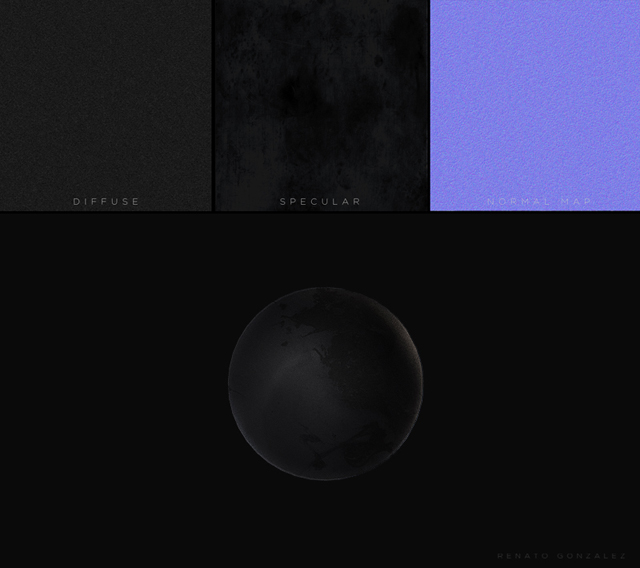
For the suit I was looking for something between leather and rubber, so I decided to work with the SSS skin shader (Fig.05). I used a Normal map from my personal library to get a tiny amount of porosity on the surface to better catch the light. For the Diffuse I just combined a simple layer with noise and a dirty texture that I painted using a custom brush in Photoshop.
Lightning and Rendering
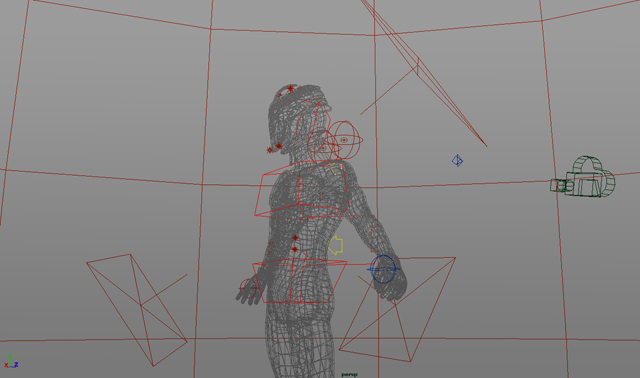
To get more realism in the illumination, I worked with image base lighting because I needed some nice reflections on my model. But I found this was not sufficient, so for my final lighting setup I used three area lights set to a high intensity with quadratic decay rates, two volume lights for the wires and point lights for every light detail on the character (Fig.06).
Post-production
The final presentation is a very important point of any work, and can help to add realism to a character. First I sharpened the image in Photoshop (Filter > Sharpen > Sharpen) and this instantly increased all the details in the scene. Then I simulated the chromatic aberration, which is a common optical problem that occurs when a lens is either unable to bring all the wavelengths of color to the same focal plane, or when wavelengths of color are focused at different positions in the focal plane. This “problem” can be simulated in Photoshop using lens correction (Filters > Lens Correction). I changed the parameters under the chromatic aberration settings to get that color variation (Fig.08).
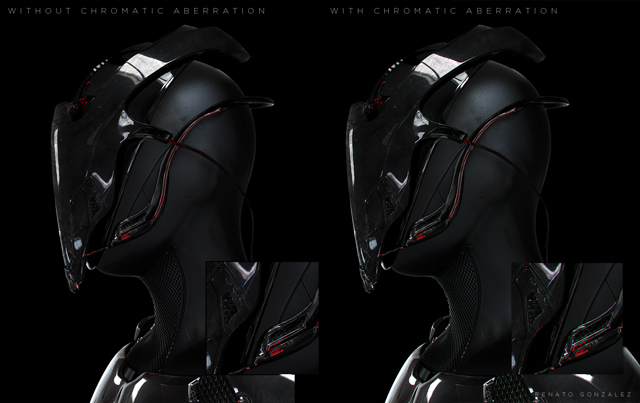
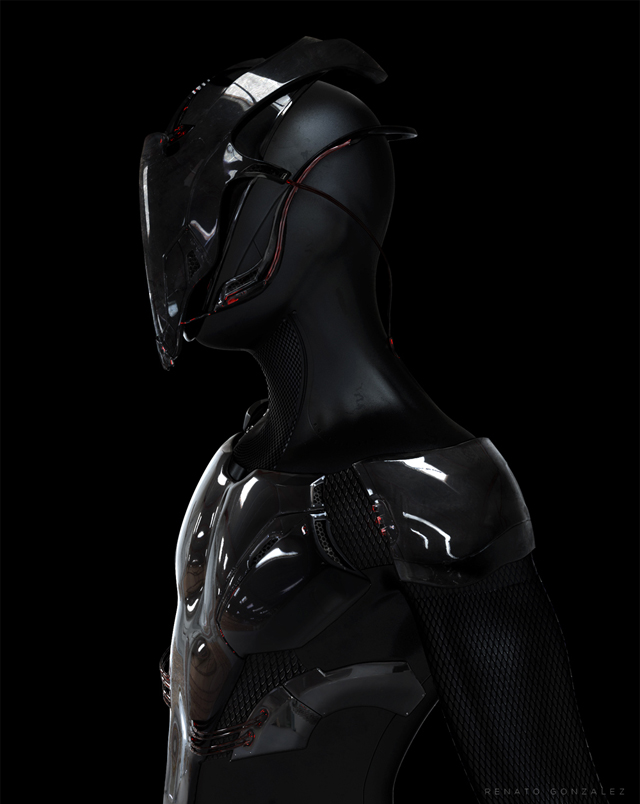
Finally I added some noise (around 1-3 px) and a color correction with levels to change the atmosphere in the scene. Here’s the final image (Fig.09).

Conclusion
The hardest part of this project was the modeling. Modeling everything in Maya without the help of ZBrush was sometimes tedious, but in general it was fun and I really enjoyed working on this character. I hope this Making Of has been useful and thank you for having taken the time to read it. If you have any questions then please email me.


