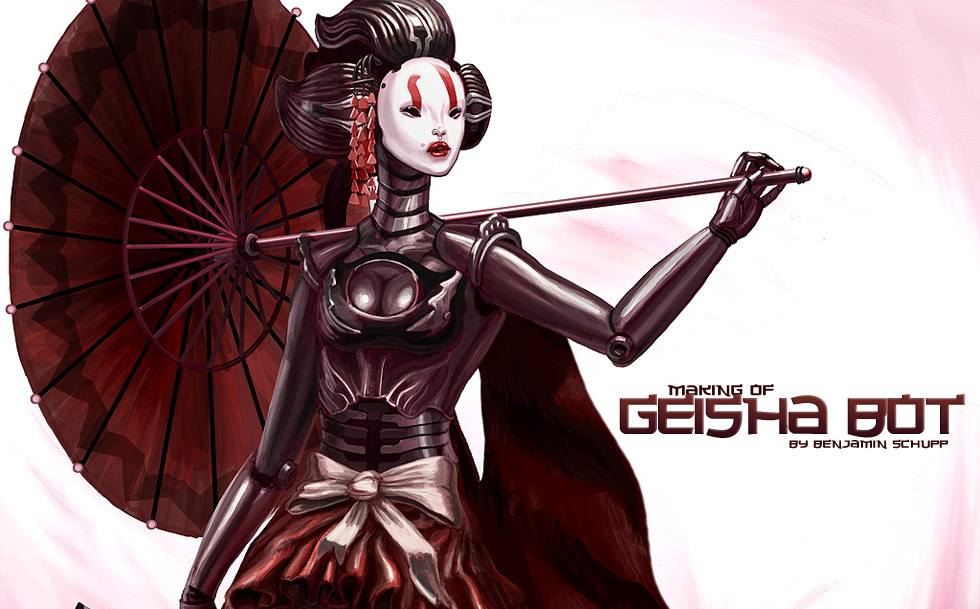
Making of Geisha Bot
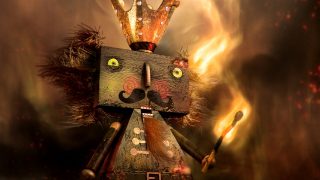
I wanted to create a fem-bot (or is it femme-bot?) and this time a geisha bot, inspired by the mysterious geisha women of Japanese tradition. So I went on the internet and got me some reference images as initial inspiration.
InfoI wanted to create a fem-bot (or is it femme-bot?) and this time a geisha bot, inspired by the mysterious geisha women of Japanese tradition. So I went on the internet and got me some reference images as initial inspiration. |
|
This is where I further changed the pose. I checked what it would look like if she looked to her right instead by quickly cutting off her head and flipping it horizontally, but this way looked better. As you can see, I changed her face (I always make new layers and hid the old version, so I don’t have to make a final decision just yet and can compare the new version with the old.). She now looked quite mean.
After several face explorations I arrived at a more appealing, female face, more closely aligned with the original white face with the stripes above her eyes. There are less features in her face then in some of the experimental steps, but oftentimes simpler is better.
More detailing…
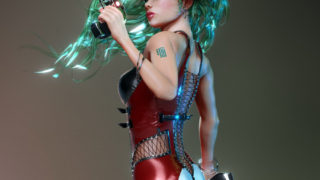
… and then the switch to color. I haven’t found out a way of coloring all layers at once elegantly, so I created a new layer, filled it with a reddish-pink and set it’s layer style to color. Then I made copies of this layer for each of my layers and did the Alt-click-on-layer-thingy
so that the layer only affects the layer below it. Then I merge each color layer with the layer immediatly below it. An alternative would be to use the Image-Adjustments-Hue/Saturation Option on each layer. Now there is a lot more polishing and coloring. I stuck to a simple color scheme. only red, pink and black/white. Fitting with the geisha theme. And there you have it. I had a lot of fun designing her. About the Author
To find out more visit his website: www.trickstertoys.com |


 Benjamin Schupp is a freelance concept artist and storyboard artist living in Los Angeles and Germany. Before freelancing he worked as a full-time concept artist on the upcoming Ubisoft title ANNO 1404 and before that worked as a 3D artist on commercials and music videos in Los Angeles. He graduated Otis College of Art and Design in 2003, where he got his BFA in Digital Media.


