Making of: It’s only a boy
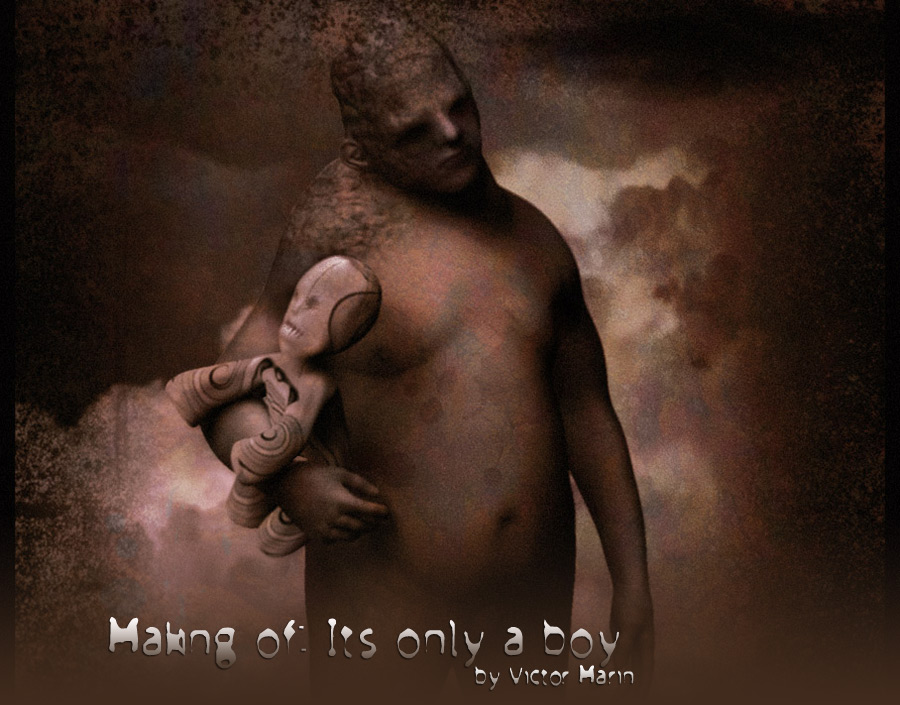
Throughout this How it was done, I will explain a little of how the image of It’s only a boy! was made from its conception to the final touch.
|
Throughout this How it was done, I will explain a little of how the image of It’s only a boy! was made from its conception to the final touch. The inspiration to create this image came while I was reading the biography of the Englishman Joseph Merrick, better known as the “elephant man”, the sad story of a man obliged by society to earn his living as a circus monster and that suffered a very sad life. I wanted to focus on the idea that not all monsters or aberrations are malicious entities, horrendous creatures or taken straight from a fantasy book. I tried to create a sad but tender image at the same time. I have used a few photographs of a friend that posed as a model, I started the modelling in 3D STUDIO MAX 9 (polymodeling).
ADVICE: I recommend to always model with references, such as sketches or photographs even though this will probably delay the process, we will avoid unnecessary headaches and problems. The mesh was exported to Zbrush and the global form of the “creature” was changed a little more (symmetrical mode).
|
|
|
 |
|
Next, the final touches of the modeling were added, the protuberances in shoulders and face. The texture of the model was very amusing, using clippings of the photographs of the model of reference and the tools Projection Master and Polypainting that allow us to paint the mesh directly in real time and utilizing all the advantages of an object in 3D. TRICK: There is a very interesting trick that I use almost always to heighten the textures. By using Zmapper (a plugin in the 3.1 version of ZBrush) when the texture is finished we will generate a cavity map (which will give us a map in black and white where the black will be the deeper areas submerged in the model – cavities- |
 |
|
The final render was performed also using Zbrush that apart from speed will allow me to create the “illustration” look, avoiding the clasic 3D ways. It is a magnificent and speedy software of model and rendering in 3D by which you can create interesting images of great quality. The last step was to add many layers of dirt and noise in different modes of opacity to give the air of and old and ruined canvas. I really hope you have enjoyed this little How it was done of this image. Happy Modeling and Zbrushing. Victor Marin |
 |


