The Making of Old Alley
Hello there, this tutorial is the making of one of my latest scenes entitled “Old Alley.” This is my first making of tutorial, and I hope to create some more along the years.
|
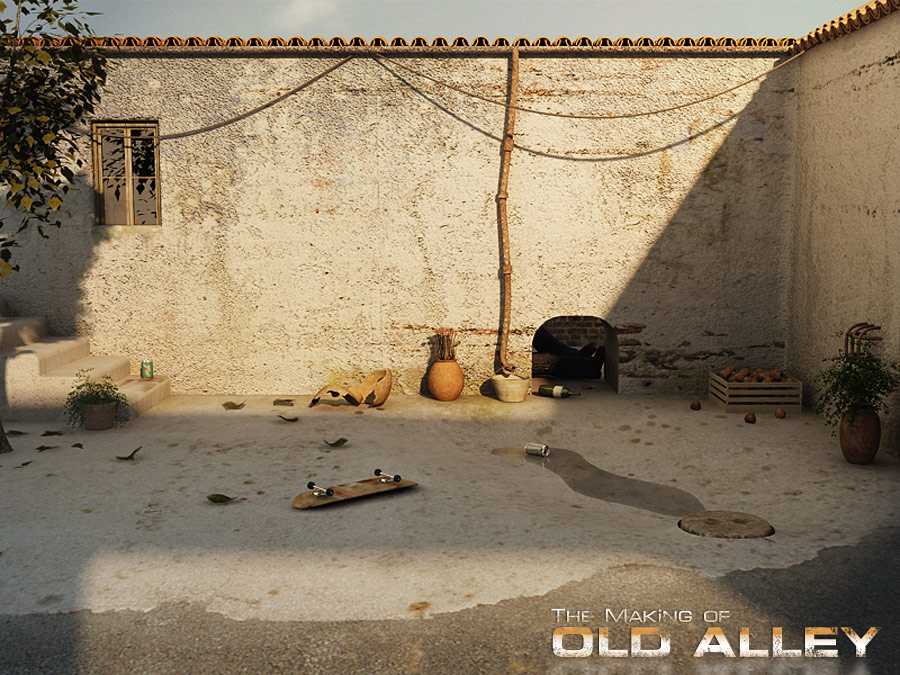
May 17 , 2006 | Stryker Hello there, this tutorial is the making of one of my latest scenes entitled "Old Alley." This is my first making of tutorial, and I hope to create some more along the years. I will take you through all the modeling, texturing, lighting, and rendering. Here is a render of the final scene: |
|
|||
|
Modeling: Let’s start off with the modeling, it was quite simple. The original creation of this scene began when I was actually doing light tests with VRay. I started out with the natural basis of creating the main structure first (the wall and floor) to begin the process. Here is a wireframe shaded view of the scene:
|
||||
|
The wall was created from a standard box and converted to an editable poly where I made cuts within the polys. I actually had to remake the wall a few times to make the window correctly. I used the compound-boolean action for the small encaving near the central right (next to the drainage pipe). I cut some polys on the left and used bevel for the window. The ground was also quite simple, created from a plane primitive and edited for the manhole and water, then I slapped on a turbosmooth modifyer on it. The next few things I worked on included the pipe (created from a renderable spline) and stairs, other "larger" details which would be obvious at first glance. Most of the other objects were poly-modeled, including the skatboard, apples with crate, soda cans, the drunk man, and the other details. Here are some closeups of the small objects: Plants: Some of the plants were created in 3dsmax while the others were made in OnyxTree. The tree was exported to 3dsmax and completely textured in the material editor, along with the small green pot-plants. The dead-looking plant (in the orange pot) was created in 3dsmax. |
   |
|||


|
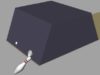
Lighting: Now to continue, let’s go on to the lighting. In my opinion, lighting your scene is very important right after you finish modeling the main section of it, I would recommend doing this before you go onto texturing. This was also very simple and straight-forward. With all my day-time exterior scenes I only have one light source (the sun) which in this case as usual, was a target direct light with an orange color and blue shadows. To get a good angle I had to do a few experimental lighting positions, and I didn’t want to use another lightsource for this scene. I decided to create an object that would seem to be in front of the camera (such as a large wall, somewhat blocking the sunlight coming through). This was my first attempt at this type of lighting, and the end results were surprisingly better than what I expected. Some of the light settings:
|
||


|
Texturing: This was probably the most complicated part of the scene, but it was really fun with the new techniques used. I used a whole array of textures for this scene, including those from 3DTotal’s "total textures" CD’s (definitely recommended for complex scenes, these are some of the best textures in the world) some texture maps online, and of course hand-painted textures created in Photoshop (including dirt masks). The main wall alone consisted of 6 diffuse maps (11 if you include the dirt maps) and another 11 for the bump. I always use mix maps for these types of scenes, it brings variety and an ideal visual experience to the eye. I generally have 4-10 maps on average for a somewhat complex material, depending on the structure and location of the object. Here is a small example of the final wall texture (all the diffuse maps combined) as it looks in the scene:
|
I wanted to give the wall a distinct look and feel, so I included different wall elements to bring a unique look. This included graffiti, dirt & grime, bricks, water erosion, and the main diffuse texture. I was quite happy with the final result. |
|||
|
Rendering: This scene was rendered in VRay with a basic exterior lighting setup. I used a blue skylight (in VRay: Environment) and the usual GI settings for an exterior scene: |
|


|
Post-Work: The post-processing done in Photoshop was quite simple also. I just imported the final render into PS and then duplicated the main layer with a soft light duplication, and then I did some color-corrections, lighting fixes, and sharpening. Well that’s about it, this was my favorite scene to create so far, and I had a blast making it. One person who I would definitely like to thank is Juan Siquier, who has for the past 2 years given me great inspiration for digital art, and one of the reasons why I created this. I’m a huge fan of his work. I would also like to thank all the people who gave me help and support during the creation of this scene, my thanks goes out to you. Have good luck maxing!
3DM models creation |
||


About The Author
You might be interested in