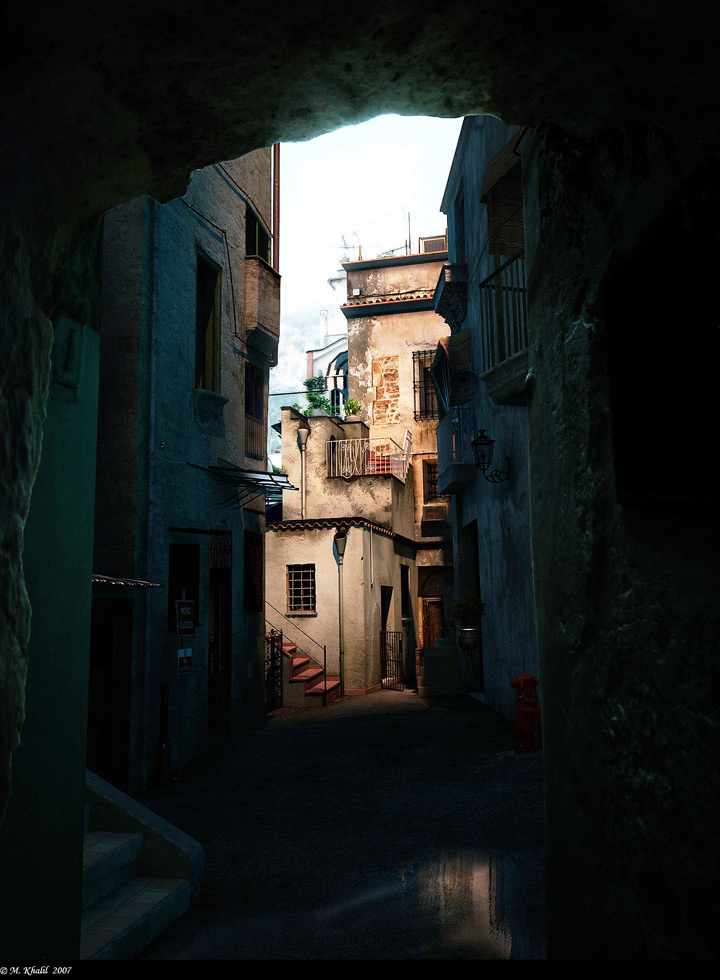
Making of “Chaleur et paix” by Mohammed Khalil
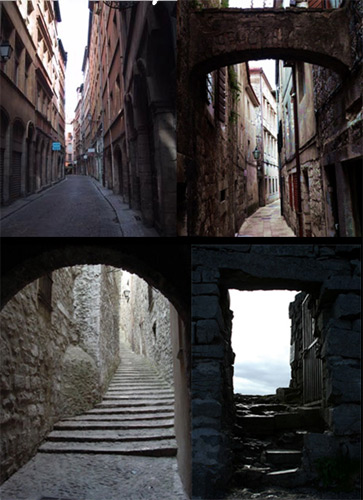
Reference:
I was looking for some references that could help me put things together. Basically I was aiming for a dramatic shot of an ancient passage, and so after doing some research I came up with these references:
Modeling:
Most of the objects in the scene were poly modeled. I believe poly modeling is more flexible and a commonly used technique in similar scenes as it facilitates the process of laying out UVs later on. I had to use other techniques like Splines and Loft objects. I find it more convenient to set up the camera angle at early stages so that you don’t have to model what is not visible to the camera. This is the camera angle that I chose:
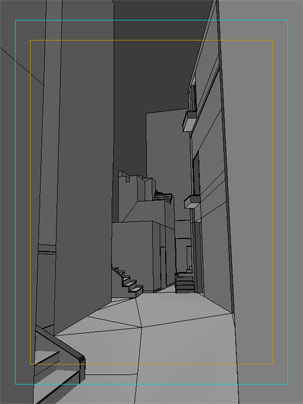
Now it is the perfect time to move on and model all the details you want to have in your scene:
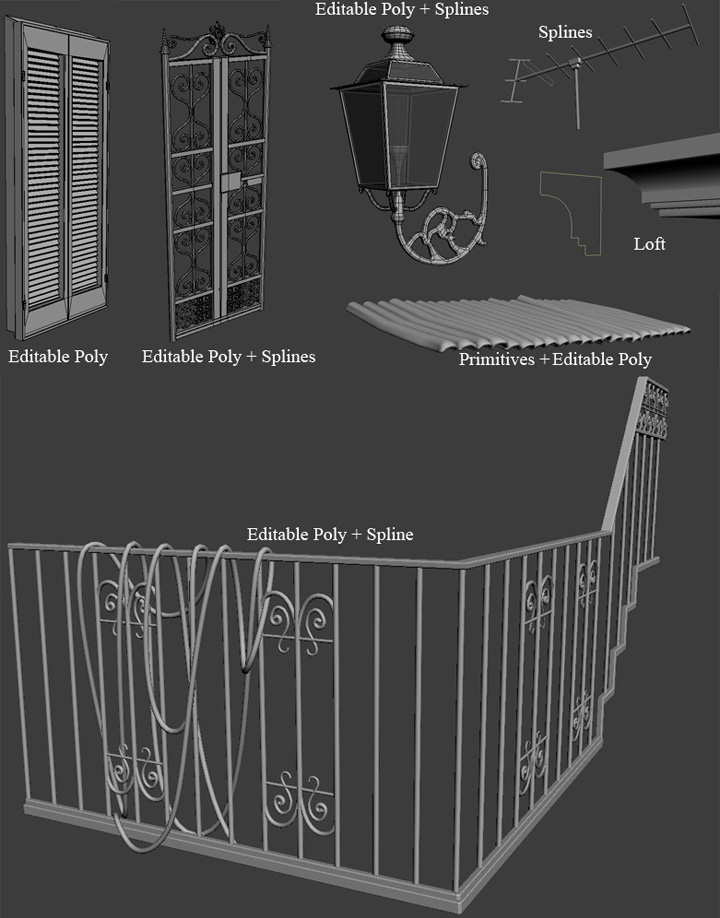
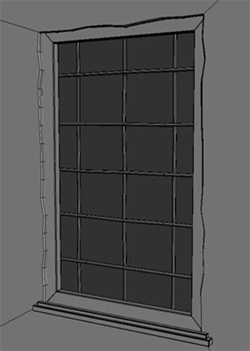
Since it is an ancient scene that we are after, it is a good idea to give your models an irregular shape. This can be done easily by adding more polygons to places where you want it to look and feel old, and then adding Noise modifier with reasonable values. It might look a bit exaggerated in viewports, but you have to put in mind the distance from camera, and GI calculation which blurs details due to interpolation:
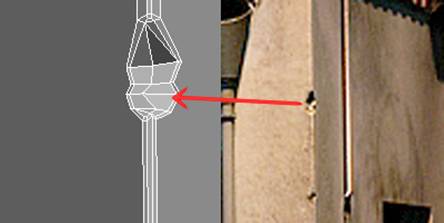
More tiny details were added with the aid of Cut tool:
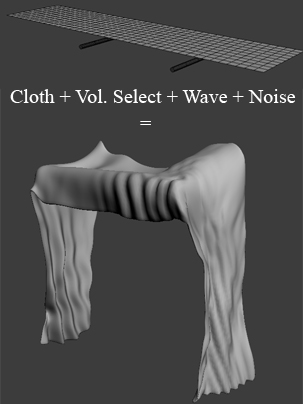
As for the awning (sunshader), I’ve used Cloth modifier. It started out with a simple plane, with enough segments to deform properly in simulation. Two cylinders were positioned below the plane to give it a shape of an awning stretching over a structure of support posts. In order to give it some wrinkles and folds, I’ve added Vol. Select modifier and on the vertex selection level I’ve selected areas where folds will most probably be. Soft selection had to be turned on to make it right. Wave modifier was added at the top of Modifier Stack. You can play around with values until you are happy with the result. To fine tune it even more, Noise modifier was used with a low value in Scale:
Texturing & Unwrapping
We are going to use Unwrap UVW to texture our objects in the scene. The process is mostly the same for all objects, for that reason I’m going to take this object as a sample:
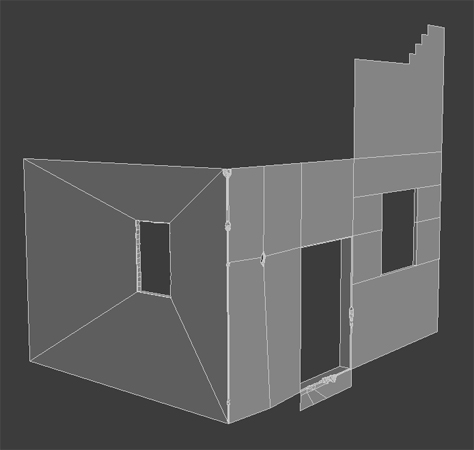
Select planar faces and apply Planar map:
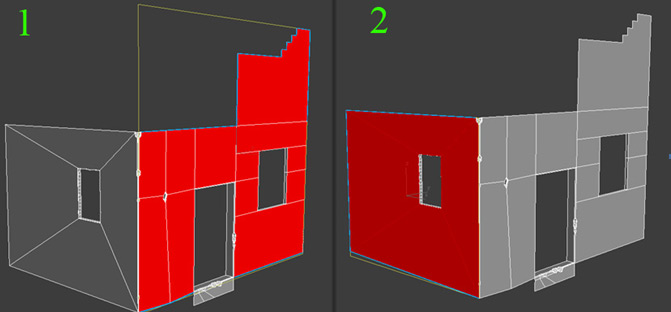
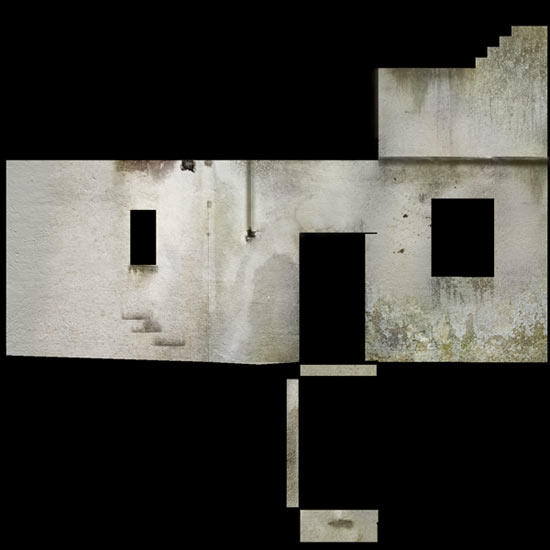
I had to unwrap the UVs for the door step, the inner part of windows and doors separately and then stitch them together. After positing UV groups next to each other, this is how it’s going to look like in the Edit window:
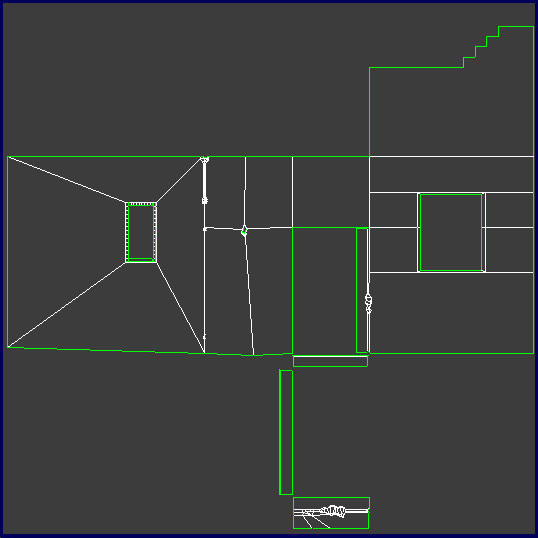
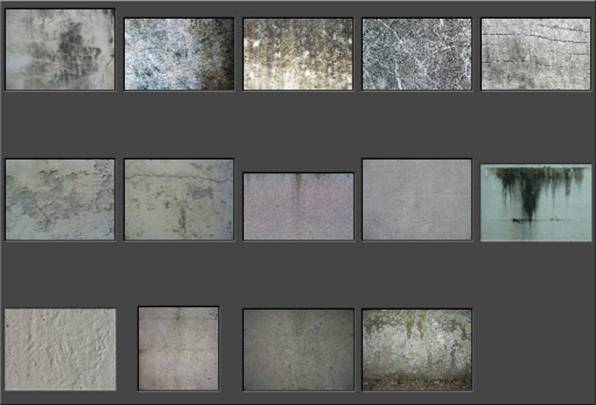
There’re no tricks to it, just simple and straightforward unwrapping! Now we can take our UV template to Photoshop and paints our textures. I’m using 1500*1500 resolution for this part. I’ve used some textures that I found in my library. Here is a sample of what I got:
Using regular techniques in Photoshop, I’ve ended up with this:
Other objects in the scene had Alpha Masks and Displacement Maps:
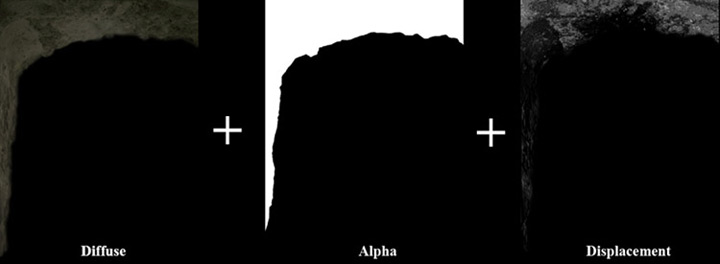
All plants are simply textured with a mask in opacity slot, to cut down on RAM usage.
Lighting
One emitter (Spotlight) was used to light up the scene.
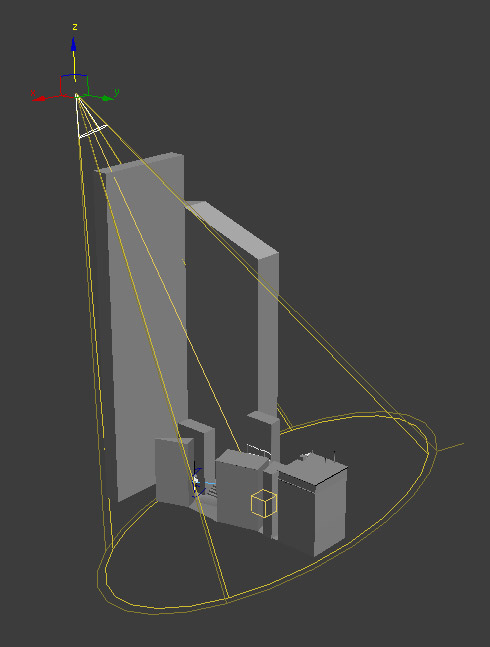
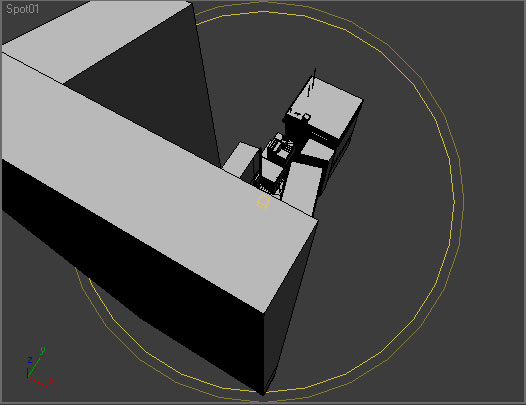
As you can see, I have created some boxes to block the light in certain places, allowing for more shadows to cast. By turning the viewport to Spotlight, you can manage to see which parts of your scene are exposed to light:
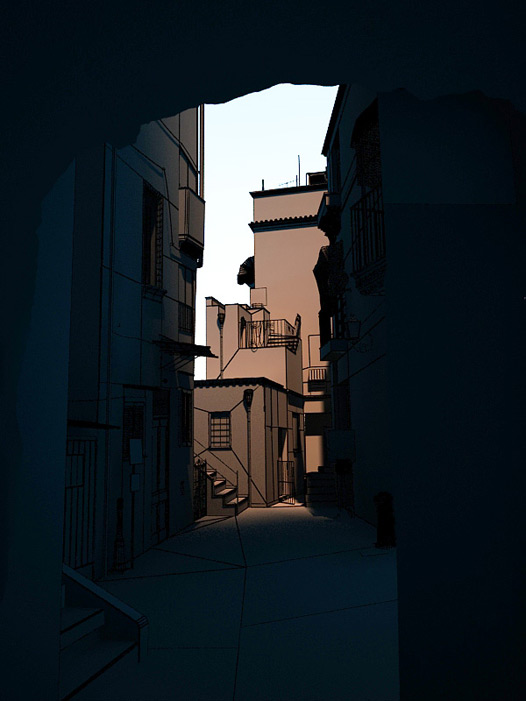
You can find the settings of the Spotlight used in the scene below:

The GI Environment has a light blue color. I was experimenting with different shades of colors, and I found this to be most suitable:

Rendering
I used V-ray 1.5 as a rendering engine, and rendered with a VrayPhysicalCam:

It is all about testing with different values in f-number, shutter speed and ISO. Vignetting was turned on to make corners darker. When you are testing, it is advisable to render at low settings and at low resolution for quicker renders, and when it is time to render the final scene you can pump your settings up. I’m using Linear workflow in V-ray, these are my settings:
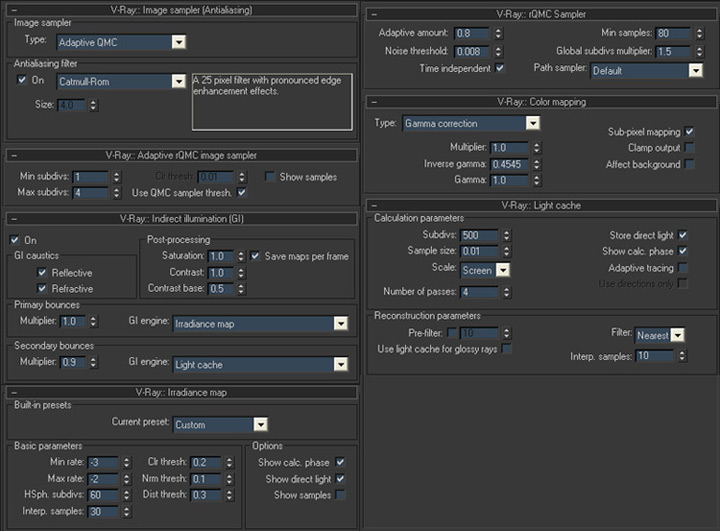
My PC couldn’t handle a 1200*1600 render, so I had to use region rendering and then stitch all the render pieces up in Photoshop. Glow and Sharp filters were added in post production. Here is the final render:

Hope you enjoy ;)


