Making Guanajua to Alley by Eugenio Garcia Villarreal
Introduction
Hi, everyone, this my first tutorial of the creation of a 3D image, im a recently graduated Graphic Designer, from Monterrey, México, and I have 2 years since I start to do 3d, when I began to learn Lightwave. I find 3d great, because you can bring to reality anything you imagine.
Inspiration.
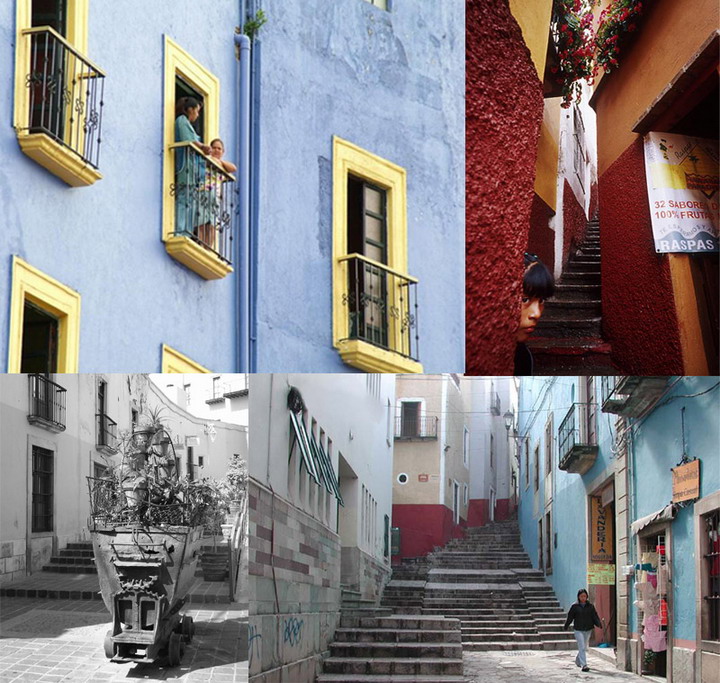
I was visiting Guanajuato an old Colonial city in México, truly inspiring place, with amazing architecture, cozy alleys, colorful buildings, and a lot of tunnels, a must visiting city, and I get the inspiration from there.
I took 5 days of my life to do the image, in a time amount around 40 hours. With simple primitive geometry,
For this tutorial you need to know the basic tools from lightwave, or any other 3d package. And basic knowledge of Photoshop. (btw, patience).
I consider this piece a mixture of 3d and 2d
In this image I tried to find a lot of references and info about the topic, photos of architecture, colors, mood.
And I use different photos to make my scene.
Modelling
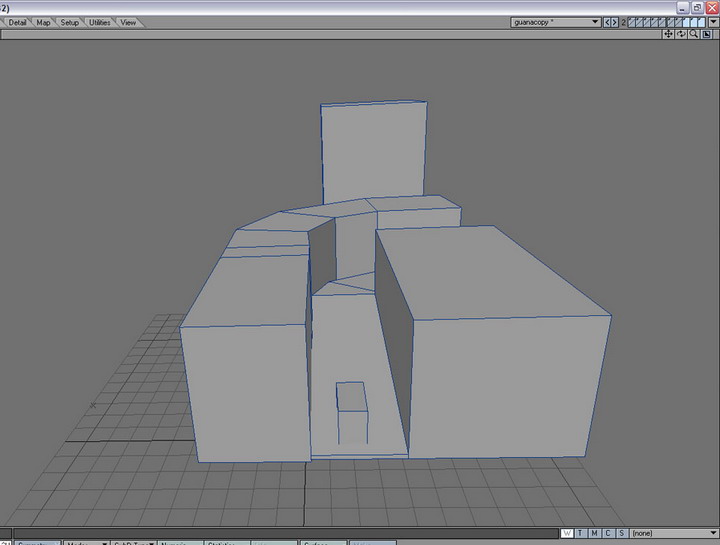
For the modelling, I’ve create some primitives, I did a rough sketch with primitives, one per layer, since they will become the buildings, and floor.
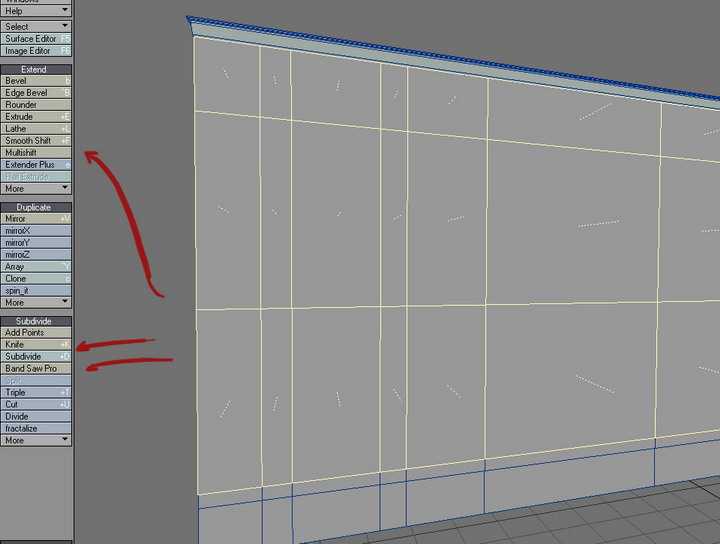
Next, I refine the buildings according to photo references, layer by layer, using tools like : bandsaw, for making geometry , knife tool, multishift, for the doors holes, edge bevel, magic bevel, all to make my model believable, in every detail.
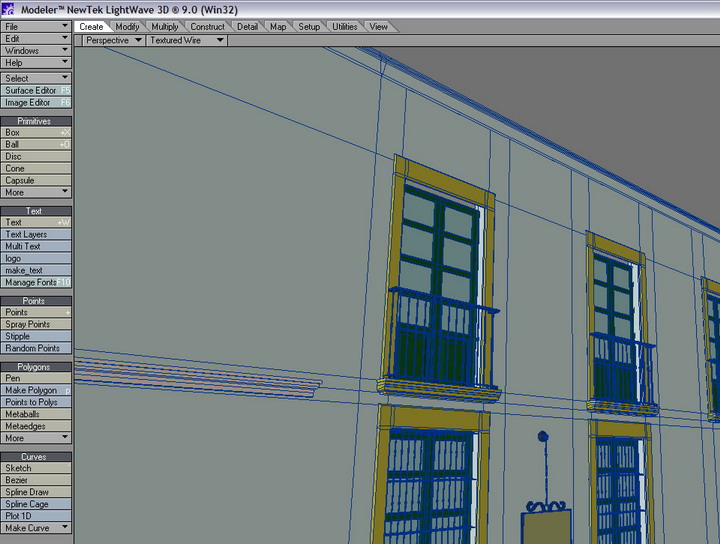
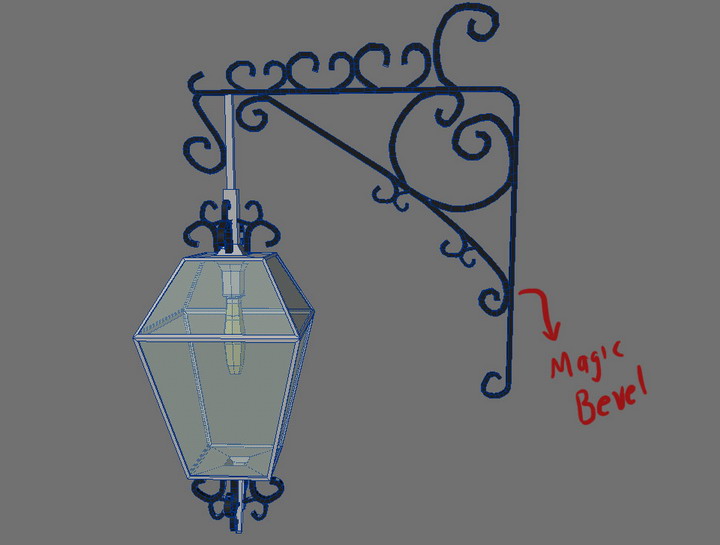
When I use cylinders, I try to maintain they very low poly, only 5 faces on some details. For the lights, I use a box model, divided, and magic shift to make the curved shapes.
In the miner car, I use box modelling ,nothing complicated, cylinders for the wheels, and bridge tool for holes, for the pots I use cylinders with 24 faces.
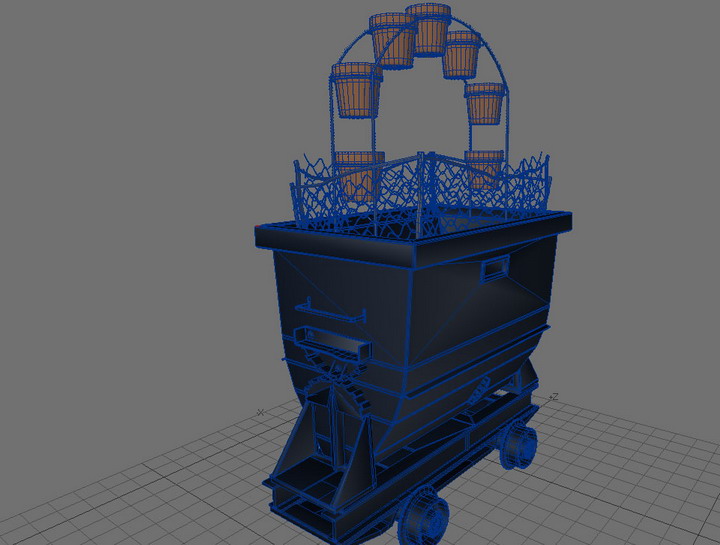
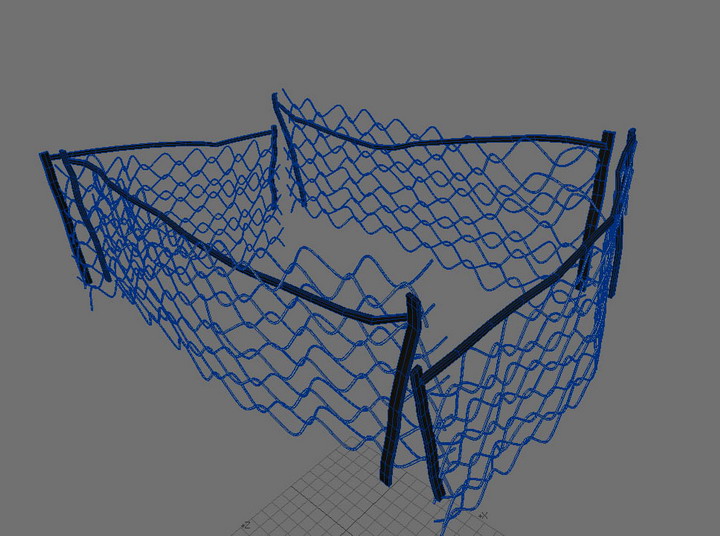
The detail of the fence is made by spline guides, I made two and then I clone they several times.
For the plants I use some models from 3dplants.com, and others are image maps.
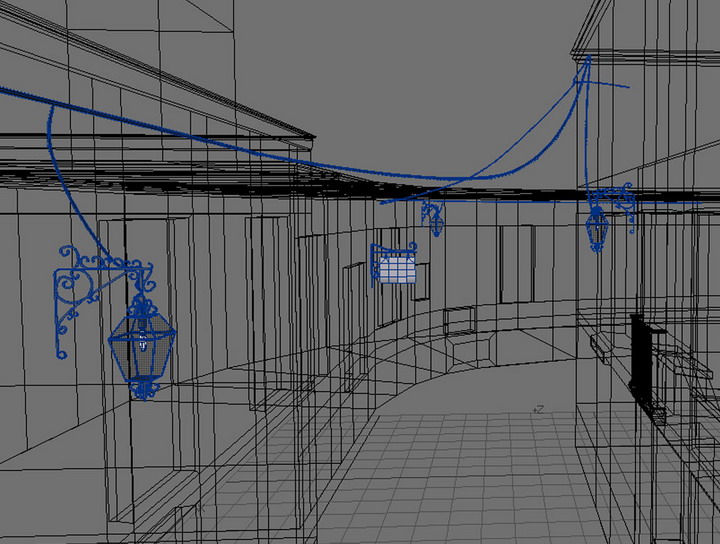
To finish, I put small details, like the signs and the wires, the first ones with box modelling and the wires with spline guides.
Next step was UV maps, not the better part but the most important I think.
I first unwrap the model, and then make a new texture map, and I create the uv map according to surfaces, and use the grab tool to move some points.
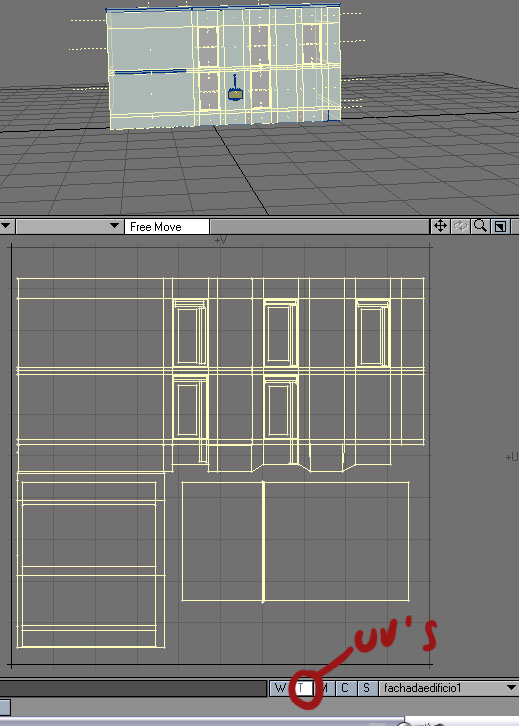
Before start to export the uv maps to eps , I must tell you an advice, I always try to maintain my stuff from a scene, well organized, make folders for every items, models, reference images, textures, uv maps, anything, this give you more efficiency
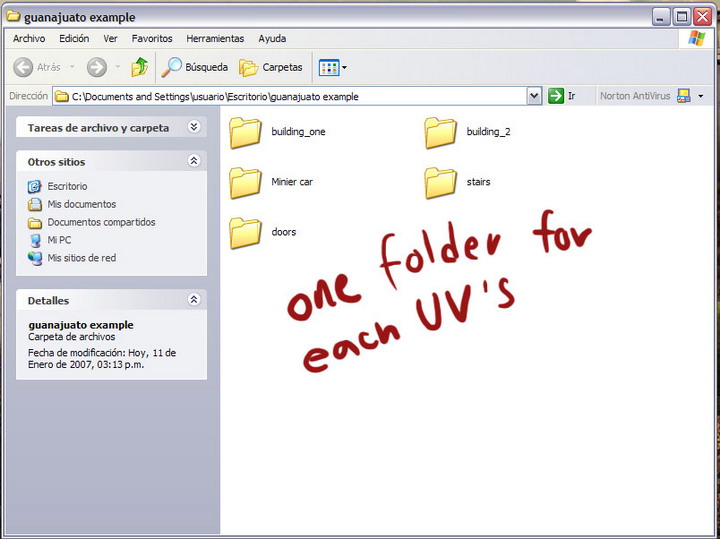
Next I did and export all the UV maps.
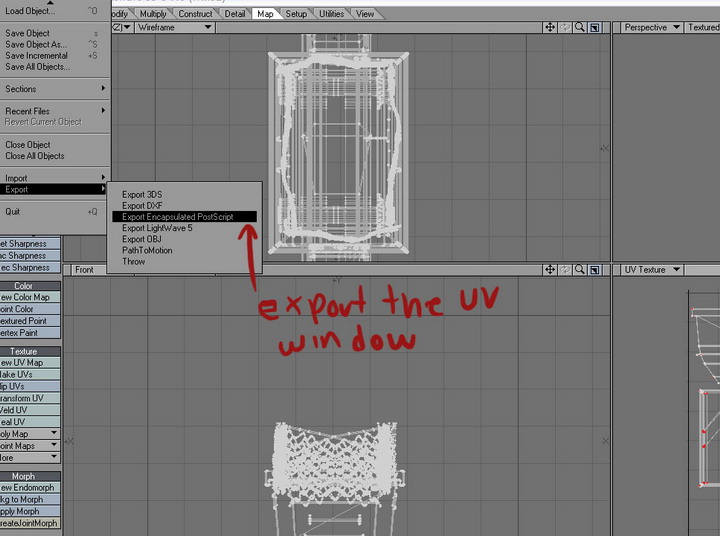
Here comes one of the best steps of the work. Lightning¡
Before start to work on the textures, I opened my model in the LW’s layout, and arrange all stuff, I was looking for a well balanced composition,
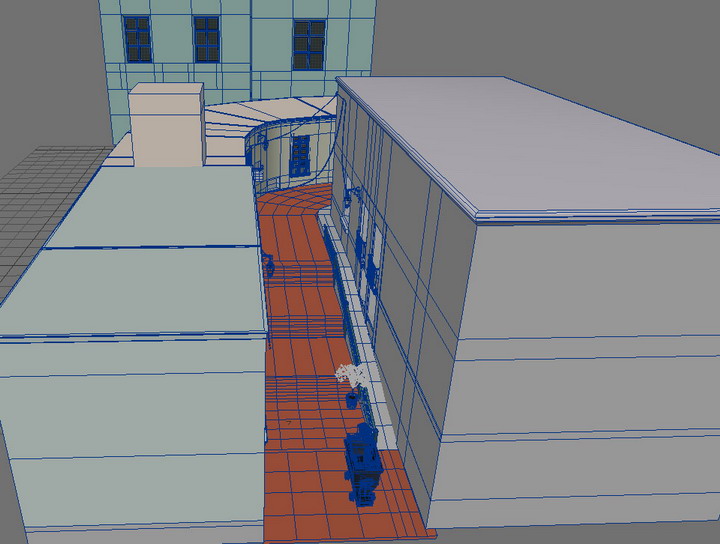
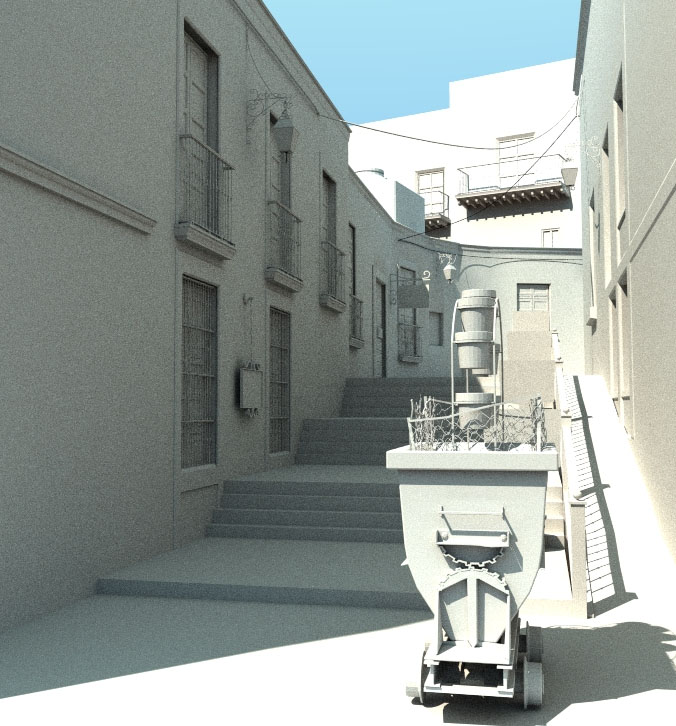
Next step was lightning, I did a very simple arrange of light, only one area light at 65% ( because I use Fprime as render engine, with .5 of lightning quality Montecarlo radiosity, and 2 bounces)
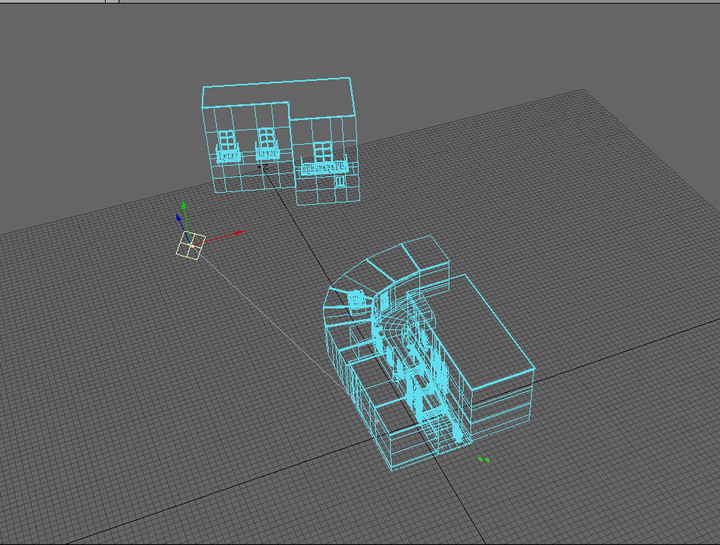
here is the render:
Once I have my saved scene, its time to work on textures. Lets dress our models :D
According to references, I pick the colors for the buildings and floor, a balance of cold and warm colors.
Next I pick some base textures; I use some textures from 3dtotal Total Textures,
I tweak and mix they in Photoshop, using masks, color filters, dodge and burn tools,
I like to work with large textures, I use 2500 x 2500 textures, because the RAM , but the bigger, the better resolution I think.
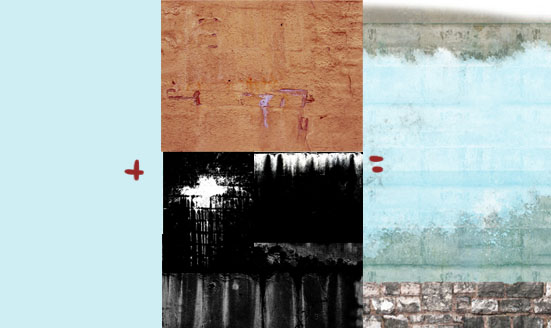
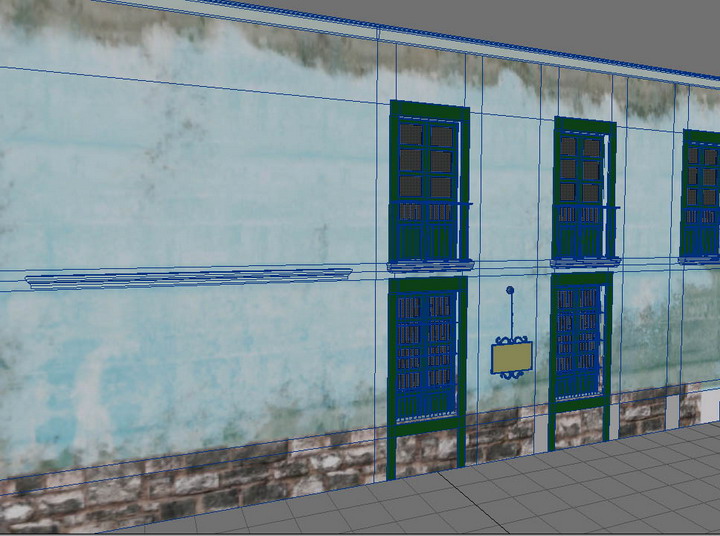
I did, the color map, specular and the bump map of each texture, then I save them in the respective folder. Next I update and texturize my model. I really don’t use too much shaders, I only worked with the color, specular and bump map.
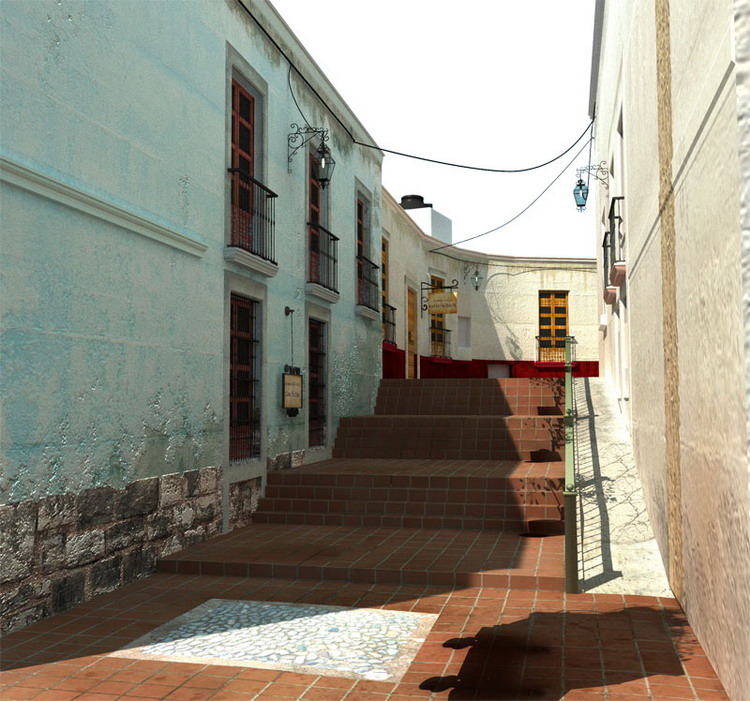
Because I have only 1gb of ram, and I did the render in two passes of 2084 x 1984
Then I save them with the respective alpha maps
Pass1
Pass 2
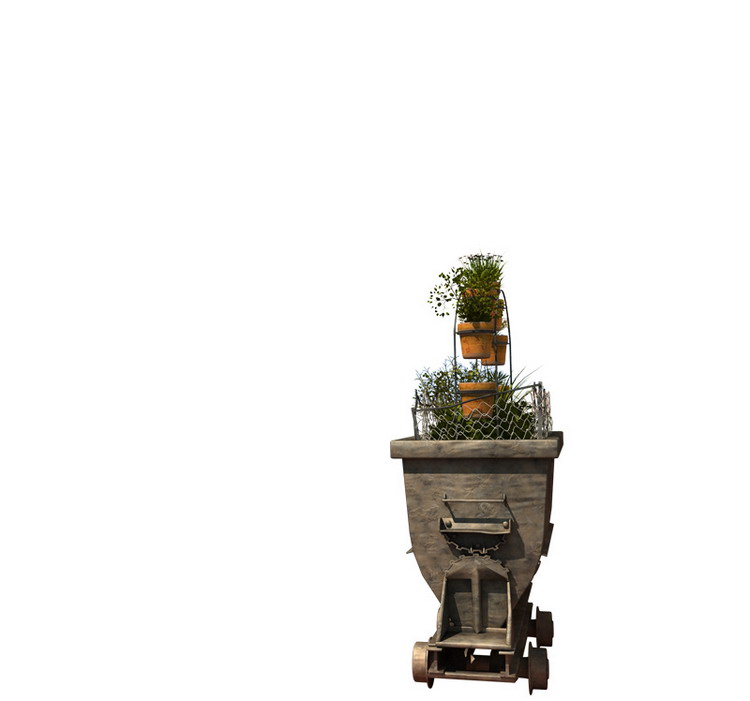
The final Composition-Post processing
One of the better and relaxing parts that I did for this image, like I say before, this image has a lot of 2d work, and here begins :D
I put my two images in a new file, and take out the unnecessary material from the renders. I did some color correction, to bring alive the image
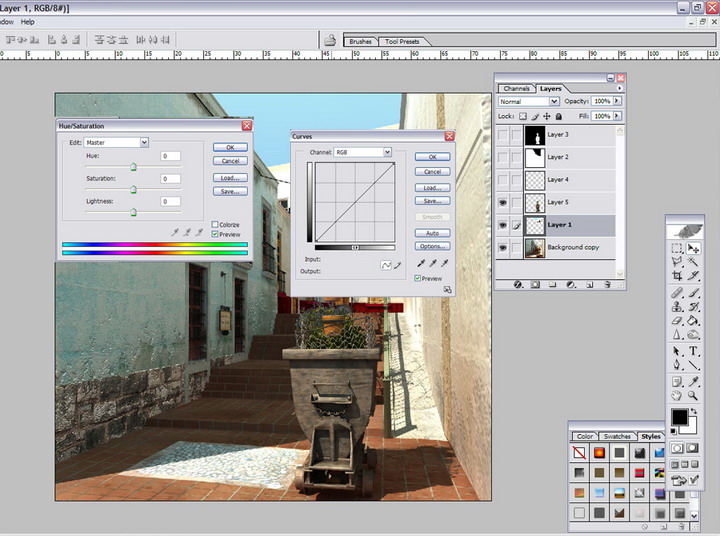
in this case, I was not happy with the render size, and I decide to make my image larger in the vertical canvas, for composition purposes, I drew perspective lines, with the line tool, because I took parts of the image to make the tops of the buildings, next I put blak lines at the side, to change my image boundaries. ( for composition)

We have a lot of blank space there next with my perspective lines, i taked parts from the image and copy them to new layers, making some adjust wit ctrl+t and with distort tool, to make them fit in the perspective, I did this with the left and the bottom building.
And the same with the top doors. Later I choose a good mountain background from a personal photo, the sky is from total textures, the trees and some plants too.
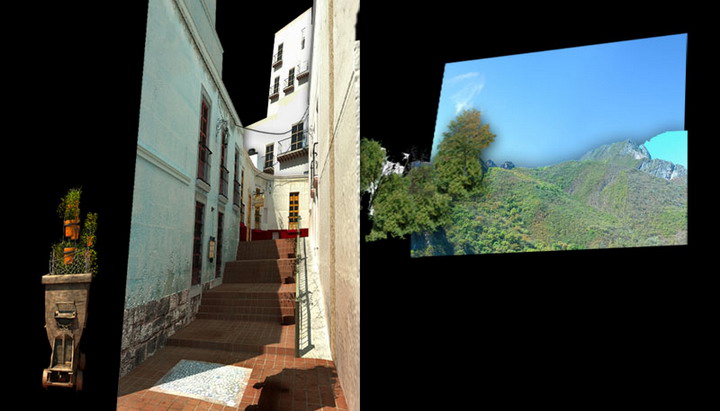
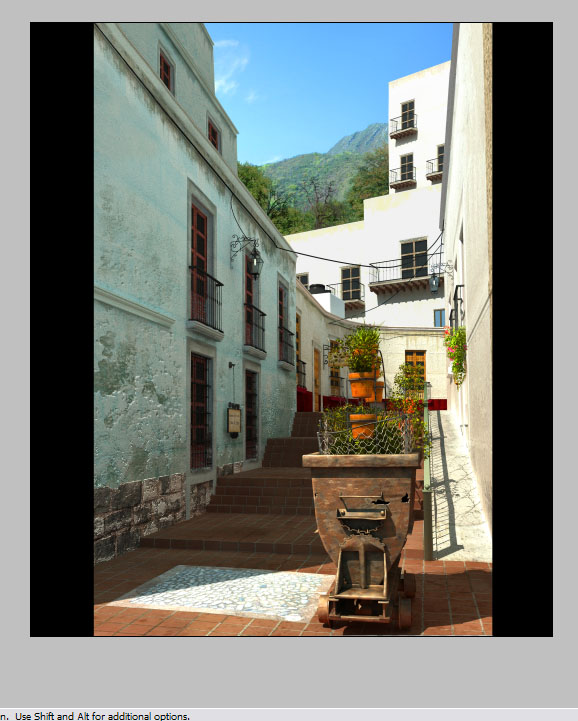
We are close to final J
When I was happy with my composition I flatten the image, and I save it, to work with the flatten one, in this final step, I add the final touches, like the leaves on the floor, yes I put they in Photoshop directly J, I add more rust on the miner cart, as well as the Hecho en Mexico Logo, with some bevel an emboss, I put the holes in the car in Photoshop too, I enjoy this last step a lot, and I spent a lot of time seeing details, fixing things, to make the more realistic I can,
At the end, I just adjust the color balance, to give the image the right contrast of tones and the mood that I wanted and here it is:
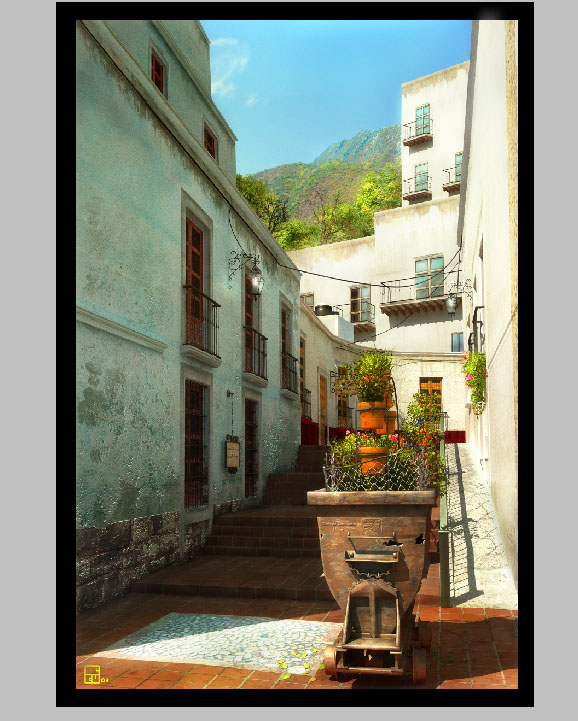
Well my friends, we reach the end, I hope this tutorial helps you, I enjoy a lot to doing it, and remember, do things with patience and passion, enjoy nature, and watch every detail of it.
f you need extra help or just want to chat, feel free to email me
Good bye, and enjoy the day ;)


