Making of Ferrari F2003 GA by tyio
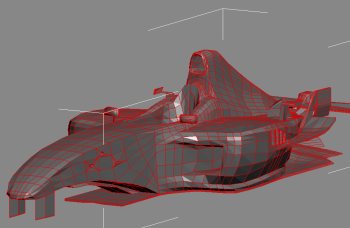
Frame modelisation
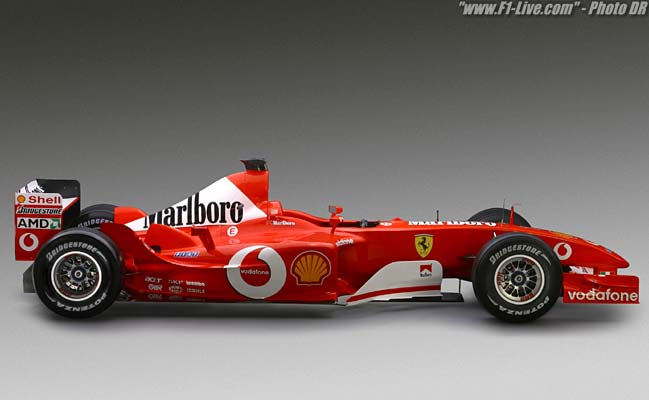
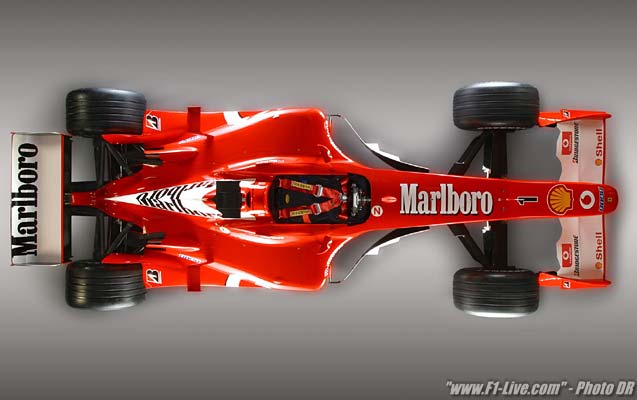
- Patern found on www.f1-live.com
Top view
Side view/perspective

- First problem, the partern are not orthographique.
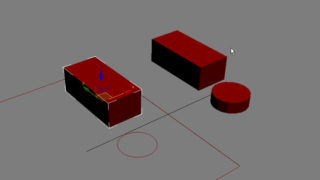
So, i have made a cube with FIA data about lenght, etc the car have to respect.
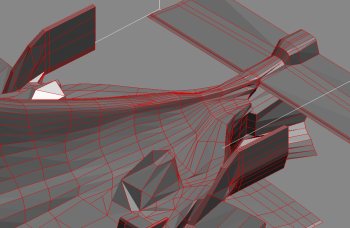
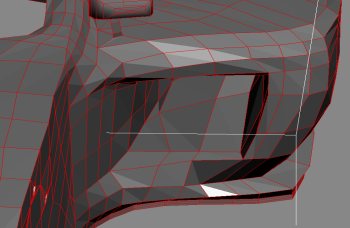
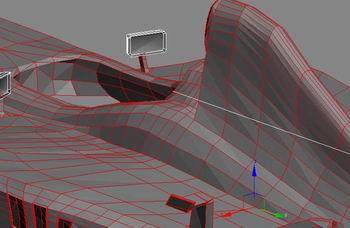
- After, I have just build a basic spline cage, but I advice to use a polygonal modelisation because i had too many poly on air vent.
- Then, with a surface tool (threresold 1), I converted the mesh in editable polygon in order to clean it, trying to have just quadripatch.
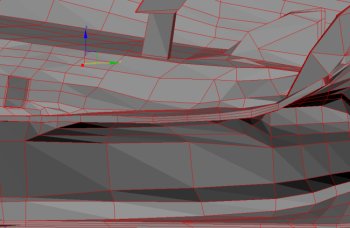
- Next step is just adjusting all vertexes to get the better mesh as possible (N.B:use a reference with a meshsmooth is very useful).
(Click to enlarge)
Misceleanous Pieces (1/2)
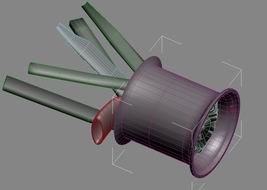
Suspension:
- Upper and low triangle are box extrude
- The balancer is simply a loft with two spline for partern.
Hub:
- Simply a cylinder. two extrude for support the suspension, another cylinder for brake cold tunnel
Disk/Caliper:
- Box deforms by FFD
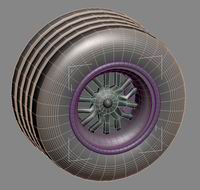
Tyre/rim:
- A spline I lathe (see picture below), i use a pattern (a cylinder), 25 inches for snapping the pivot
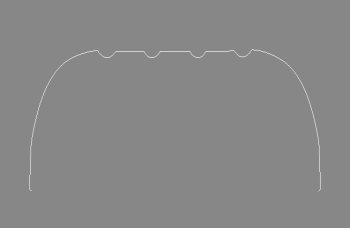
- The rim, a box I lathe to get the good number of part.
(Click to enlarge)
Misceleanous Pieces: (2/2)
Front and rear wings:
- Box deforms by FFD
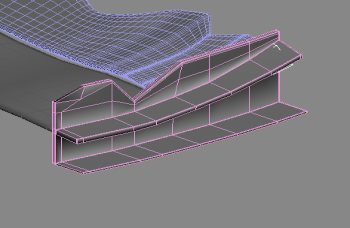
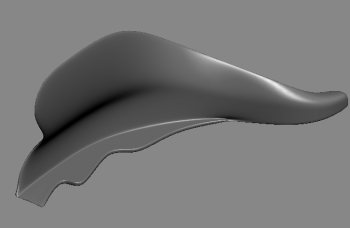
Deflector:
- Box deforms by FFD, extrude,meshsmooth +3
stering wheel :
- Spline I extrude.
Helmet/driver :
- Sphere deforms by FFD,box extrude
Others part :
- Windshield: spline+surface
- Antenna : spline + lathe
Before starting
This is the most important part, you have to spend the most of the creating time on it:
Clay version of the car :
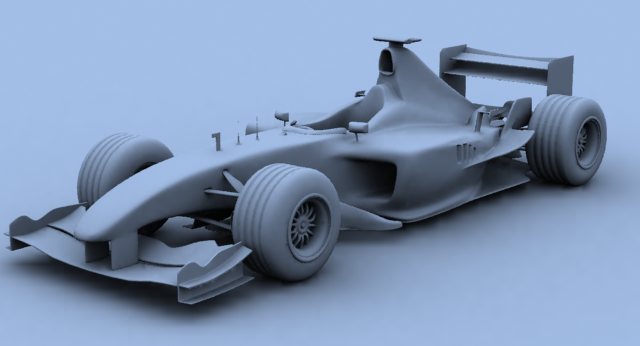
- Beging to select the frame
- Then, just select and affect different id to each part of the car you think it’s need (for a gt car, you’ll select all element of the frame)
- Create a sub/object materiail with flash color for each slot and assign to the frames.
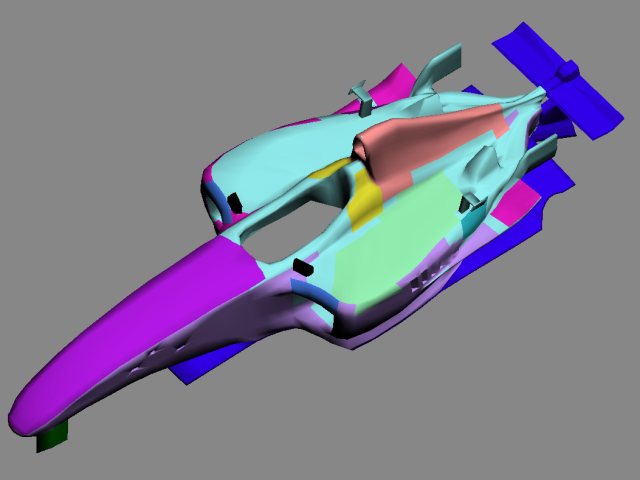
- Don’t hesitate to move some vertex if you think i could help you for texturing, it’s the last moment you ‘ll be able to do it!
- The Technique I use is simple, but not logique, so I’ll show just for 2 textures.
- You have to make big files (1024*1024) with all sponsor, well separated each other.
Texturing
Let’s go :
- So, I select an id (here, the side), i put a uvwmap on it.
- Then, I created , on my sub object mat, a composed object on the diffuse slot
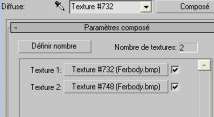
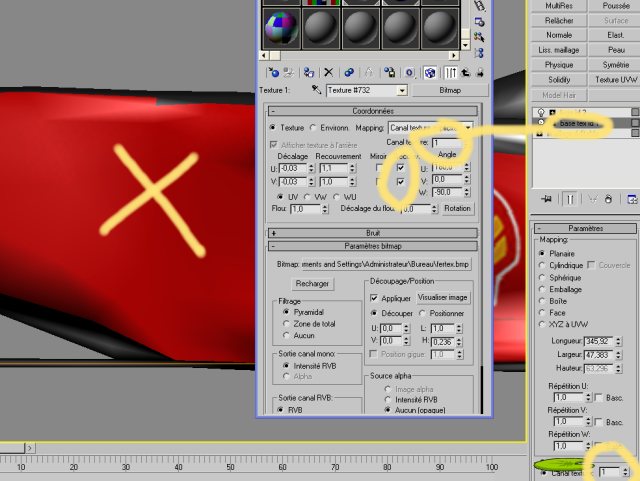
- The id 1 it’s the base, the background color of the part, i use the first channel for id (bitmap and mapping). You have to keep tiling here
- N.B: the background texture is without any sponsors.
- The”Ferrari” logo is on other texture:
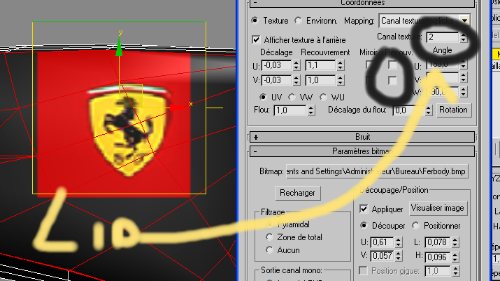
- In the second Composed slot, put the logo’s texture, change the id of bitmap and uvwmap, disbled tiling. Now,you’ll be able to deform the mapping (UNscale) and to place the tex where you want.
For the render, you ‘ll have good result, the logo on the background tex.
Here, you can use another technique, but I prefer to show you this one, it’s more interesting when you have to put a texture on top and side with some text because you can use two different uvwmap (planar and cylindrical)
Rendering
- For rendering, I use brazil, but just to improve the render time !! (ratio 4)
- Preset, if you want : preset (fichier ini) — Picture
- I use a HDRI map on environment panel, disabled tiling and spherical mapping : Picture
- Three lamp, just specular omni and GI: Picture
Animation :
For animation of sterring wheel:
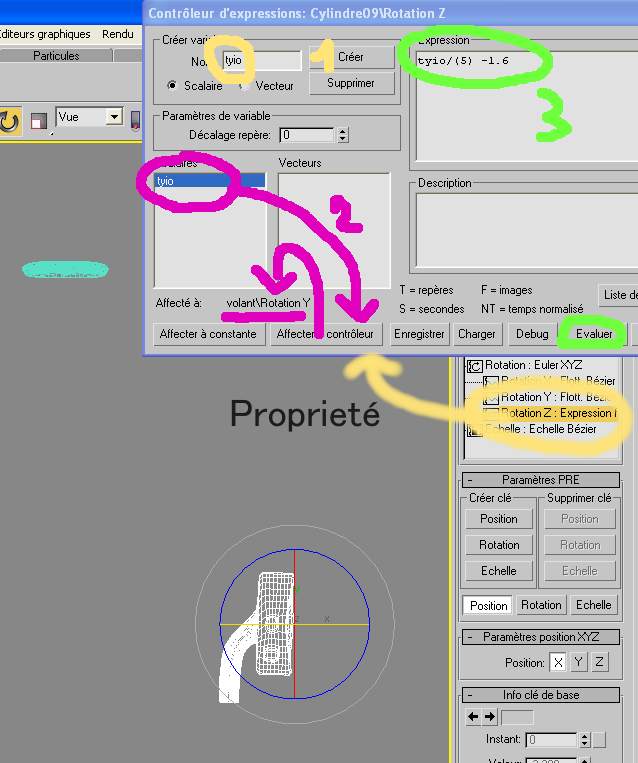
- Select sterring wheel and hub, affect hubs to eulerXYZ and change theire pivot to center. Affect them a Float expression on Z axe.
- Created a variable(1), select it(2) Assign to wheel (y herei).
- On the expression panel, put the variable and click on evaluate, (3), Then, adjust by add or soustray value (in radian) to get the neutral position.
- Herei, -1.6 Because i correct the hub rotation of 90° ( 3.14/2 =1.6)
- The /5 because the direction of F1 is near direct, not like a car (ratio 3:1)
For animtion of wheel proportionnaly of they displacement, go to ‘Athanaze‘ web site
Conclusion:
My english is ugly, sorry :)
If i wasn’t as understanding as i wanted, try to see the french version, or just tell me on, tyio@wanadoo.fr!
Greeting, TYIO.

