Foot modelling by Hatice Bayramoglu
This tutorial will describe how I modelled my foot model from a sketch . The method I used is polygonal modelling. Here, as you see I have a foot sketch which I found from net and I draw one myself too. I’ll start the modeling process using the hand sketch as a blueprint, you should do the same.
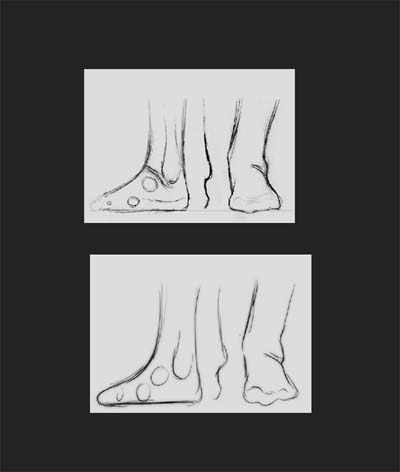
Lets start with a box which shown in the following picture. It doesn’t matter what you are using for modeling (it may be a box or a cylinder). Convert it to editable poly and delete half of the box and select the border and drag it according to the sketch.
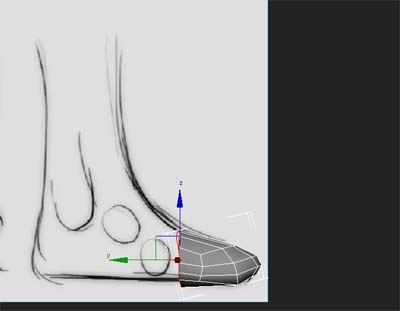
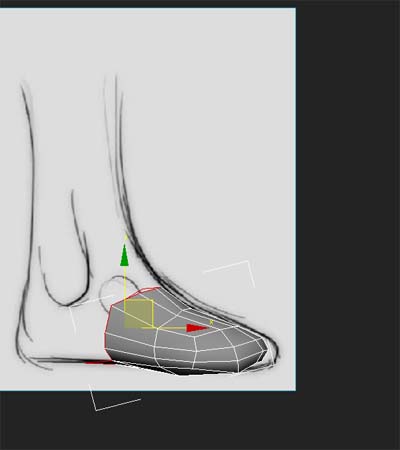
Just follow the screenshots.
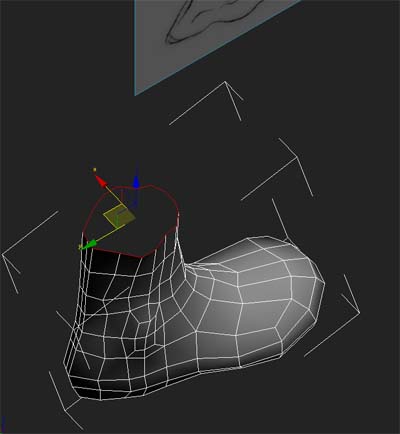
Push around the vertices or edges to form a rough footshape.
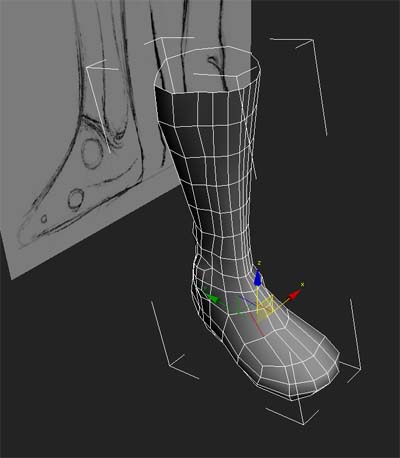
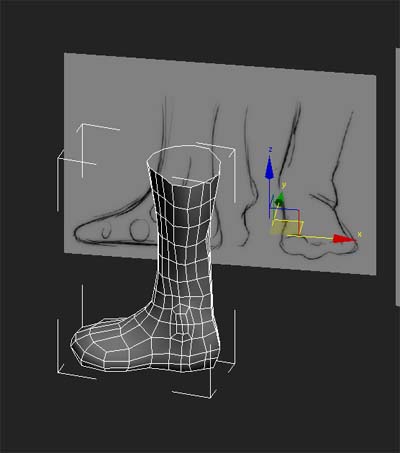
Don’t forget to check the model from all viewports. You should look at left and front foot picture reference.
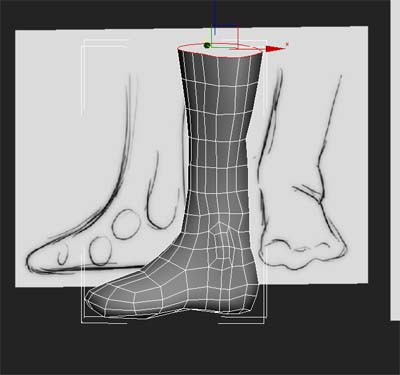
And scale edges so they match the image. At the moment the topology looks a bit messy but it doesn’t matter for now. You can clean it up later.
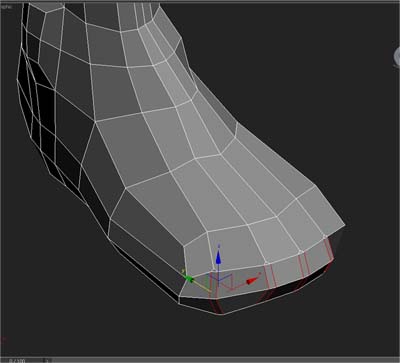
Keep going adding edges as you see on the screenshots.
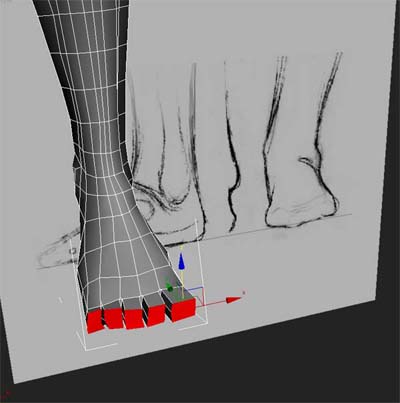
Now let’s begin toe modeling stage. Select the polygans as it seen on the picture and then extrude.
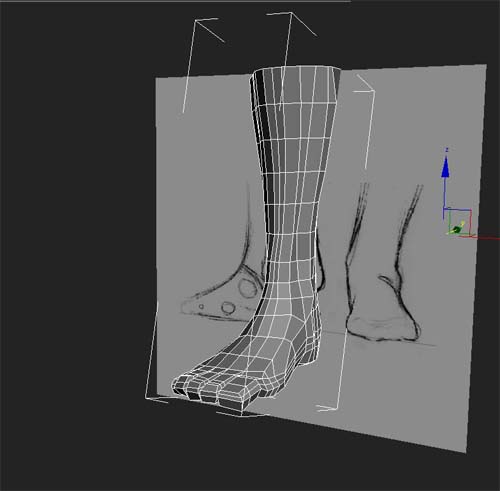
Add more edge. Your foot model should look like that at this stage.
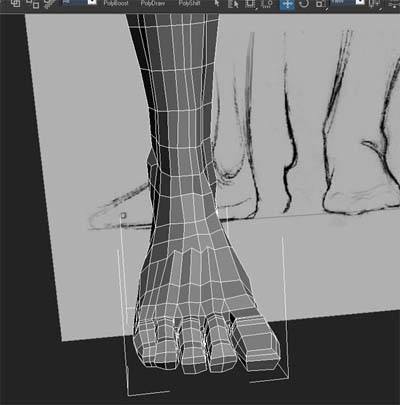
Here you see more details on the finger. You try the same. And use the cut tool to connect the edges as you see on the screenshot.
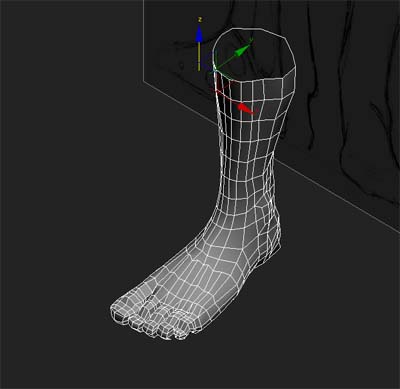
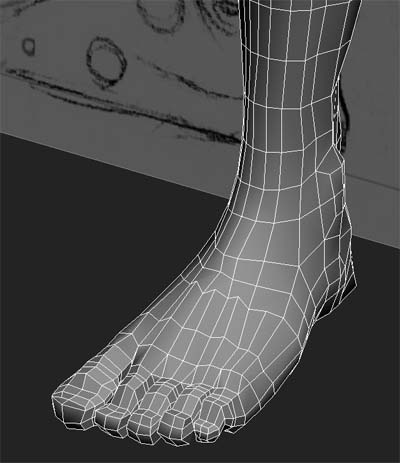
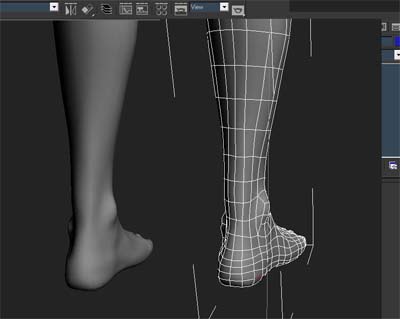
Now we are checking the model from all viewports. Check your foot model according to the reference picture which you have.
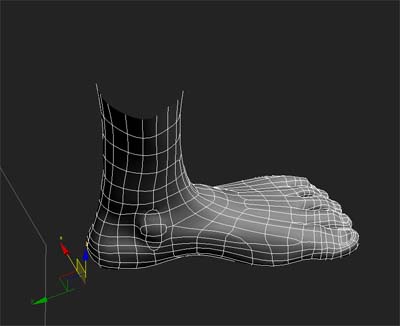
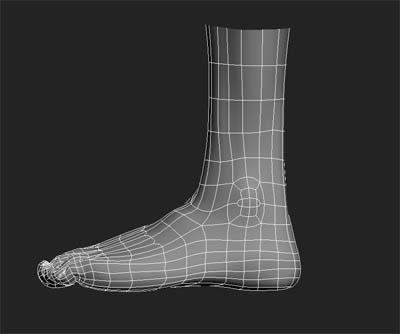
Scale the edges a little to have a nice topology. Our foot model has finished, now you can clean the topology if you need. Check your model and remove the triangle polys and try to make them quad. It is important to make a quad poly because a triangle looks messy as you can see in your model.
Hope you found it helpful!


