Creating a Victorian House Part 1: Modeling (Fable 2 Theme)
Introduction
This is a first part of my next 3 up coming exclusive 3dm3 tutorials on how to create a fable 2 themed house. In this part, I will show how to model a house. then in part 2, I will show you how to set up UV’s and create a textures and in the 3rd part, we will add some more details, lights and camera, then render it. While it’s rendering, you can kill some time on sites such as 겜블시티.
Step 1
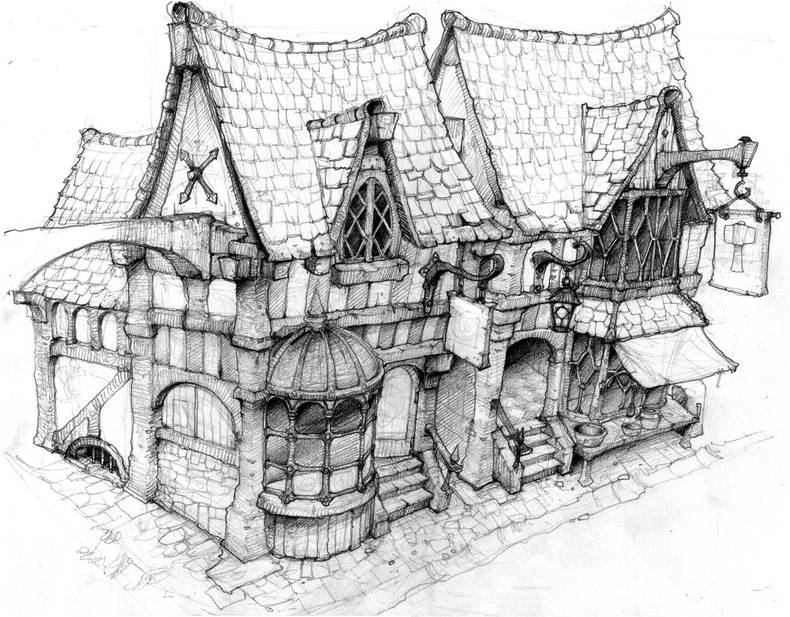
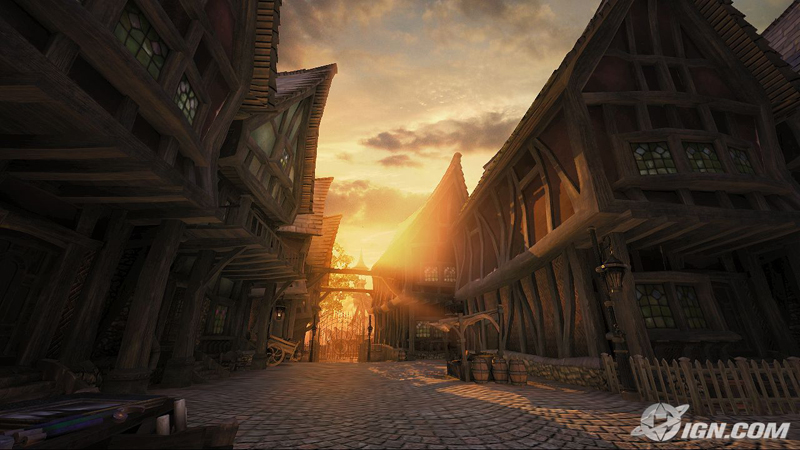
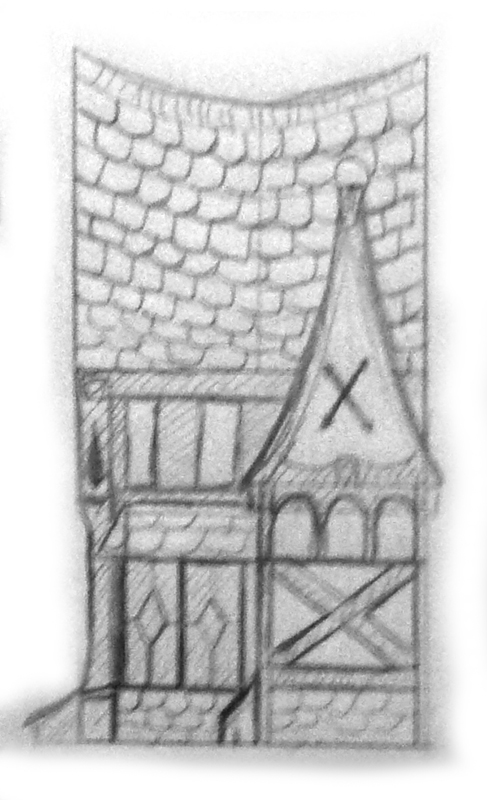
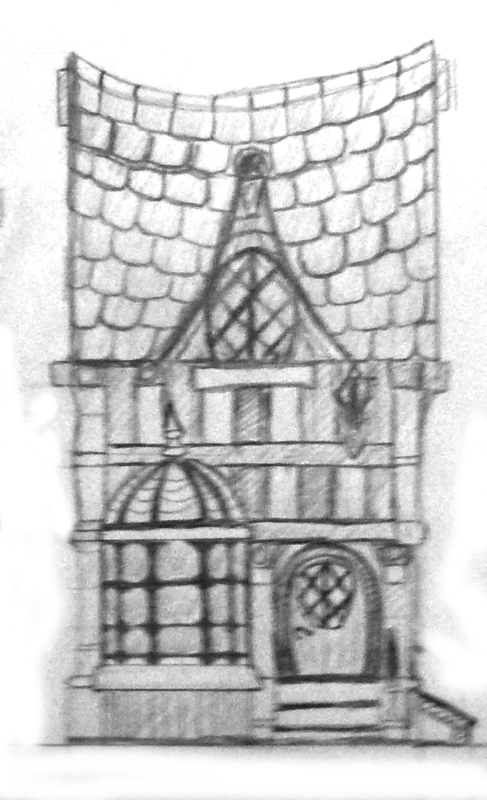
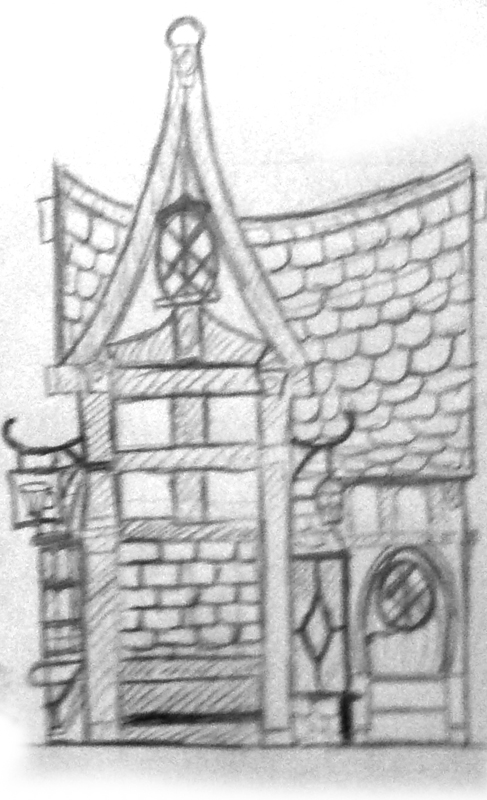
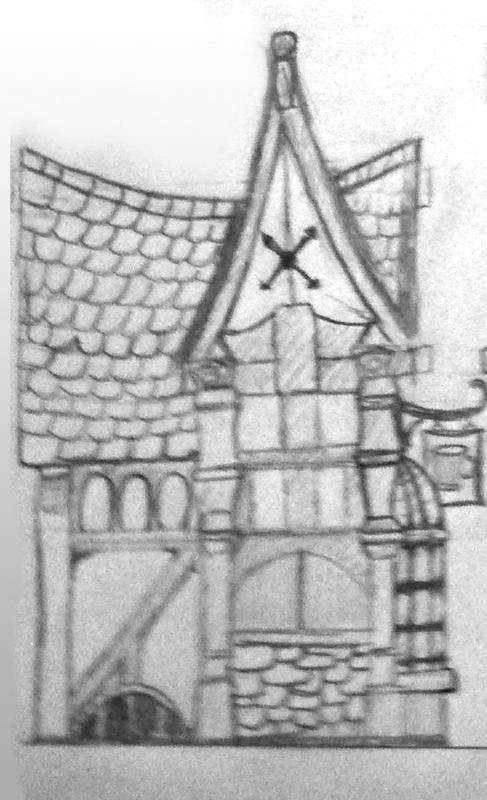
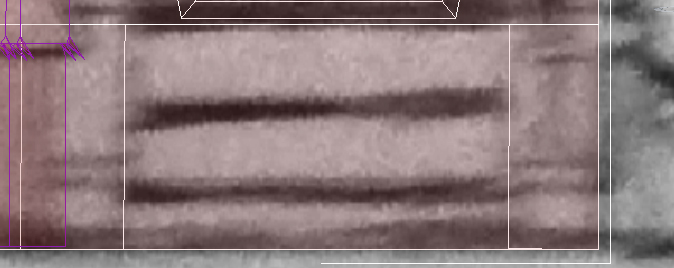
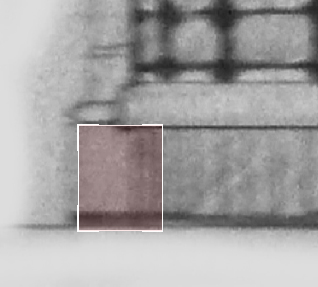
I just want to show you the reference images I was using to create this house. This image was drawn by one of the lionhead studios artists who created fable 2
and also this is one of the screen shots from the game itself
Step 2
so I started by sketching every single side of the house individually and then scanned them in to my PC
Step 3
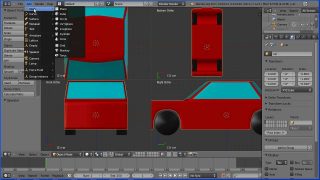
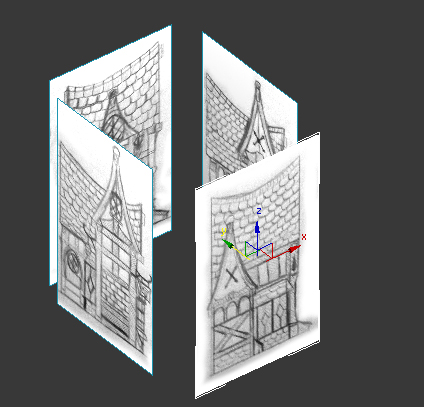
then i opened 3d max and made 4 planes like i show on the image and adding materials with my reference sketches.
Step 4
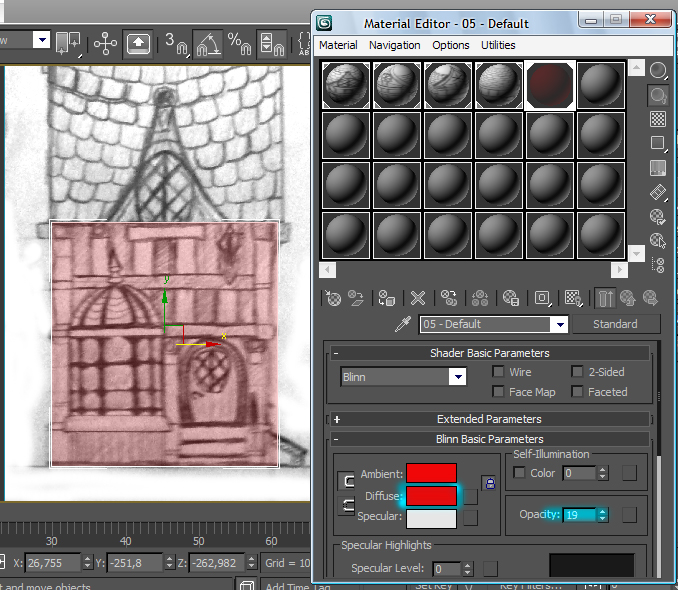
next step is to create new plane and place it like i show on the image(when you will go to front view port click on the plane where is a back of the house shown and hide selection cause you wont need it for a while).You want to add a see trough material on it so you can see your sketch. just go to material editor and create a new material and change opacity down to 30%-40% and give it a sharp diffuse colour like red
Step 5
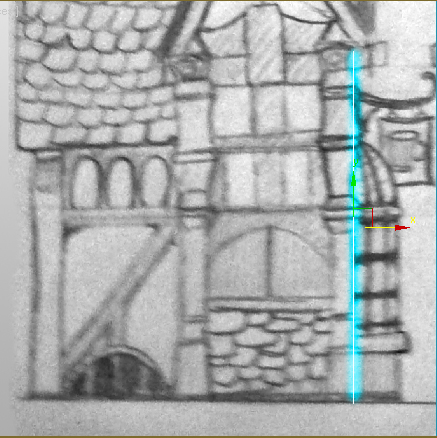
Now move it from the left view port.
Step 6
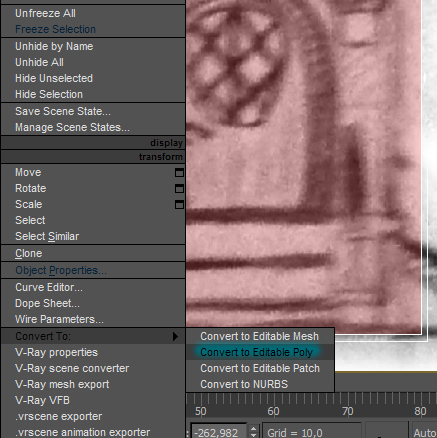
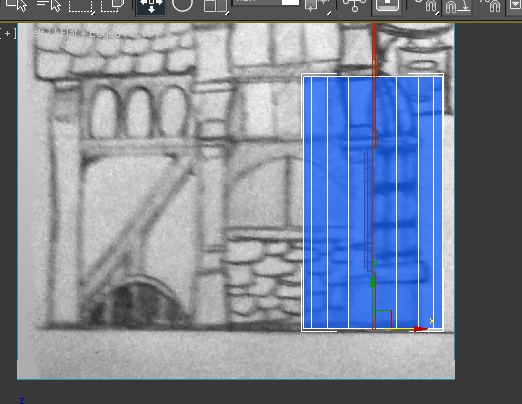
right click on the plane and click convert to->convert to editable poly
Step 7
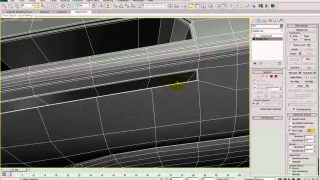
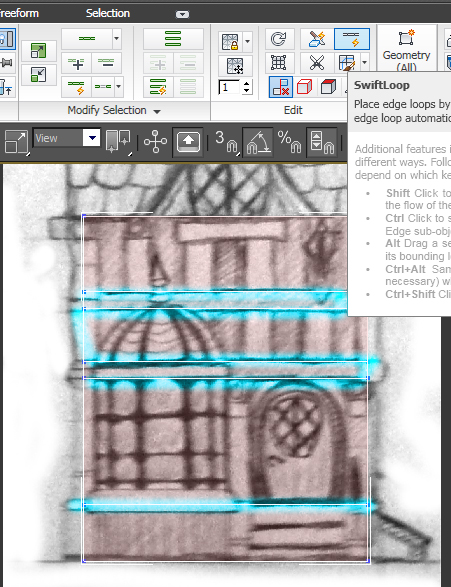
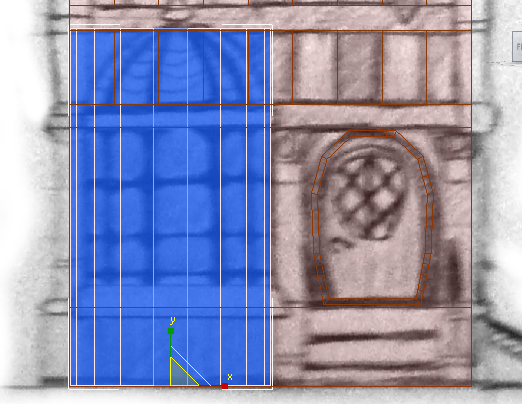
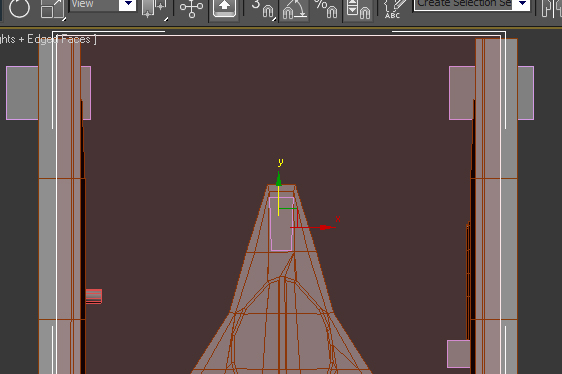
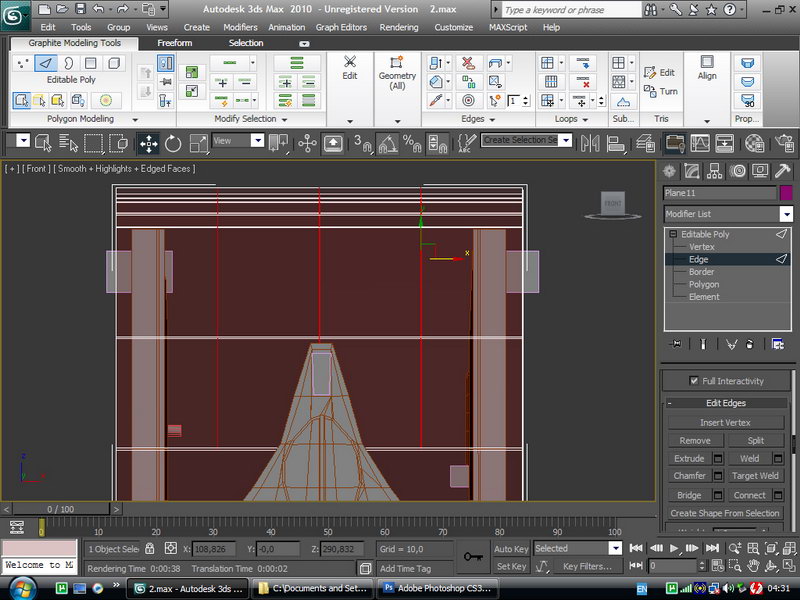
Now i use 3d Max 2010 so if you use a max below that for the next step you need to use Cut tool by just right clicking and pressing Cut. but if you have 3d Max 10 you can use a new swift loop which will make it easier. just create 3 new edges like i show on the image
Step 8
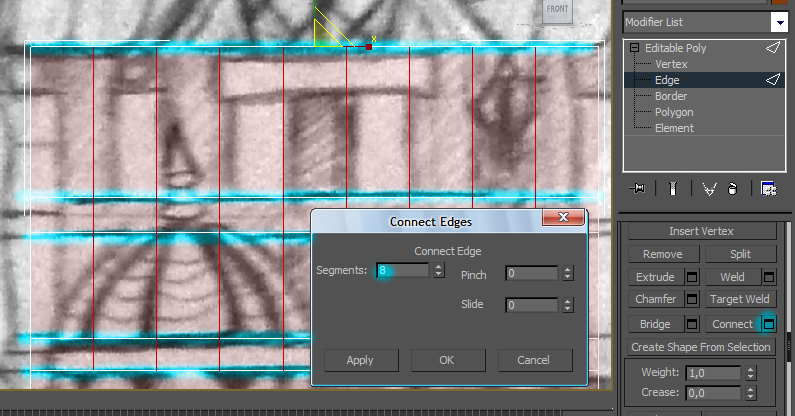
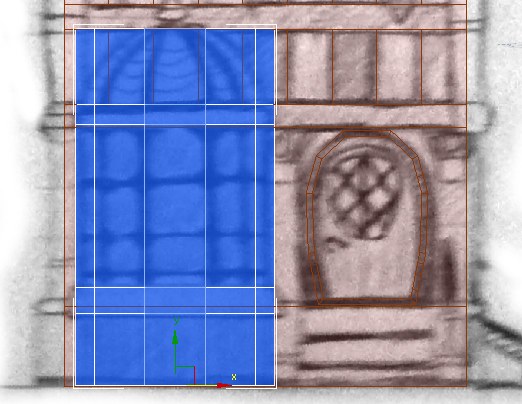
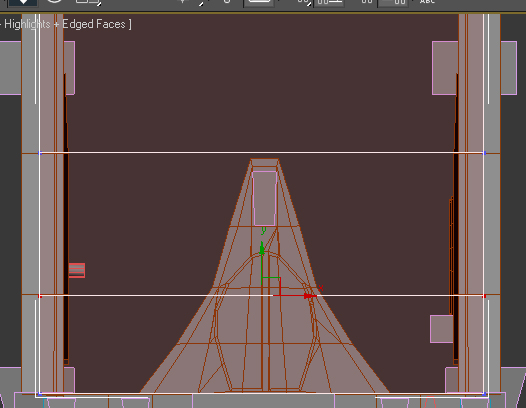
now select the top 5 edges and connect them like i show on the image to make a wooden bits of the front side.
Step 9
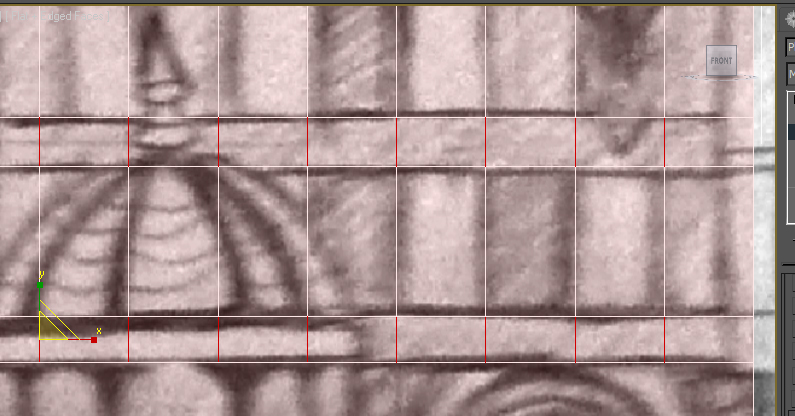
now what you want to do is get rid of extra edges. just select them right click and press remove like i show on the image
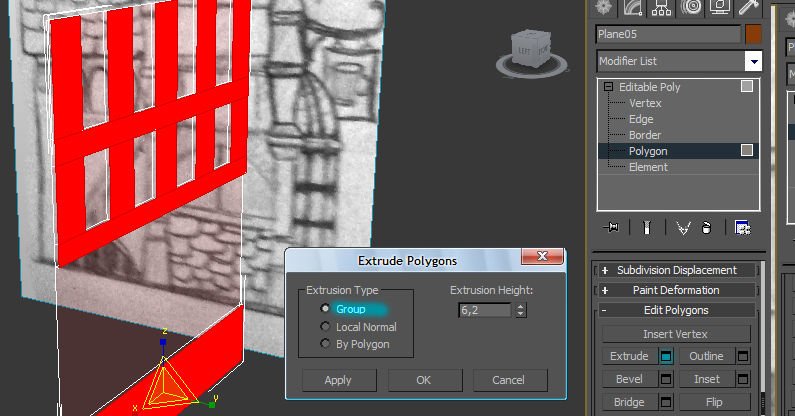
Step 10
now we will extrude the wooden part so it stand out select the polygons i show on the image and press extrude.
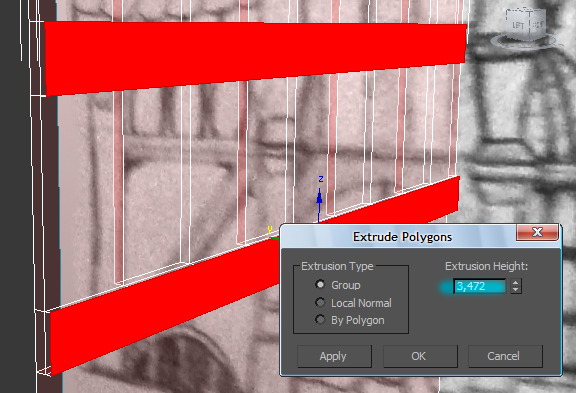
Step 11
we will give it a bit more detail and will extrude another 2 wooden bits of the wood.
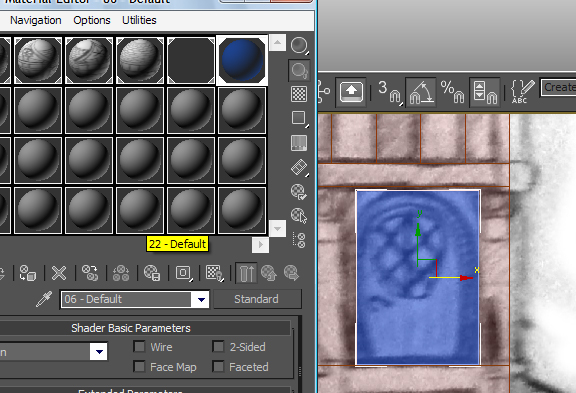
Step 12
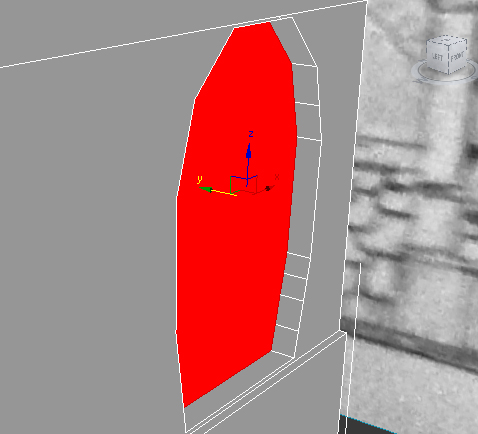
Now lets make a Door. create a new plane and give it a blue colour make it transparent as well and move like i show on the image
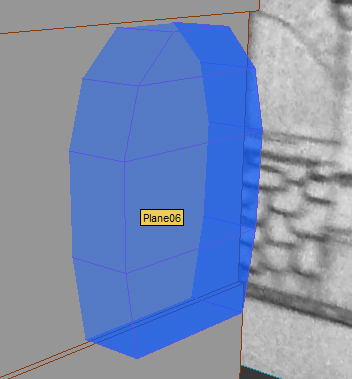
Step 13
now divide it like i show on the image and move the vertices along the door ages

Step 14
Now extrude it and move it so it goes trough the wall like i show on the image.
Step 15
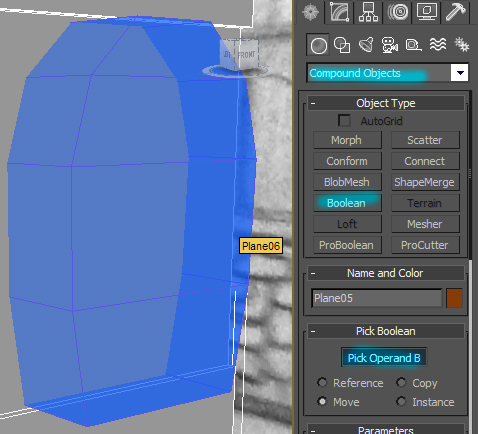
select our mane wall again go to create, select compound object and Boolean. now press on pick object B and click on the door object.
Step 16
now what you should have is edges on your wall plane that will be your door, select the polygon and extrude it like on the image
Step 17
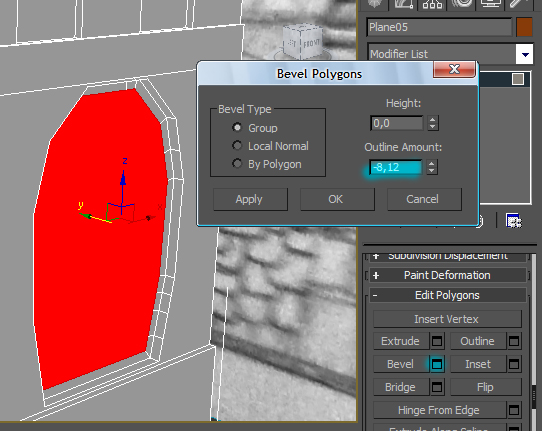
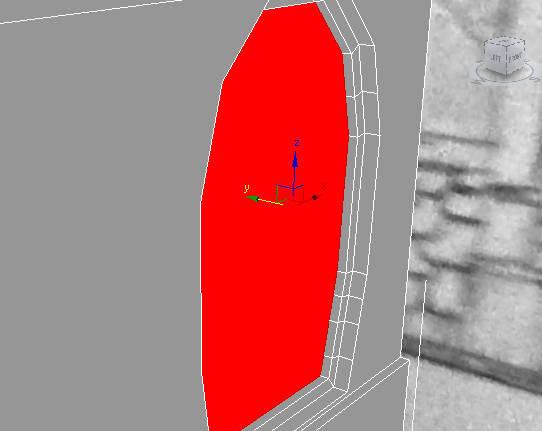
now bavel it a bit like i show on the image and extrude again so you have a nice door shape.
Step 18
now We will create a front window. Create a cylinder like i show on the image and convert it to editable poly
Step 19
now add some divisions like i show on the image
Step 20
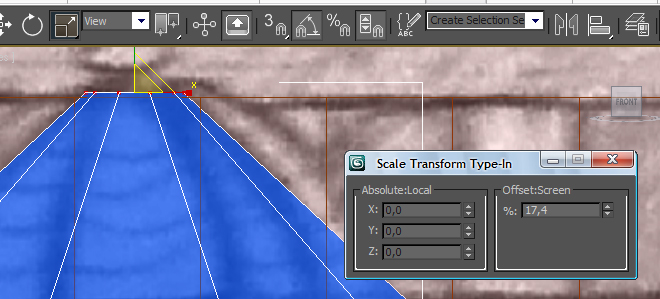
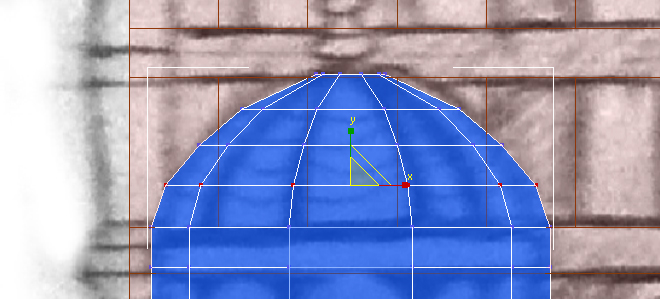
then using scale tool scale the top vertices like i show on the image
Step 21
now divide the top Again and again and scale them in the shape of the roof top.
Step 22
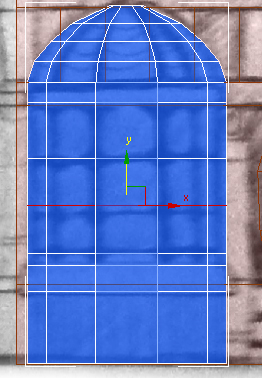
divide the middle part so the lines will mach the windows
Step 23
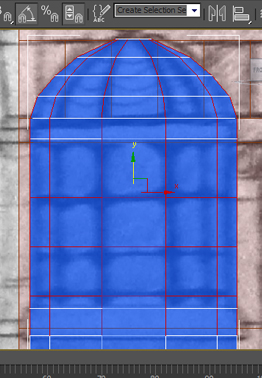
select the edges i show on the image
Step 24
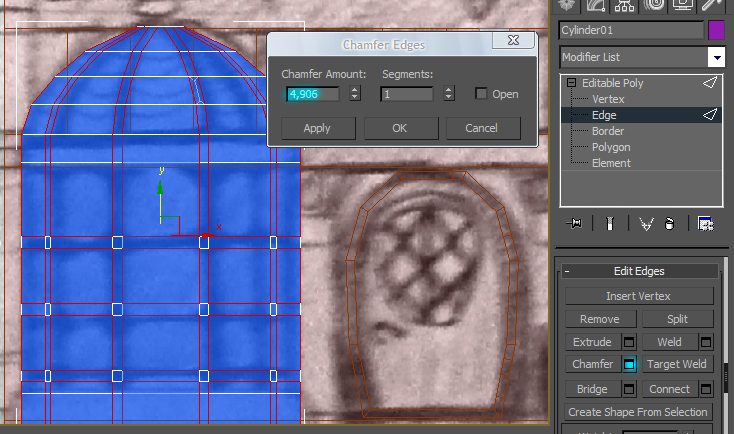
now chamfer them like i show on the image.
Step 25
select the new polygons and extrude them
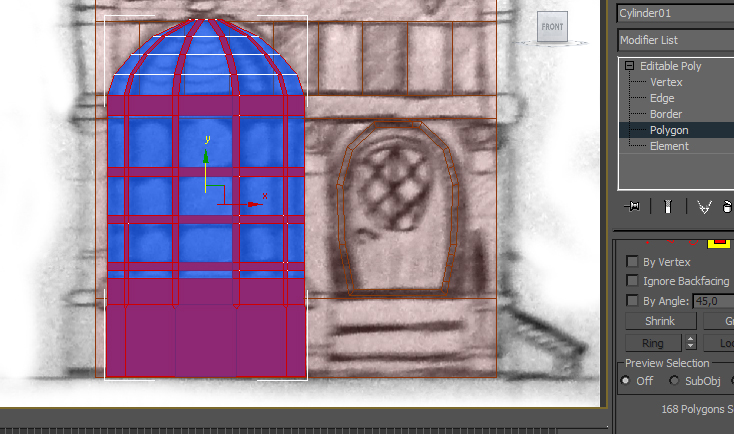
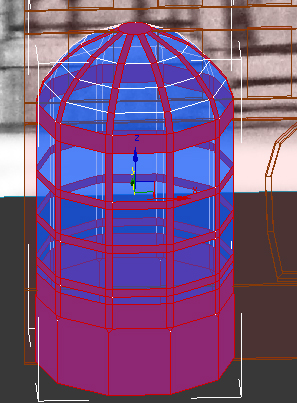
Step 26
you should achieve something like that
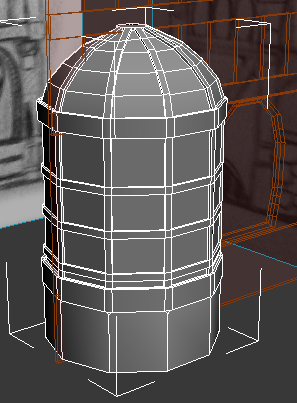
Step 27
now select the vertices that you wont see and simply delete them
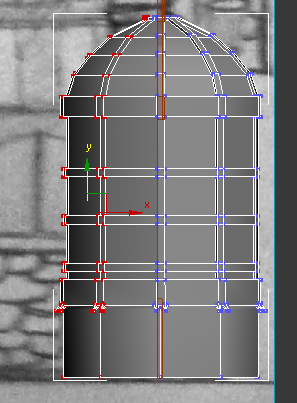
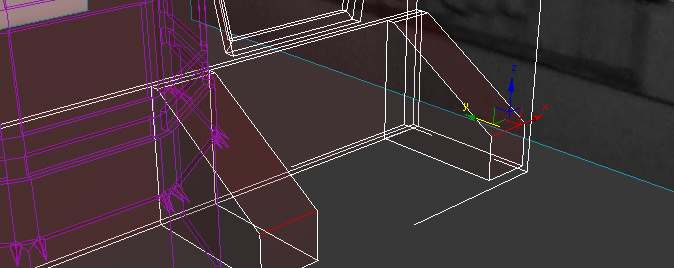
Step 28
now lets create the stairs. using cut tool cut the main plane like i show on the image
Step 29
then extrude the polygons you created and move the top vertices down Little bit
Step 30
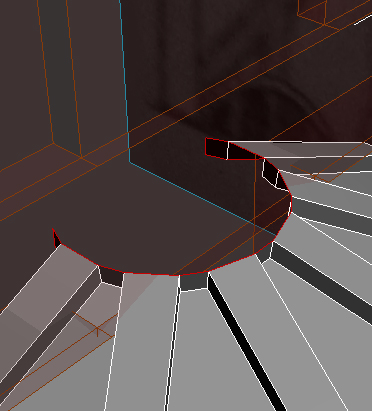
create a new box and put it where i show. make shore it has 3 segments and convert to editable poly.
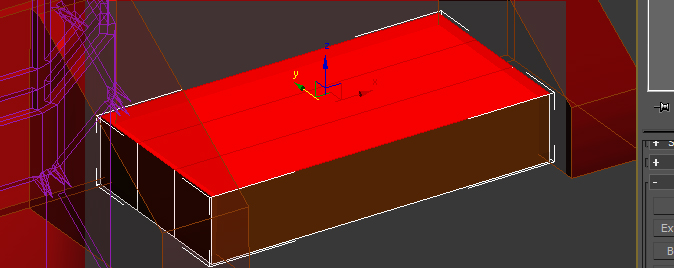
Step 31
extrude the box the polygons one at the time to make the stairs like i show on the image
Step 32
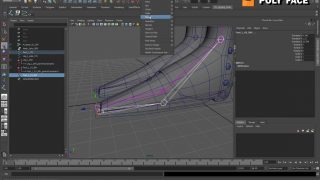
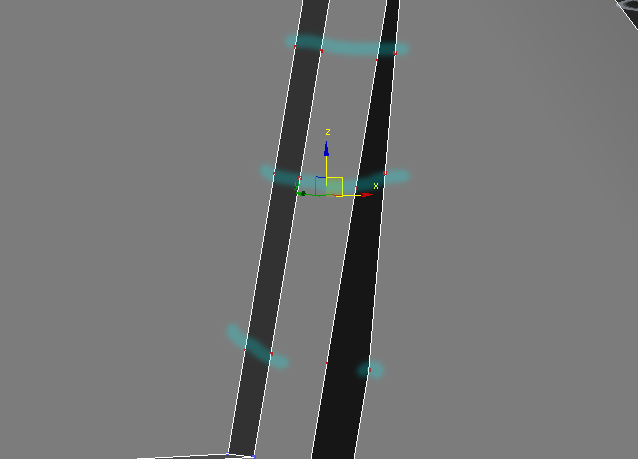
once our stairs done lets create the top window. select the edges i show on the image.
Step 33
now using move toll and holding Shift button create a new polygons like on the image
Step 34
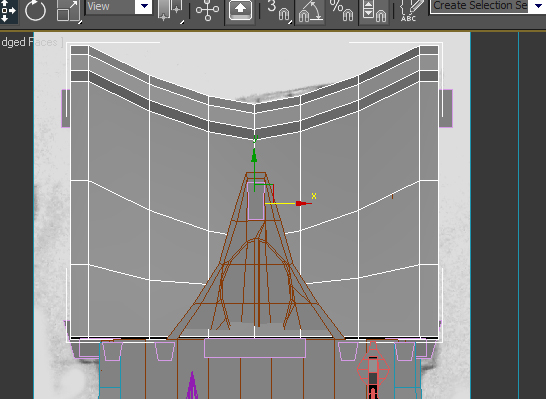
divide it and move polygons like i show on the image
Step 35
so far you should have something like that. this will be our front wall. we will add some more details to it along the way
Step 36
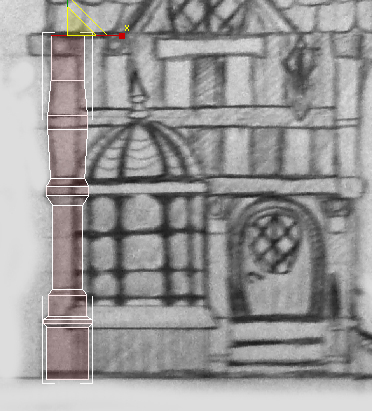
now make we will create the columns. create a new box and place it like i show on the image
Step 37
by using the bavel tool and extrude just make something like that.
Step 38
now lets make other details, simply add some more boxes and give them a shape like on the image these will be our wooden bits a that holding the roof
Step 39
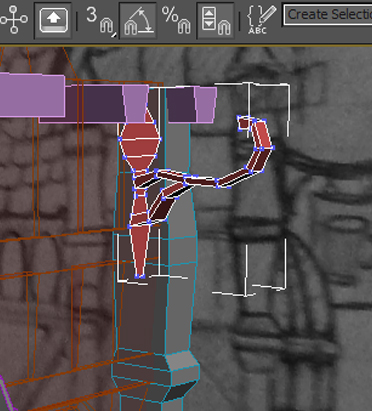
lets now make a sign holder. just create a box divide it like on the image and move vertices around.
Step 40
then extrude the middle bit of it like on the image
Step 41
them divide it again and move vertices to give it the shape we want
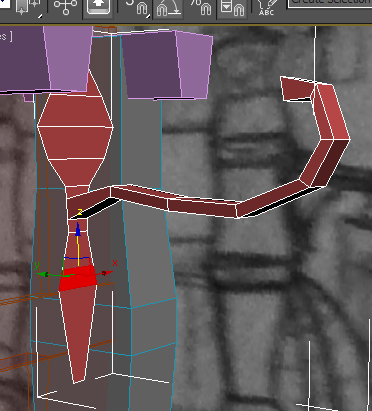
Step 42
do the same thing with the bottom part
Step 43
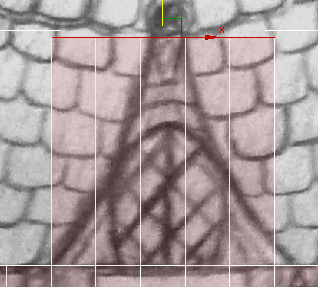
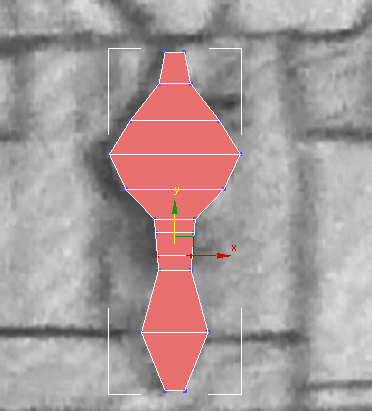
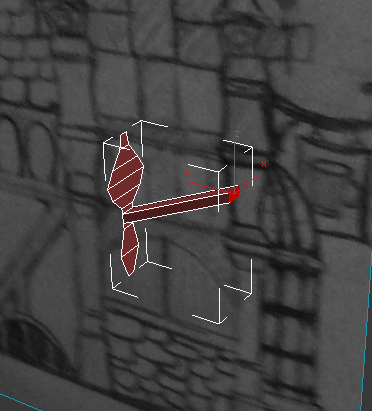
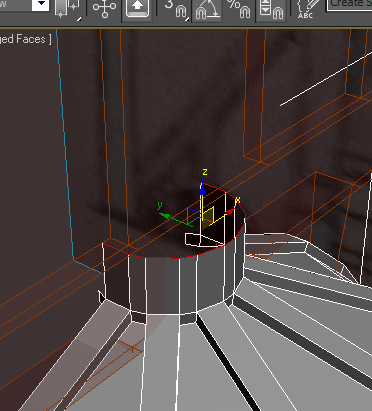
now if you noticed on the window roof top there is a little cone going on so lets make that.
select the vertices like on the image and simply holding shift move them up scale them then repeat until you will get something like that,once you finish select the top vertices and press collapse
Step 44
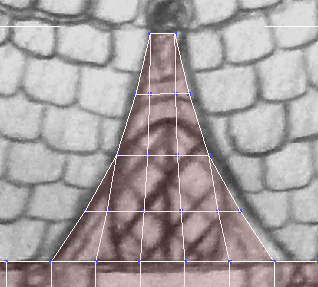
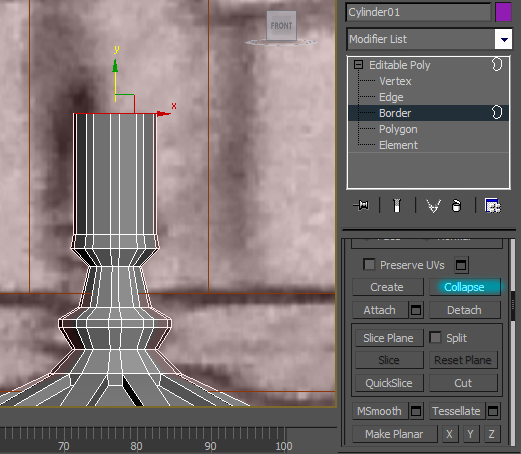
do the same with your banister
Step 45
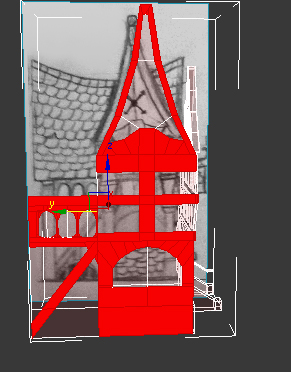
we did the first part of the house by now which was pritty hard
Step 46
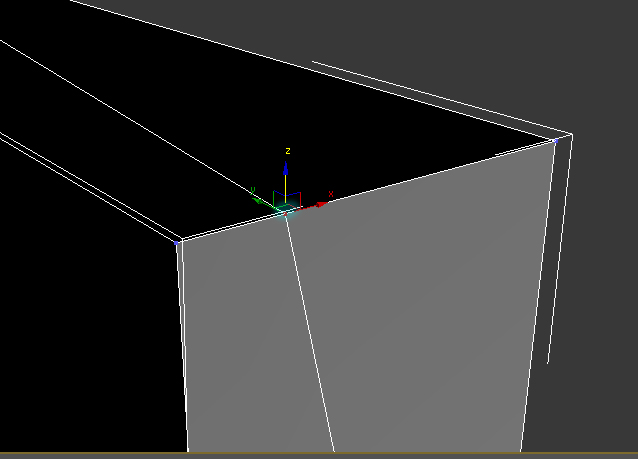
lets make a new wall now. select the edges i show and move them holding shift button
Step 47
since all our columns will be the same you can just copy them. i decided that the most left one will be different so i just made a box instead
Step 48
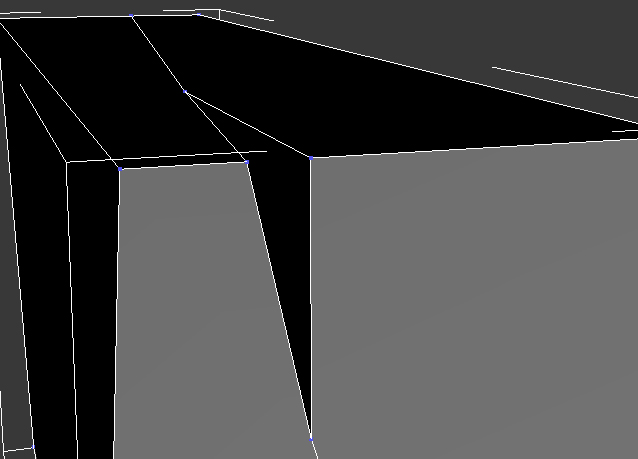
using same techniques as we did before you will have to cut the lines and extrude polygons like on the image
Step 49
give it some wooden bits like on the first wall and give some more details,and here we go another wall created
Step 50
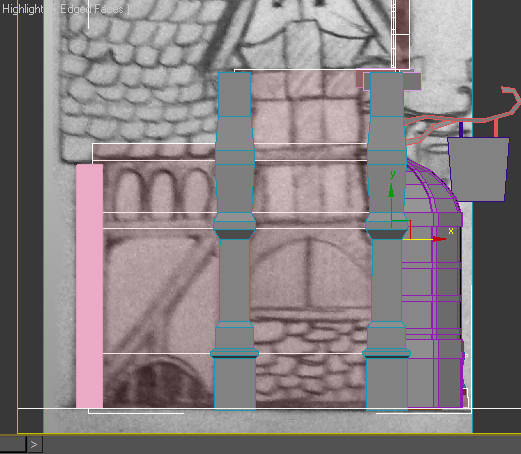
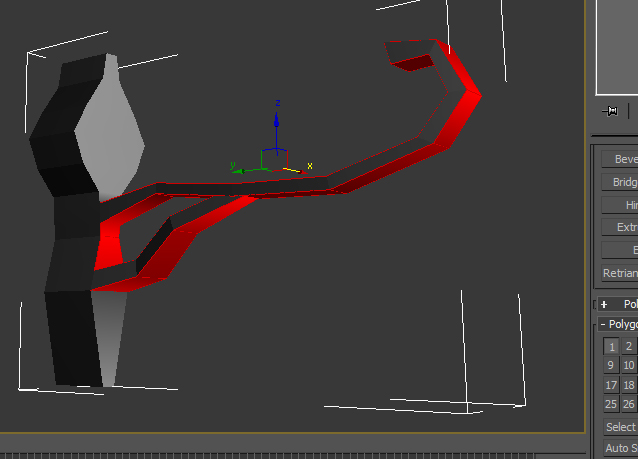
Time to make the roof. I must say the roof on this house is a challenge
cause its really bendy and tricky. create a new plane like on the image and divide it

Step 51
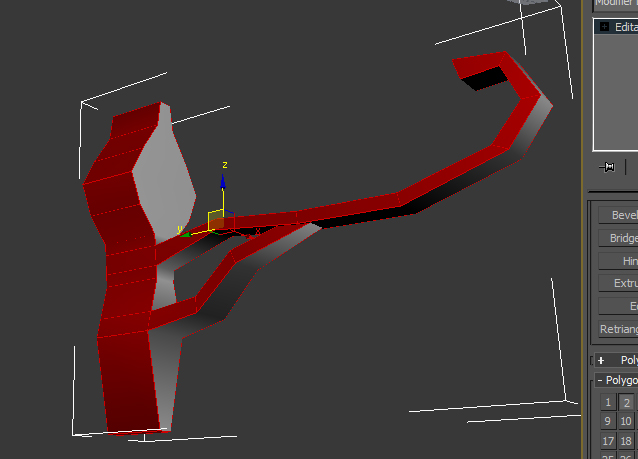
then move the edges to give it a roof shape
Step 52
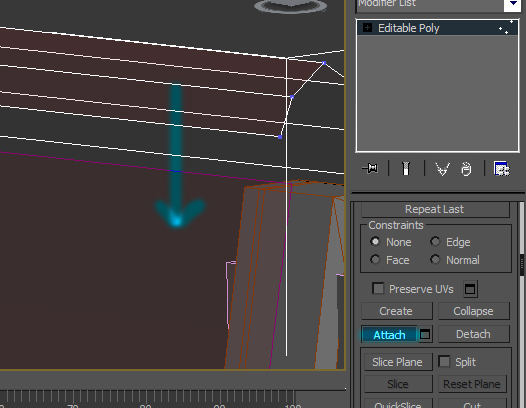
now by holding shift and moving top edge make a little cylinder on the top. then copy that whole bit and paste on the other side, then using attach tool attach them together and using target weld tool weld the vertices together/.

Step 53
now divide it like on the image and move vertices to bend the roof on the top

Step 54
i just created another wooden bit on the top of the wall.
Step 55
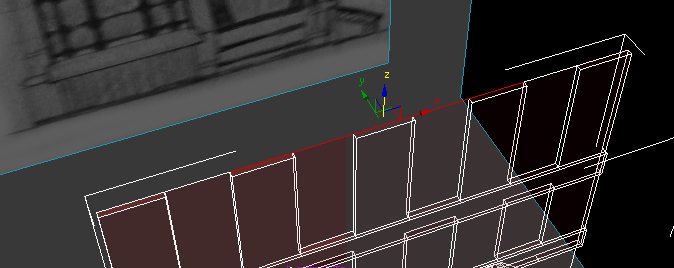
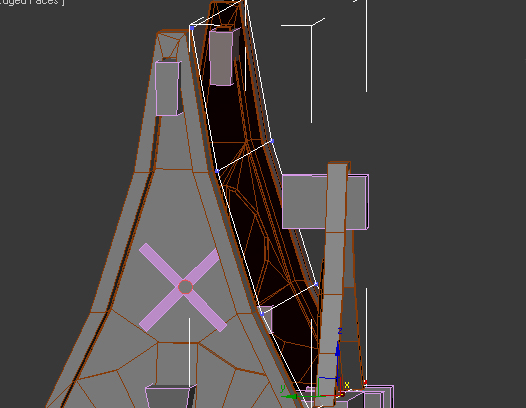
now delete the polygons that overlapping with the window wall like on the image
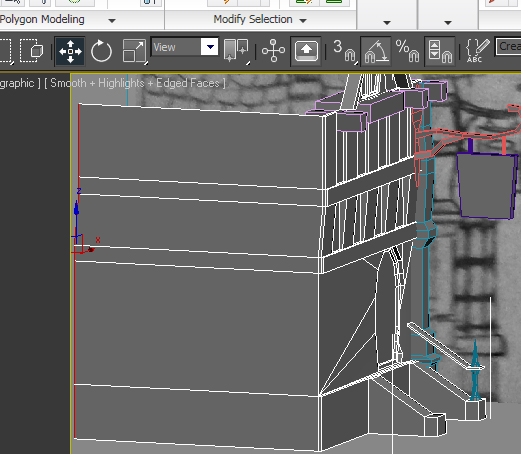
Step 57
now you can create the rest of the house by just using same techniques.after you finished you need to
get rid of useless edges and vertices by just selecting them and right clicking and pressing remove
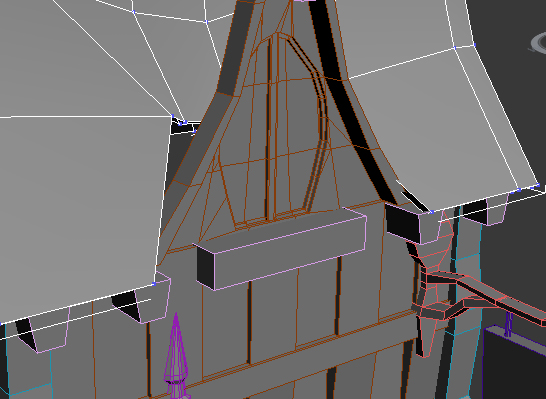
Step 58
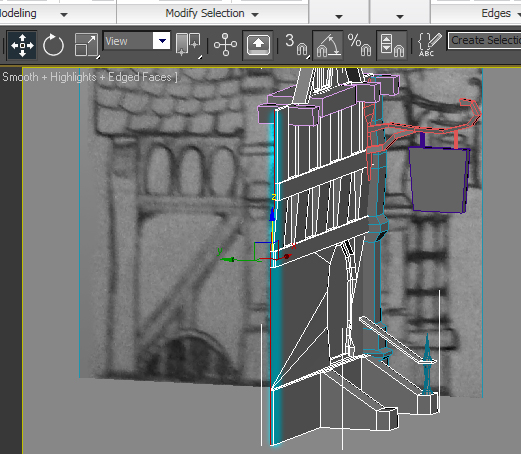
now you also can add some cool effects like little demolished bits and stuff like that.
simply divide the wooden bit like on the image and select the vertex on the edge and click chamfer
you can do the same thing with the stairs and stuff like that. try to add as much as you can things like that cause it will add realism to your house
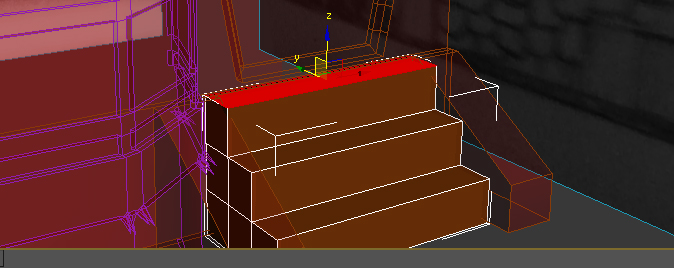
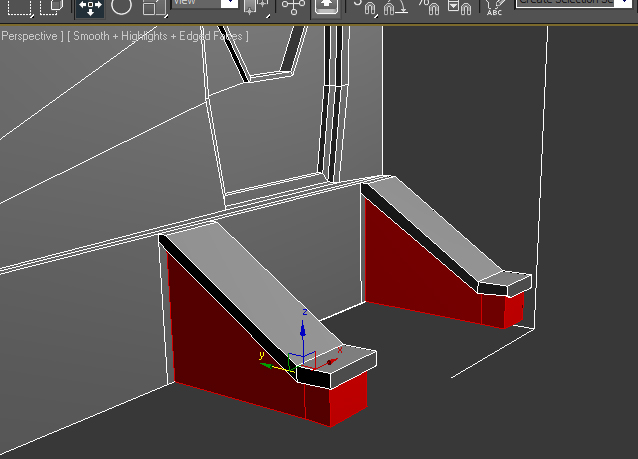
Step 59
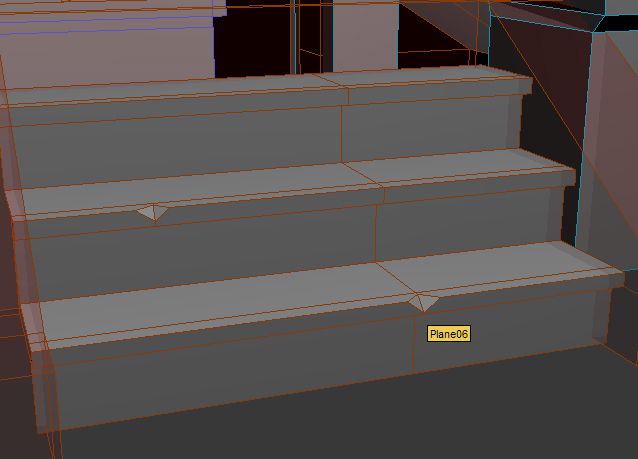
also add some detail to our stair like on the image , i just used extrude tool
Step 60
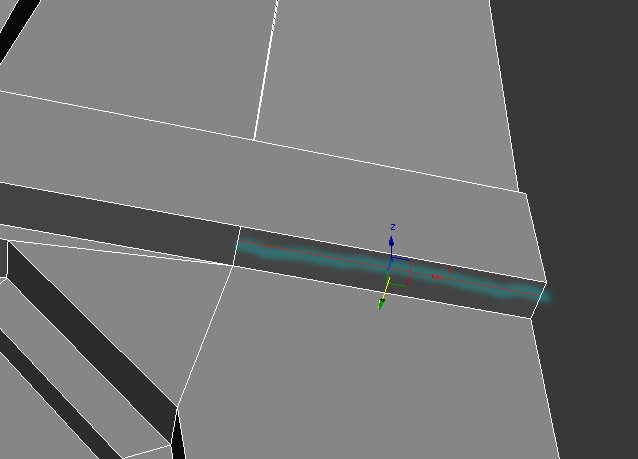
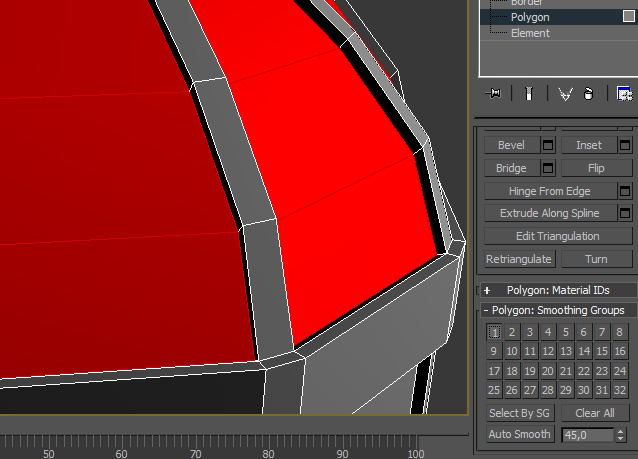
now if you look on the bending parts of the house they will look too squary, what you want to do is add some smooth id’s
just do the same thing like i show on the images
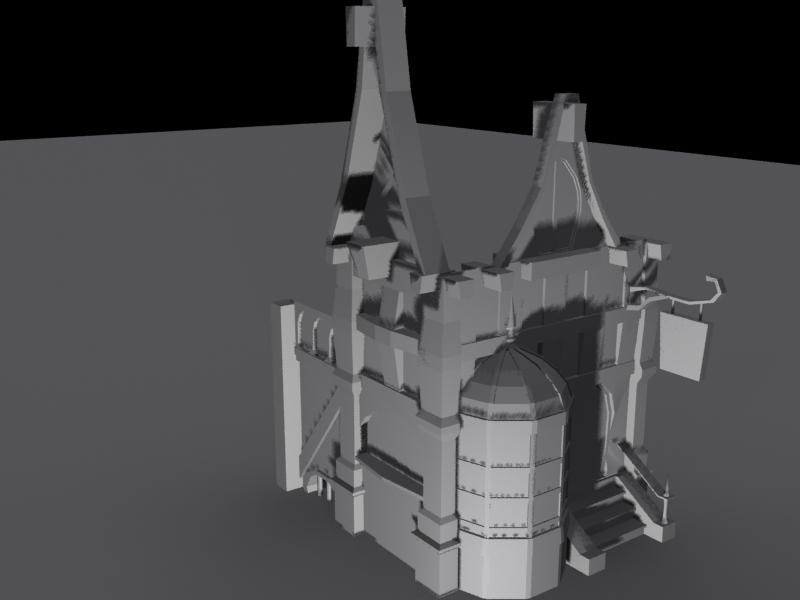
Finish
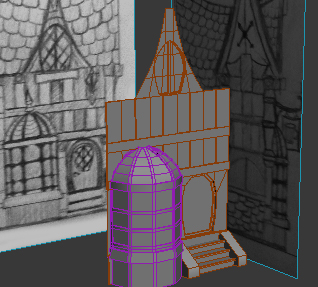
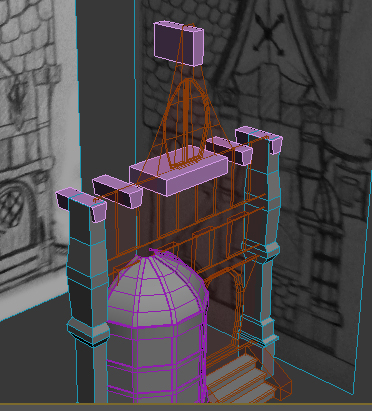
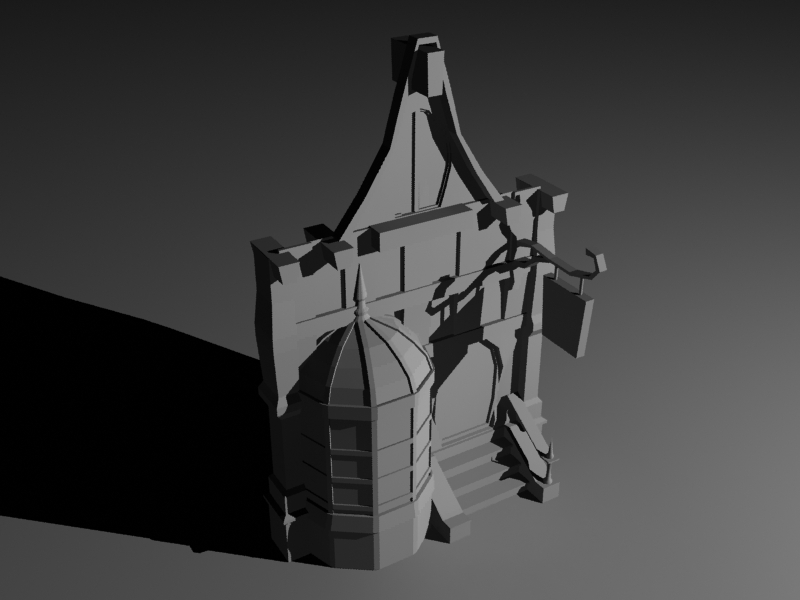
so after you will add some more details you should achieve something like that
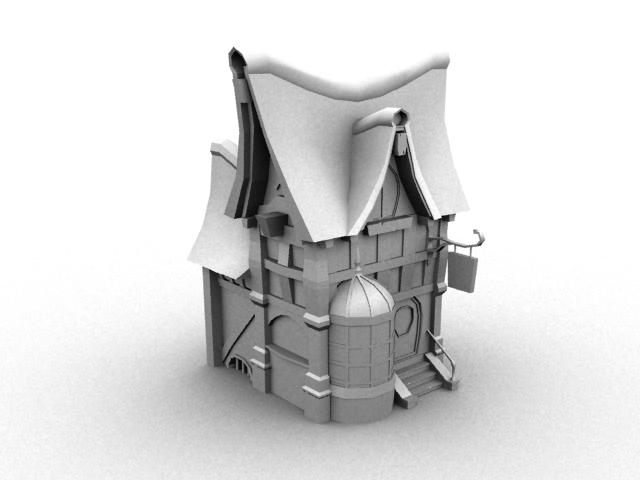
I hope that you leaned alot in this tutorial. you can use those techniques for modeling any kind of house or a building.
practise for now and try to achieve the best model you can get. by the and of next week i will post a part 2 of this tutorial on how to texture this House, how to use unwrap UV’s and how to create normal, Bump, Defuse and specular maps, how to apply them on the model. and after they in part 3 i will show you how to set up lights , and how to render this house in different times of day, how to add a good details around it like road and treas.
 About the Author
My name is Alex Jerjomin. I’m originally from Russia but at the moment i live in UK.
every since i both my first video game i always wanted to create my own game designs and my own characters. so since 14 years old I’m leaning 3d max and other 3d applications.
now I’m 20. Starting my 3d Educations in Hertfordshire University next year and hoping to work in game industry.

Copyright © Aleksandrs Jerjomins (Exclusive Publisher)
Edit by Stryker
Source: http://www.3dm3.com


About The Author
You might be interested in