Making of “Beyond the Path”
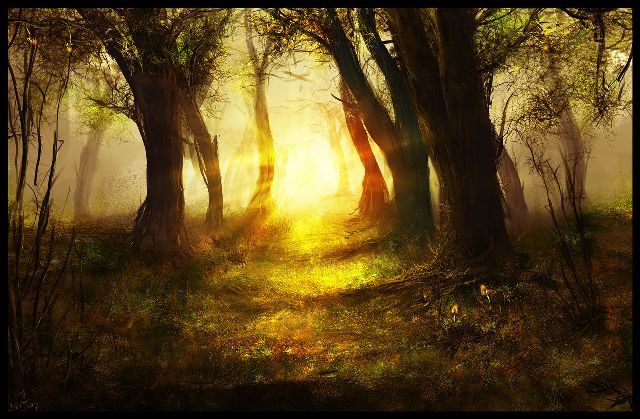
This is a painting process of Amit Sadik’s image “Beoynd the Path”
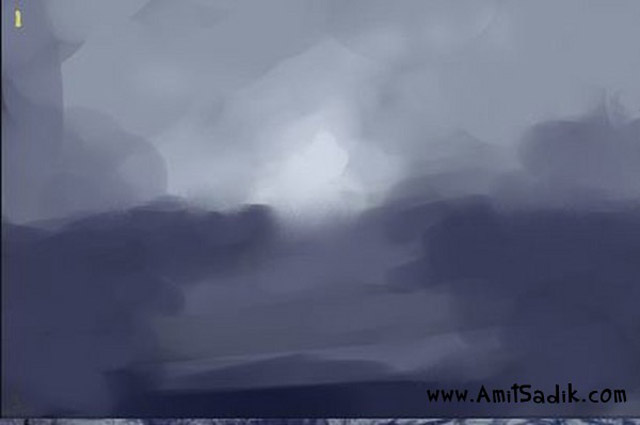
Step 1
Putting basic colors with swatches I made. Hard Brush with low Flow. working on small size of something like 1000px width.
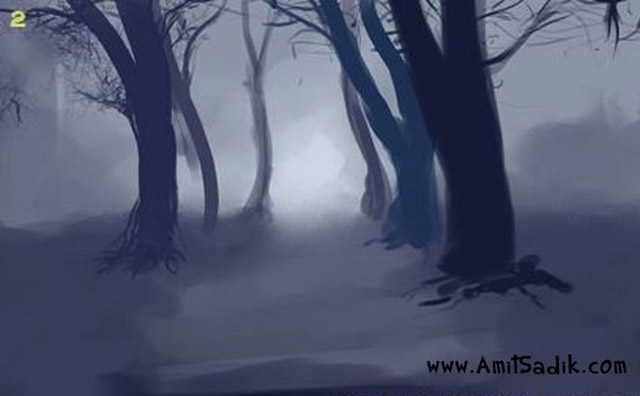
Step 2
Adding a few trees. ofcourse far trees, less details, less contrast with background, close trees, the opposite.
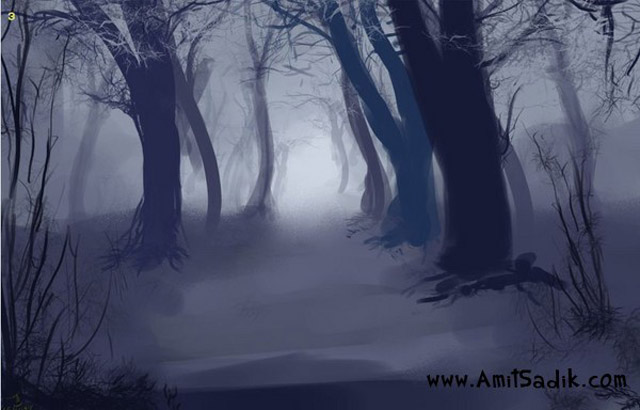
Step 3
Now I resize the image to 3000px width and start details. I created 2 custom brushes. 1 for the trees, I want them to duplicate randomly to make it look like a forest. and the other brush for branches for the same reason.
Step 4
Here I took a few green colors with mix of tiny texture brushes and start making ground on a really small area. Then I start duplicate the small area to the whole image, while playing with the size and rotating.
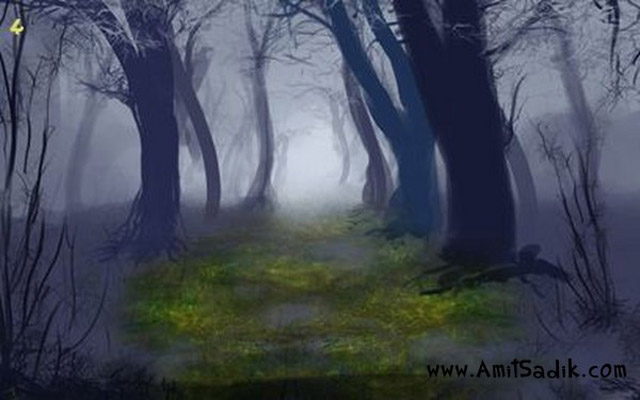
Step 5
Continue duplicating and changing the Blending Mode in the Path area to Color Dodge, to make it more… glow.
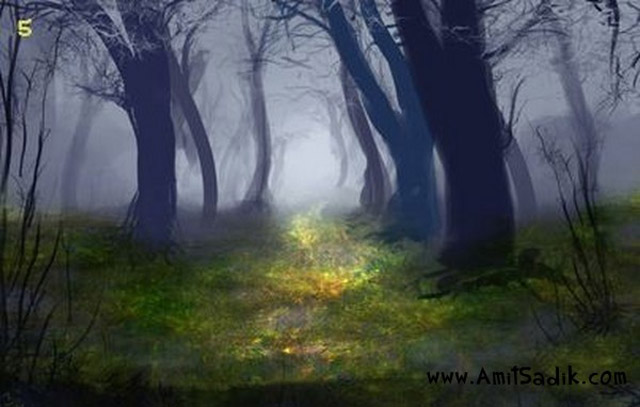
Step 6
You can see the whole grass. and the branches at the top I did by taking the ground and masking it with branches brush.
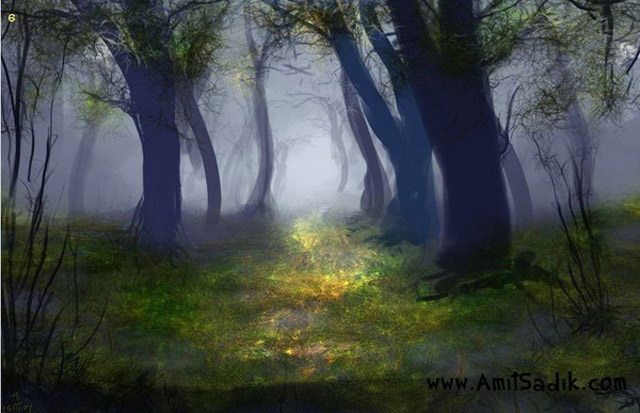
Step 7
Here is the big detailing. actually I work on it by the time of the whole painting, but because it is in one layer it will show like this. So you see I add shades to trees, more grass, more custom random brushes.

Step 8
Here is the big change – the Color Layers. I will not get into details, it’s just a mix of a lot of Color Balance (like this one a lot), Curves while changing Blending Modes and Masking a bit. In addition I add those little flowers glowing there in the right bottom of the image.
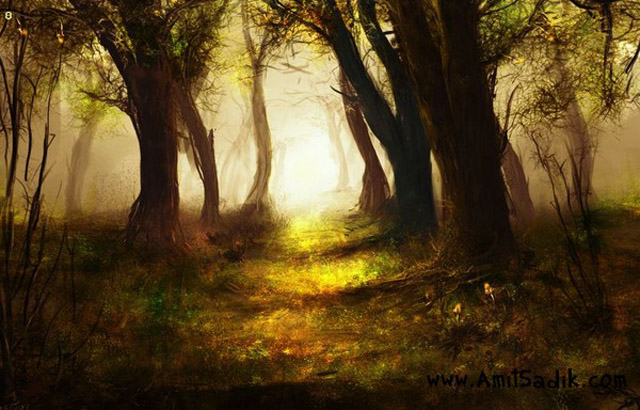
Step 9
More Color Layers. Overlay Blending Mode Air Brush to create the light effect in the middle. At the end I use Unsharp Mask Filter, that you can notice in the original painting deviation.
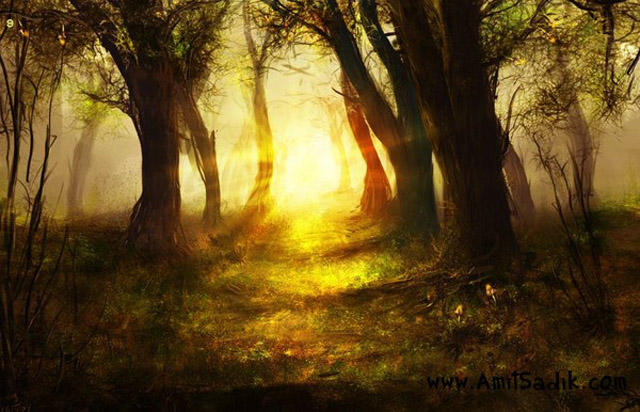
Final result
