Wireframe Brushes
Have you ever wondered how to get those cool wireframe images on your website or into Photoshop? But you didn’t want the background to show up with it? Well this process is very easy and will be fully explained in this tutorial. If you happen to have any issues or need help completing a part of this tutorial, then please email me at Necksmasher@3dm3.com and I will quickly get back to you as soon as possible. Now let’s start!
It doesn’t really matter what 3D program you are using to start out with, but just as long as it can export alpha mapped 3D images. So I will be using 3dsmax for this example.
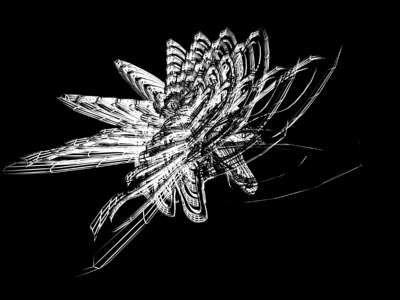
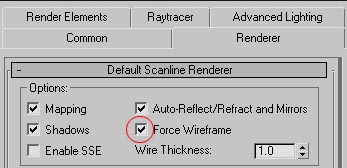
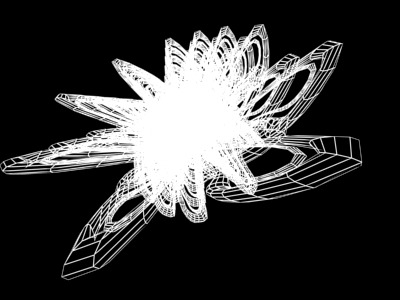
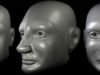
First, open up or reset 3dsmax, I will be using the scene from the image above for this tutorial. Create any type of model with unique looking polygons, I recommend that it looks abstract, but it doesn’t really matter at all. Now, go into the render dialogue and in the “Renderer” menu, check Force Wireframe:
Now what you want to do is do a quick test render:

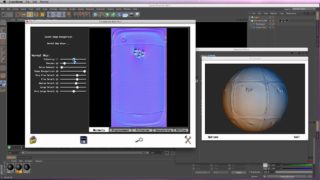
Now click “Display Alpha Channel” to view the wireframe render in the alpha channel:
Looks pretty good in my opinion. Now since you can’t save your alpha version of the image, it’s time to go back into the render dialogue and when in there, go to the “Render Elements” menu. Now go to “add” and choose Alpha (it’s at the very top.):
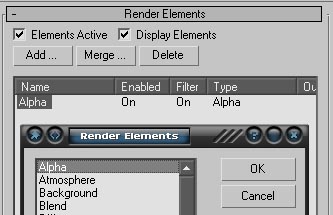
Make sure that you have Alpha enabled. Now render your model again, (I recommend that you render a large image, 800×600 or bigger so that the quality is higher.) And when the alpha channeled image appears in a new window, save it in a local folder.
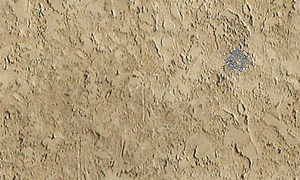
Now comes the main part. Open up Photoshop and load your alpha channeled image. We are going to create a custom Photoshop brush from this image. But how is this gonna work correctly? Simple. You will need to invert the colors of your image (hotkey: Ctrl+I):
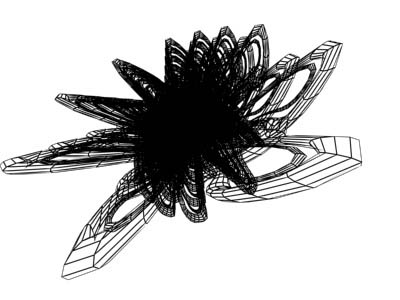
You need to do this because customized Photoshop brushes read the data from the lightness and darkness of an image. The darker parts of the image gets captured into the brush print. This is also required so that the background won’t get captured into the brush print (it won’t read RGB: 255, 255, 255).
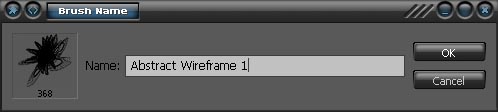
Now all you have to do is go to edit “define brush preset” and then rename the brush to Abstract Wireframe 1:
We are almost done! Now go into the brush preset picker at the top and delete EVERY brush in the current brush preset except the newly created brush (which will be located at the very bottom of the list.) Just double click each of the other brushes and delete them all until you come to the very last brush that you created:

Now when you come to your customized brush, go back into the menu and go to Save Brushes:
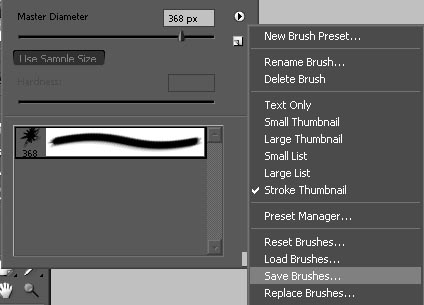
Now the last thing to do is just save the preset brush as “Abstract Wireframe Brushes” (or any other name to recognize them) in your Photoshop brushes folder:

Now that wasn’t hard was it? Now you can create all kinds of cool web design logos and abstract art with wireframe brushes. To get the full use out of them, work with blending options such as “drop shadow” and “outer glow.” It will make them look really cool!
If you have any questions, comments, or if you want to just show me your work then please email me! I will appreciate any mail from you guys. I hope you enjoyed taking my tutorial, and please be sure to check out my new tutorials that I am writing.
All renders/material content used are copyrighted by Necksmasher © 2005


About The Author
You might be interested in