Modelling a planet. Setting up the scene and light
First it should be mentioned that this method is useful only for those cases when the planet is shown at the middle or background.
1. Create the scene in 3D MAX
2. In Geometry –> geosphere create a spheresized 132 (it is not important what size it will be, it’s up to you to decide)
3. Duplicate it twiceincreasing the size by1% with each duplicating
4. The final sequense of spheres will be named accordingly: surface-the surface of the planet; cloud-the layer of clouds(if you want a more realistic view, create several layers); atmosphere-the atmosphere.
If you’ve done everything right the result will be as follows:

5. Let’s start from above:
Atmosphere.
Create Blinn material
Main parameters are set as follows:
Specular level — 20
Glossiness — 5
Soften — 0,1
The atmosphere in the picture should only be shown by bluish thin rim, therefore gradient maps will play the main role:
In Diffuse Color bookmark create Gradient Ramp material setting it like in the picture below. Your atmosphere depends on the color you choose.
In Opacity bookmark also create Gradient Ramp material, here only monochrome shades of gray are used. It is desirable that the white color stripe coincides. Thiswill be the reflection in the atmosphere.

And there is only one map left which defines the reflecting regions of Fallout:

Now it’s time to make clouds:
6. Cloud
Create Blinn material
Main parameters are set as follows:
Specular level — 160
Glossiness — 15
Soften — 0,1
Insert the picture of cloudiness into the Diffuse Color bookmark (in web there are many finished samples and I won’t pay special attention to this).
It’s possible to put the same map as in Diffuse Color into the Opacity bookmark, only treat it previously having changed the colors to the shades of gray.
Create other bookmarks as shown in the picture below:

And finally the most laborious thing:
7. Surface
Create Phong material
Main parameters are set as follows:
Specular level — 500
Glossiness — 35
Soften — 0,1
Create Fallout material which will consist of Composite and RGB Tint maps connected by Fallout type – Shadow/light into the Diffuse Color bookmark
I usually insert texture with strong bump or Noise maps into RGB Tint.This gives us an irregular distribution of reflected light on the planet surface. But here everyone is free to do as he sees this.
I create Composite from 2 parts:
RGB Tint – is responsible for visual depth of the shadow
Mix – is responsible for color range of reflection

I insert the same material RGB Tint as in the Fallout bookmark into Specular color.
Insert the same material which you want to use in Self-illumination bookmark into Specular bookmark if you want to create the planet with cities. If not, leave this bookmark blank.
And the last but not the least Self-illumination bookmark. Create Fallout material which willconsist of Fallout map and that map which will illuminate your cities on the dark side of the planet. And Fallout type – Shadow/ light.

For inner Fallout material apply the same map as the previous bookmarks. But put Perpendicekfr/ Parallel into Fallout type, then the light on the planet surface where light and darkness are divided will not be so sharp in comparison with clouds.
In Bump bookmark choose any map with good topography, it is desirable that it coincides with the main contours of the picture which you usefor the main surface colour, set parameter 30.
You may insert the same map into the Displacement in the same way, only treat it beforehand changing the colours into the shades of grey with parameter 1.

If you’ve done everything correctly this will result in the set of the following spheres:


And the last thing to speak about is illumination and camera.
For realistic planet illumination we are to create a complex source of light or, to be precise, a group oflight sources each of which will play its own part.
So, let’s create 3 sources of light putting them in one spot of space.
Let’s call one of them Surface omni, the other will be called Cloud omni and the last one – ATM omni. As follows from the names each of the sources will illuminate only it’s own’ sphere
Surface omni – as this source illuminates the surface we put a usual shadow map in Shadows bookmark, so as the shadow from the bump on those planet areas where it will take place is not so sharp.
But if you don’t intend to show the planet’s foreground this parameter may be omitted. The colour should be selected in such a way that it coincides with the atmosphere colour.
Cloud omni – this source illuminates the clouds and should create a ‘soft’ shade on the surface. In this case set the usual shadow map in Shadows bookmark, then the cloud shade will be ‘soft, withblurred contours’. It’s better to select the same colour for the light as for the previous source, but set the colour parameter softer, say, by 0.3,then it’ll arise the sensation that the clouds slightly reflect the light from the heavenly body.
ATM omni – we set the same conditions for it as for Surface omni but Shadow parameters are obligatory. They can be made Rayshadow depending on the render used.
Camera. Take a usual camera and put it at such an angle that part of the planet is illuminated and part is in the shadow.

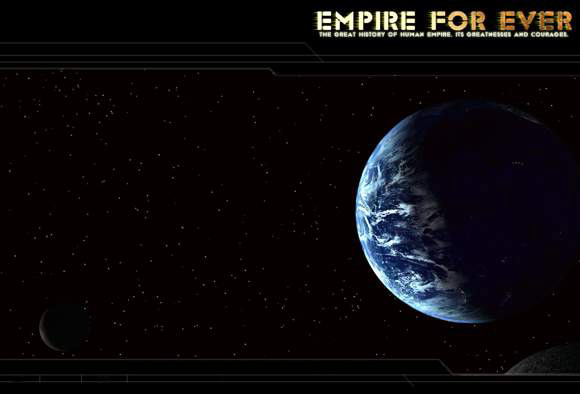
That is all,perhaps. Make a render of the picture and the result is as follows:

If we add one more source of light, we can get this:


