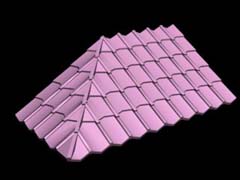
Draw a roof by using connect in editblepoly by Smoke
I have an idea how to draw roof tiles on a roof with editablepoly as one of my recent work needed a close up view of the roof that need more detail than using bitmap. The model is quite light and not so complicated.
Create an object with 2 polygons. If you draw from a box, you need to delete the polygon at the top, side and bottom. 2 polygons remain as shown in the picture below.
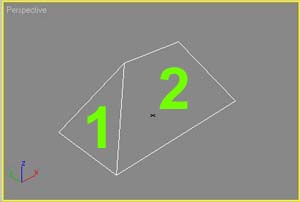
Now work on edge subobject, insert a vertex as to creating one more edge as shown below. Note that the 2 vertexes in the picture below that we are going to create an edge on, must be at the same X-position
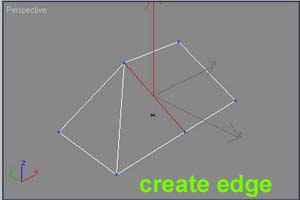
select 2 edges for deviding in the next step
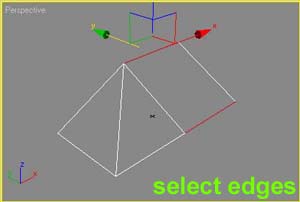
4 edges, created in between 2 selected edges by using connect (we can find connect tool when we use edge sub object).
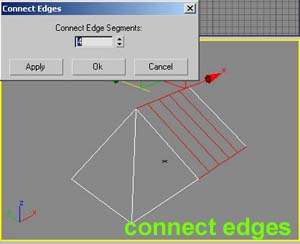
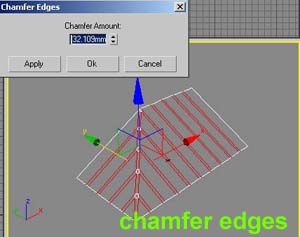
Select edges and connect again as shown in 2 pictures below.
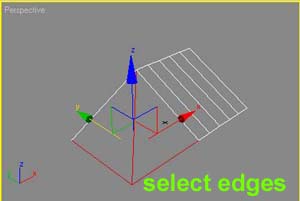
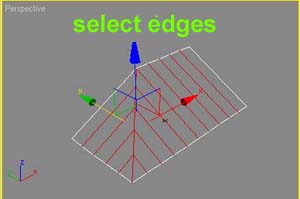
We still have such commands in the next steps. Please take a look at these pictures below.
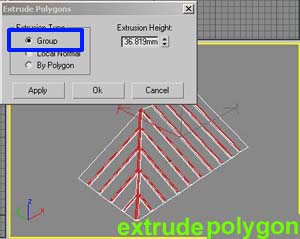
extrude selected polygon to give the thickness of roof tiles
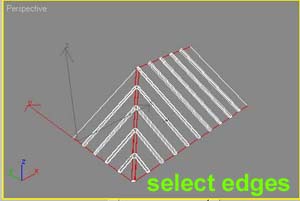
Select and connect edges again (see below). This is for making more segments on roof to create waves on the tiles in next step.
Vertex subobject, select the vertexes as shown and move them down. Now we have wave on tiles.
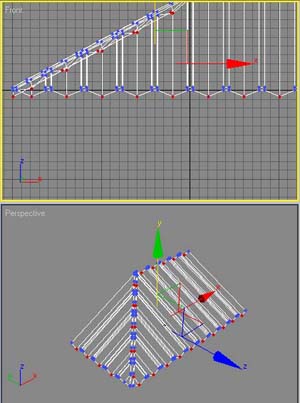
use slice plane to make horizontal segments of the roof.
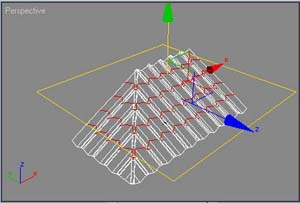
Polygon subobject, extrude selected polygon to givw the thickness of the tiles
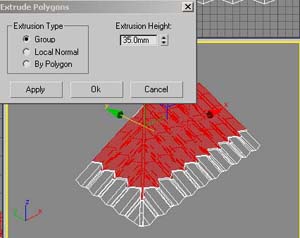
Do it in one row after another until reach the top
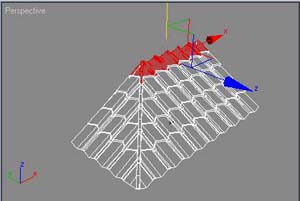
Select whole polygons and extrude to give the thickness of the tiles at the last (bottom) row.
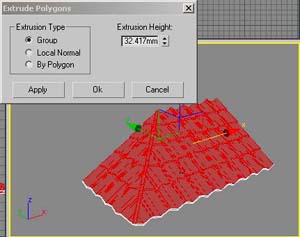
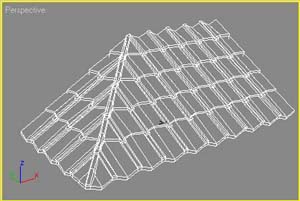
This is how the polygons look like when we finished.
Give the smoothing group for polygons.


