Making of Nemesis
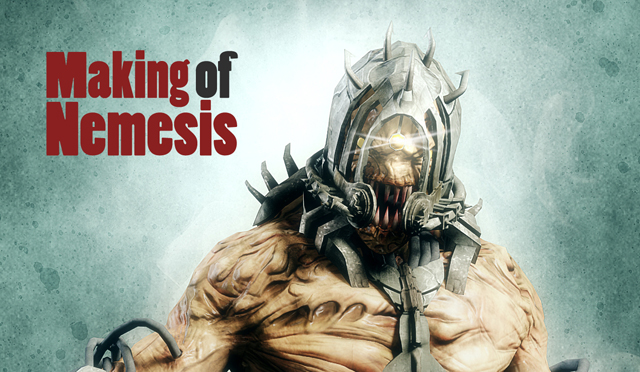
Hello everyone, this is a little making of my creature called “Nemesis”.
Introduction
After my Masters degree at University of Hertfordshire I wanted to do a creature for my showreel and coincidentally I came across concept from Per Haagensen. This creature inspired me the second I looked at it because it had both hard surface and organic elements to it. This project was a fun,experimental and a learning one. Thereby I had a lot of creative freedom however I had to maintain the look and feel from the concept art.
Except for the tail, I used zbrush for sculpting everything else. The way I went along for this project was modeling/sculpting part by part in Zbrush. The working method for all the hard surface elements were the same. I started with a primitive shape and start sculpting the hi res details in zbrush. I used the move tool to give the basic shape and then sculpted the primary elements. I feel its better to sculpt the primary elements of the armour first and then work on the secondary details.
STEP 1
After a few tries, I was happy with the way the legs were coming out.

As far as the brushes , I used mainly the move brush to form the overall structure, then clay brush for adding in the volume and primary parts. Dam Standard tool is a great tool to add in some fine cuts. As far as giving it the hard metal look, I used more of polish,flatten and planar brushes. Deciding which brush to be used is one’s own preference. Don’t be scared to apply some harsh strokes as sometimes you might land with a brilliant design. Since its Zbrush I can always change the overall form with the move tool. Zbrush Layers is a great way to record different sculpting Designs and decide accordingly.

This is a yet another example of the sculpting process.

Initially I was trying to sculpt the creature more like the concept :

But later I changed the entire design to my own likeness. I worked on the design to more like the creatures in the game Doom. Here is a brilliant artist for inspiration Tsvetomir Georgiev
Here was my final Sculpt :

STEP 2
The next step was the retopologizing the mesh. The key thing in this stage is to maintain the silhouette properly. The entire creature came around 13k poly which is not too bad.
For Baking the normal maps(especially for Hard Surface elements), I prefer using Xnormal. The key thing in xnomral is to calculate the ray distance. This is key in generating good maps. I always tend to generate normal maps, occlusion maps and convexity maps.

Here is what a baked normal map looked on a low poly mesh.

Low poly model with texture :

As far as texturing goes,it was pretty straight forward. I tried to maintain the color palette similar to the concept. Occlusion maps,convexity maps were used as overlays over my diffuse texture. This adds the Depth for my texture maps.
Here are the texture sheets :

STEP 3
The next step was to rig,light and render the character. I used Zbrush’s transpose tool to pose the character as it was much quicker for me. I had to be pretty careful with the pose as it had to be well balanced. As far as the lighting I used a key light and a rim light. I always like to add some color to the light and not leave it just white. We can change the color of the lights directly but I always plug in a mental ray light utility to the light color .
I was pretty happy with the final render and after a little color correction in Photoshop it looked like this

Hope you like this making of my creature Nemesis. If you have any query, then please email me.
Thank you


