How create a simple crowd
INTRODUCTION
To execute this tutorial you must download and install CrowdMaker 0.5 (or higher).
You can download the file at this link: web.tiscali.it/maya_tutorial .
The “CrowdMaker 0.5.rar” contains some scripts, a text file with an installation guide and sample scenes.
On the next pages you can see the procedure to create a scene and the avaible functions to control the scripts.
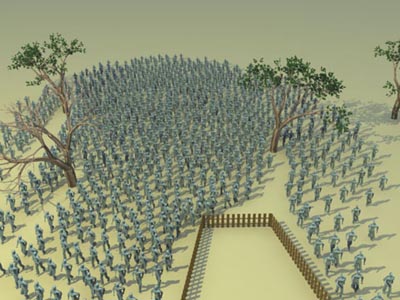
We limit the simulation to only 15 particles, the script work with a maximum of 1000 (visible in the next image).

Before beginning make sure to have a simple 3D model of a human and some animation clips.
You can find on the web many pages that provides free Motion Capture material.
SETUP
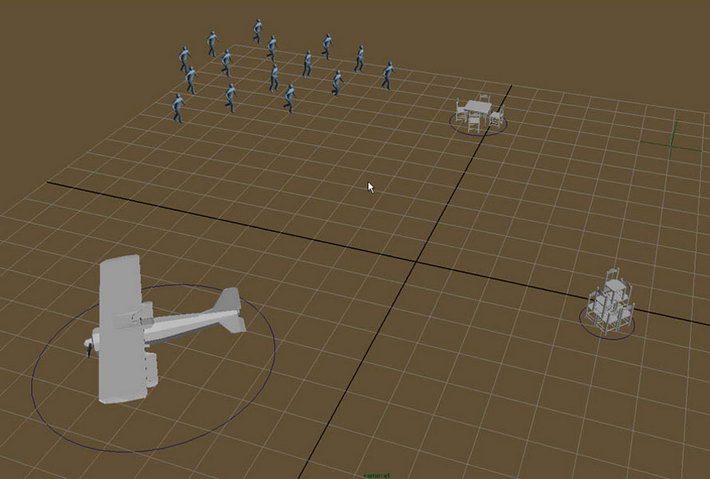
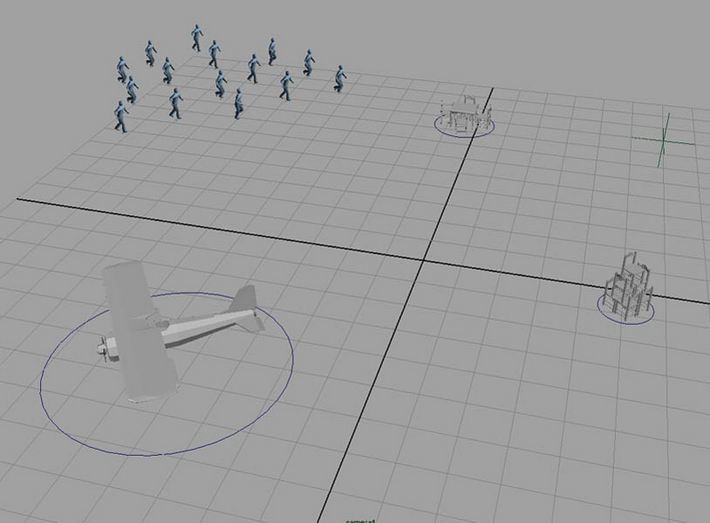
We will create the scene shown in the following image, there are 15 particles and three obstacles of various dimension.
The locator on the right of the image is the target, the particles follows this target.
The particles interact with each other and with the object in the scene, the interaction
with the object simulates the obstacle avoidance and prevent the collision.
Before beginning, open Window/ Settings/Preferences/ Preferences and set on the categories Settings/ Working Units the attribute Linear to centimeter! Create a group of 15 particles with the command Particles/Particle Tool.
Choose the spheres rappresentation on the attribute “Render Type”.
In the next page we change the spheres rappresentation to point before to apply the instance with the human model.
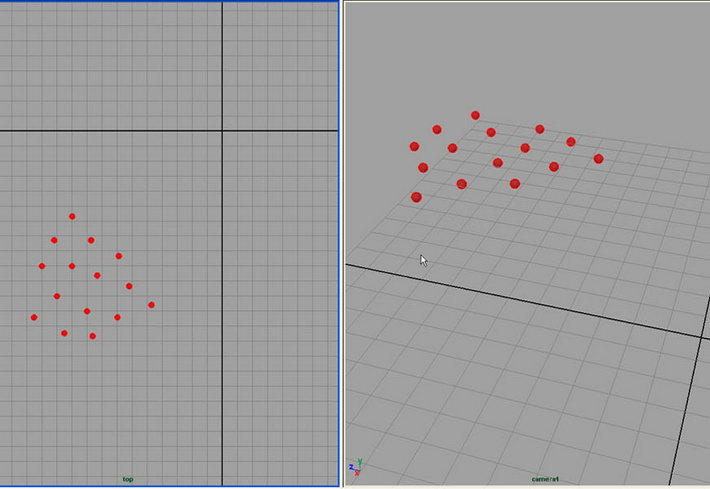
Create a locator (Create/Locator) and put it on the right side of your scene.
After that you apply the script, the particle follows the locator like a target.
Insert some Key Frame to the locator to obtain more complex movement, in the next image you can see the animation path.
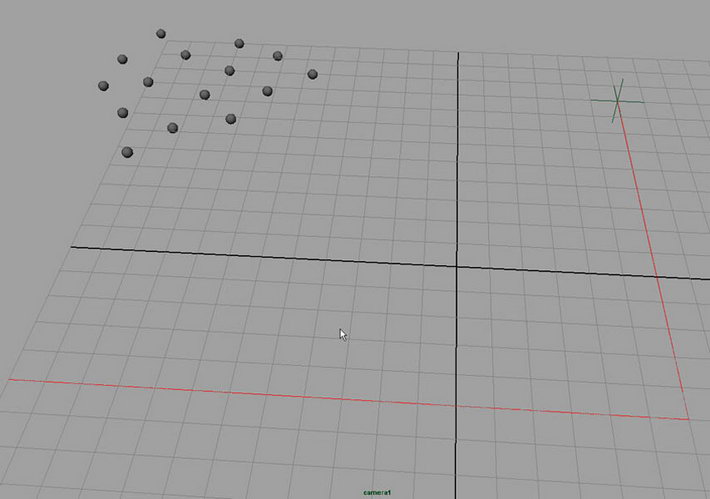
Now you must apply the scripts to allow particles to simulate more complex movement.Select in order the particles and the locator, on the Shelf Tabs you can find the new shelf “Crowd Maker”, apply the Create function.
Execute OK to apply the script.
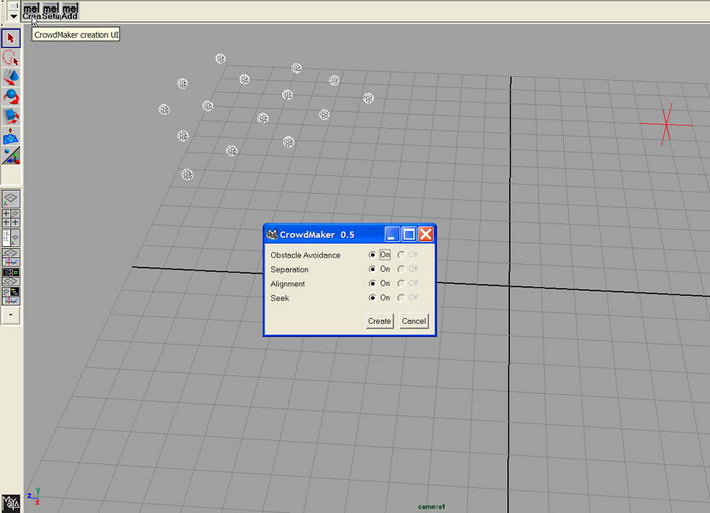
If you press play you can see the particles that follows the target.
It has the same direction and velocity for two reasons: they don’t have a initial velocity and the value of the Alignment function is too high. The Alignment function control the influence that each particle have to another one. We will learn about the script on the next page. Try to insert inside the Expression Editor (Window/Animation Editors/Expression Editor), on the Creation section this expression: vel0= <<rand (-1, 1), 0, rand (-1, 1)>>; and try to insert on the Output Function of the Crowd Maker Setup window 0.01 for Alignment. Restart from frame 0 to see the new path of the particles. You can change the value of the attribute to obtain new particles motion.
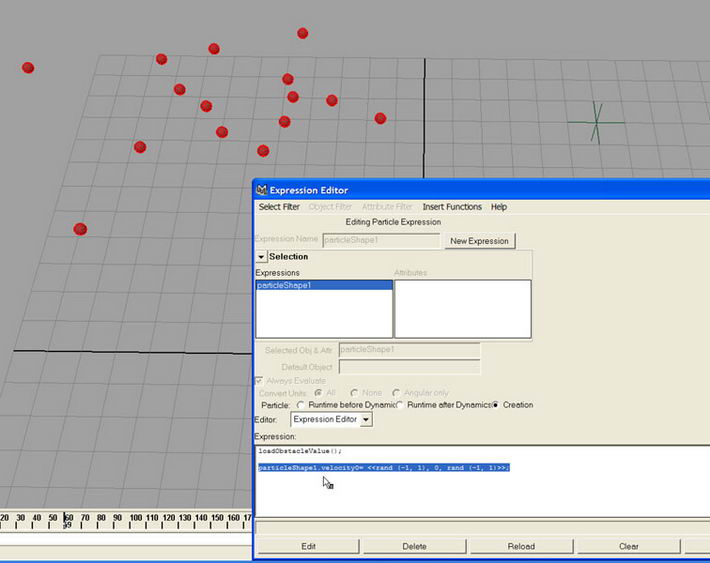
Select the particles and press the Setup icon on the Shelf, a new window will appear. This window allows you to setup the control value of the script.
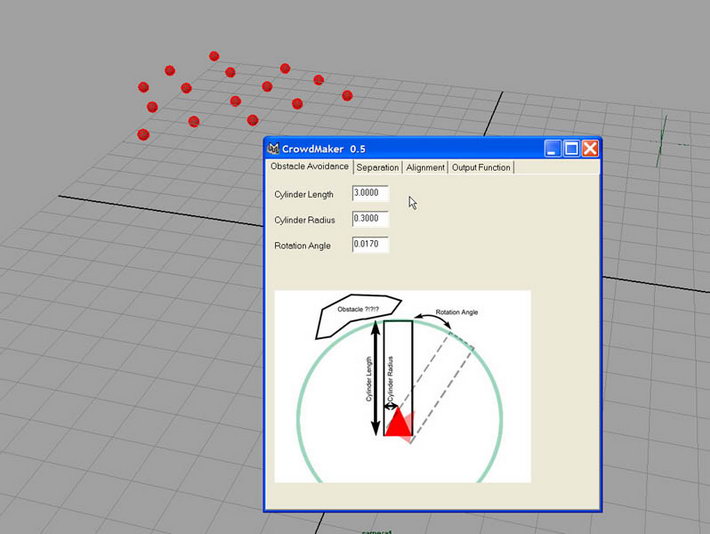
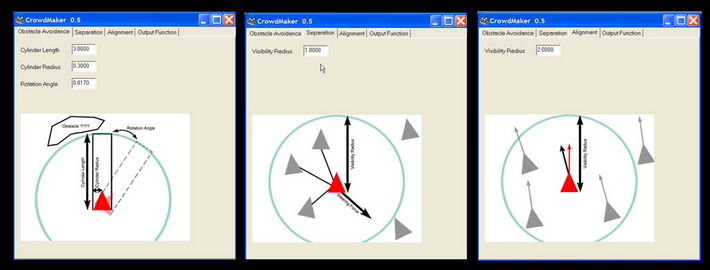
The section “Obstacle Avoidance” provides controls to setup the script that manages the interaction with the obstacles in the scene. “Cylinder Length” represents the length of an imaginary cylinder on the front of the particles, you can imagine this like a sensor. If the sensor touchs an object, this will be an obstacle and then the particle will rotate a little to avoid collision. “Cylinder Radius” represent the diameter of this sensor. “Rotation Angle” instead is the rotation angle to avoid the obstacle. It is represent in radiants (0.017 radians = 1 degree).
“Separation” gives the particles the ability to interact each other to prevent the collision: the function generates a repulsive force to reject the other particle. “Visibility Radius” defines the perimeter, each particle inside this perimeter generates and receives a repulsive force. “Alignment” finally provides the ability to align the direction and the velocity of a particle with the direction and the velocity of all the particles inside the perimeter of its “Visibility Radius”.
This function is very useful in situation like a group of soldier that runs in a battle. In this case the path of every soldier is similar to the motion of the entire group.
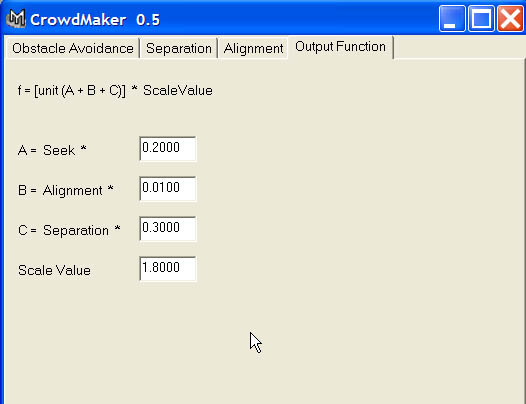
The last section called “Output Function” allows to join with a weight all the functions seen before. The default values are not definitive. In general a parameter with a high value has a big influence to generate the speed and the final direction.”Seek” provides the ability to follow a target.”Scale Value” instead controls the final velocity of each particle.
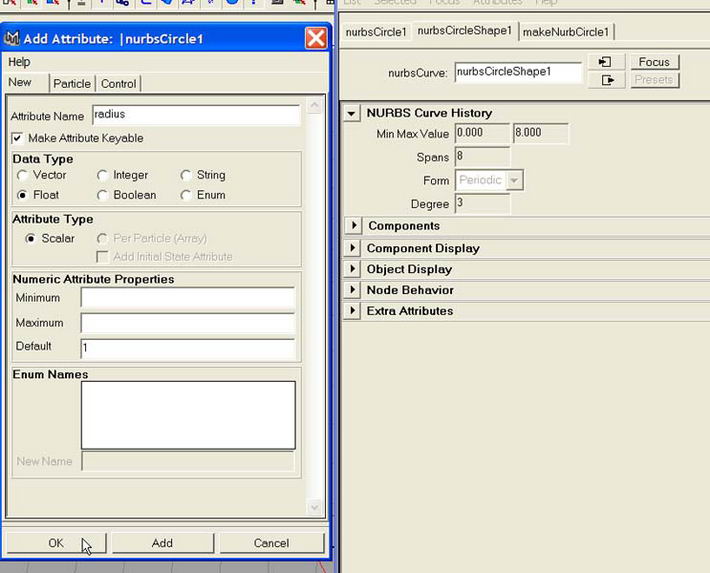
Now we insert obstacles in the scene, in this version (Crowd Maker 0.5) obstacle avoidance is 2D. To speed up the script the obstacles are consider like nurbs circle, complex geometries can be placed inside a circle to approximate the shape. Every nurbs circle must have a new attribute called “radius” with the value equal to its radius. Execute Create/NURBS Primitives/Circle to create the object, create the new attribute and setup it with a correct value.
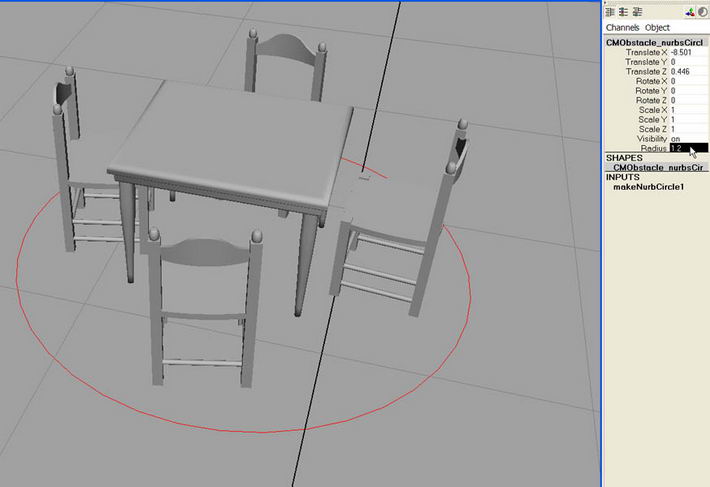
We create an obstacle with a small table and four chairs, on the next figure you can see the geometry inside the circle.
We set the “radius” attribute to 1.2.
To simplify the simulation we use only three obstacles. Remenber to set up the attributes with correct values, otherwise you will see unexpected situations. Select all the circle created and execute from the Shelf the function AddObstacle. The circle will be rename with the prefix “CMObstacle_”, the script consider obstacle all the geometry with this name.
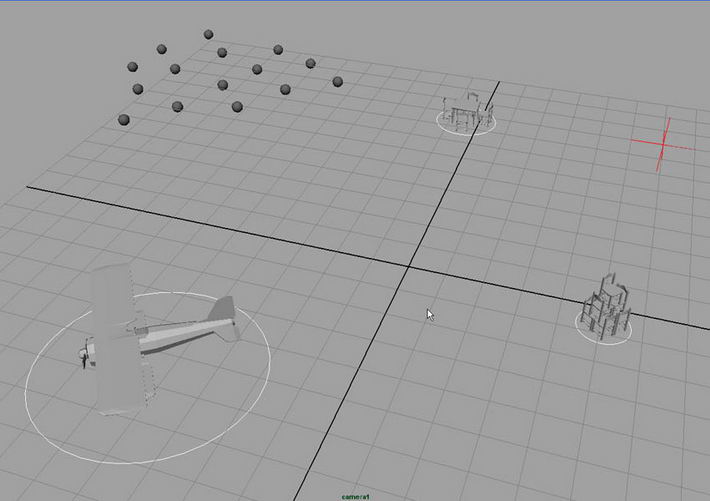
To see the new particles motion you must restart your Time Slider (to frame 0 or 1), the script loads the parameter of radius and position in the first frame. The script is recalled in the Creation section of particles! The previus image shows a complete scene with the particles, the locator and the obstacles. We will execute the instancer function between particles and real geometry.
For this step a human model with low number of polygons and a clip is necessary. We will execute an instance between particles and four copies of geometry; different clip must be applied at each geometry copies to obtain 15 people that runs in various way. Now import the geometries and apply the 4 different clip; for every clip set up the attribute Post Cycle to a sufficient value for the entire simulation.
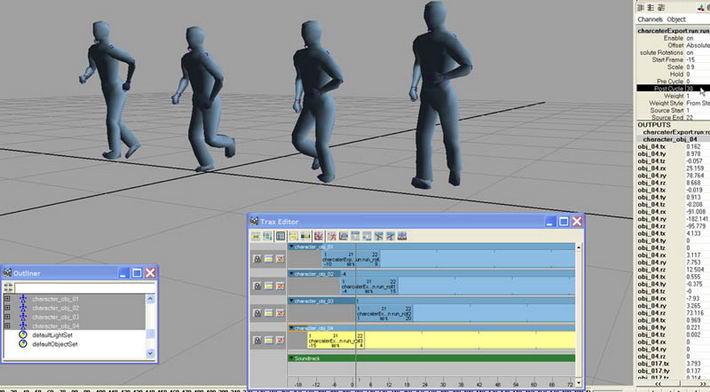
Now execute Particles/Instancer(Replacement) between particles and the four precedent objects. To assing different animation clip to every particles, inside the Instancer menu set up opportunely the ObjectIndex attribute.
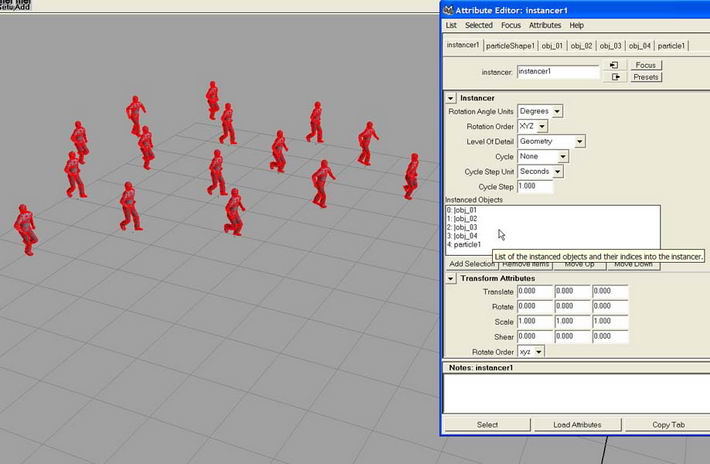
We have finished the simulation, the next image shows the complete scene. With the Crowd Maker menu you can control all the attributes of the script, try many values to find the best result. To obtain a uniform movement of the crowd you must set a high value for Alignment.
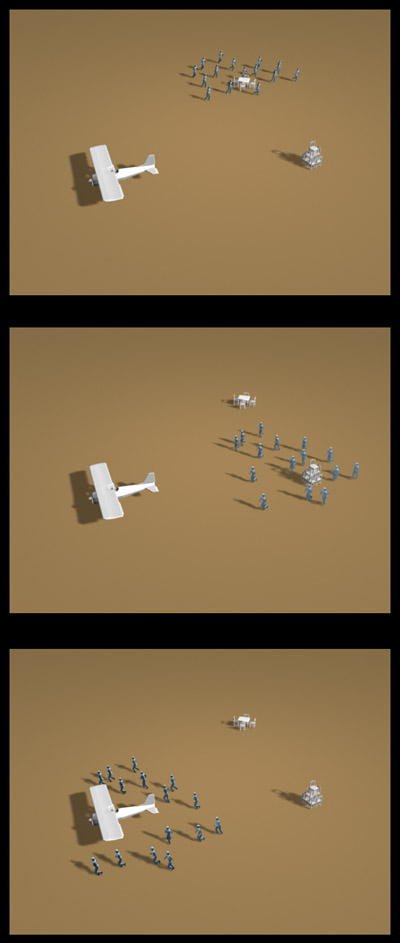
On the next image we can see some of the animation frame.
In this example we have created a scene with only 15 particles, the script works with a maximum of 1000. You can download examples and some scripts from the main page, all the software was provided in a rar/exe archive on the Script section.


