How to create a simple rubics cube
This modeling tutorial is very simple and should be easy to complete in a matter of just a few minutes. It should work with just about any version of max. If you quite dont understand this tutorial or if you want some more info on some other tutorials I’m writing, please email me.
1. Ok, step one, go to customize and the top and then go to “grid and snap settings” and then go to home grid and make the settings like this: (And then turn on 3D snap)
first create a box with these parameters:
length – 100 with 3 length segments
width – 100 with 3 width segments
height – 100 with 3 height segments
The box should look like this:
Next, right click on the box and convert it to an editable poly, and select “polygon” in the selection.
Ok, now that that’s done, select all the polygons and then go to “edit polygons” and select Bevel.
Now make the bevel type “by polygon” and make the height 0.0 and the outline amount -2.0
Then click apply and now make the height 5.0 and the outline amount 0.0
You should get something like this:

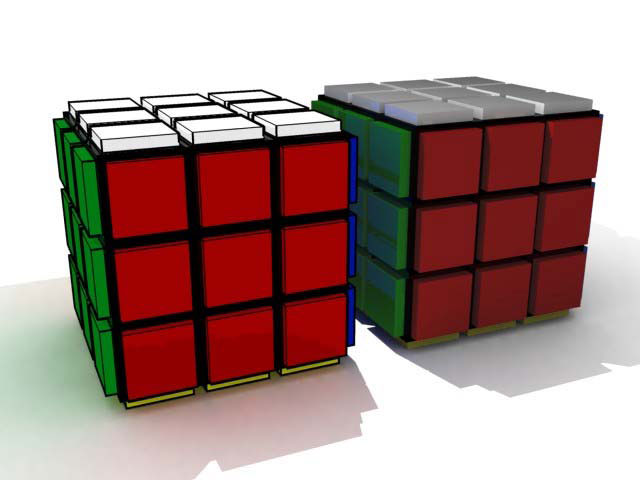
Well, thats pretty much it for the modeling part. After materials and texturing the way you want it, you can get something out like this:

Im sorry that this was such a short tutorial, and I am writing many more just for you! Thanks for viewing and show me your rubics cubes that you made! You can email me. Enjoy!


About The Author
You might be interested in