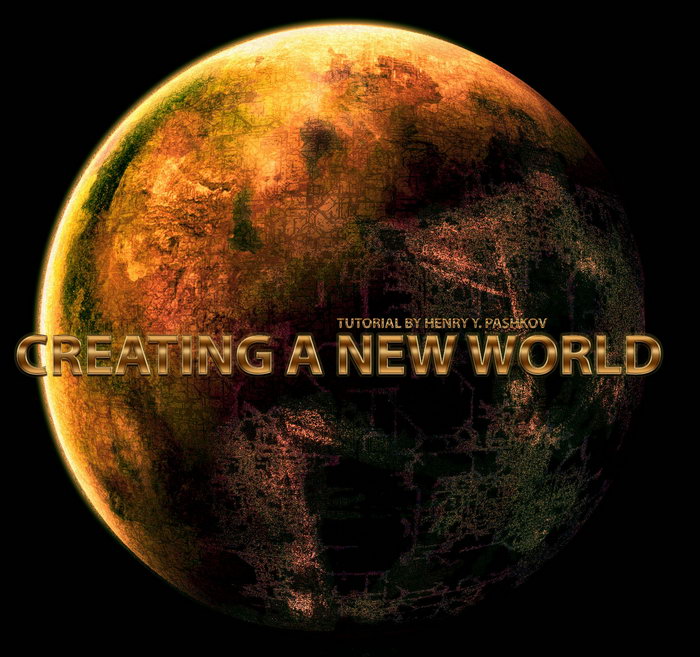
Creating A New World by Henry Pashkov
This tutorial is intended for those artists who are going to place a planet on the foreground of their new artwork. To implement this tutorial I use a part of the lesson you have possibly seen on the www.3dm3.com CG portal (Direct link o the lesson http://www.3dm3.com/tutorials/planet/)
So let’s start:
- Create a scene in 3D MAX.
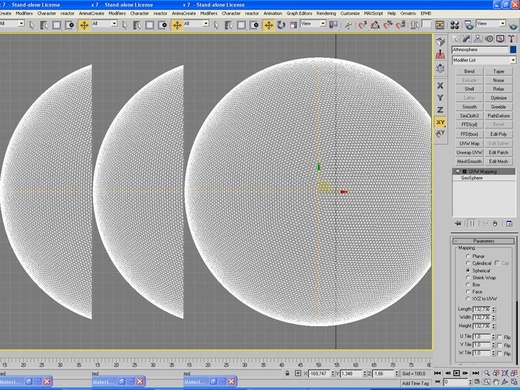
- Go to Geometry Geosphere and create a new sphere with the radius equal to 132 (Actuallyit doesn’t matter what radius you are going to use).
- Name the sphere as “Planet”.
3. Planetmaterial.
CreatePhong material.
Set basicparameters as follows:
Specular level — 500
Glossiness — 35
Soften — 0,1
CreateFallout map for Diffuse Color. Set Falloff Type to “Shadow/Light”. Falloff will contain two maps – Composite and RGB Tint.
I usuallyuse a hard bump texture or Noise map for the RGB Tint which makes directly reflected light unevenly distributed on the planet surface. But you can try your own technique.
I assemble Composite map from two parts: RGB Tint is responsible for the visual depth of the shade.
Mix provides reflection color gamut.
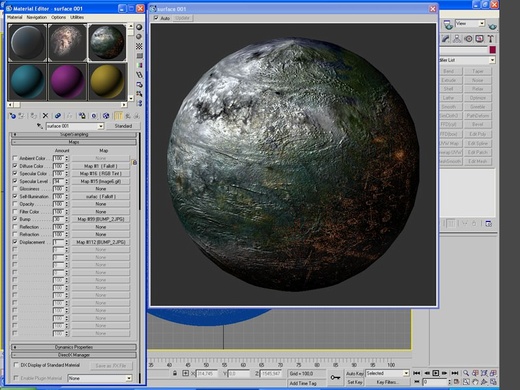
For Specular Color map I use the same RGB Tint material as in Falloff.
Set to Specular the map that you are planning to use as a Self-Illumination map, if you want to create cities on the surface of the planet of course. If not leave Specular map slot empty.
And the last but still very important map – Self-Illumination. Create Falloff map again with two submaps –Falloff map and a map which would illuminate your cities (if you have any) on the darks side of the planet. And of course set Falloff Type to “Shadow/Light”.
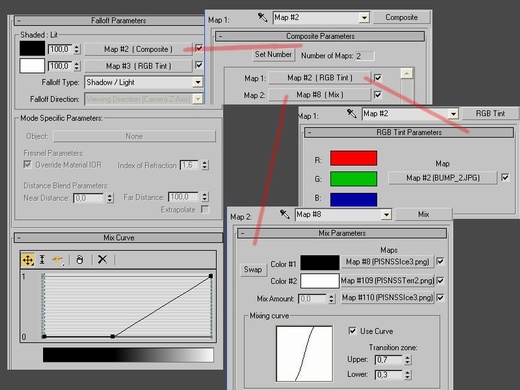
For the inner Falloff assign the same map as for the previous map. But use “Perpendicular/Parallel” as a Fallout Type. Then light transition on the surface of the planet will not be so sharp in the area of light and shadow division comparatively with the clouds.
And at last select any map with a good relief for the Bump. Preferably bump map should accentuate main contours of the texture you use as a color (Diffuse) map. Set Bump amount 30.
You can is nert the same map to Displacement previously converted color texture to gray scale with parameter 1.
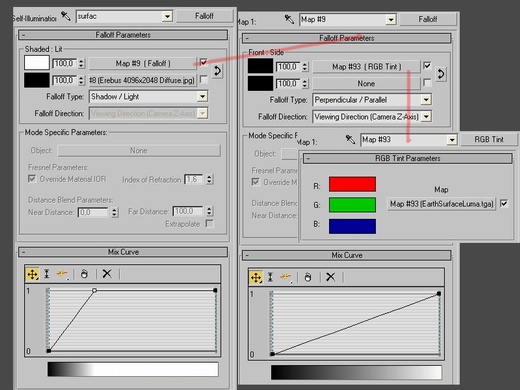
If you made everything correctly you should have something like that:
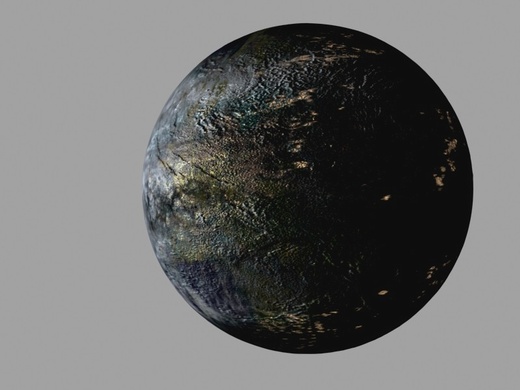
5. Save the result to a tiff or psd format file to have alpha channel mask created automatically. Name the file as“My World” for example.
6. Save the scene and close 3D MAX.Then start Photoshop.
7. Open recently created “My World”file.
8. Duplicate the only present Layer 1 and set“Screen” Blending Option. The layer will look like the next image:
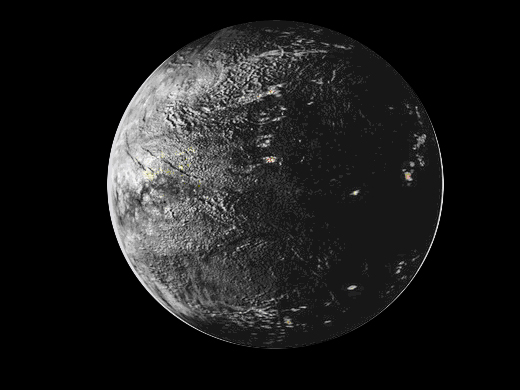
9. Continue. Select the area of the planet by Ctrl + “Left MouseButton” and create a new layer “Atmosphere”. Fill the selected area with acolor that has the next parameters:
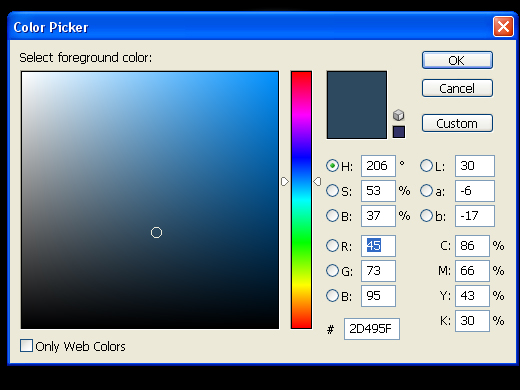
Got the following result:
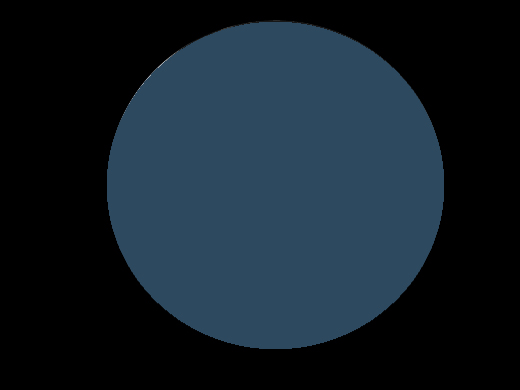
10. Setting Blending Options.
Open Blending Options window and set parametersof Inner Shadow, Outer Glow and Inner Glow as on the images below:
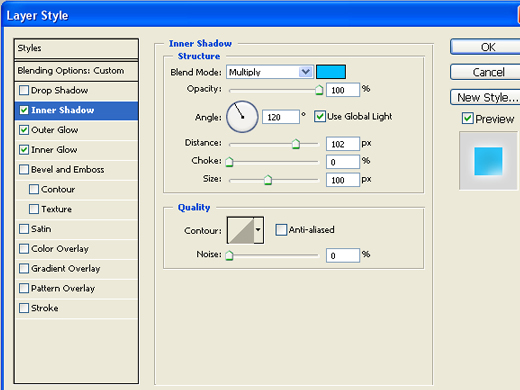
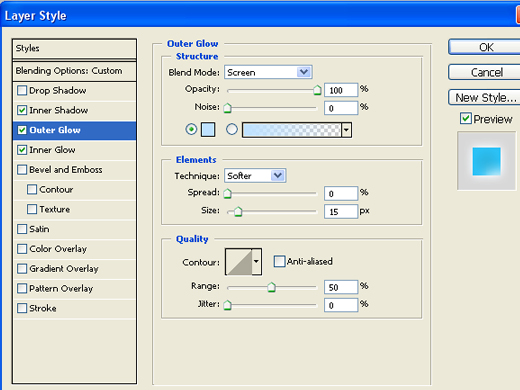
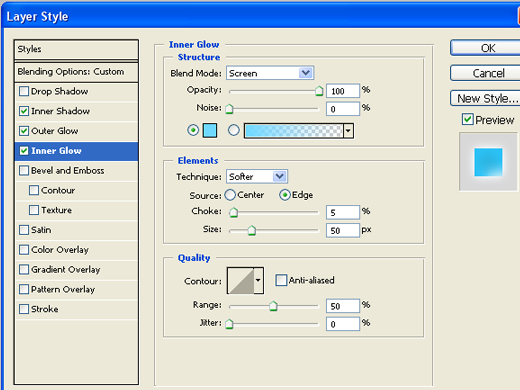
Got the next result:
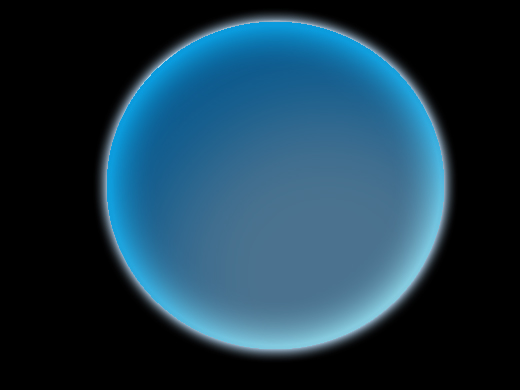
11. Set «Atmosphere»parameters as follows:
Blending Mode –“Screen”
Opacity – 80%
12. Now yourplanet should look like…
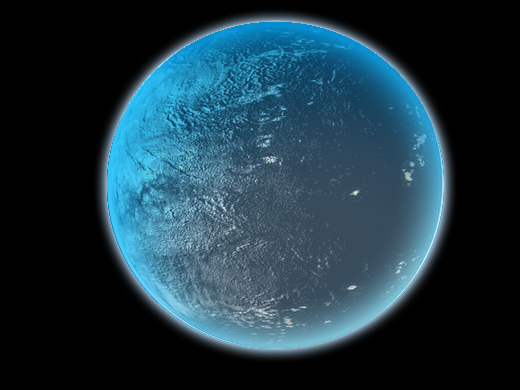
13. Lets continue with the most interesting procedure. Creating clouds.
Create anew layer and name it “Clouds”.
Remark2. I will take advantage of the ready cloud texture previously found in the Internet. But such texture may becreated manually using space photos of clouds or using Terragen software to generate an unique cloud map.
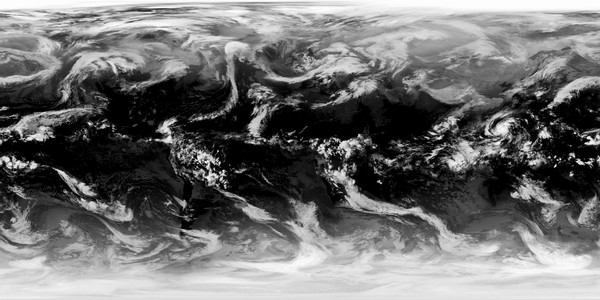
So take preparedatmosphere map and cut the previously selected (using Ctrl+”Left Mouse Button”)area of the planet from the atmosphere map layer. You should have somethinglike that after:
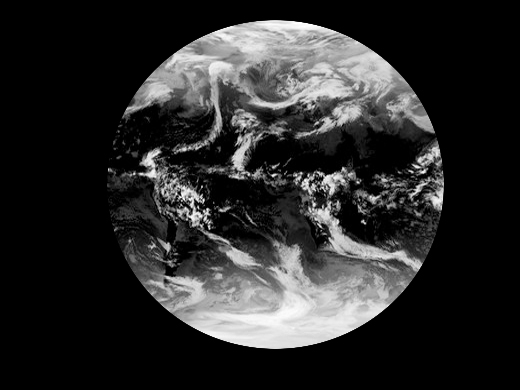
14. Apply Distort/Spherize filter to selected circle.
And enjoy resulting“bulged” clouds.
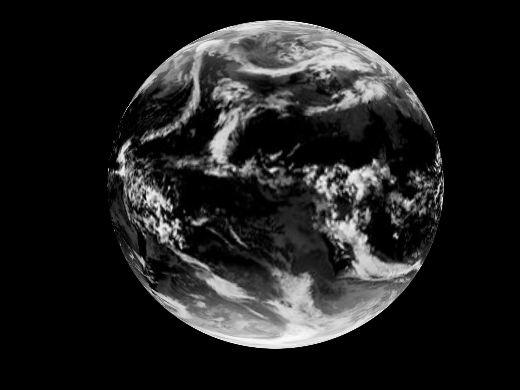
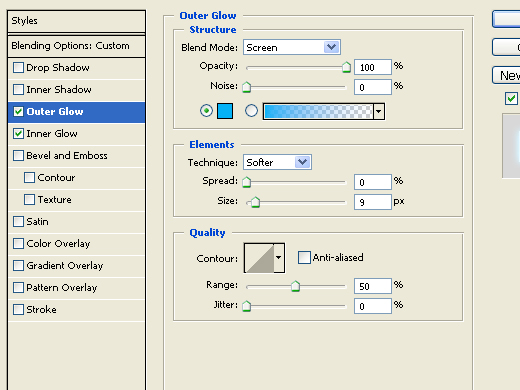
15. Open Blending Options window and set parameters for Outer Glow and Inner Glow as on the following pictures:
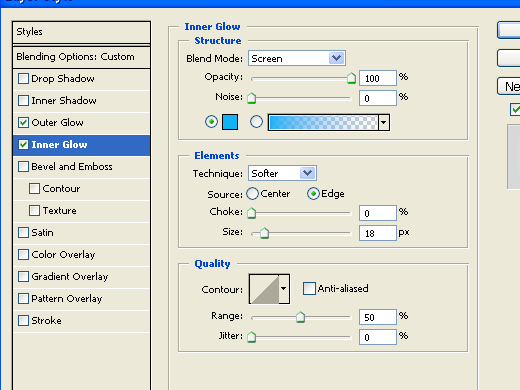
Got the next picture look:
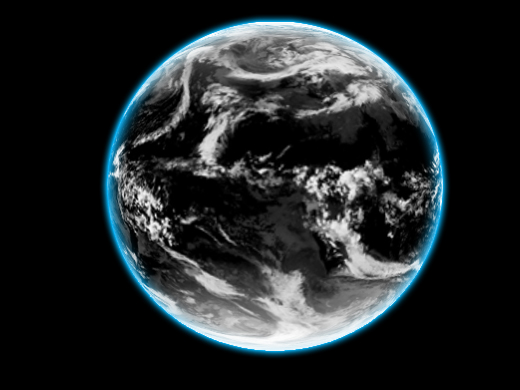
16. Duplicate this layer and name it as “Cloudshadows”.
Using Select\Color Range command remove black and dark-gray colors from the layer.
Open Blending Options window again and set OuterGlow and Drop Shadow parameters:
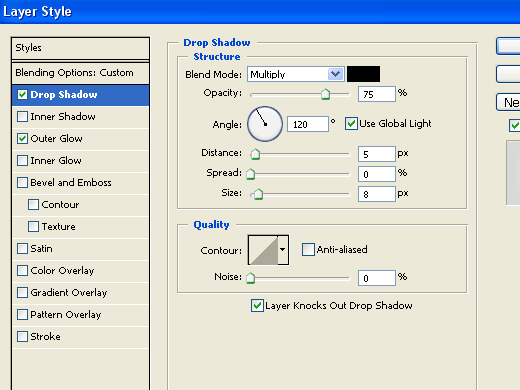
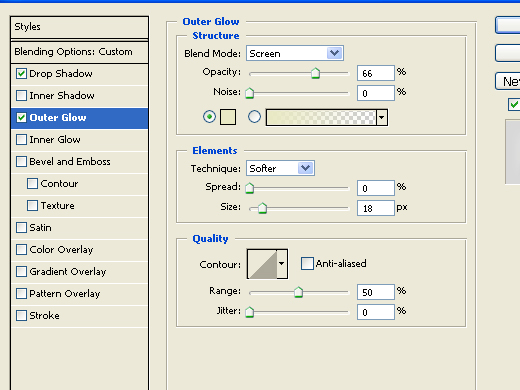
17. Set thenext parameters for the result “Atmosphere” layer:
Blending options – “Screen”
Opacity – 50%
Now ourplanet should look like following picture:
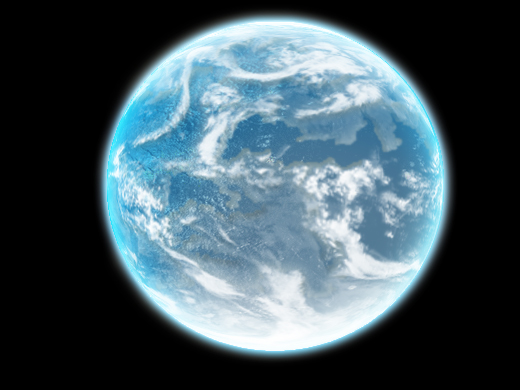
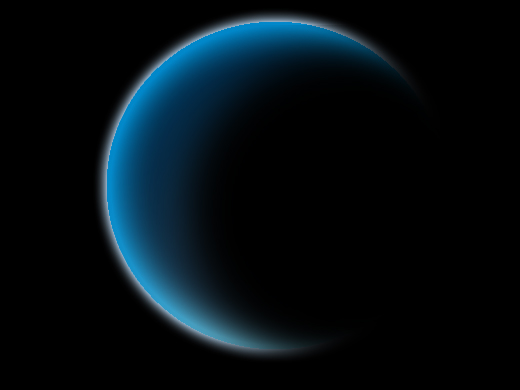
18. And one important step more – planetaryshadow.
Select planet area using Ctrl+”Left Mouse Click”as earlier. Create a new layer “Shadow” and fill selected area with the Blackcolor. Then apply Blur\Gaissian Blur filter to the layer with Radius equal to0,6 or 0,7 parameter.
Remark 3. Bigger the radius is higher the Radius parameter should be.
If everything has been done correctly than received“Shadow” layer placed over the ”Atmosphere” layer will look like the following:
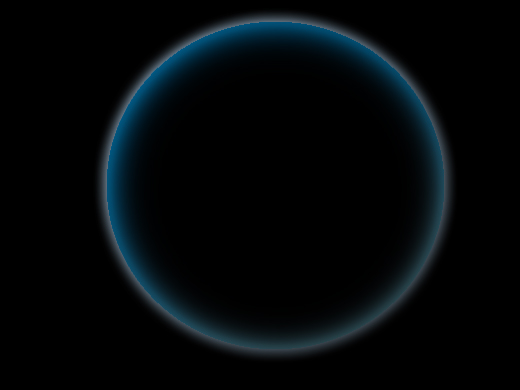
19. Move “Atmosphere” layer a little left and down(Move to the side opposite to the light source). You should receive somethinglike that:
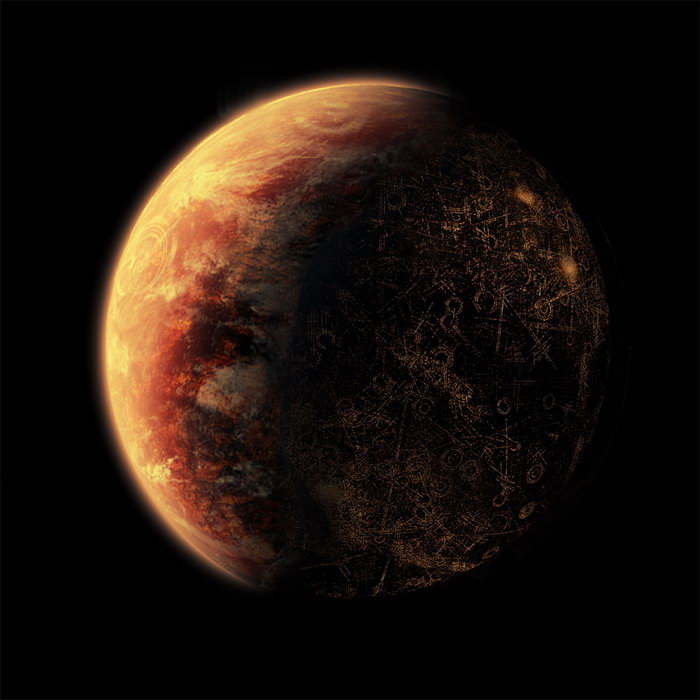
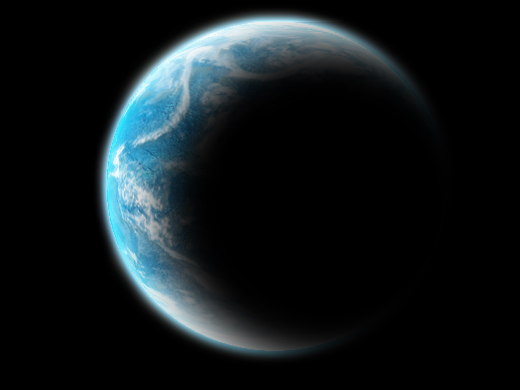
20. And the final planet image looks like:
21. If you want your planet to have another planetary color (atmosphere color), than the only thing you need to do is to change Blending Options parameters for Outer Glow and Inner Glow of the “Atmosphere” layer. Andyour planet will have quite different look as shown on the image below:
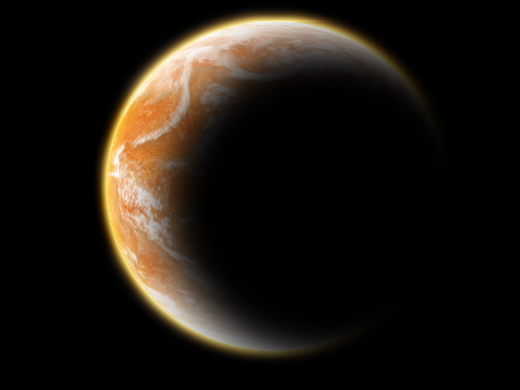
Or like this:
Thanks for your attention.

