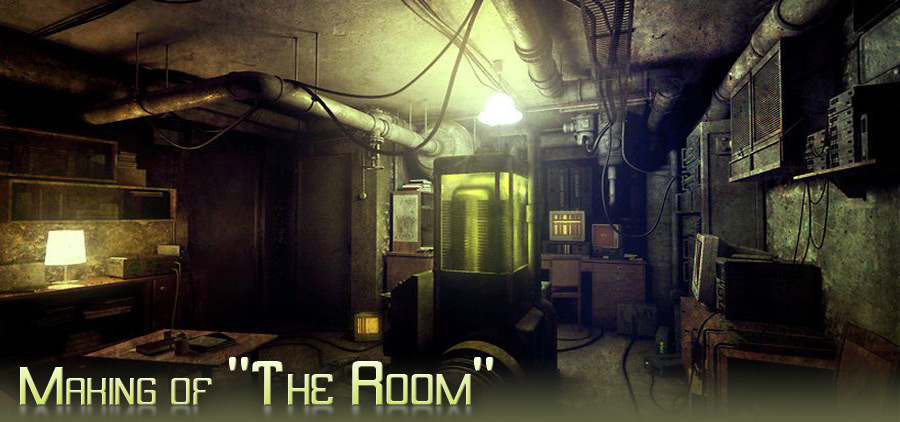
Making of The Room
Initially was defined data storage framework for using in current project. Development of unified file names system will save your time for search of necessary files and scene elements, for transferring of project to different PC, for shared work on project and in many other cases.
Project frameworkInitially was defined data storage framework for using in current project. Development of unified file names system will save your time for search of necessary files and scene elements, for transferring of project to different PC, for shared work on project and in many other cases. In root folder, which has project name located scene .max file, .psd file with visualization postprocessing results and the next folders:
|
|
 |
 |
PrefaceMain scene idea is creation of mysterious atmospheric anthropogenic environment in cyberpank traditions. This is dirty room with old furniture and a lot of computer retro-styled devices must give rise to anxiety, felling of uncertainty, mystery. After defining of main concept location sketch and detailed list of scene elements was created. Then I start to search for a references pictures for this. I divided reference search in two groups: interiors examples, which are close to the intended scene, and scene filling listed elements references. |
|
|
|
|
StartModeling phase is starting from developing of overall room geometry. Some elements were created inside the scene, and others were modeled separately and then imported into file with room geometry. Consequence of elements creation is dictated by “vertical” approach, i.e. objects which is laying on the floor, mainly it’s furniture, were created first, then computer equipment and tubes, and finally wires which enmesh all these objects. The second possible approach is basing on “mass” of objects create more massive and huge elements firstly and then fill the scene with tiny details. |
|
|
|
|


|
On earliest steps of project workflow it’s reasonable to built scene using primitives which help to define dominating elements, distribute masses and imagine final result more precisely. Of course, all these moments should be taken into account during sketches drawing before the start of the work but transferring of concept from paper to 3D unavoidably brings the changes and corrects and if we are talking about scene composition it’s better to estimate everything on starting phase of location creation. |
|
|
|
|
|
Workflow wasn’t strictly divided onto such phases like modeling, texturing, lighting etc. After then one group of objects (furniture for example) was modeled, these elements passed texturing and test rendering with tuned lighting. Work on the next group of objects begun after finishing of this iteration. Such workflow organization helps to receive more correct representation of final result even on modeling step and use obtained information for adjusting further actions. For example, select the most useful viewpoints in the very beginning thus define main zones of geometry detailed elaboration, taking in account material properties, or initially define zones with low lighting level and not spend much time for such zones detailed development. This will be impossible in the case if texturing and lighting setup starts only after total completing of location modeling. Such approach is convenient if geometry volume is relatively small. In more huge project it’s reasonable to create and texture objects before the importing them into scene. |
|
|
|
|
Scene elements arrangementAll objects from scene environment are divided in separate layers, which consist two main groups – system group and geometry one. To system group belong layers with cameras, lighting sources, particles arrays, backups of particular objects etc. Names of these layers are starting with underline which helps to sort them conveniently in main Layer Manager’s list, visually splitting them from layers with geometry. Layer “0” (default) is still empty, it uses for import of new elements into scene. |
|
|
|
|
| To each layer in list assigned it’s own colour, which corresponds to layer’s elements mesh colour in main viewport. Black colour was assigned to system layers. Individual name was assigned to each object in scene for more convenient identification of it in layer’s list. Layers are divided into such groups as furniture, pipes, electronic devices etc. | |
|
|
|


|
In current project layer’s list is next:
Such differentiation of objects by types with individual numbers and colours assignment helped to simplify managing with huge quantity of objects inside the one scene. |
|
 |
 |
|
|
|
PostprocessingThe main aim of final image in this project is to give rise in viewer’s imagination certain atmosphere and feelings through created visual form, which has strict associations with retro cyberpank style. It’s not enough to obtain photorealistic image, contra wise try of exact photorealistic simulation could reduce desired effect. Only artistic postproduction may increase atmosphere. It means work with colours, lighting and texturing (the aim of texturing is to add chaos element, diversify surfaces finish) |
|
|
|
|
Related linksEmail: d.tambovcev@gmail.com Web-site: http://dtfc7.livejournal.com/ Profile: http://denis-tambovcev.3dm3.com Image: http://www.3dm3.com/forum/f195/room-first-condition-denis-tambovcev-23172/ |
|


About The Author
You might be interested in