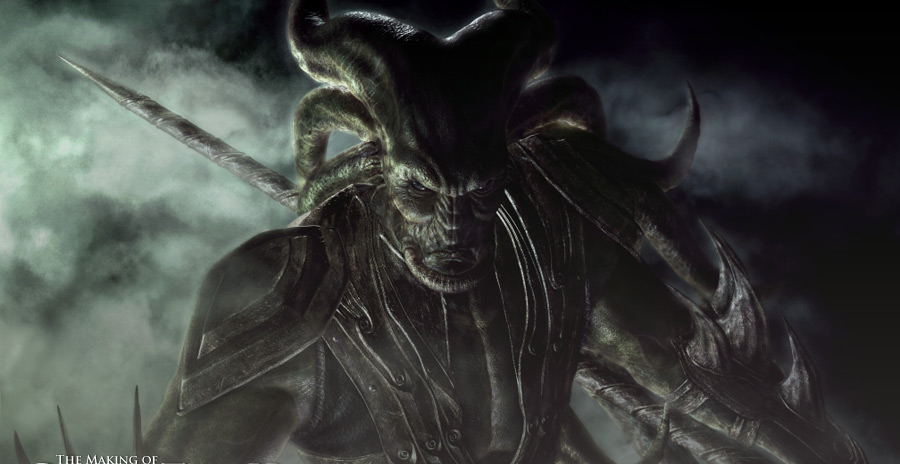
The Making of Corak The Hunter
I got from Red Eye Studio to create 3D Art assets for their game “Dark Sovereign” that is currently in development.
|
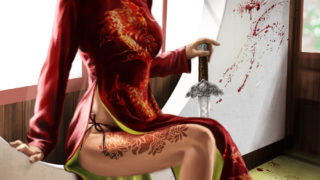
Hi everybody! My name is Philip Herman. I was born in Jakarta, Indonesia but currently I live in Singapore. Now I work for KOEI Entertainment (Japanese video game company) as a 3D character artist. I’d like to share with you guys how I created my image, Corak The Hunter.
I made this image as a freelance job that I got from Red Eye Studio to create 3D Art assets for their game "Dark Sovereign" that is currently in development. So the concept and designs of the character were made by them. They wanted the image to be liked a movie poster. So I used some references from Pirates Of The Carribean 3, Hellboy, Harry Porter, etc. |
  |
|
From the beginning I planed to use ZBrush for modeling. So I just made a low-poly model in 3DS Max before bringing it to Zbrush. I also made unwrap for all model parts in 3DS Max.
After unwrapping it all I brought the model to Zbrush. Then I made some details
After I had finished modeling all the parts in Zbrush I brought the parts one by one to Maya. I choose to pose the model manually since I just wanted to produce a still image…
|


|
Here is a sample of the texture that I made for the character…
I mixed the textures to create the ideal texture that I was looking for.
I used skin material from Maya’s Mental Ray for this character. And I downloaded the skin shader from http://www.highend3d.com/.
I use just four lights for the image (2 Point Light and 2 Spot Light). 2 Point Light are at the back and at the front of the character, and Spot Light comes from around 45 degree (left and right) from my character. I choose dark green and dark blue for spot lights colors. And white for both point lights. I used Mental Ray in Maya for render.
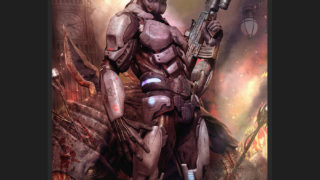
At last, I had come up with the final rendering by completing all the steps of production.
Photoshop took a major role in this artwork. I mixed the final render image with the fog image to make background and foreground and water at the bottom part of the image and some effects also. Once I’ve done it, I had a better view on the entire composition and I was able to start doing the final color correction. This is what I do with every artwork I create.
I hope that you liked this making of and found it helpful. Thanks for reading it.
|
||
|
|
 |
|


About The Author
You might be interested in