Making of “A Day”
Hello everyone, my name is Han Yu. I’m very happy to create this tutorial and honored to share this with you.
STEP 1: Creating concept and collecting reference images.
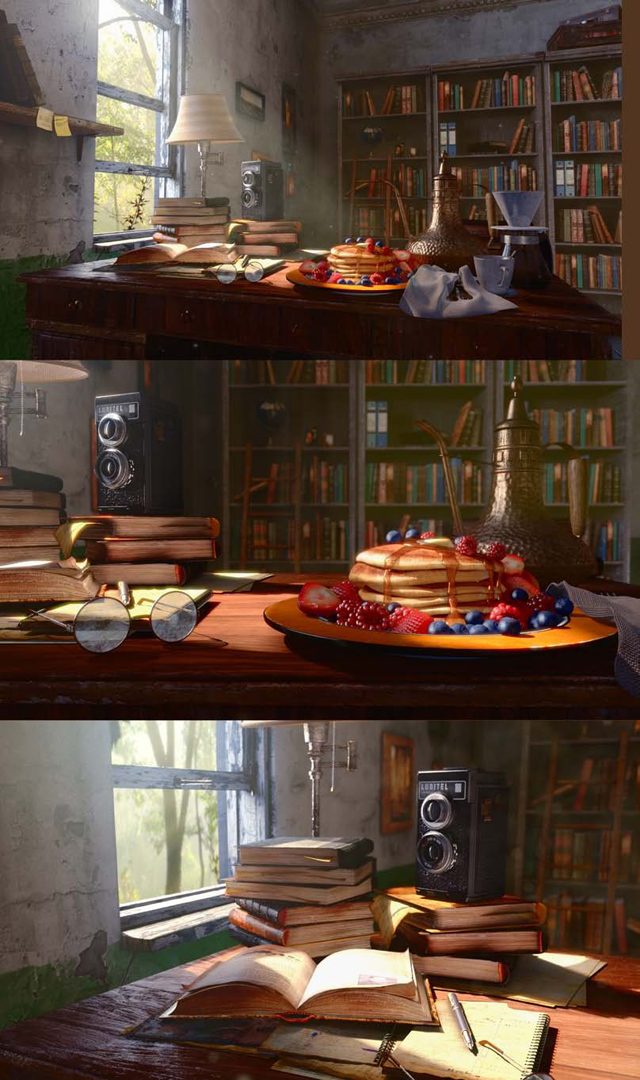
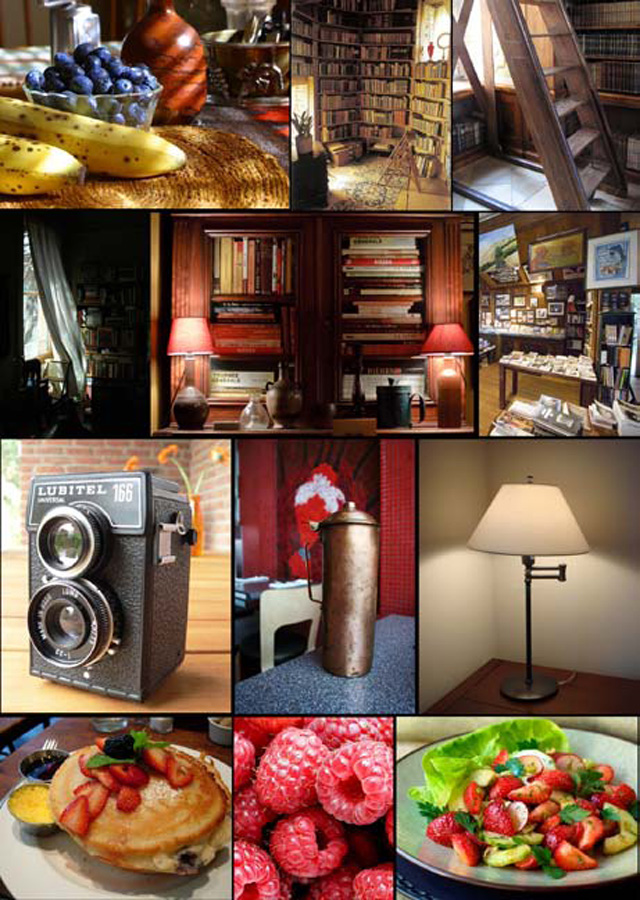
Inspiration from Ratatouille was a starting point of this work. I wanted to make a cozy, peaceful and personal place like brunch time. To create this work I needed to collect abundant images for reference such as camera, pancake, fruit salad, and old library. I generally used reference sites such as Flickr(http://filckr.com), getty image (http://gettyimages.com Above all, I spent most of the time gathering brunch images and fruit salad images which was my primary prop.
STEP 2: Modeling
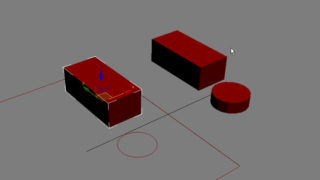
At first, I drew my draft in photoshop using a tablet, and then built rough blocks of the model. By using only boxes and rough low resolution models, I set up overall composition of environment.
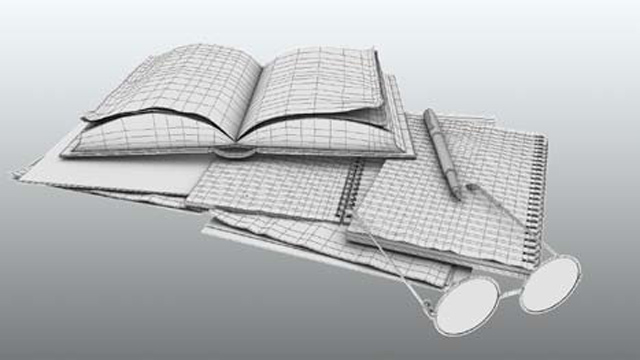
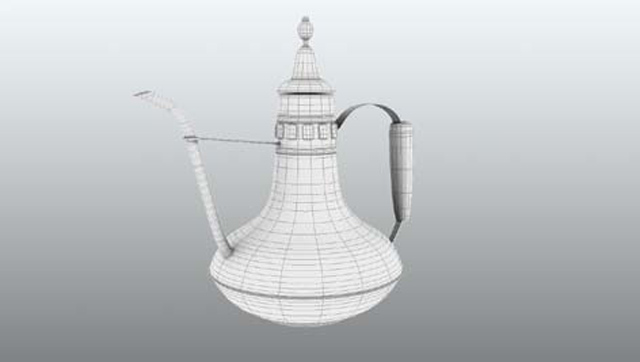
After getting a rough shape of the models, I made an ideal composition for the final image and set up the camera movement plan. Some of the models were made with Nurbs surfaces and then converted to Polygon afterwards. Almost all the modeling were then revised again for a moderate poly count for the final render. Almost all the models are mid-res polygon and deformed by Displacement and Bumps.
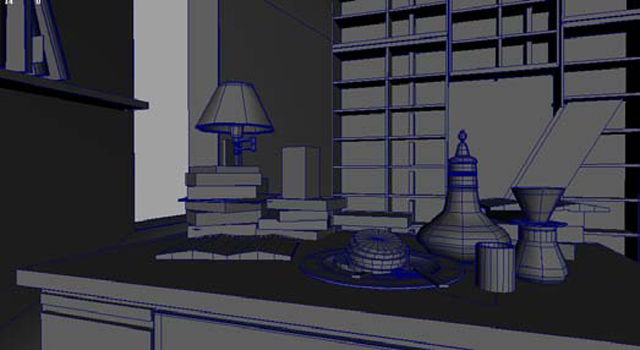
I need a good model before texturing. It doesn’t have to be a super high resolution model, but some of them which will be focused should have an enough polygon.
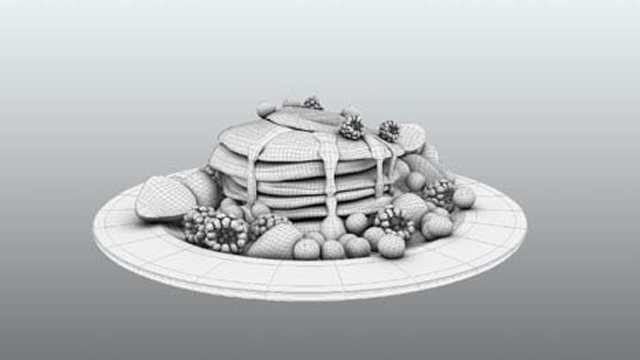
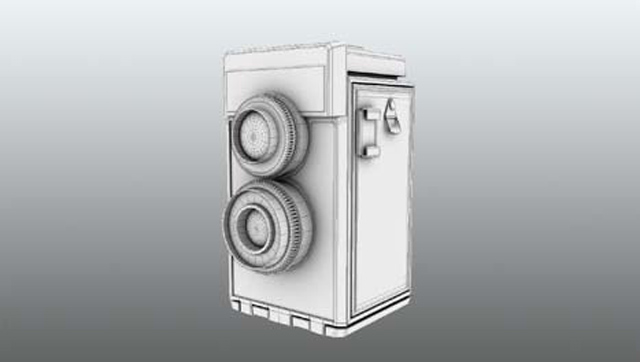
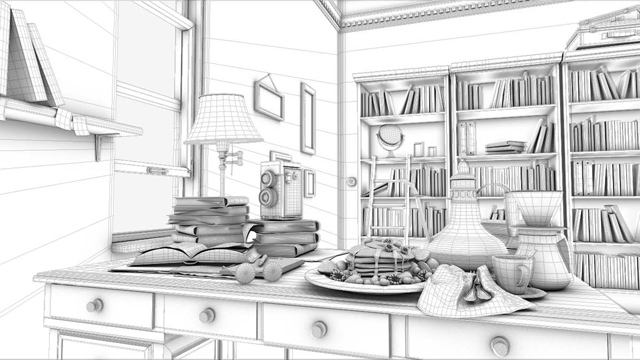
STEP 3: Lighting
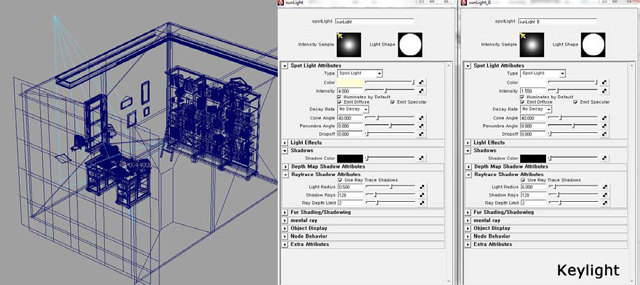
This way of lighting is what I occasionally use without the MR irradiance feature. This is related to the Key light; as you can see in above image, there are two key lights in the scene. The first one is the main Key light to make the sharp shadow and strong shape of light which is the primary light, and the second one is copied key light to make relatively blurred shadow and highlight for the fake irradiance effect by the main Key. I used more than 20 spot lights for final light set up.
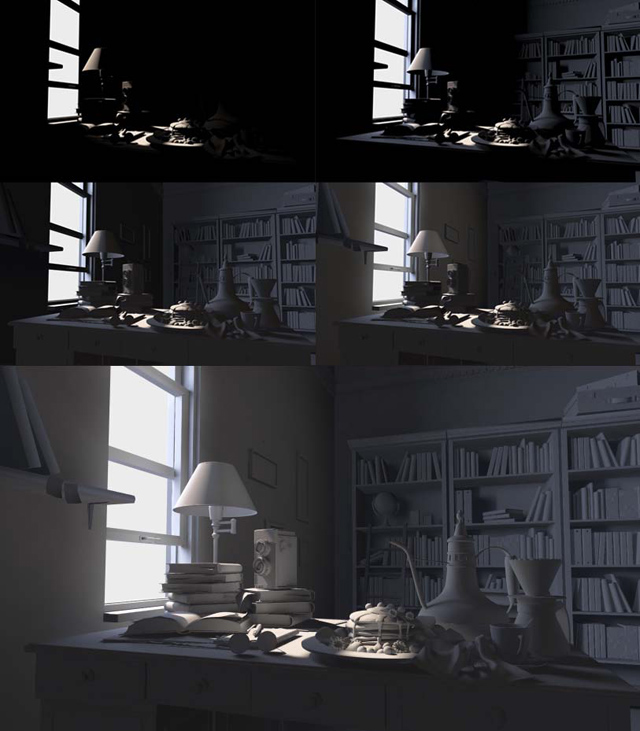
Lighting Breakdown
STEP 4: Texture & Shading
After finishing the initial lighting setup with just using Lambert shader, I started working on texturing and look development at the same time. In case of texturing, I focused on making extreme details by using huge texture sizes rather than optimizing UV arrangement, so almost all the textures are more than 6K.
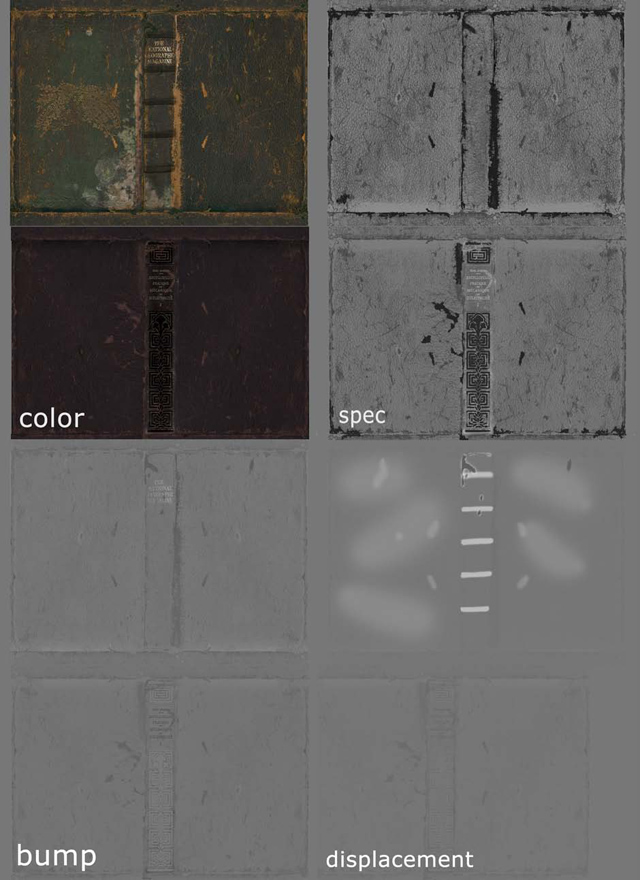
These are the book textures included inside the scene. After getting a bunch of sources from the internet and using photos that I took myself, I made these texture with Photoshop.

In case of the Pancake texture, it was hard to get a high quality pancake texture source, so I bought some pancakes from a restaurant and then took pictures by myself after getting rid of the oil.
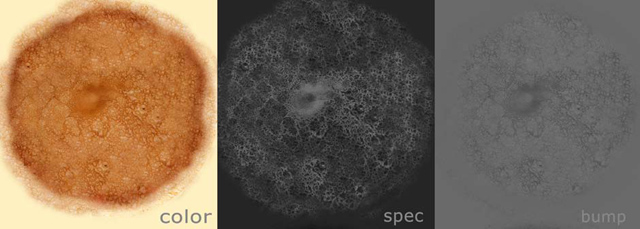

To make the pancake texture I used SSS in Mental ray. The color was based on three different textures: epidermal, subdermal, and overall color. Although recent version of Maya supports automatic Linear workflow, I used the manual way by Gamma Node and Mental ray Lens Shader.
every color(gamma 0.4545 by gamma correction node)
camera lens shader(gamma 2.2 by mia_exposure_simple)
STEP 5: Linear Work Flow
The transfer curve of the CRT electron gun isn’t Linear. Increase in illumination is much faster in the bright range of the CRT output brightness than in the dark range of the same CRT output brightness. This non-linearity of the transfer curve of the CRT electron gun can be represented by a power formula.
Brightness = pow(volt, gamma)
The brightness is proportional input voltage, exponent gamma, The gamma of a CRT is about 2.2 so we get
Brightness = pow(volt,2.2)
Mathematical 3D lighting doesn’t count gamma 2.2
– to correct for a display gamma, setting the Exposure to 1.0 / 2.2 (0.4545) before the designing lights.
– since the event of the sRGB standard, the standard monitor is assumed to have a gamma 2.2 .
All digital photos are now tone corrected with the equivalent of a gamma 2.2 so they can be viewed correctly on the standard monitor. Those two facts have important hidden consequences for the 3D CG artist. Thus :
colorR.value = pow(colorR.value, 2.2)
colorG.value = pow(colorG.value, 2.2)
colorB.value = pow(colorB.value, 2.2)
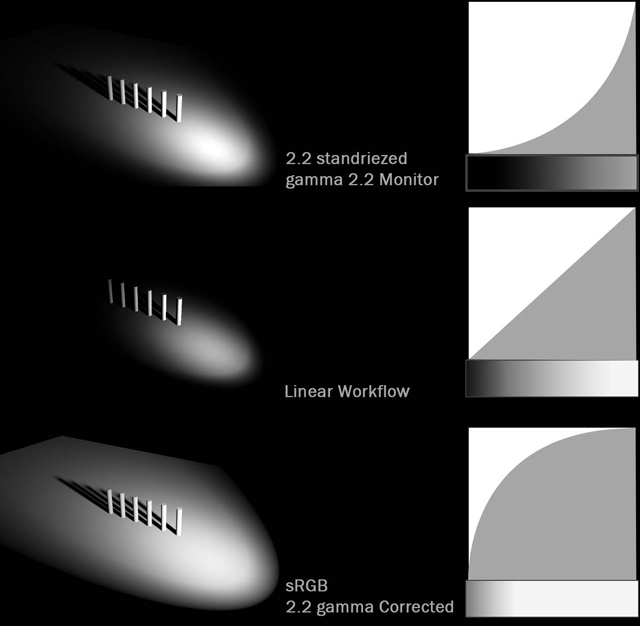
Composite
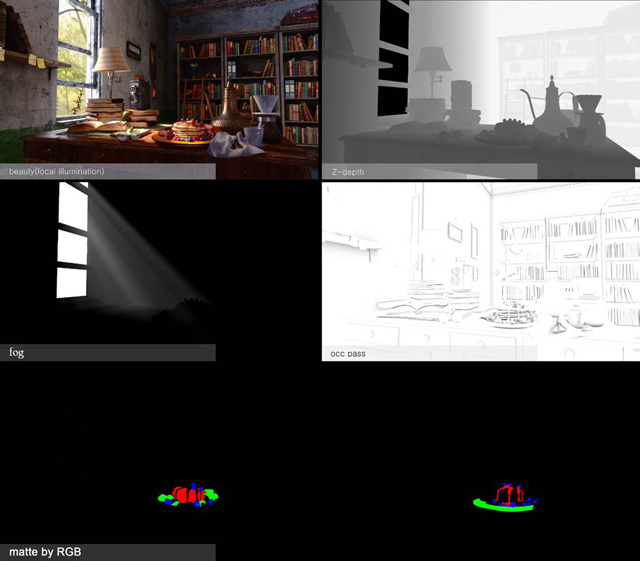
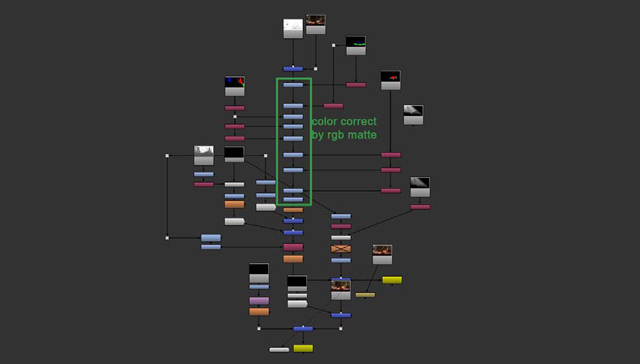
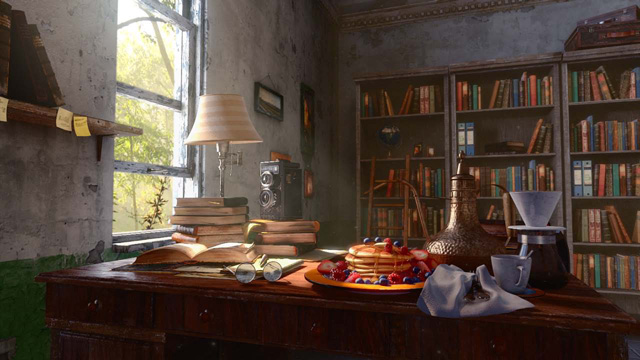
Final
