Modeling Mazda RX8
Starting
Starting out with the setup of your chosen blueprints, I?ve decided to make the “Mazda RX8” and I found the blueprints at http://www.onnovanbraam.com/ who has an wide range of car blueprints. Get the Mazda blueprint here BLUEPRINT
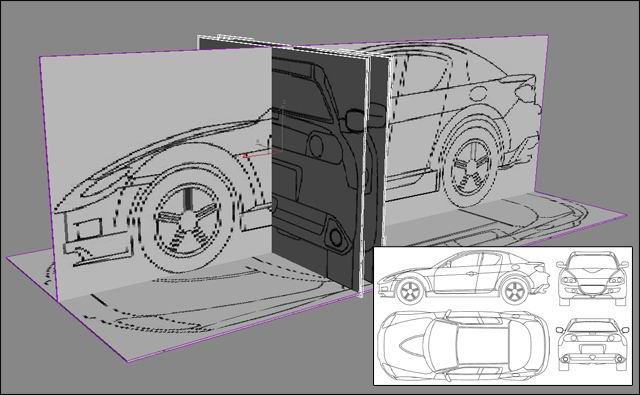
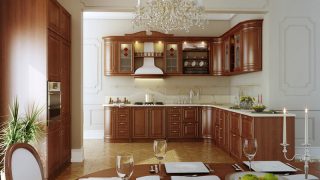
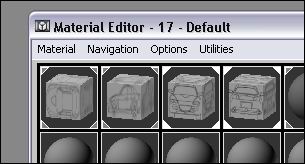
You start out with making 4 boxes that match the size of your blueprint images and then you open your material editor and get the images from where you saved them. Also get some reference pictures, so you can see how the car looks in real life.
 |
   |
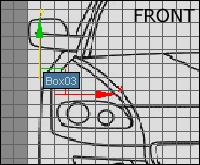
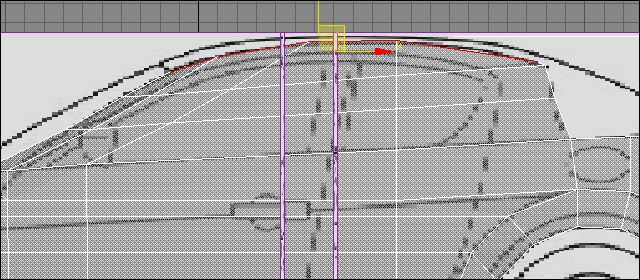
Apply your blueprints an place them like the picture in the top, NOW YOU READY TO BEGIN MEDELLING…
Basic Modelling
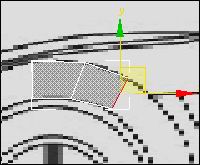
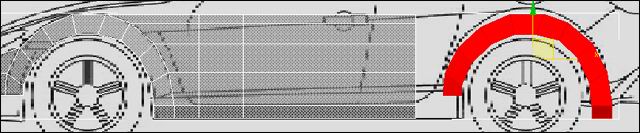
To start modelling you create a plane with no segments, place the plane at the front just above the wheel. Make sure that the plane is positioned correctly in all viewports.

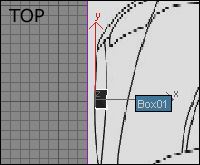
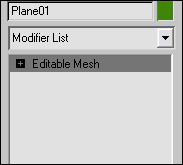
When you have done this, turn the plane into an “Editable mesh” object so you can begin modelling the car. If you want to you can give the “Plane” another name like car or body…
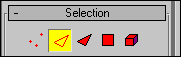
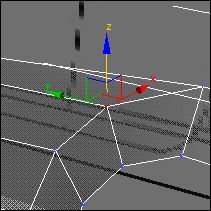
Now we start modelling the car, go into your editable mesh and choose “Edge” from the panel. Pick the outher segment of the plane, hold down shift and drag the mouse to the wanted direction.
 |
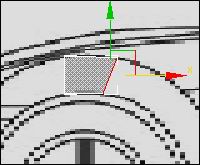  |
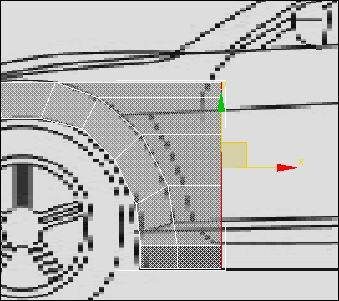
Continue doing this until you have shaped the plane all around the wheel carrige. Keep in mine that you have to move your edges in all viewports to get the right shape of the car.
Shaping The Body
Again you choose the outer edges of your plane and then you run them along side the body of the car, make 2 or 3 stops un the way so that you create some segments for later use.
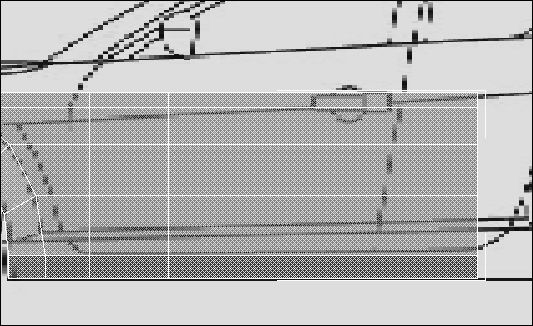
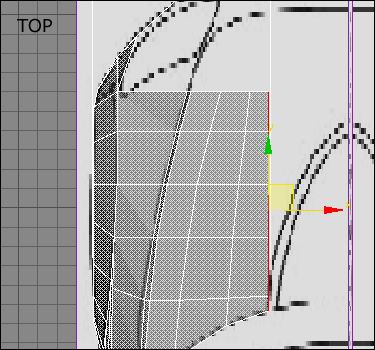
Now we need to shape the back of the car were the wheel is going to be, here we use a little copy and paste system. Go to your editable mesh and choose “Polygen”, then select the first shape you did “Like below”, hold down shift and drag it to tha back end of the car.
Make the copied selection fit to the blueprint and connect it to the rest of the plane. You connect it by welding the vertex?ses togehter. Make the vertex?ses be in the exact same position and then choose ” Weld –> Selected ” if their not in the same position you will get a notice from the Program…
![]()
You should have something like this now, keep on shaping the rest of the body and remember to shape in all viewports!
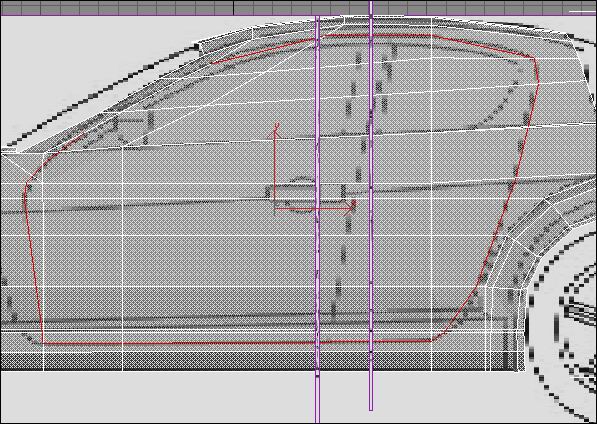
The Body 2
Now we are going a bit upwards, we are going to shape the rest of the body. Select the upper edges of your plane where the windows start. Again hold down shift and drag them upwards, remember to make some segments on the way.
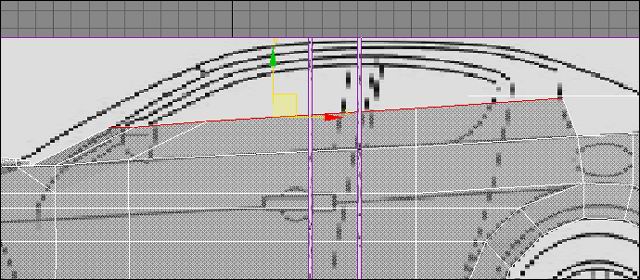
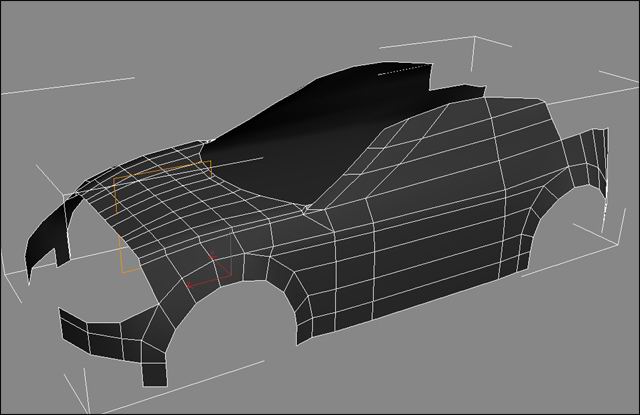
Also drag the front hood inwards like shown down under… Still shaping the plane after the blueprints.
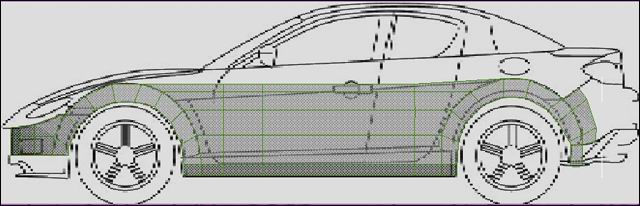
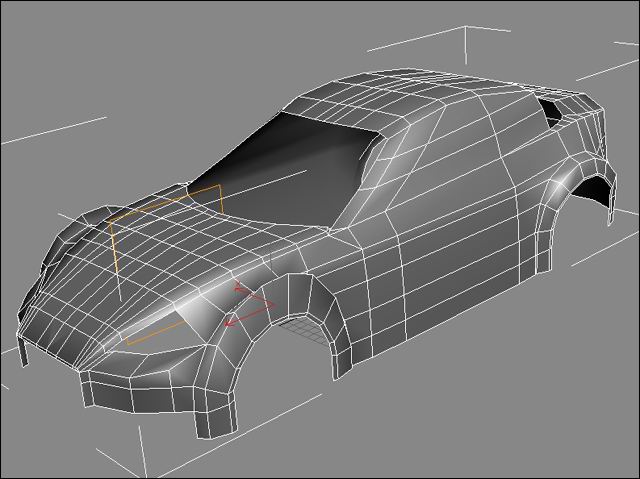
Now lets take a look at the car so far, with the symmetry on it should look like the picture below. Keep on making the roof and the back hood, and remember to shape in all viewports!
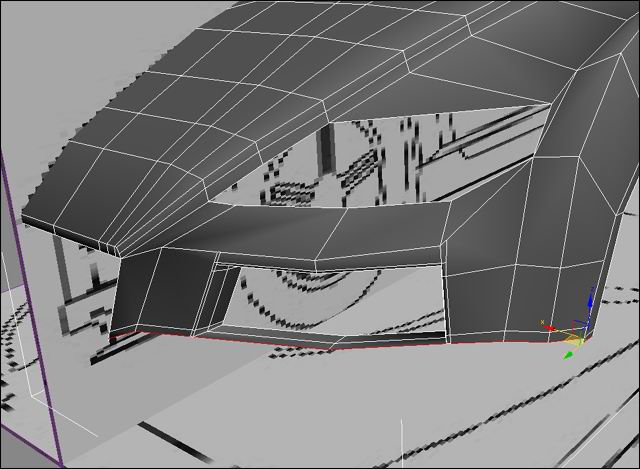
The Spoilers
By now we should be ready to get on with the spoilers, so lets take a look at the car so far. The spilers are a bit tricky because they are not as plane as the rest of the car, but lets get to work.
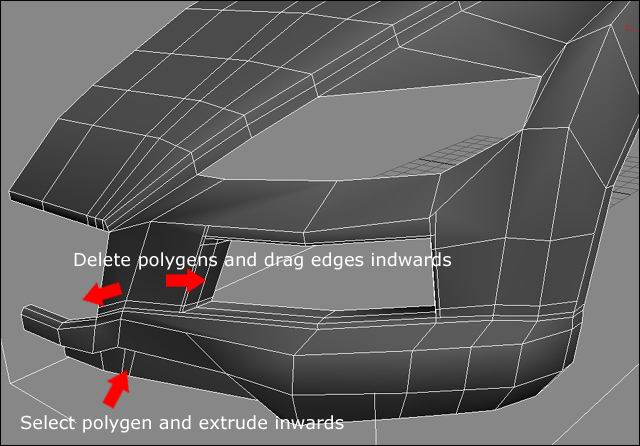
Go to the front of the car and shape the spoiler, the places where the air filters are you just delete the polygens and drag the edges inwards to get a hole like shape. This bit requires a lot of welding, be careful not to make to many segments because it may disturb your smooth.
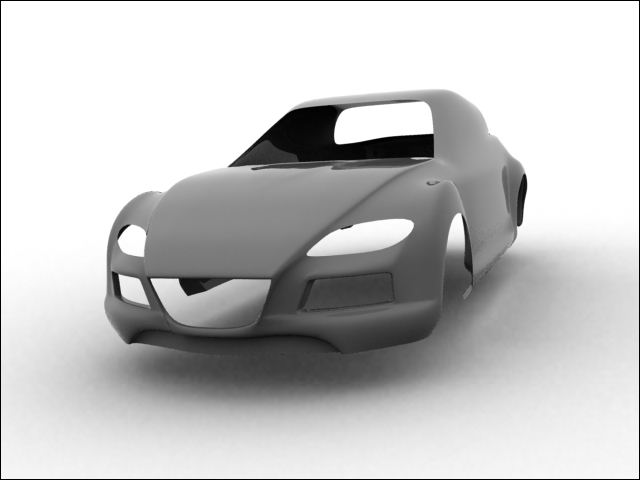
Lets se the car with a meshsmooth of 2. The spoilers are a vital part of the car, because they make it look really good, so work hard on them and be pacient.
Cutting
Because we have shaped the whole car out of 1 plane, we need to cut out the doors and etc. Go to the edge selection an go down to “Cut”.

Now you can cut out the shape of the door. You dont have to be all that precise because we gonna make it fit with the meshsmooth on.
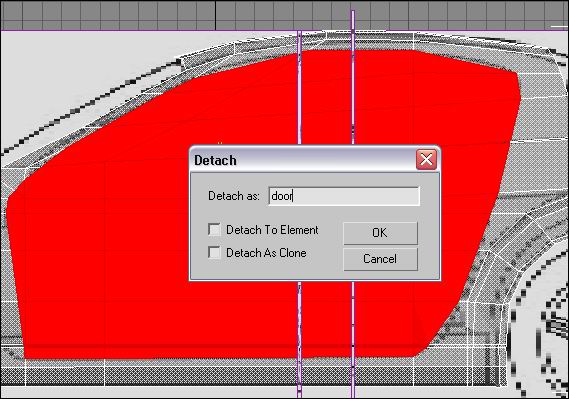
Now go to the polygen selection and choose all the polygens that make out the door, choose detach “to object” and name it door. Dont choose anyone of the detach options…
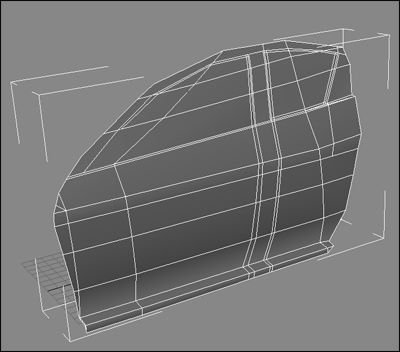
Your door should look like this, you can continue cutting out the various shapes like the windows in the door. Use the detach option for the front hood and the bach hood the spoilers and so on…
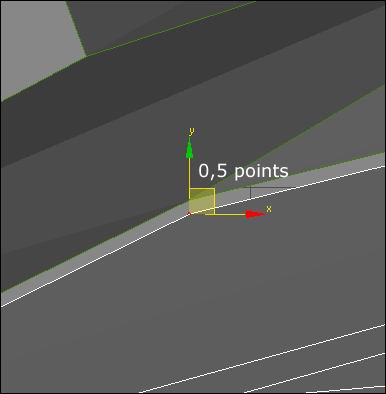
Now you just have to make a lillte room between the door and the rest of the body, so they dont look like their one big piece. I usually make a difference of about 0,5 that seems to the job.
With the meshsmooth on you should have something like the picture below. If not go back a few steps and try again. Remember also to save your work at various points in a new file.
Windows
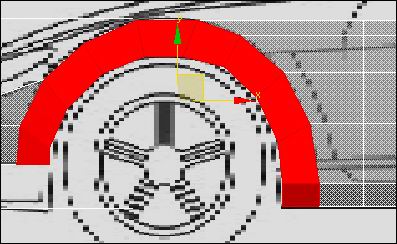
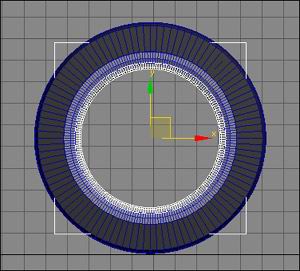
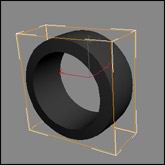
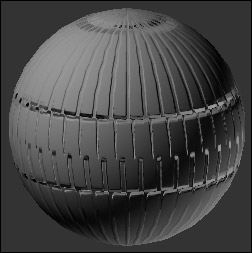
Now to the tire, first you make a tube so that it fits the outer tire.
Tires
Now to the tire, first you make a tube so that it fits the outer tire. I always make 100 sides to my tube, so that its perfectly round. Copy your tube, make it a bit smaller so that you have an inner tube like the picture beside.
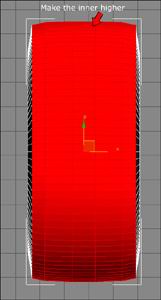
Make the tube into a editable Poly, select the inner polygens and use the “Uniform scale to make it bigger in the middle all the way around the tube.

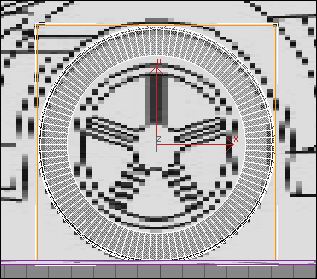
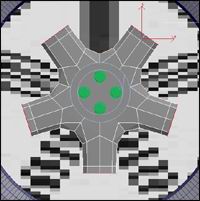
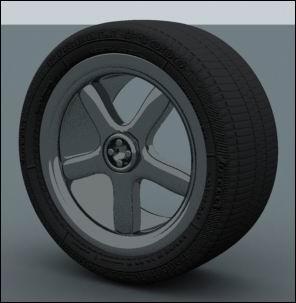
For the rim you make a Cylinder with 10 sides, because the rim has 5 points. Extrude the 5 points outwards to create pillars. In the middel you can add some cylinders.
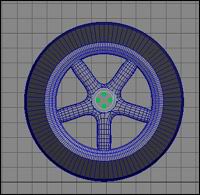
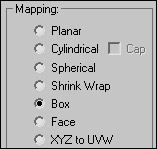
Mapping your wheel aint that hard, here we are using alot of bump maps. First you apply a UVW map to your cylinder, in mapping you select Box.
Create a new material and put a rim texture on your cylinder like this one.

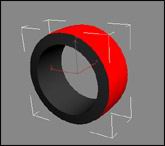
Select all the inner polygens ass shown. Go and choose a new map for our tire texture.
Go to your bumpmap selection, turn it on and press the NONE button.

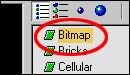
Choose Bitmap from the menu.
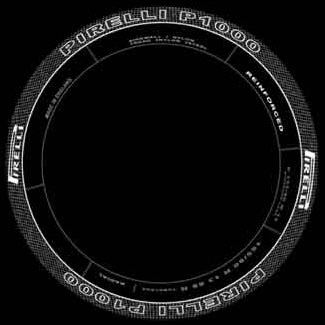
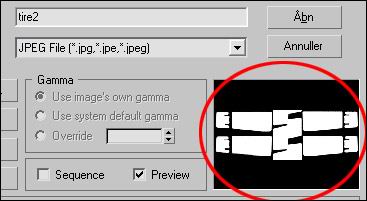
Go and find a tire texture, if you dont have one you can get it here TIRE TEXTURE
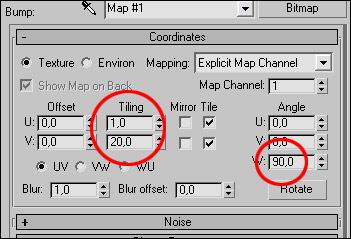
In the tiling slot set V to 20 or the prefered number and set the W angle to 90.
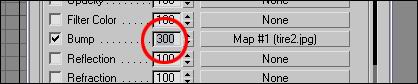
Go back to the bumpslot and set bump to 300.
This is the end result, put that on the selected polygens.
Actually its up to you how you want thr rim to look, but Iam happy with this one. For the inner rim material you can choose a basic Brazil Chrome or if you dont have that, see rendering the scanline way and copy the material you put on the car to your rim.
Rendering
Rendering is the most vital part in this whole section, I?ve chosen to make a Brazil and a scanline render for you. First we take the brazil render. Go to your brazil setup, in “Brazil image sampling”, set min sampling to 1 and max sampling to 2. This way you will get a great anti aliasing.

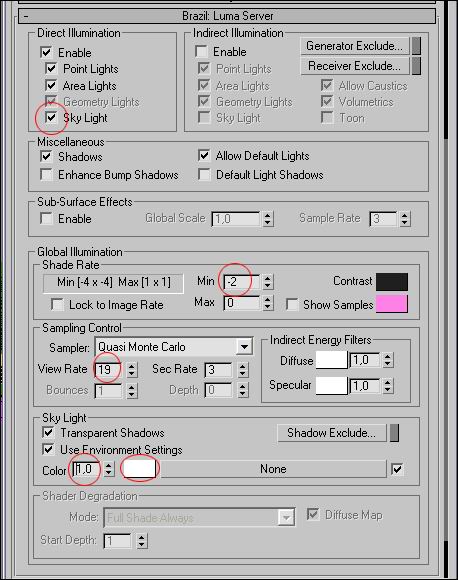
Go down to “Brazil Luma Server” and activate the sky light, set the shade rate to -2 and the view rate to 19. In the skylight color you set it to 1 and the color to white “ffffff”.
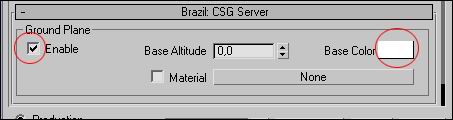
In the bottom you enable your “Brazil CSG Server, this will create a ground for our car, set the color for the ground to white “ffffff”.
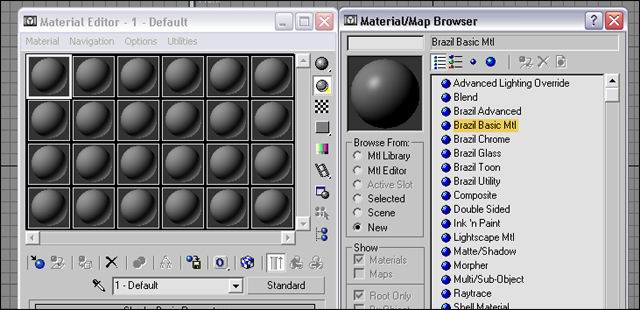
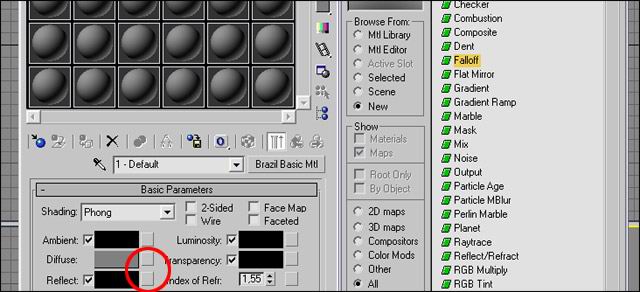
Now we are going to make the lacquer for our car. Choose the “Brazil Basic MTL” in the matrial map browser, you apply a falloff to the reflect slot. In the falloff menu you choose fresnel.
Choose falloff for reflection.
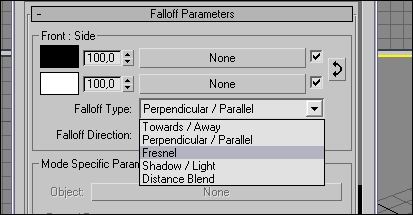
Choose fresnel.
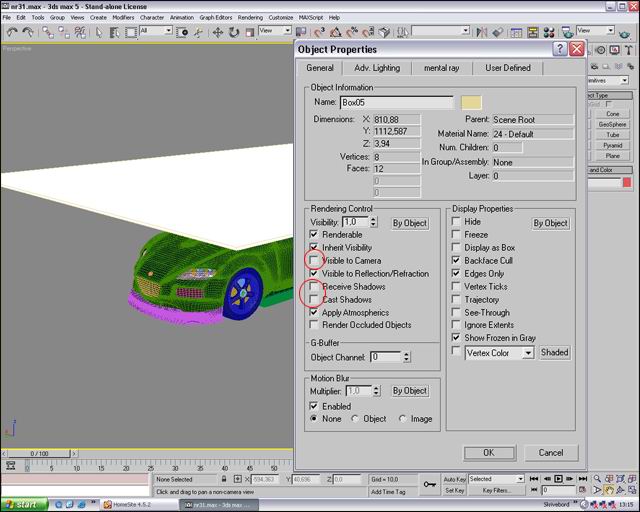
This material you put on your car, pick the color you like. Then you create a box that covers all the car and place it above it, this box is our reflection. Rightclick on the box and turn of “visible to camera”, “Recieve shadows” and “Cast shadows”. Go to your material editor and apply the brazil utility material to the box.
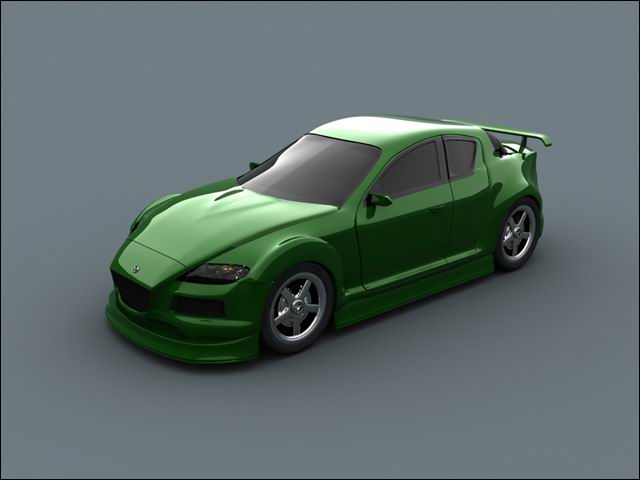
If you have done it proberly, you render should look like this.

About The Author
You might be interested in