Basic Car Rendering setup with Brazil r/s by Emre Gorenemregoren
(This tutorial wont use HDRI) important note: This settings will be startup for the render , you will have some trial & error for better results.
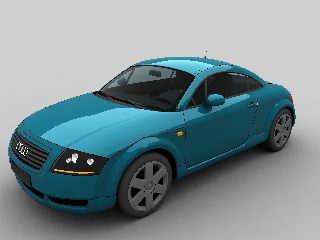
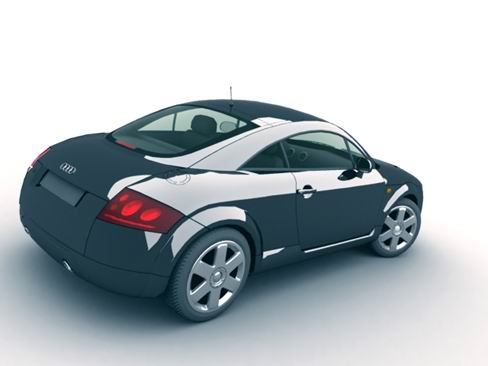
Ok , here is the first tutorial, I will try to keep it simple and short.. Its not so hard and after this tutorial you will see that it takes only 5 mins to setup a scene.. As the topic says this is a car rendering so you will need car model to render.. Fot this lesson, I will use an Audi TT
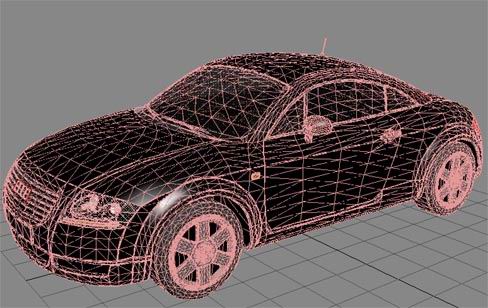
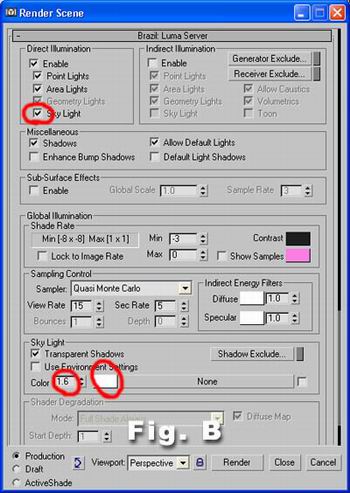
Go to Luma Server of Brazil settings, turn on Skylight, choose white color and 1.6 value (Fig. B)
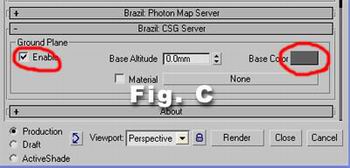
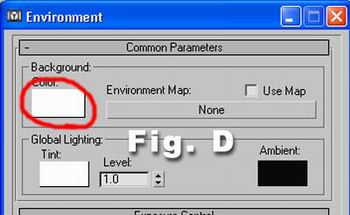
Scroll down to Brazil CSG Server, enable Ground Plane and select a dark grey color (Fig. C), go to environment and select white for the background (Fig. D) These colors wont be the final ground and background colors, we will play around with them later..
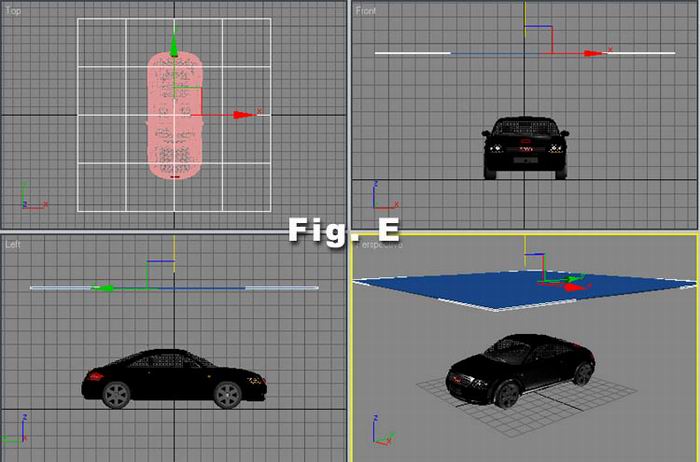
Create a box over the car, this will be our reflection source and it will be white after we assign a material , so lets call it white box.. (Fig. E)
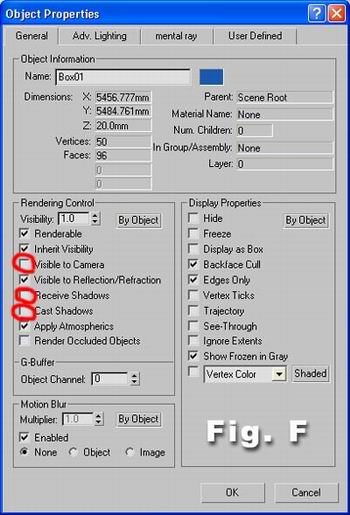
Right click on the box and go to the properties, un-check visible to camera, receive shadows and cast shadow (Fig. F)
You are free to create a camera and set a nice angle… Now we are going to the materials section..
Materials Section
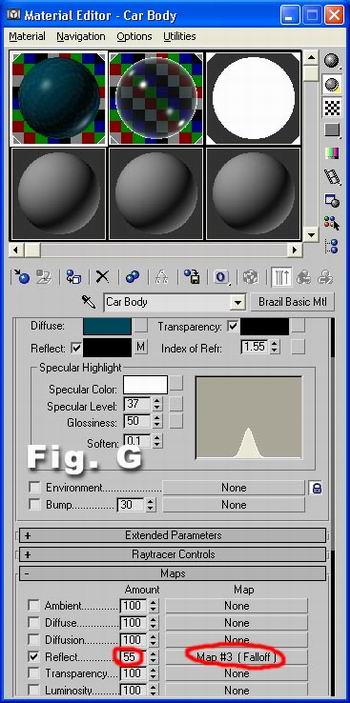
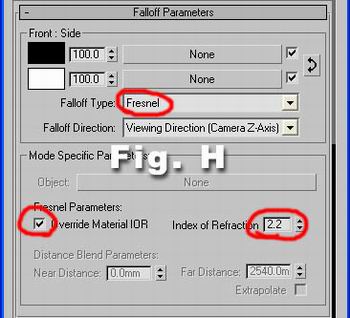
For the body of this car, get a Brazil Material, dark green for diffuse and Falloff map for the reflection. The diffuse color is upto your choice and you will see that it will need adjustment after the first test render (Fig. G and H)
SIMPLE CAR GLASS
Now we will create a simple car glass material. Get a standart max material,
shader type : blinn, 2 sided
Ambiant and diffuse color : black,
specular color : white,
opacity :40,
Avanced Parameters : AMT=15 and Filter color : 84 , 104 , 107 (RGB)
In the maps section, select Falloff map for the reflection slot and choose Fresnel for the Falloff type leave it 1.6 in Index of refraction..
Apply this material to the glass objects of the car.
WHITE BOX MATERIAL
(for reflection on the car body)
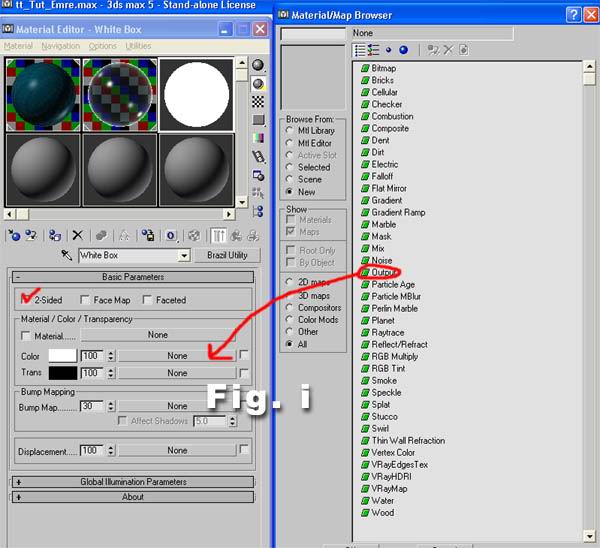
Get Brazil Utility material and select Output map in the white color slot, increase RGB level to 3.0 in the output map parameters.. Apply this material to the White Box that we have created..(Fig. i)
Okay now its your turn to create other materials… But for now we will take some test renders..
TEST RENDERS & FINAL ADJUSTMENTS
When you hit render you will see something like this
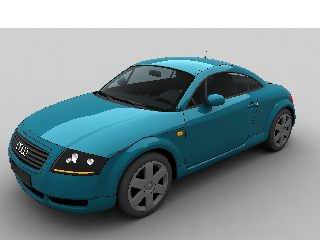
As you can see the dark grey ground plane (CSG Server Module), became brighter, thats the result of white skylight and its 1.6 value… but that plane ends at the edge of the horizon and our white environment background color makes this image nasty.. To fix this, right click on the rendering window, and get the RGB value of plane that meets with white color.. (Fig. j)
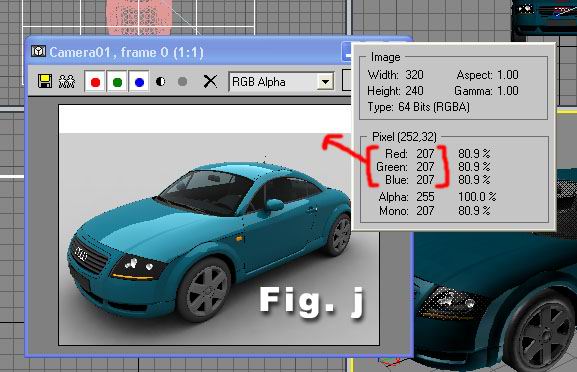
Go to the environment settings and change the white color to R,G,B to 207 (Fig. k)

Hit render again , now your image should look like this

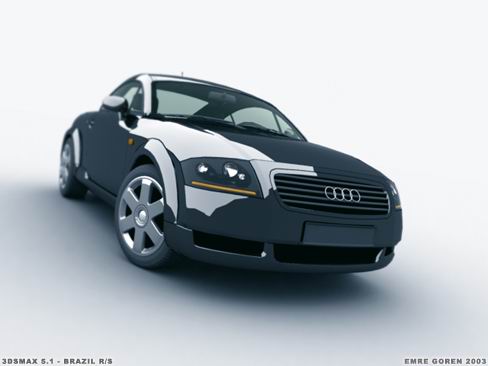
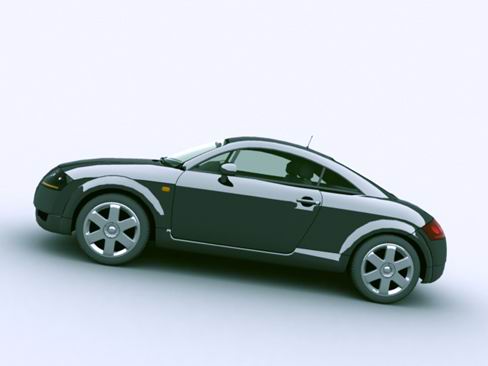
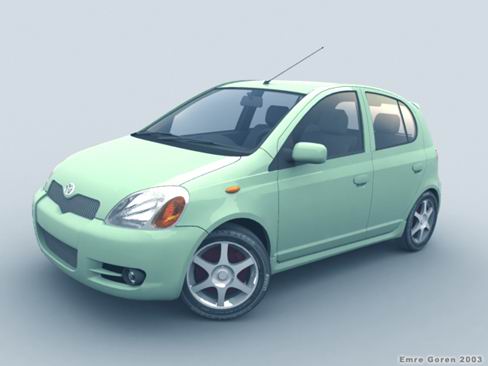
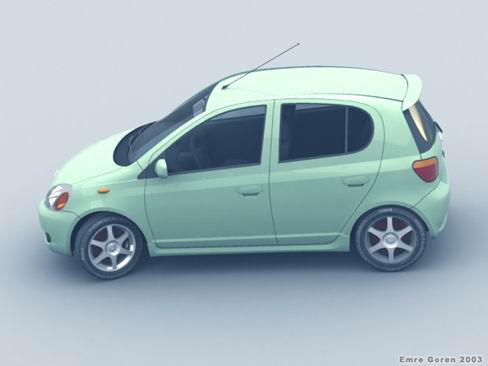
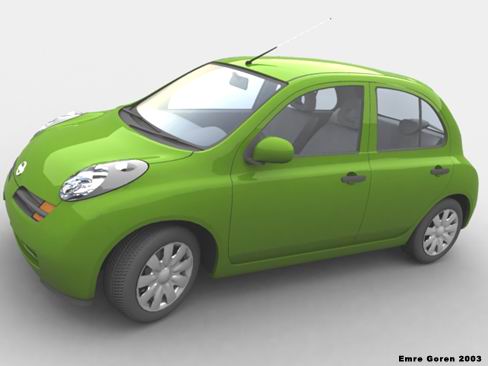
When you play around with the settings and create nice materials, you can have images like these :
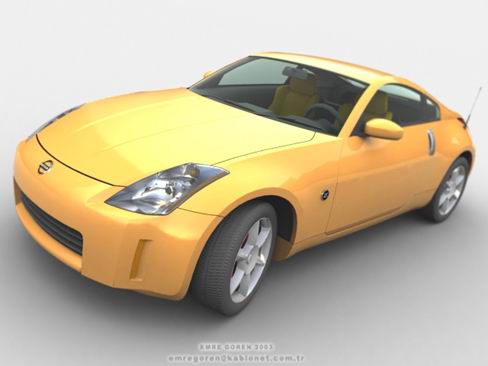
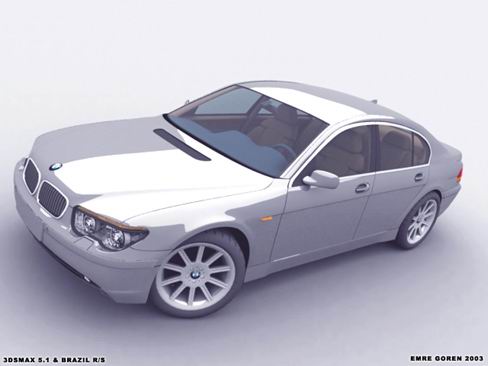
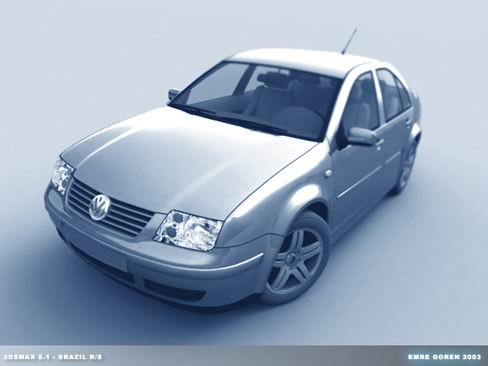
TAKE CARE
Emre Goren


