How to create a portrait from photograph
1. Prepare 2 photos or skectchs of front and side of a head. Create 2 box as in figure 1. Be cafeful of the proportions when you assign mapping on them.
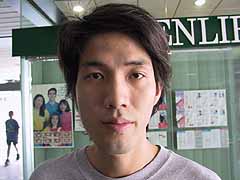
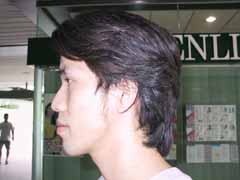
figure 1
camera view
2. At front elevation, draw lines, following the contour. Make sure every vertex join together in rectangular or triangular shape (the surface would not be created if you create more than 4 vertices in 1 unit)
(figure2.1). Begining with face outline, eyes sockets, nose and mouth respectively The contour lines around eyes sockets and mouth should be 2-3 rounds (picture 2). It should be better and easier if you create corner vertices and change to curve bybezier adjusting later.
Skip drawing eyes details and nose details first
(see figure 2.2). They will be drawn in step4. When finished, try use surface modification, make sure the surfaces are created whole area (except nose hole and eyes) then back to line again.

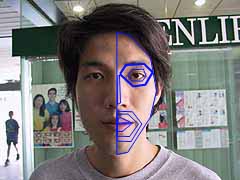
figure 2.1

figure 2.2 a sample of surface, just to show skiping nose details (we won’t add surface modifier in this stage)
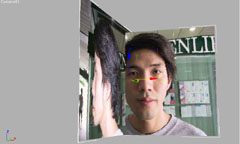
3. Drag all the vertices following side contour. In case of no side picture. Mirror the line you are drawing (reference type), create a light, place it at the same position as in front picture then drag the vertice follow light and shadow area. You may render so many time, see whether the light and shadow area is nearly the same as in the front photo.
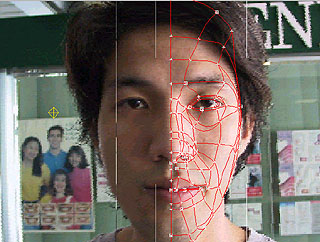
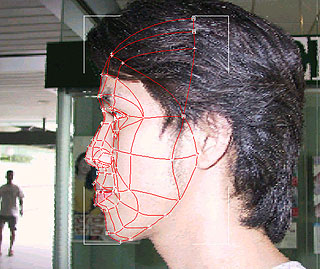
figure 3.1figure 3.2
figure 3.3
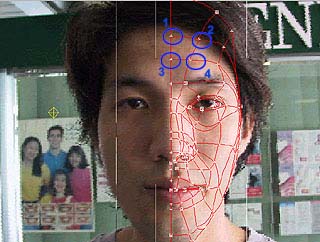
Draw correct side view contour by use referecnce object
4. Now detach the line arond nose hole area and off all the rest to prevent you from confusing so many line and vertices. scale and copy the closed line in figure to create a nose hole copy again and move upward then use cross section modifier to create connected line between the nose hole outline then bezier them to make it look like curve. Then attach again with your face contour.
figure4.1
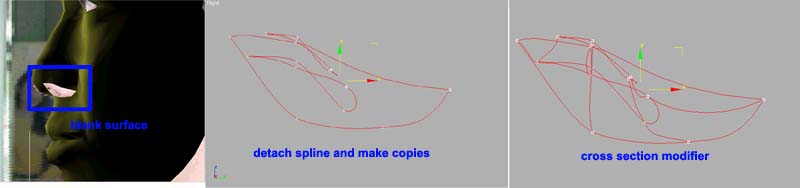
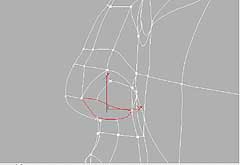
figure 4.1
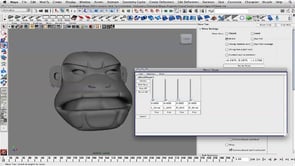
figure 4.2 Try apply surface modifier and see how it look like
5. Create eyes levels, by refining vertices around eyes socket then create line using 3d snap follow the vertices, move them backward.
figure5
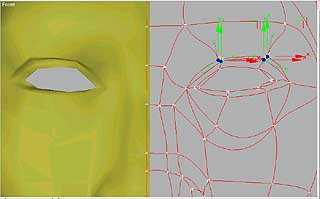
figure 5 refine vertexes and make eyes details
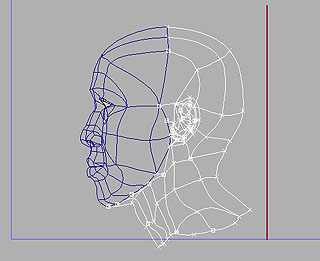
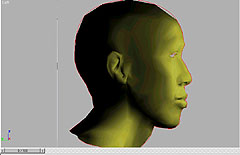
figure 7
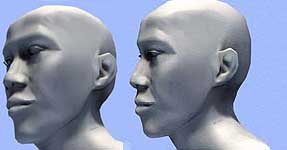
8. Now that the whole side of head are finished. Mirror it then join the 2 side of head together (weld or fuse). Take care of the top view and try to change some sharp angles of joined vertices especially around nose and mouth by use bezier tool.


About The Author
You might be interested in