Ford Focus Tutorial Series by Alex: Part 1
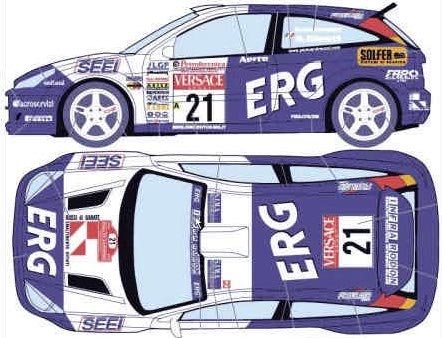
Hi everyone. This is part 1 of my tutorial series on how to model a ford focus WRX. In this part you will learn how to properly set up the image planes. Now you might think that we should get straight into modeling but reference images are very important and this is just a good way of doing this. Well let’s start. First bring the image into Photoshop. I have downloaded the images from Tomas Suurland’s fantastic site. http://www.suurland.com

Next use the rulers to form a smug rectangle around all the views we are going to need. Now you would probably need all four views but I did just three because the front and back view are pretty much the same. So align the rulers with the images.
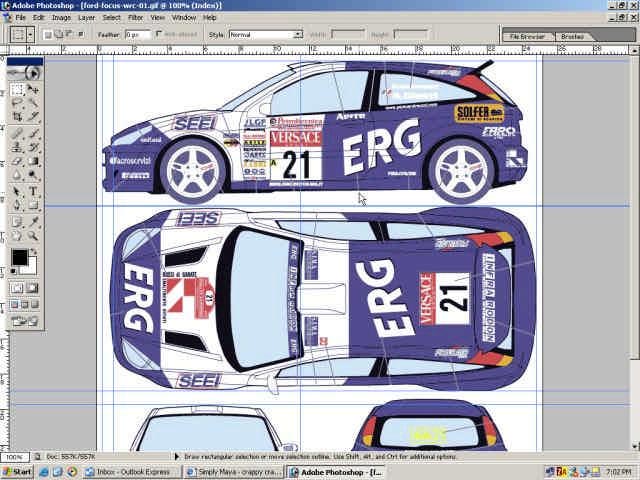
Now we need to make sure that all of the images are the same size. I will start with the top view. Just select the view (this is where the rulers come in handy because the selection tool just snaps to them), go to edit>free transform and move and scale the selection so it is exactly the same size as the side view.
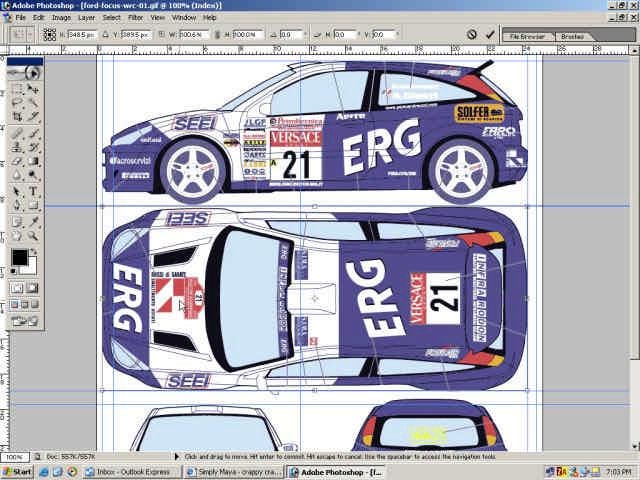
Now we need to align the front view. I think that it is the hardest to align properly. So select it like in the step before and drag it next to the side view so we can adjust the height.
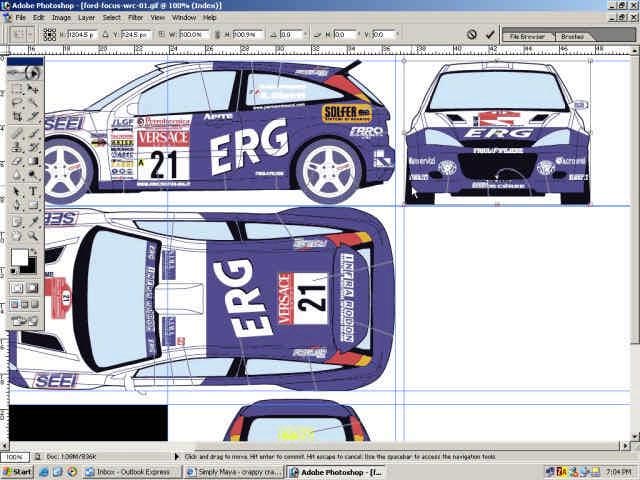
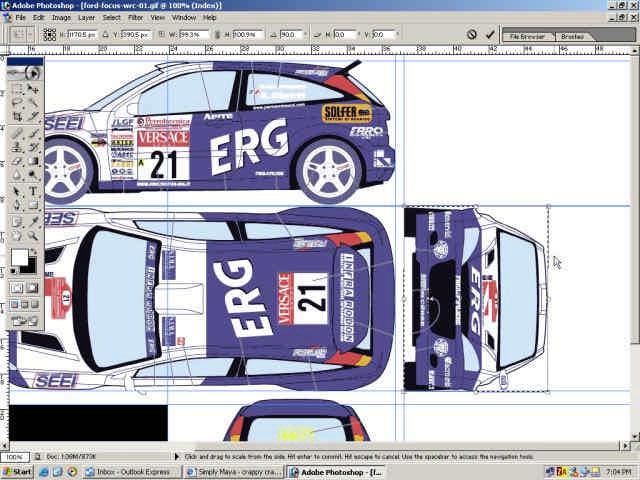
Now that we have aligned the height we need to make sure that it is the same width as the top view. So select it again and suing free transform move and scale it so it is exactly the same width as the top view. You will probably need to rotate it to align properly and you can do this by going to edit>transform>rotate 90 CW and rotate 90 CCW to rotate it back to the needed position.
Now that they are all aligned we need to make them into separate images. To do that simply select the view using rulers and go to copy, file>new and you should see that conveniently the proportions are already set for the view you have just selected. Write down width and height somewhere because we will need it later.
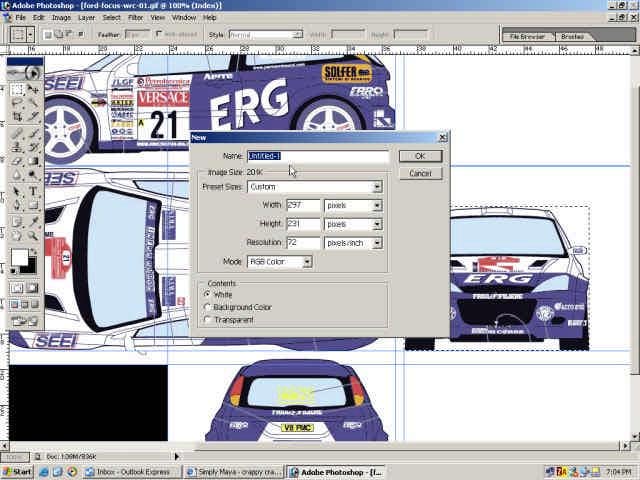
Now just paste into new file and voila!
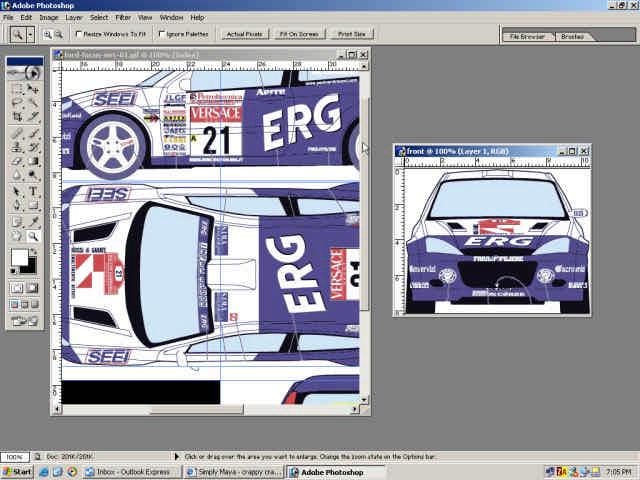
Do the same thing for all the views and save them as JPEGs.
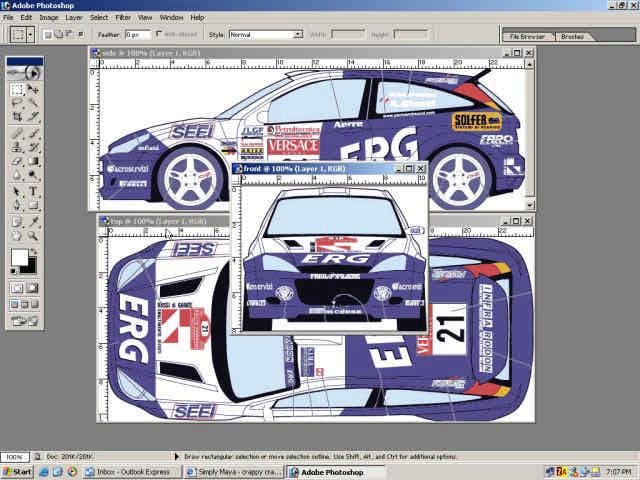
Now to bring them into Maya. Open Maya and go to four camera view. Now select the top view camera and rotate it 90 in Y. This will keep the images aligned.
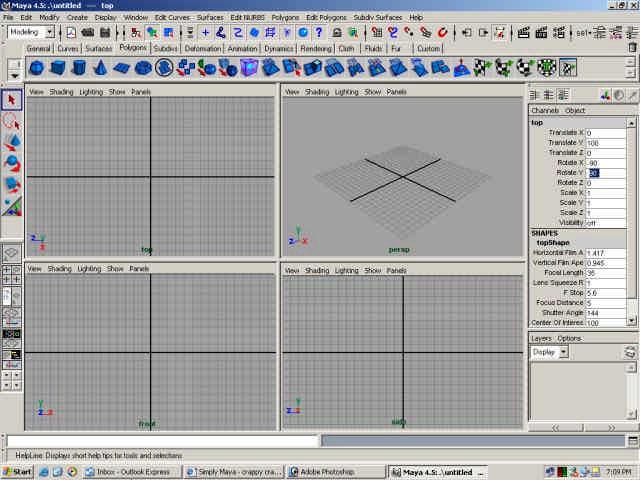
Now select each of the four view cameras and create image planes for them through the attribute editor. Next we need to make them the same size as the images. To do that simply take an image planes and in the width and height bar in the channel edit enter the height and width values that you wrote down before. Note: use should probably use X.XX because having just a number XXX pixels will make your images too big.
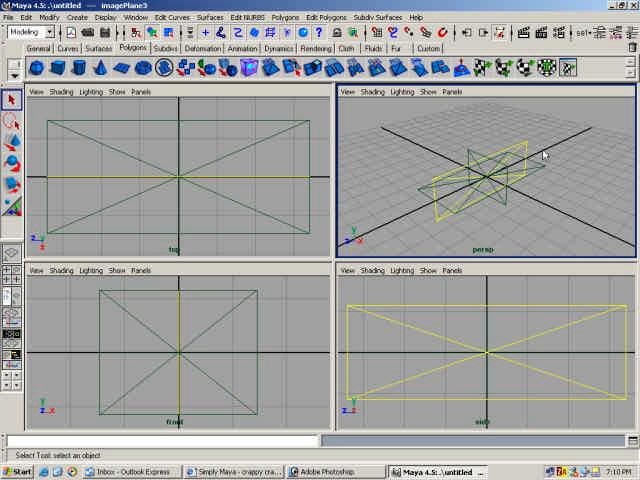
And now to just add the images by going back to the attribute editor and assigning an image to an appropriate view.
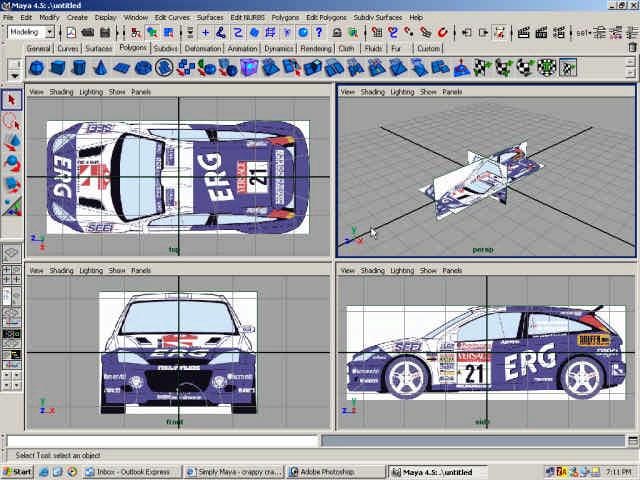
That’s it!
We will start modeling next part— Create the wheels for the car »»
- Part 1 — Set up the image planes for good reference.
- Part 2 — Create the wheels for the car
- Part 3 — Start making the low polygon model of the car
- Part 4 — Convert the car to Sub-D


