Ford Focus Tutorial Series by Alex: Part 4
FORD FOCUS PART 4
Hi everyone and welcome to the final part of the Ford Focus tutorial series. While this is the last part of modelling the body , there might be more tutorials on detailing and interior. This is just for those who want to smooth out their model ready for texturing and son on. So Let’s start.
Note: For this tutorial you need to know the basic layout and menus of Maya
I will be using a very simple technique. While it is simple it is quite repetitive. There will probably be seams and sometimes gaps in your model but you will need to fix them up yourself , for I believe that when every single step and tweak is written down, the artist just reads the instructions and follows them, while if you were to figure out some problems on your own, it would help you learn.
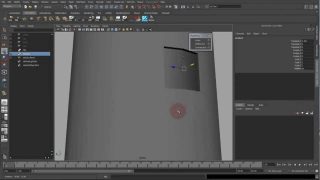
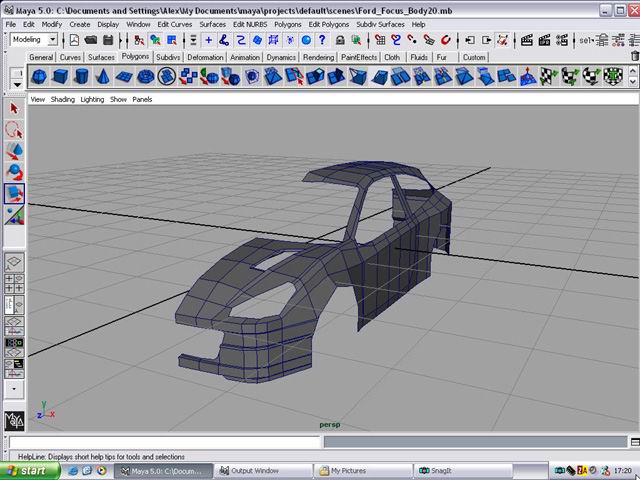
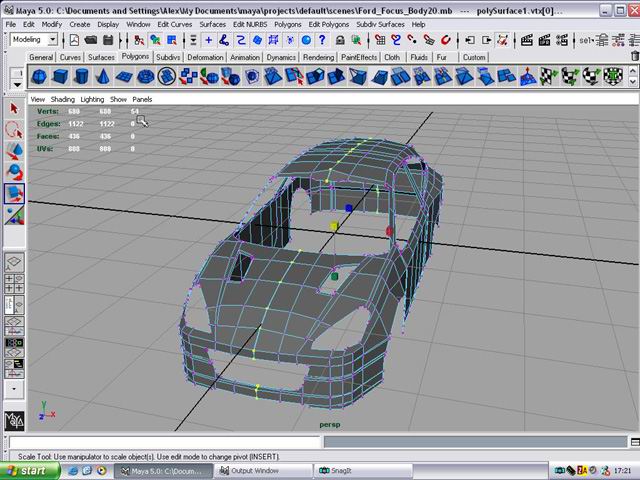
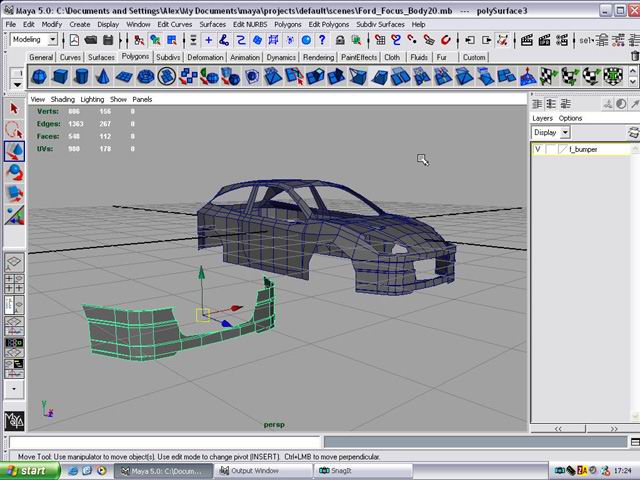
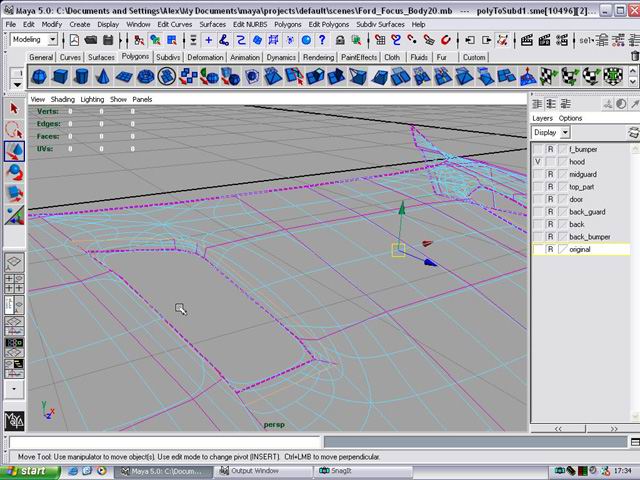
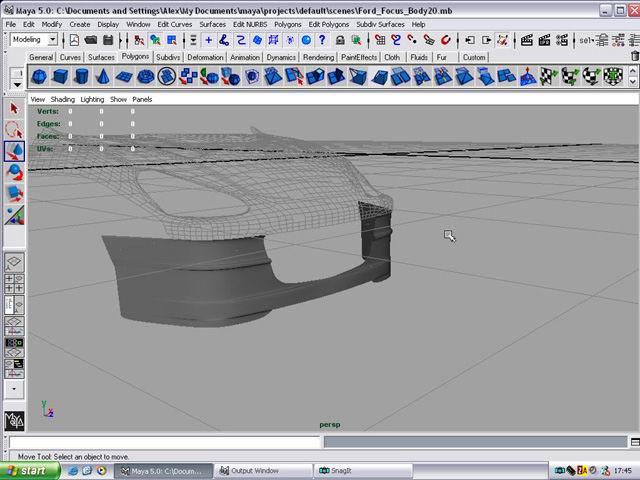
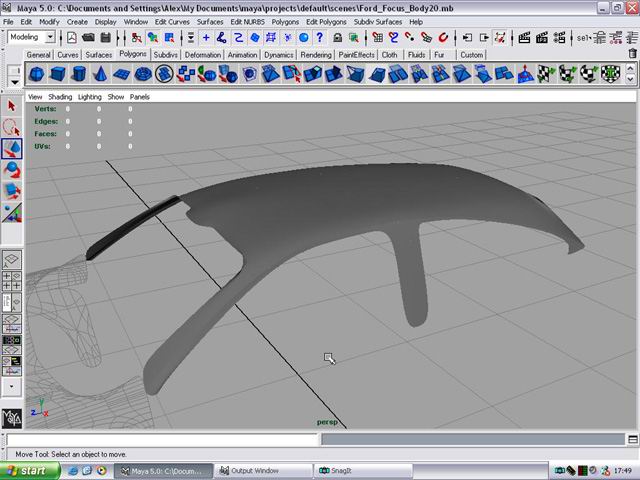
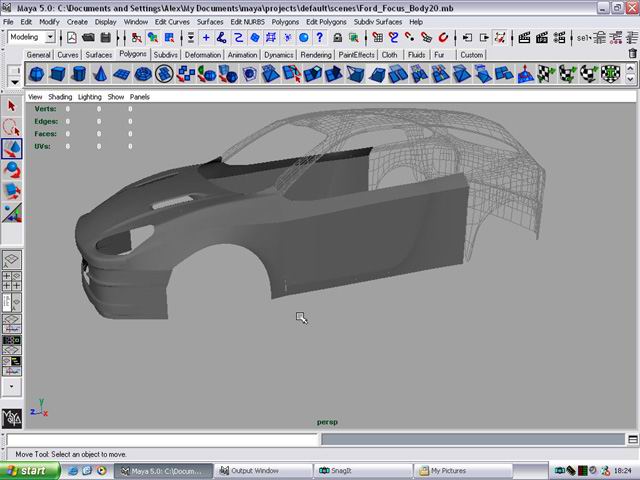
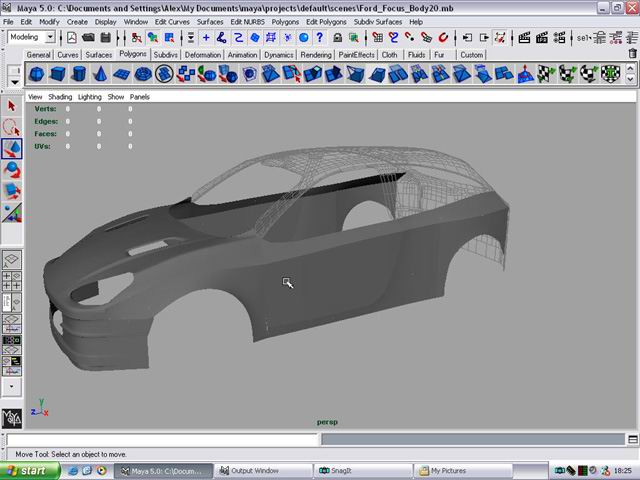
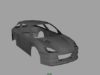
1. Here we have our original, low poly model. First we need to mirror it and them merge some vertices. Snap the pivot of the model to the middle X axis and then duplicate in -X (see previous parts for further explanation).
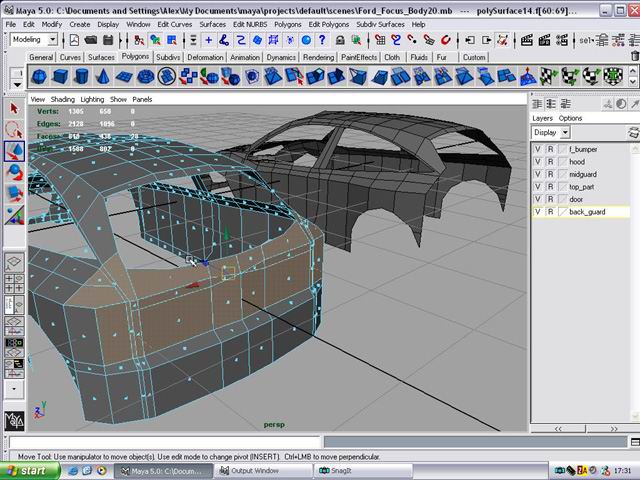
2. To help us see the vertecis in need of merging turn on Polygon Count.
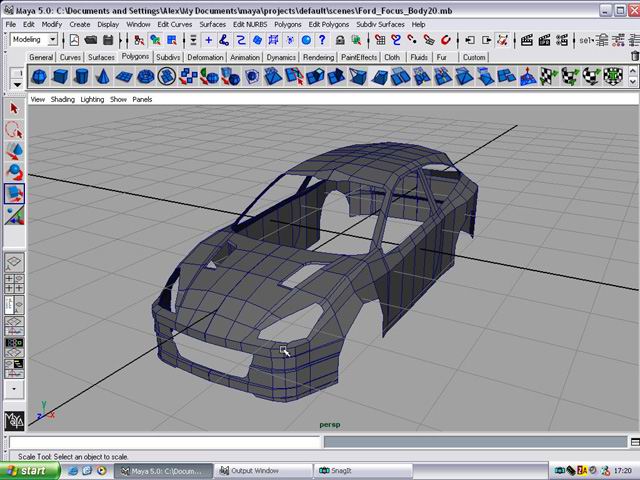
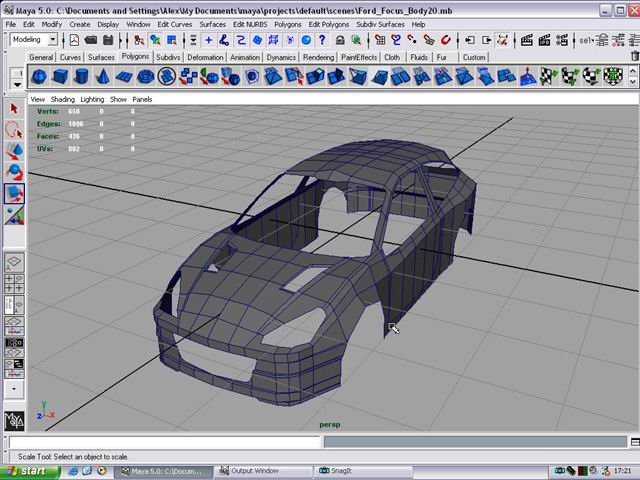
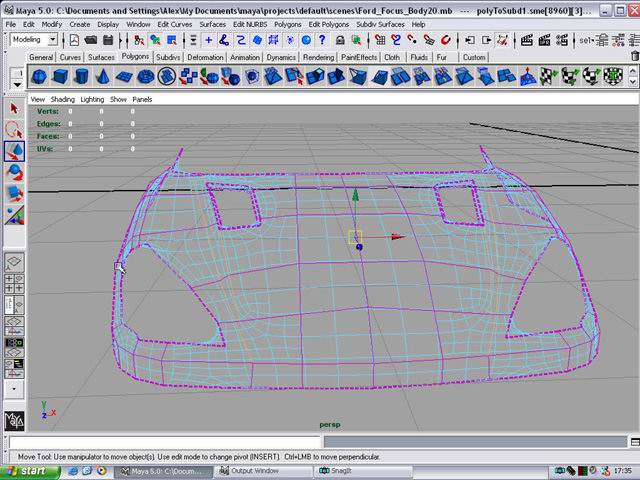
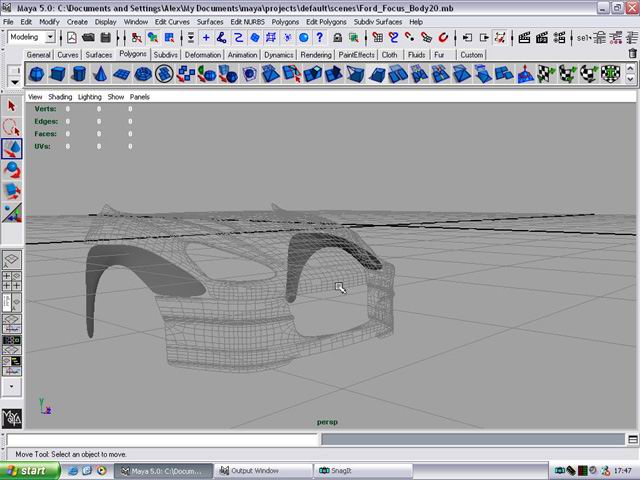
3. Combine the two halves of the car.
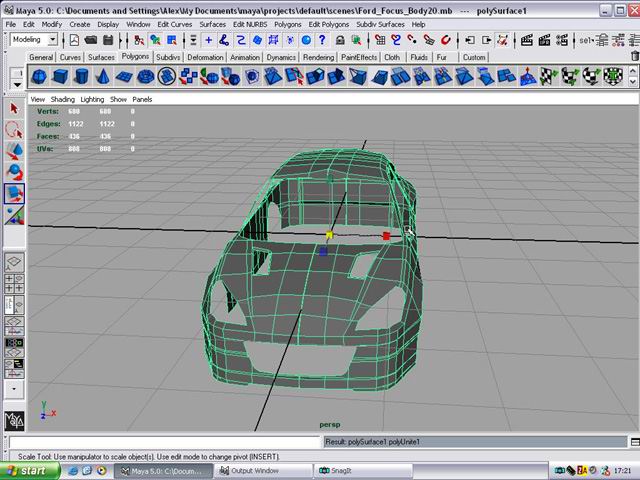
6. Select the middle row of vertices of the car and look and the poly count window where it says how many vertices are selected.
Now merge the vertices (Edit Polygons > Merge Vertices and set the value to about 0.1) and you should have a lot less vertices now showing in the poly count.
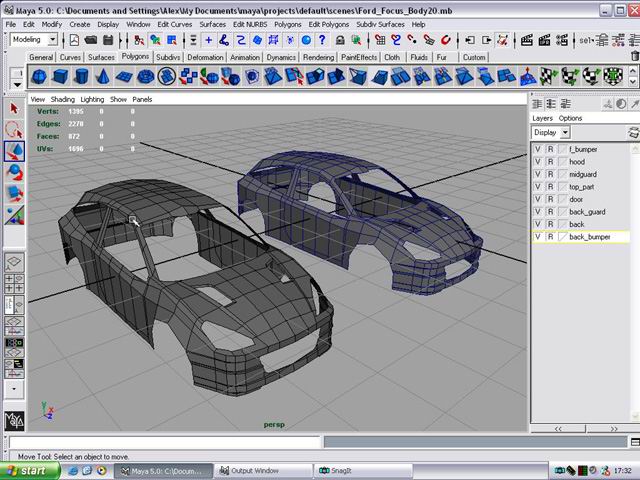
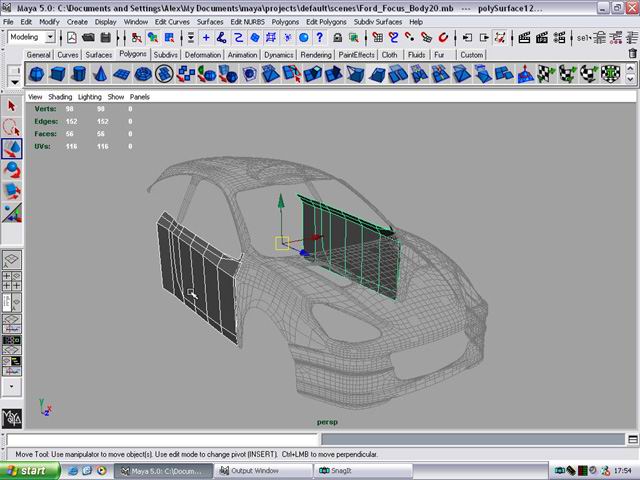
7. We will set all the parts of the car into different layers, so you can template them when they are not needed. So create a layer and name it something like front_bumper. Just use desctiptive names for easy selection.
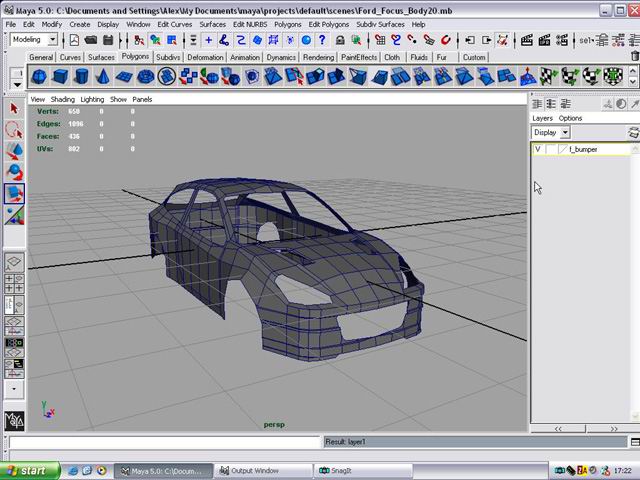
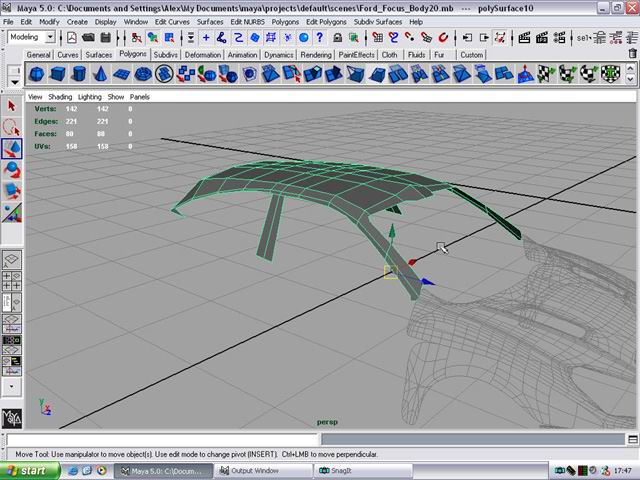
8. Now select the faces of the front bumper and then Edit Polygons > Duplicate Face. Assing the new surface to the layer we just created (Right click the layer and Assign to Layer) and then transform it to the side.
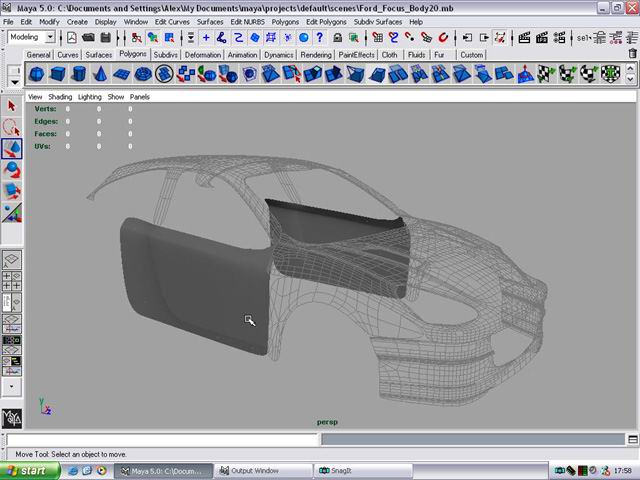
9. Now the exact same thing for the bonnet.
10. Now go arounf the car and do exact same thing to other parts shown below.

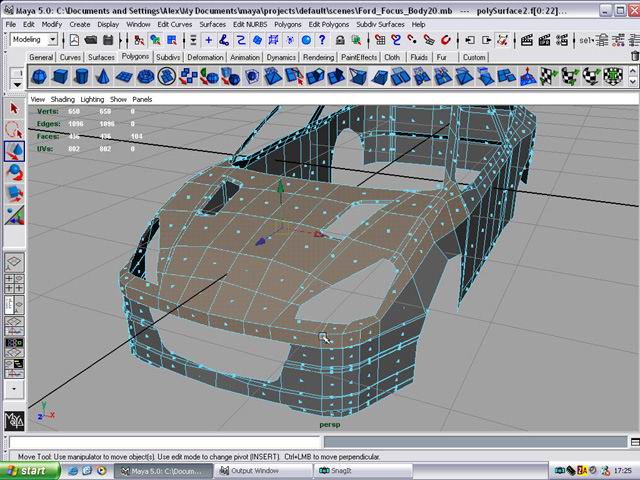
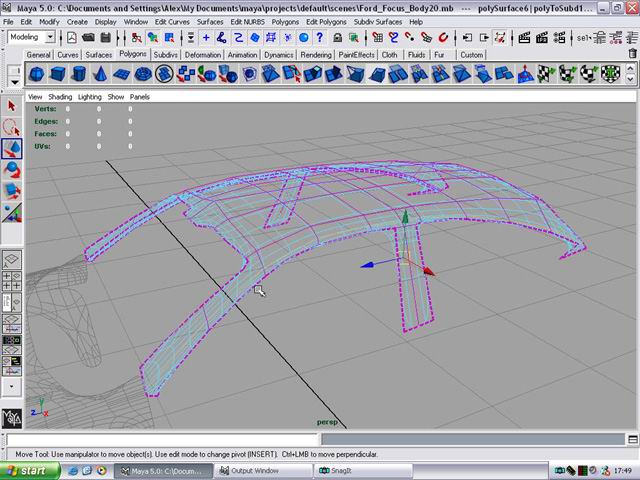
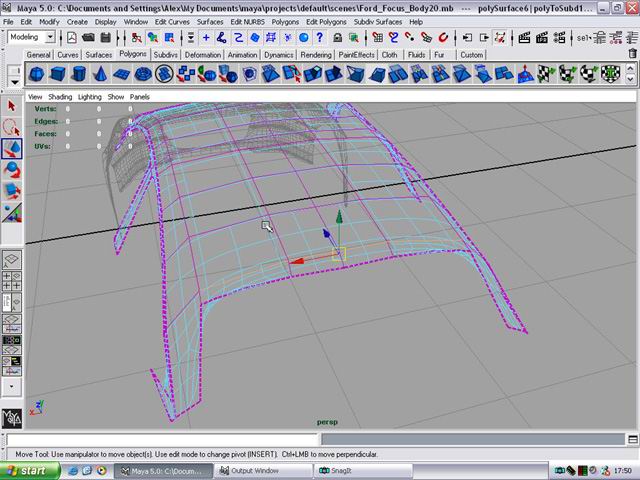
11. Now to Sub-D. Hide all layer exept the bonnet and convert in to Subs.
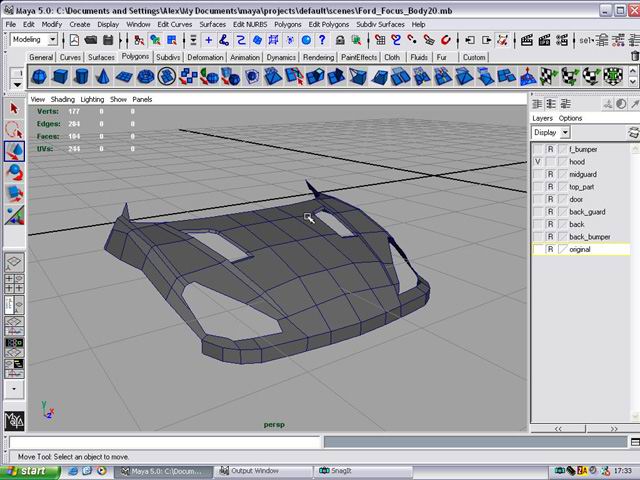
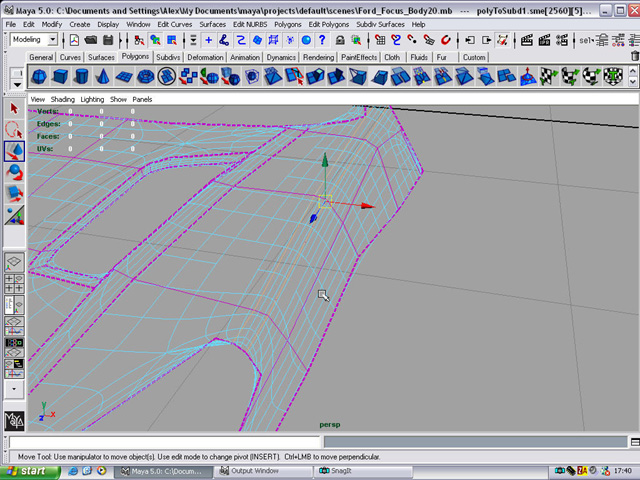
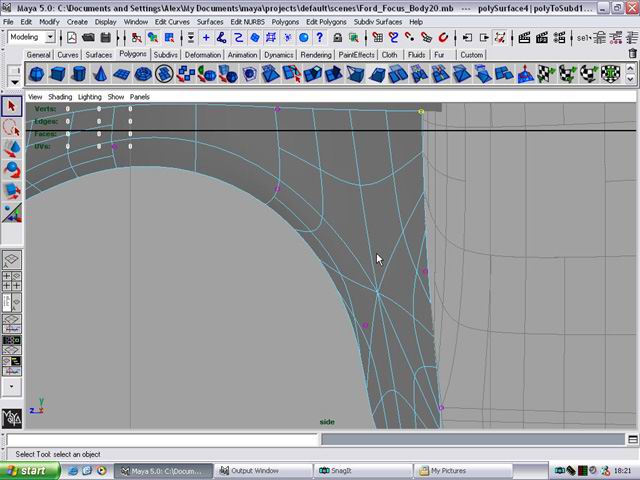
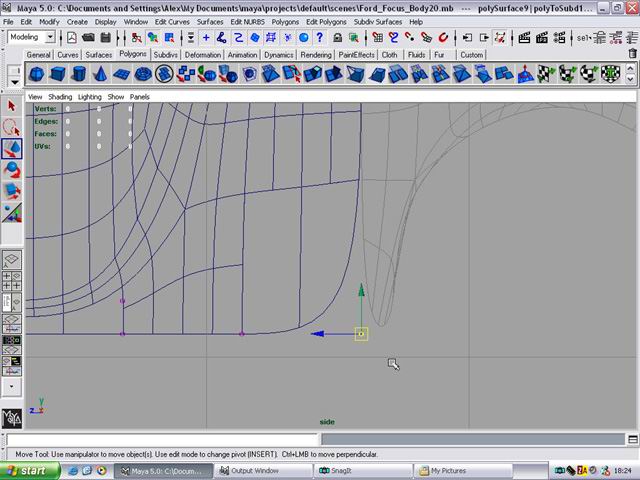
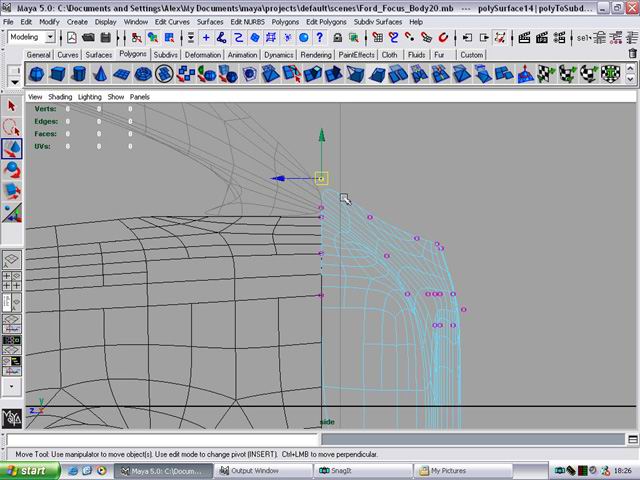
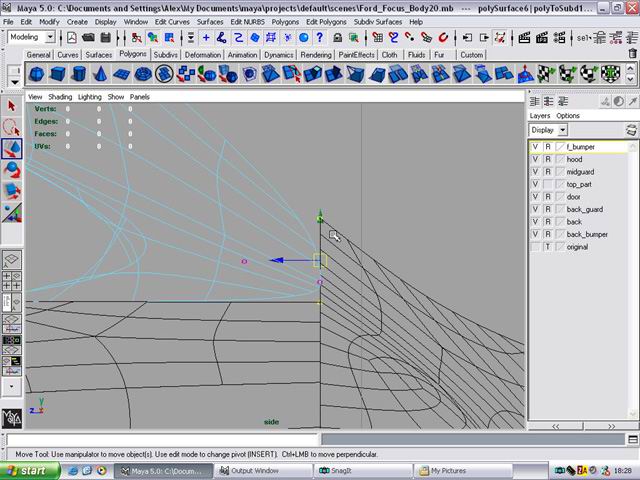
12. Select the following edges and then Sub-Div Surfaces > Partial Crease

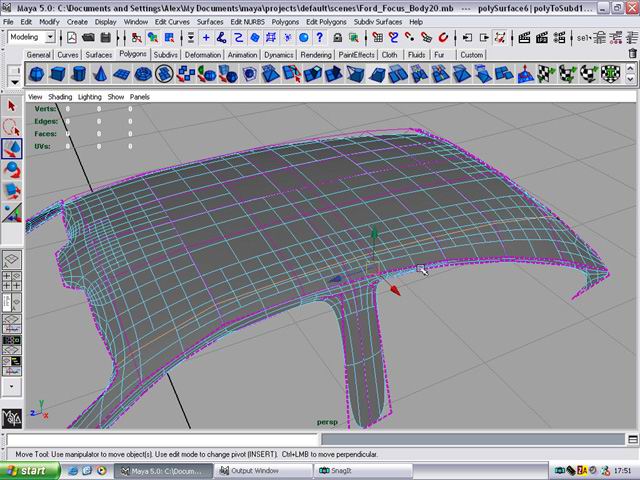
13. Now the following edges and exactly the same thing, exept this time Full Crease them. I will not tell you to Full crease or Partial Crease from now on because you have to judge the creasing for yourself.
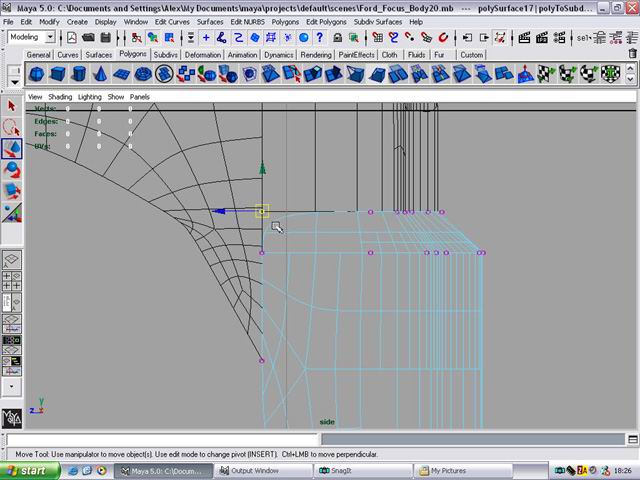
14. Now the following edges.
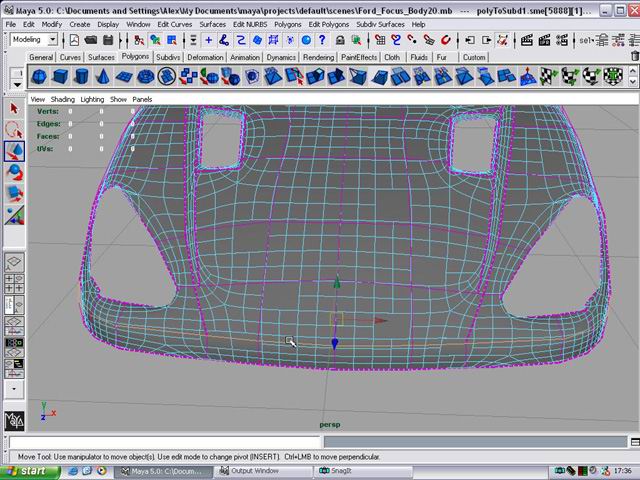
15. Now those.
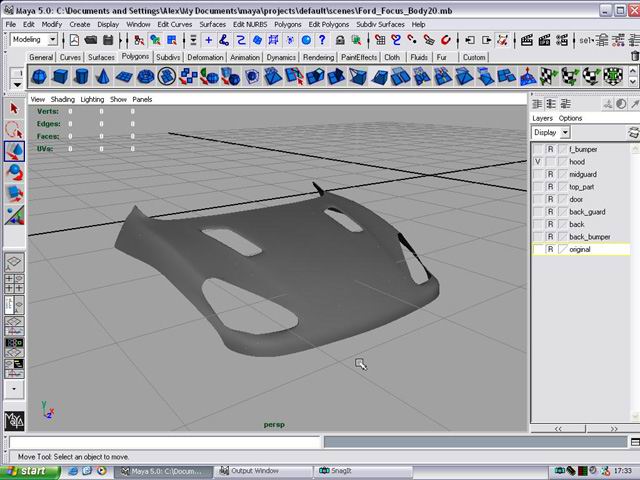
And we have a bonnet.
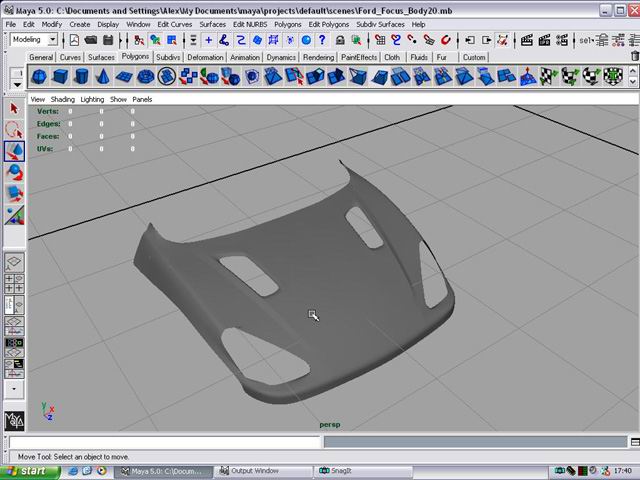
See it is pretty simple but just a bit repetitive.
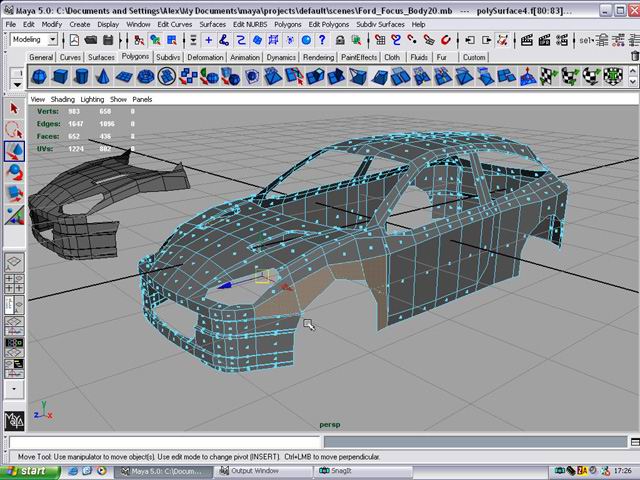
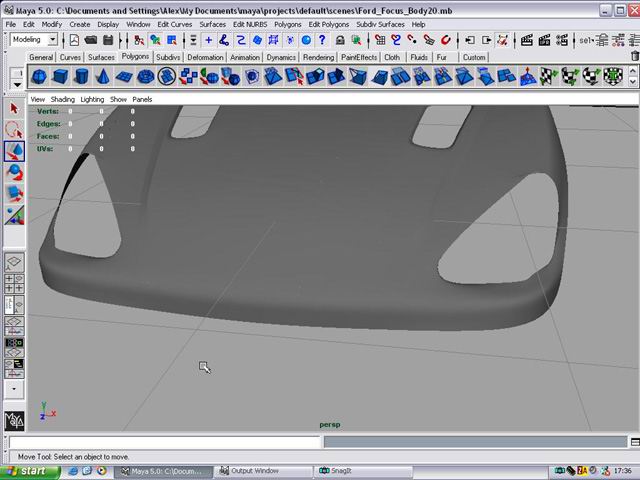
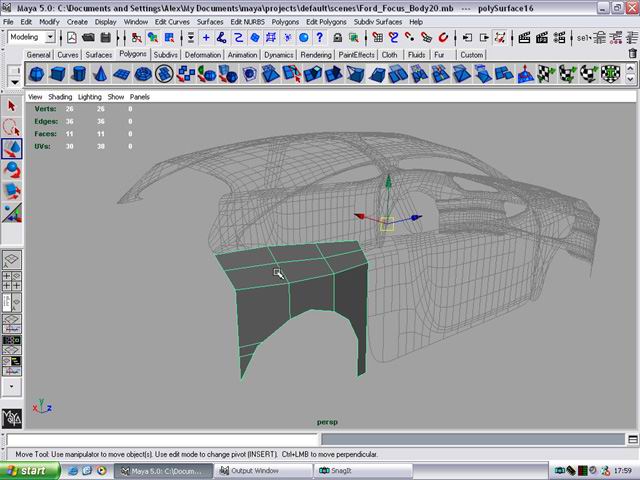
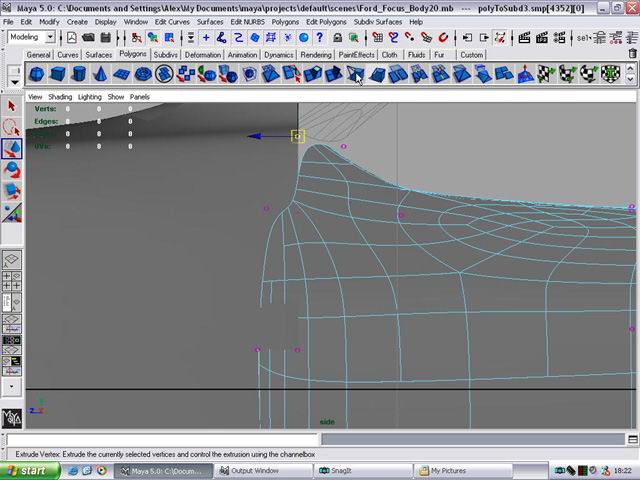
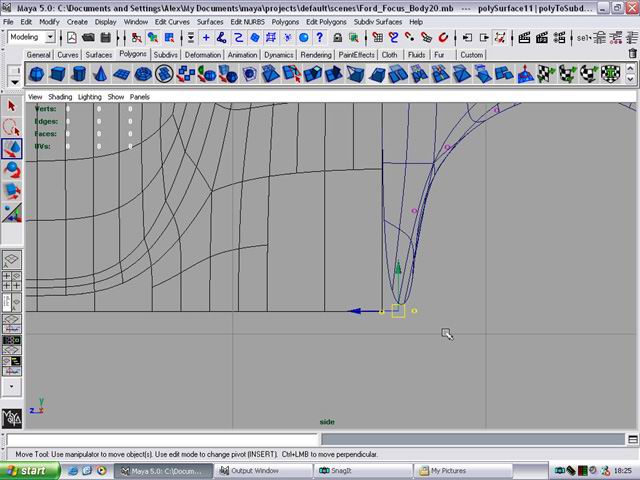
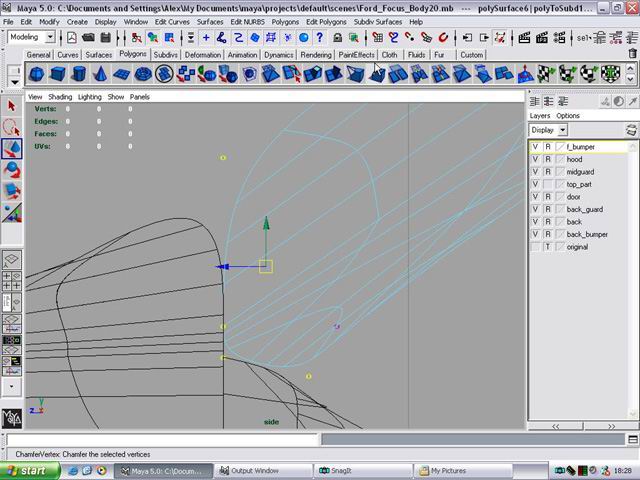
16. Now for the bumper. Convert to sub d and lets start creasing.
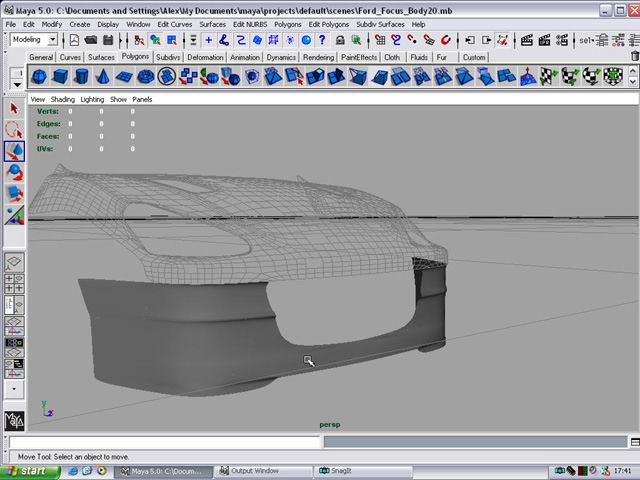
17. Select the edges that need creasing. You should know what they are. If not just experiment a bit.
18. Not much to crease in the midguards for now so just leave them.
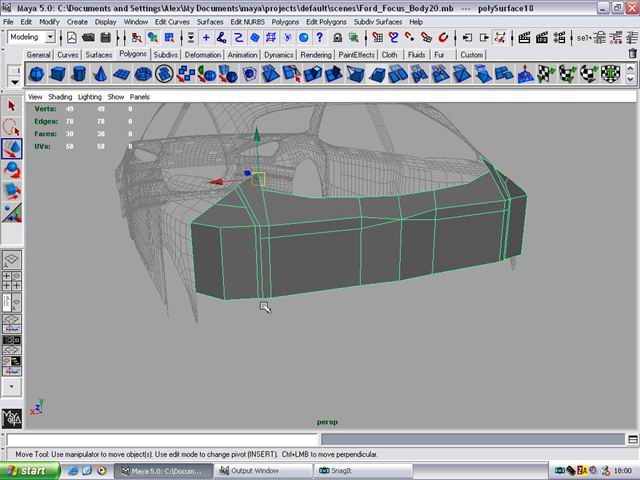
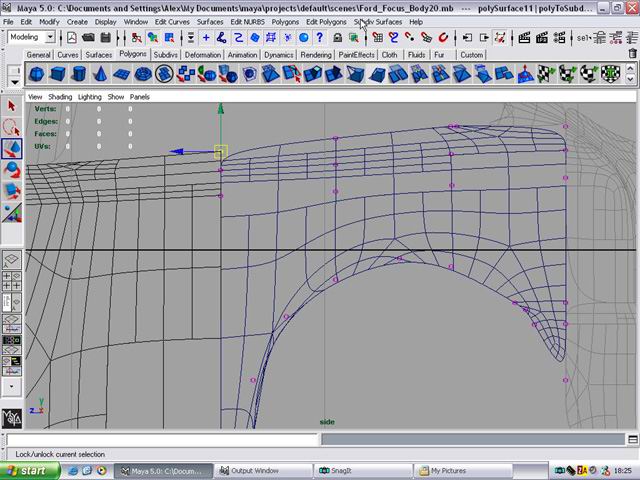
19. The top part. Convert to subs and crease away.
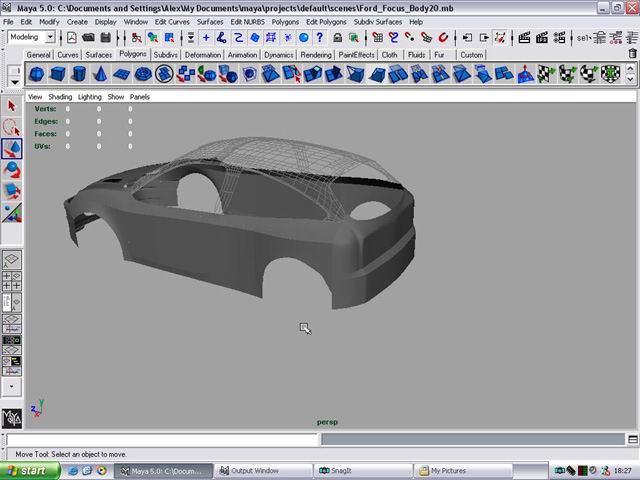
What we have so far. Dont worry about the gaps we’ll fix them later.
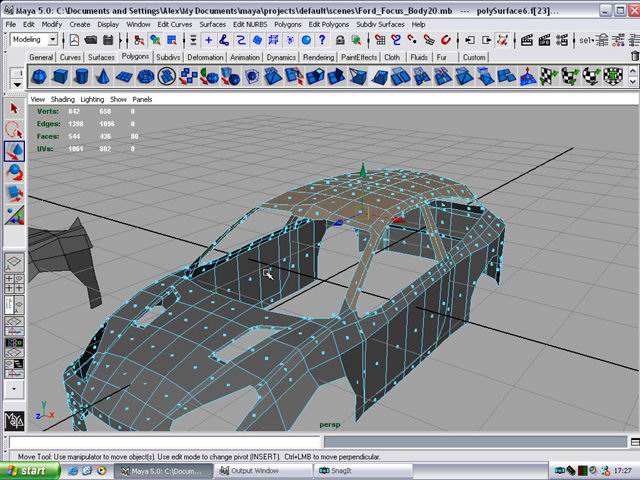
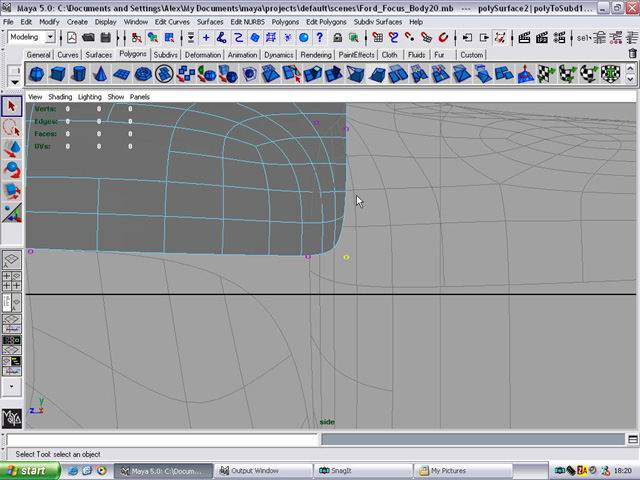
20. Now for the doors. Once again convert to subs and crease the needed edges.
21. The back guard. You know what to do :)
22. The back bit.
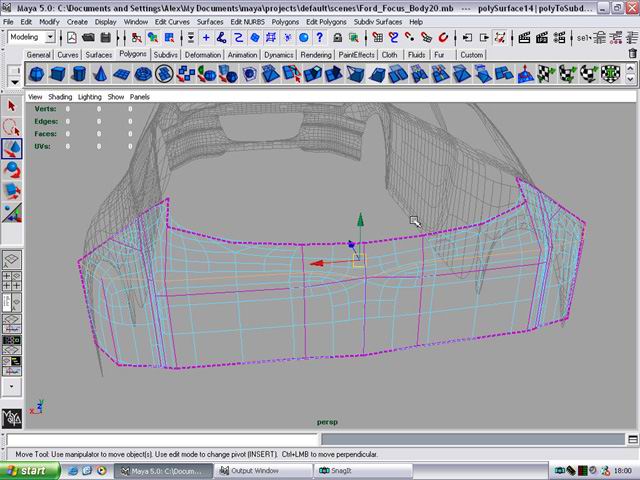
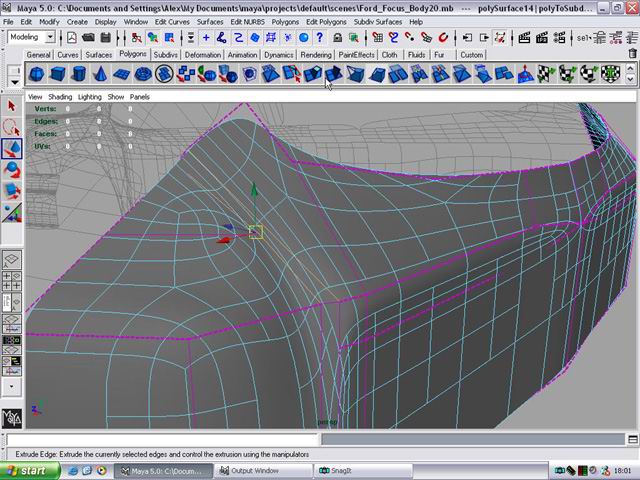
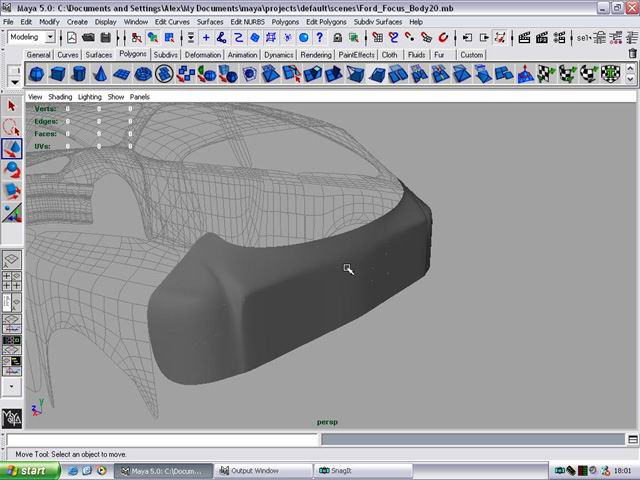
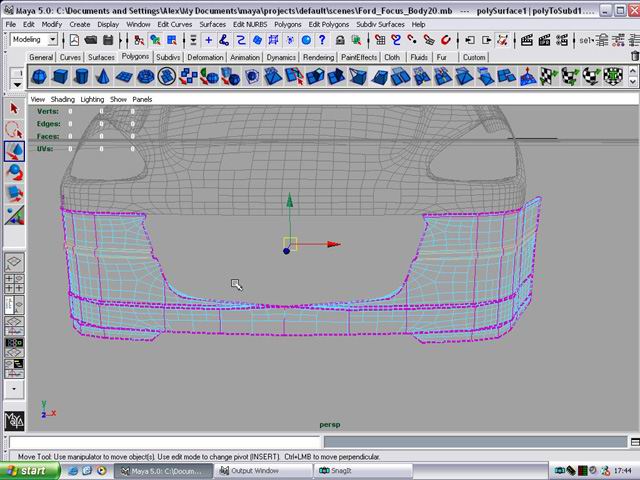
23. The back bumper.
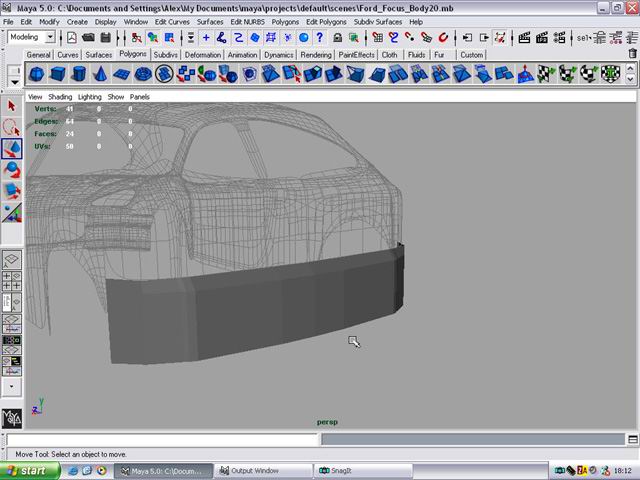
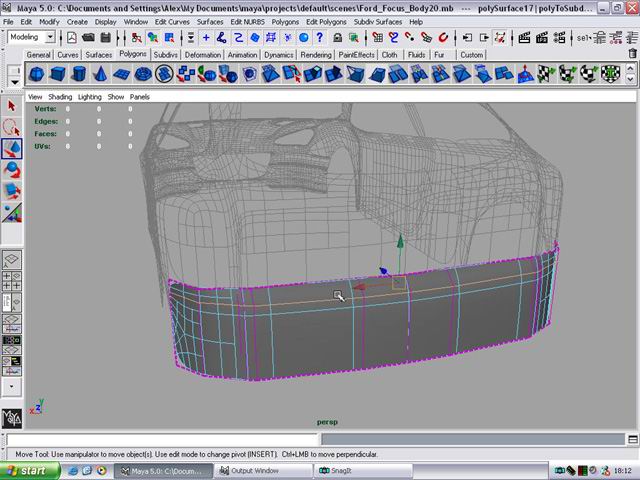
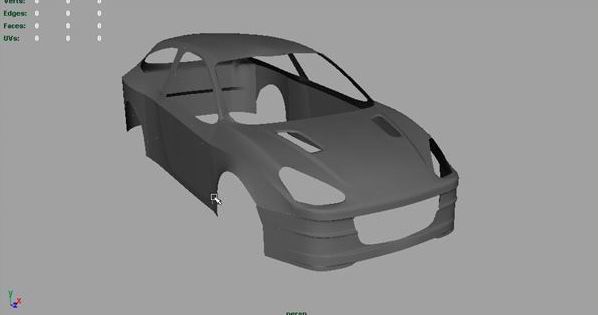
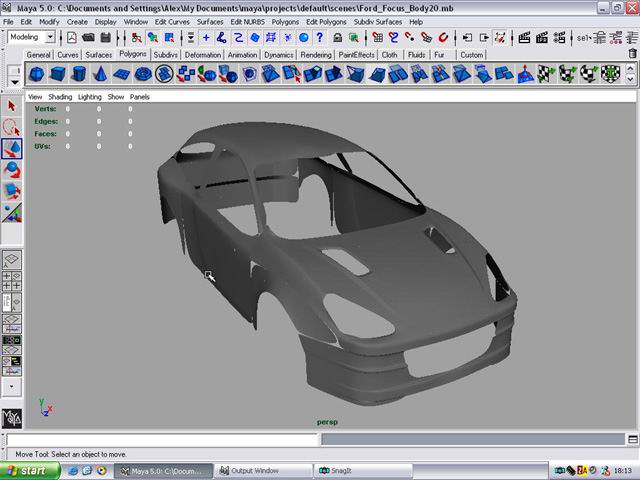
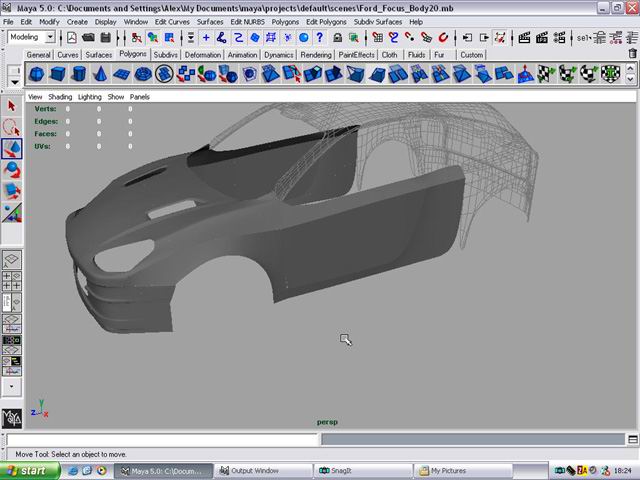
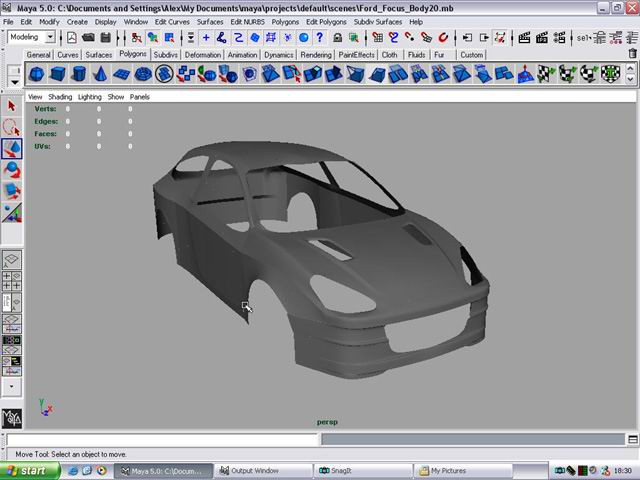
Our car….
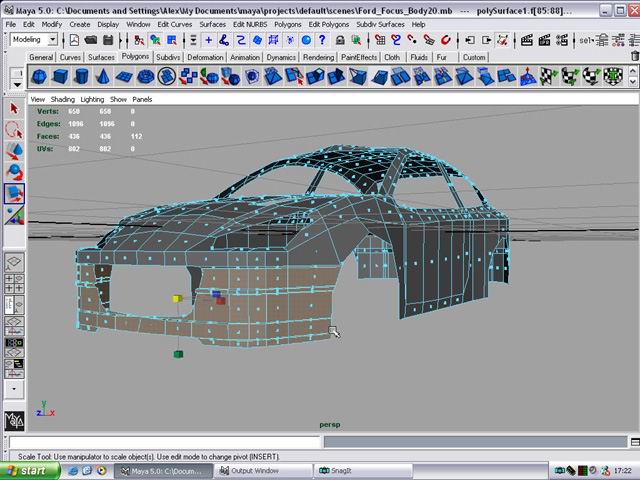
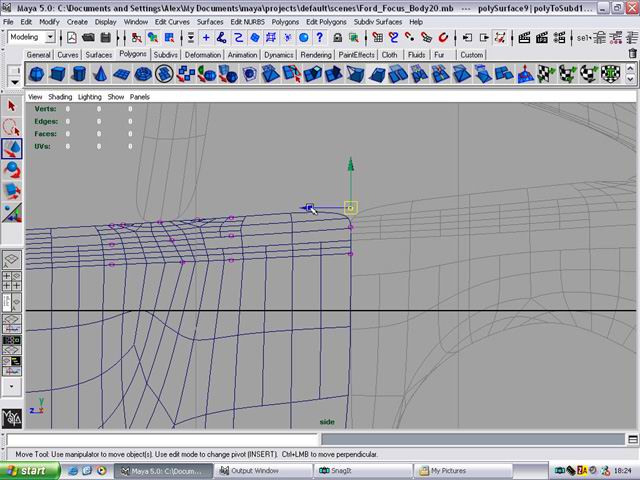
Now to crease the vertices to make the edges full. Just do the same thing you did to the edges.
24. The bonnet.
25. The midguard.
Here is what we get by creasing the verices. There are obvious seams but that can be fixed. The main thing is that we are getting a good shape of the car going.

26. Now for the door.
27. The backguard.
28. The back bit.
29. The back.
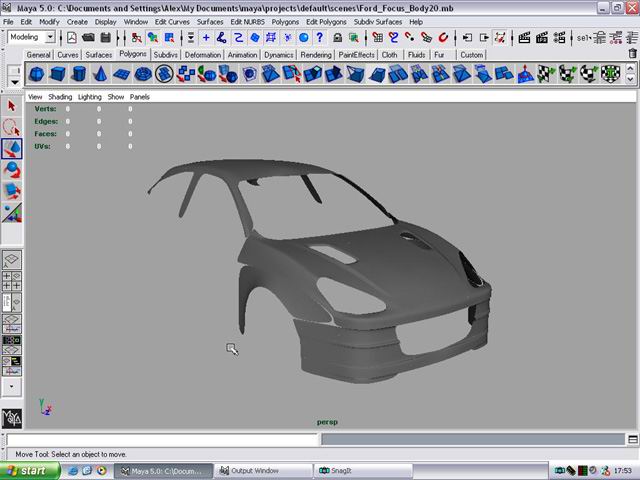
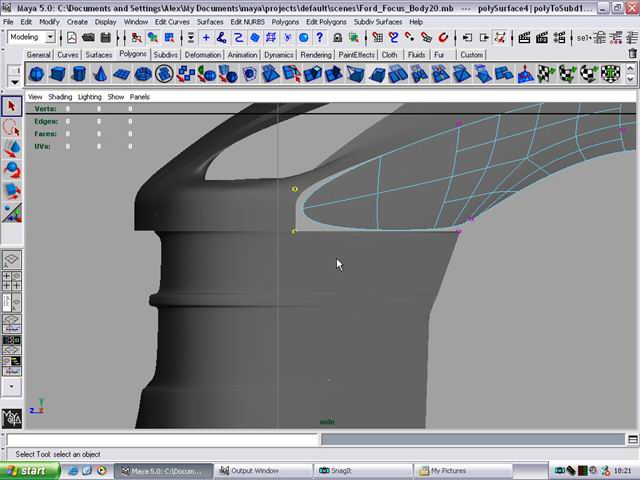
30. Now for the top….almost done.


Done
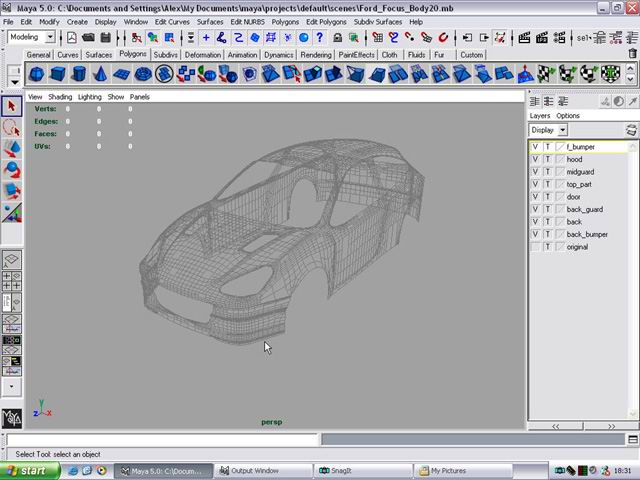
That concludes this part. As I said above it it the last part of the actual body modelling. Of course there is still the interior and some detailing but the general shape is there. Mess around with it. Once again low poly the convert and then crease.
Has this tutorial helped you? Then consider helping me, contact me for details. :)
- Part 1 — Set up the image planes for good reference.
- Part 2 — Create the wheels for the car
- Part 3 — Start making the low polygon model of the car
- Part 4 — Convert the car to Sub-D

About The Author
You might be interested in