Ford Focus Tutorial Series by Alex: Part 3
Hi everyone. Well without further blabber let’s get started.
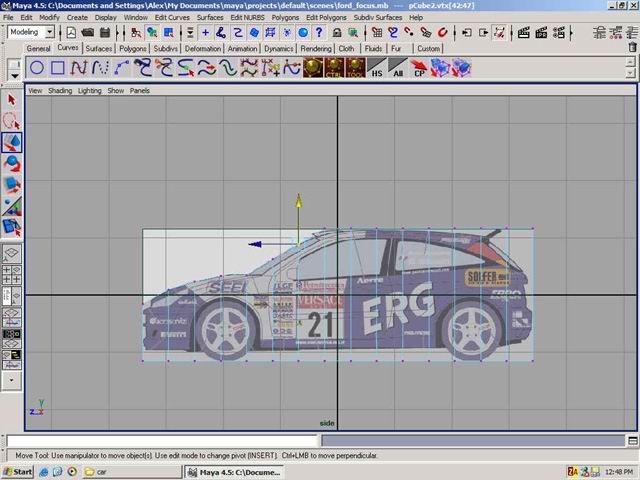
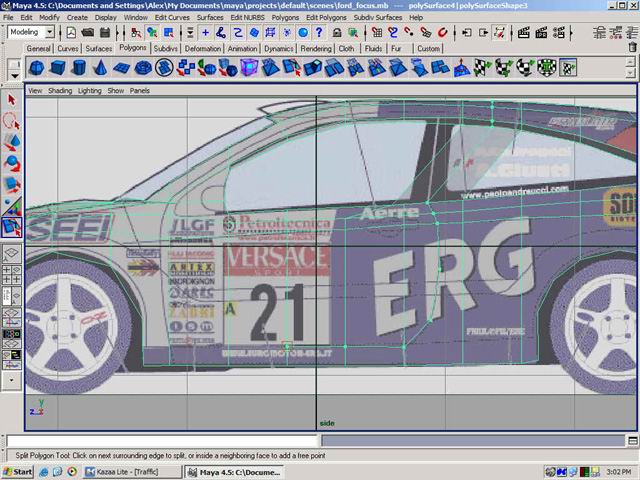
1. Create a polygon cube and set the subdivisions along height to 15 and along width to 5. Then scale it so it fits exactly one half of the car.
2. Delete the side faces so that when we mirror and convert to Sub-D later we will not get any problems.

3. Now select the cube and snap the axis to the origin X. Then go to Edit > Duplicate options and set SCALE X -1 and turn on INSTANCE. That way whenever we change one side of the car, the other changes as well.
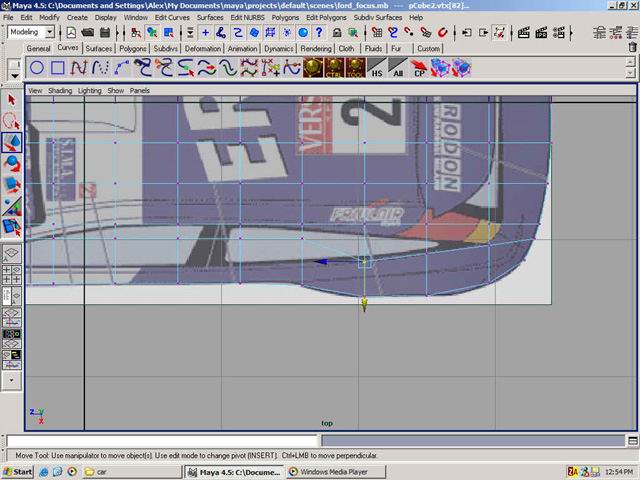
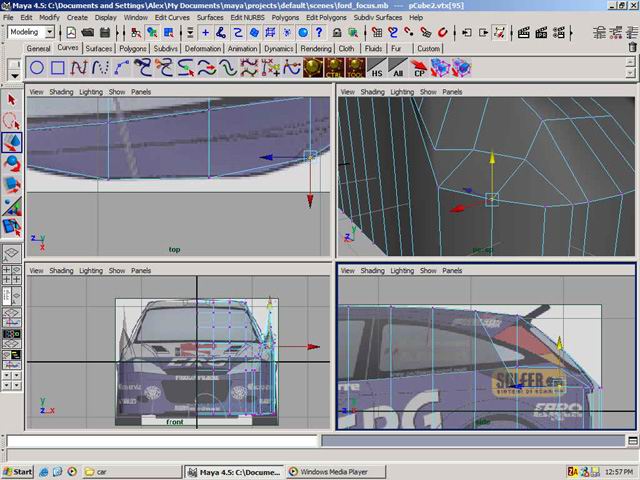
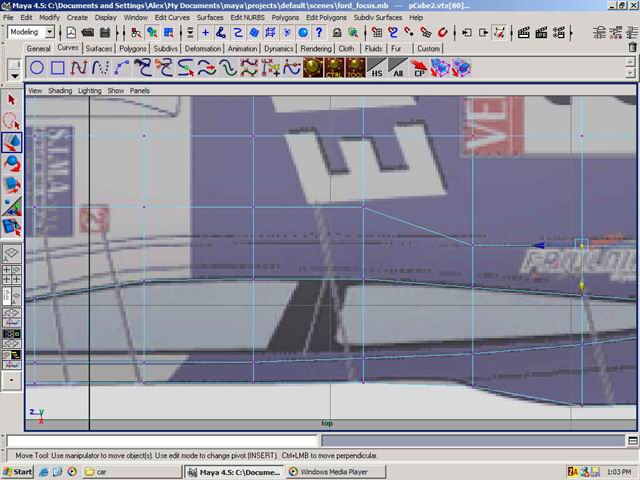
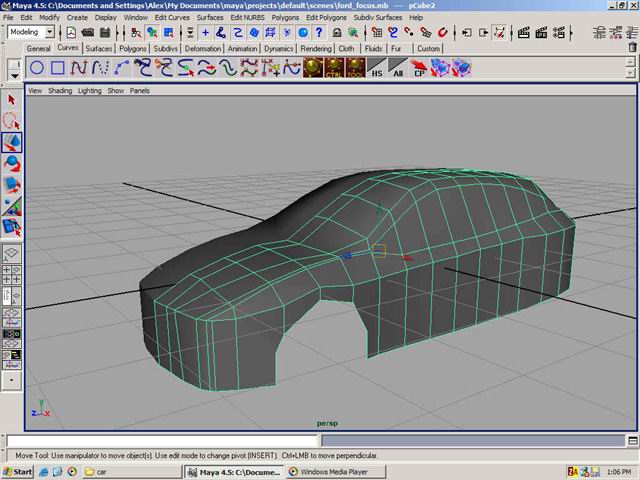
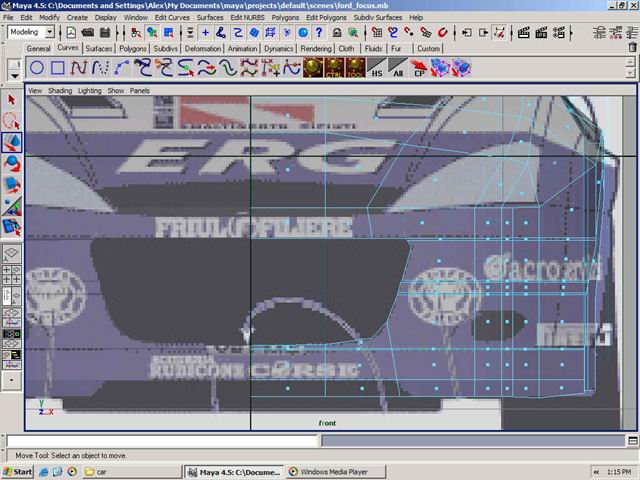
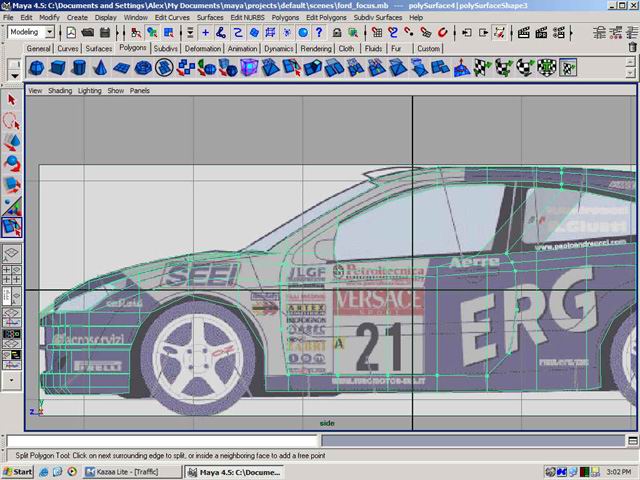
5. Now it’s time to tweak the verteces so the surface resembles the shape of the car. In the side view just select the vertices row by row and move them down in the Y axis only.
5. Now do exactly the same in the top view (except move in a different axis of course).
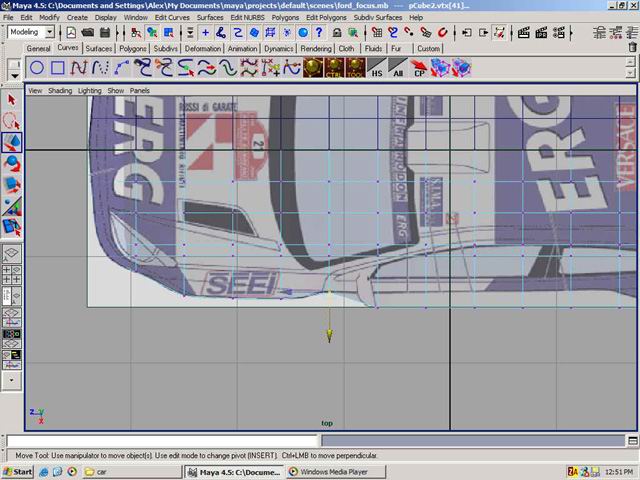
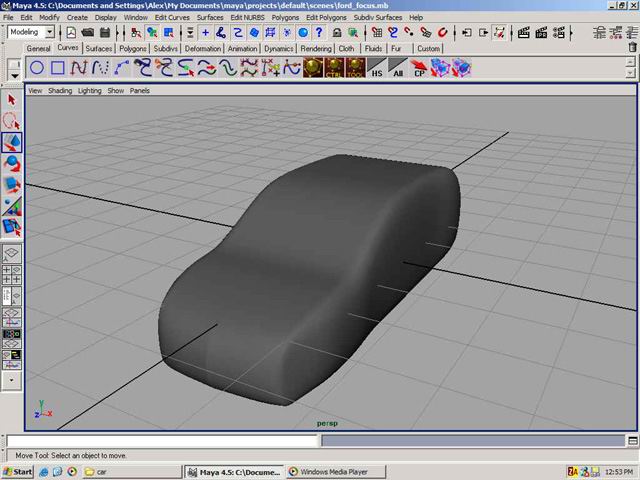
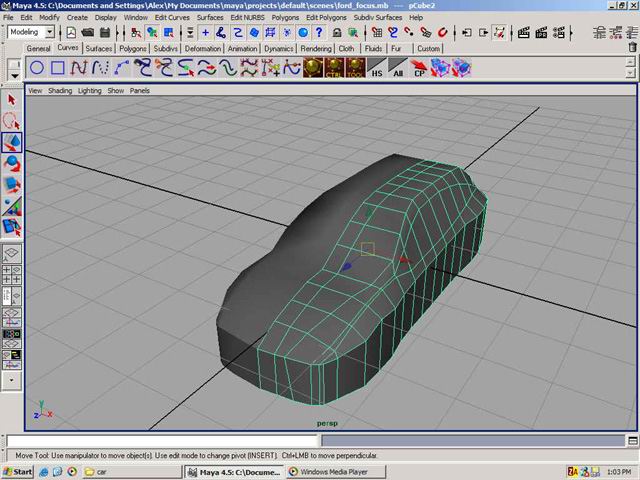
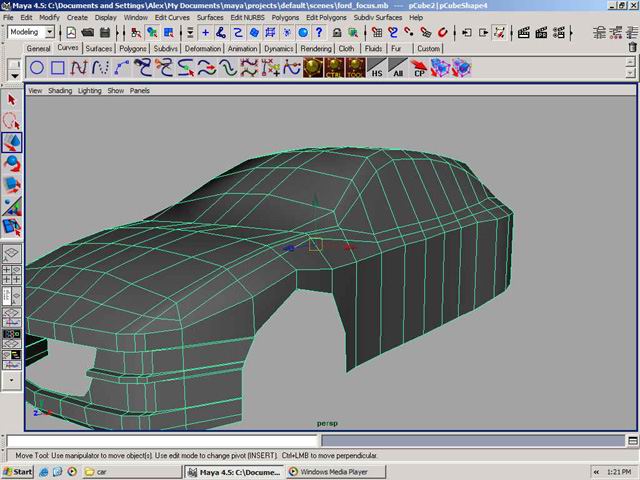
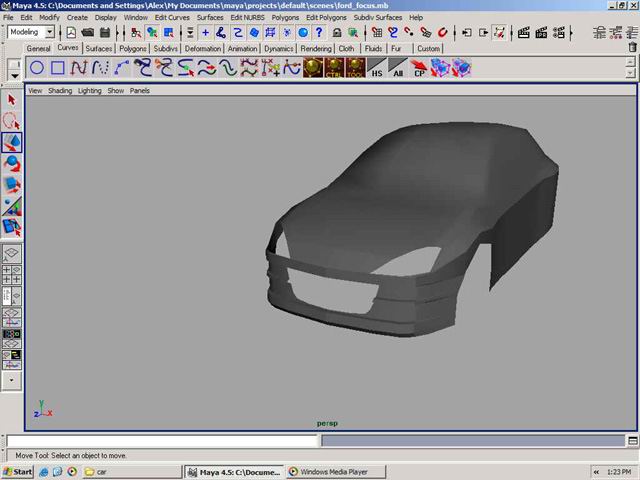
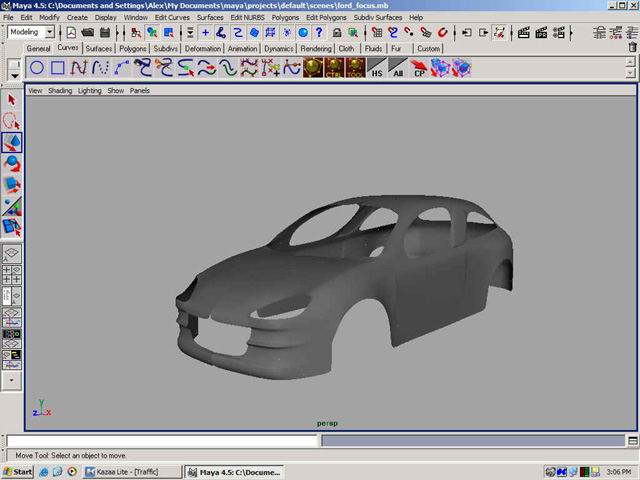
Now we have something that resembles a car.
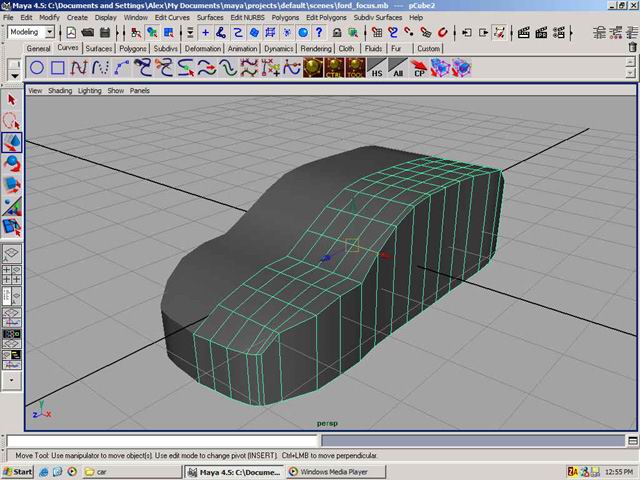
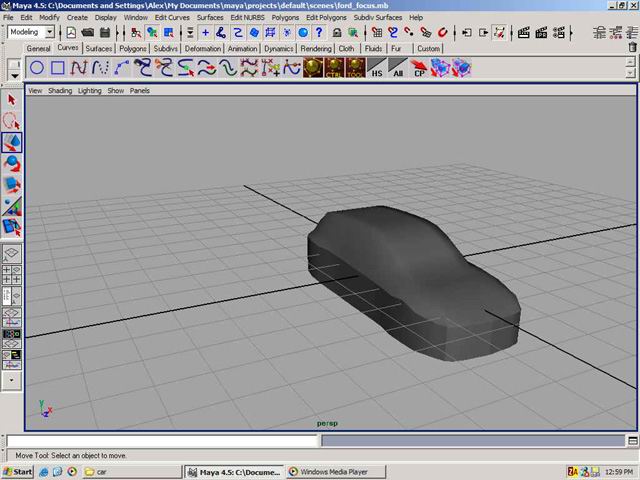
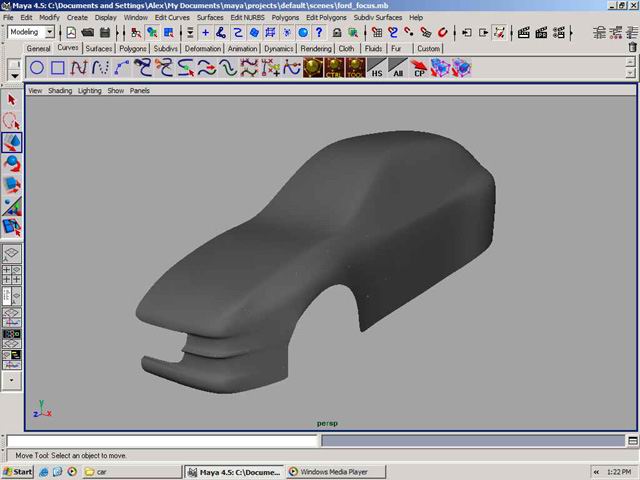
Quick Sub-D check
DON’T CONVERT LEAVE IT AS POLY. I was just checking :)
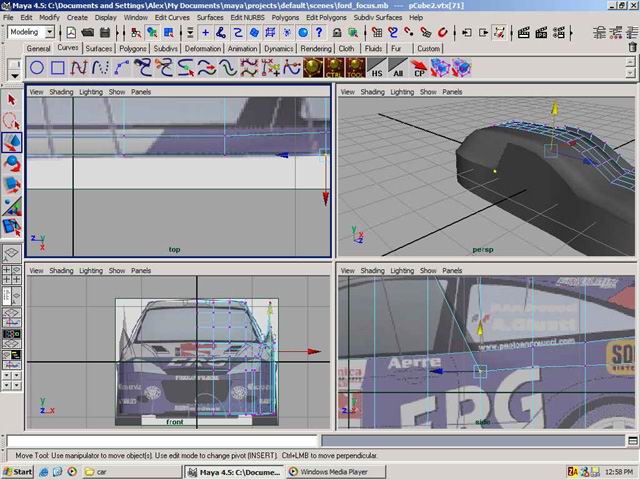
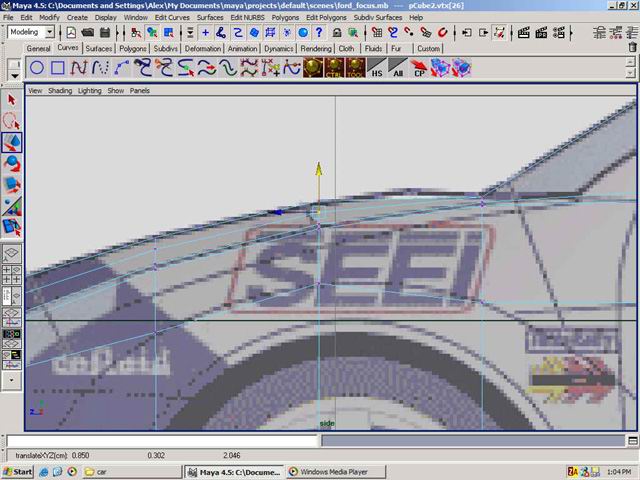
6. Now in the top view select another row of vertices and move them across to follow the window line as you see below.
And after the window finishes make it follow the bonnet line.
Now we have some weird looking shape but not to worry. It will be fixed.
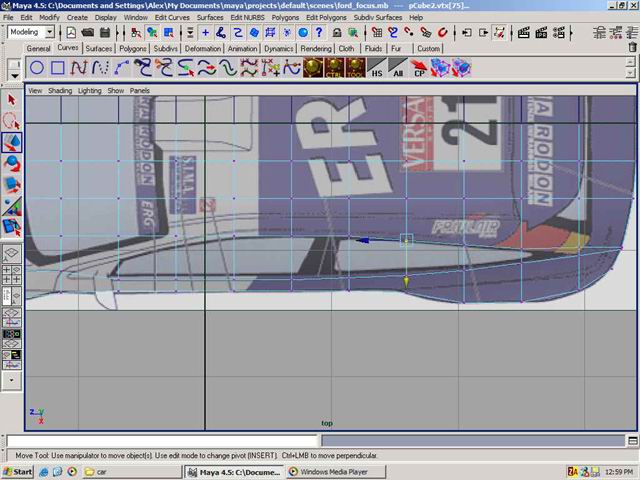
7. In the top view select one vertex (say following the bonnet line and then in the side view move it down until it sits on the bonnet line as well. Do exactly the same with every vertex we just moved in the top view and that will define the shape of the car.

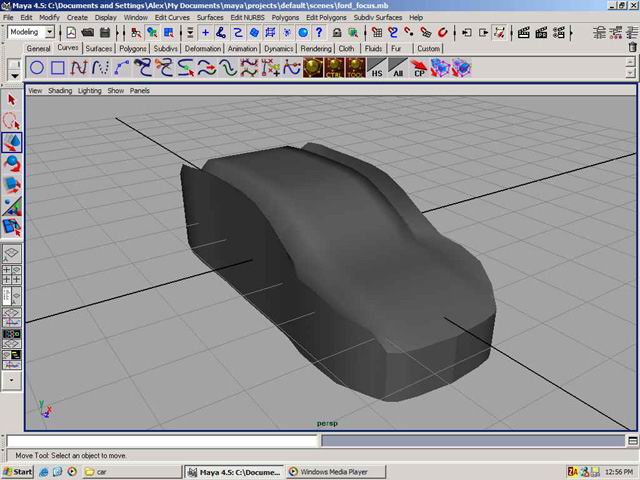
8. As you see the outside edges are still very ugly but inside are looking good. So select the outside edges one bo one and move them in the Y axis (side view) to follow the straight line that goes right through the car.
So now we have the top half looking pretty good.
10. Now to define the top window ledge. In the top view select the second row of vertices (one by one) and move the across to the top line of the window.
10. Now again in the top view select another row of vertices (again and always one by one) and move them across to a line as you see on the picture below.
Then just move the vertices to follow the windscreen and the bonnet line that cuts across the bonnet diagonally.
Note: Sorry for my English, it’s not very good :)
11. Now the last last undefined row of vertices that we have can be just moved to form a curvatire of the car.
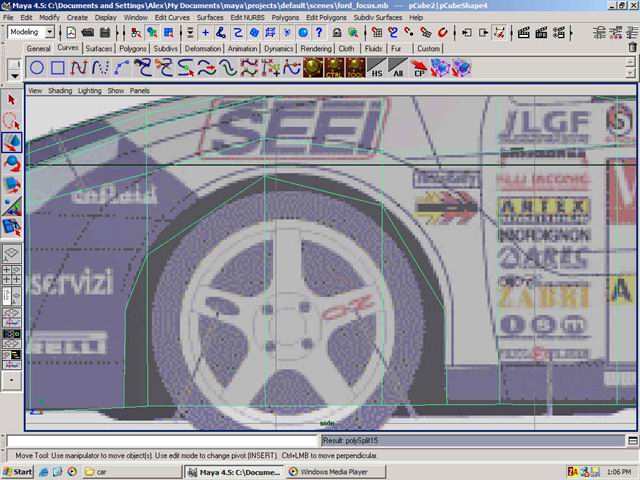
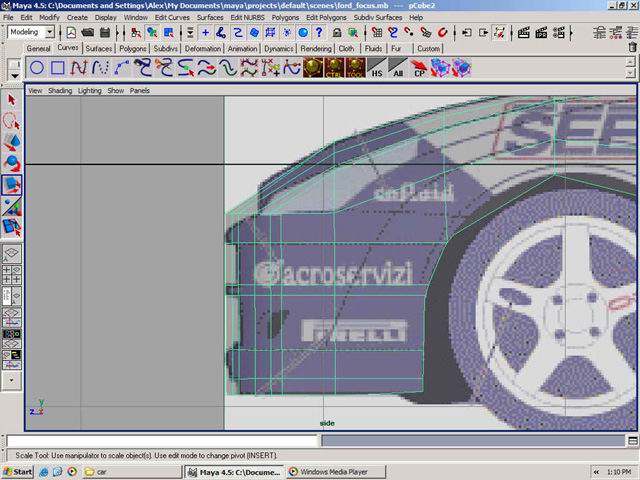
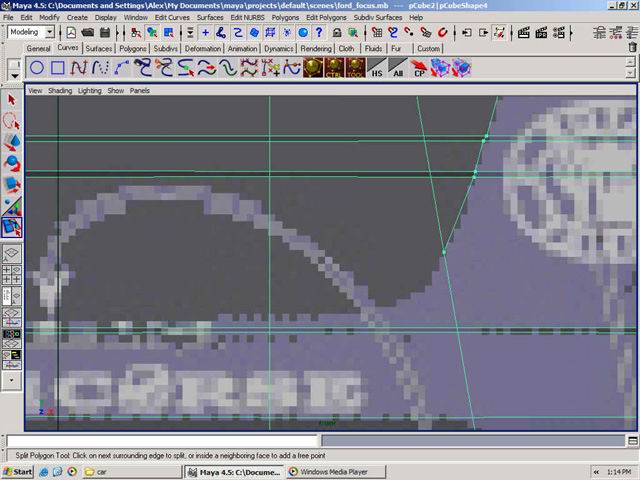
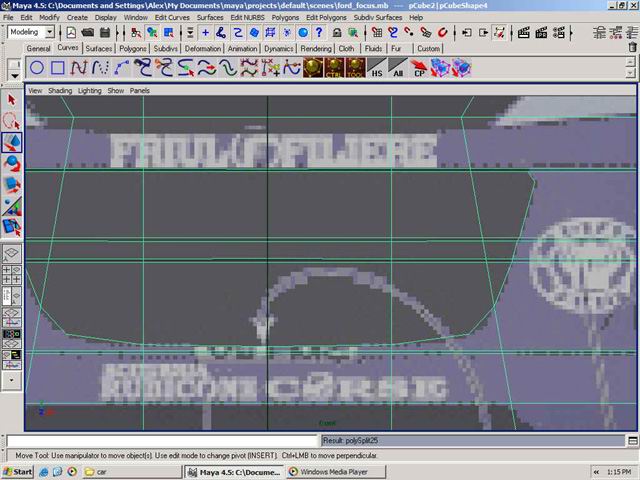
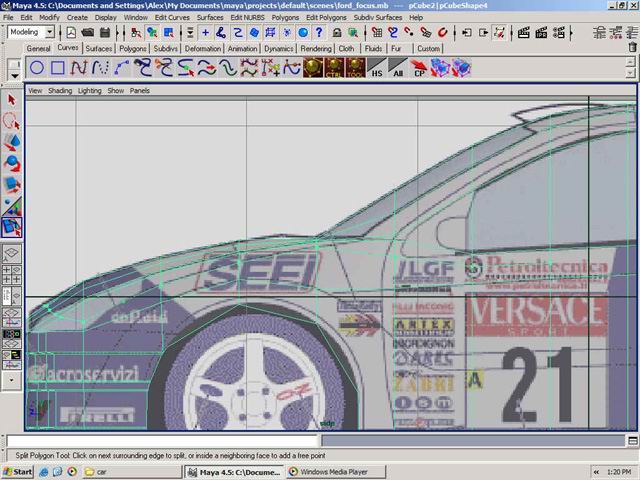
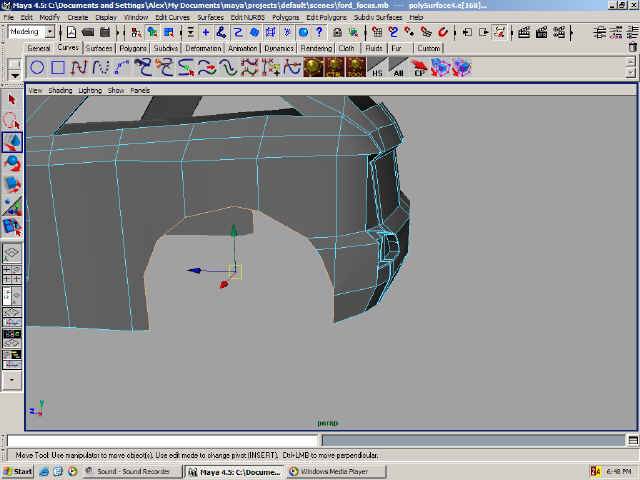
12. Now to create the wheel arches. Using Split Polygon Tool (Edit Polygons > Split Polygon Tool) split the poly object using the ref plane as a reference. Be rough.
13. Select those new faces you have just created and delete them.
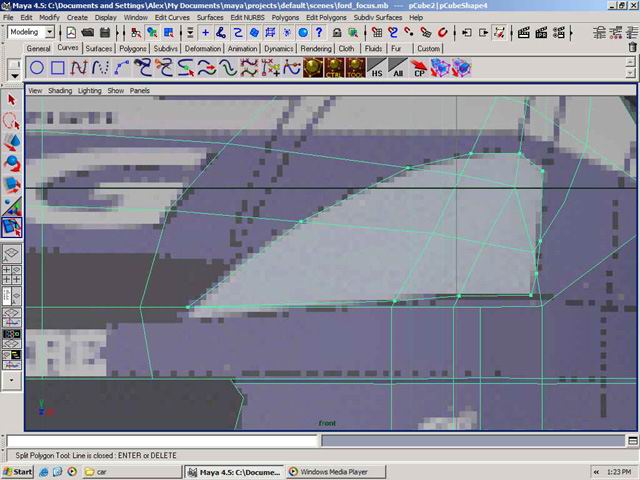
13. Let’s define the bumper. Using the same tool as above split the object where you see the line like below.

14. Then split some more as you see on the pictures below.
What you should have.
15. Now across those just split line split some more. Very thinly split around them so that when we move the verteces in the bits that are supposed to be poking out stay out.
16. Now move those verteces in so that we get a bumper looking something like that.
17. Let’s make the grill straight away. Using Split Polygon Tool split the car like below in the forn view.
18. Now just delete the the grill faces and voila!
19. The car looked a bit square so I split the bonnet as you see below.
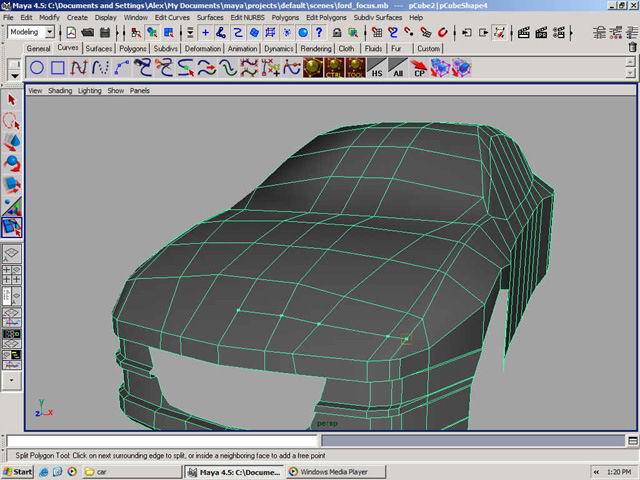
And make it go all the way through the car.
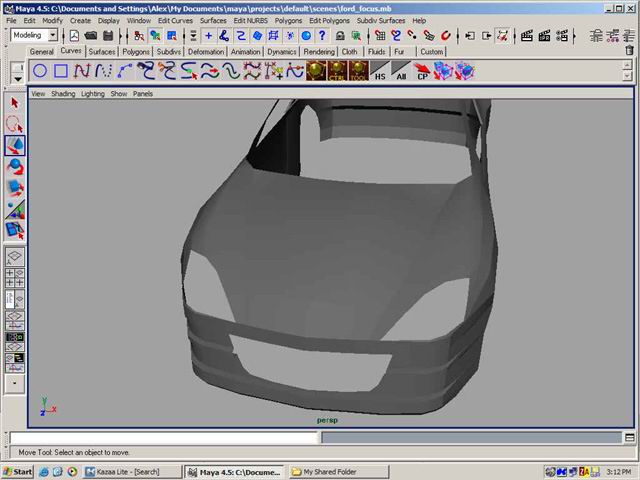
Quck check… not bad
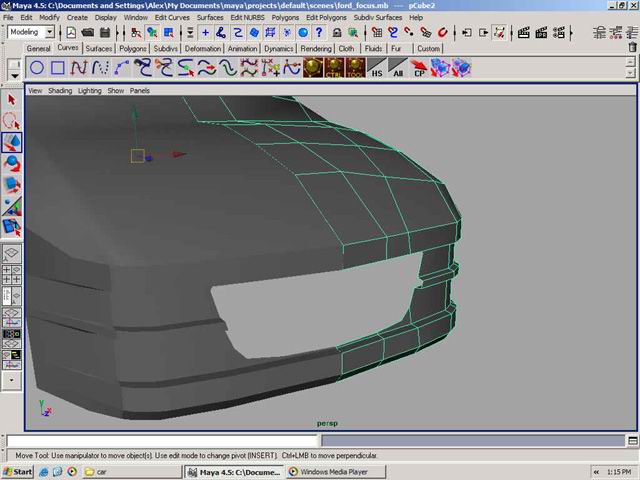
20. Now for the headlights. Split the mesh in the front view as you see below.
21. Delete the facess and we have headlights.
Tweak them to your liking, I have donejust that.
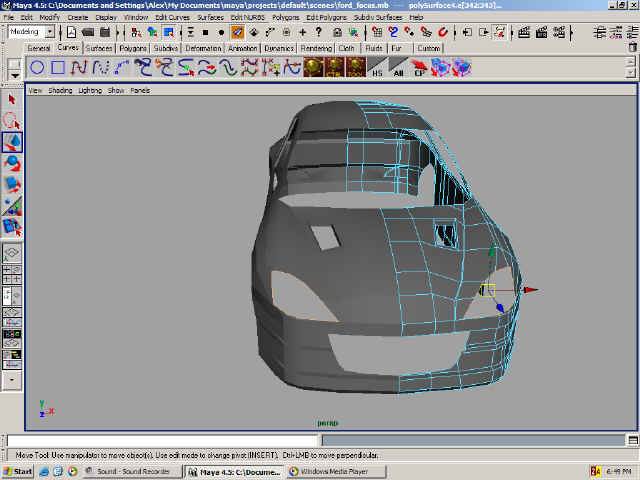
22. Now to make holes for the windows. Split the mesh using iamges as reference and then delete the faces.
front…
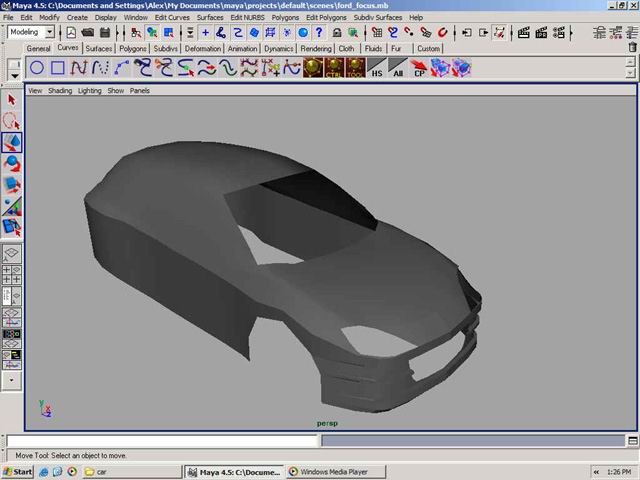
side…
and back…

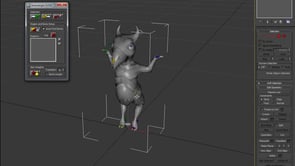
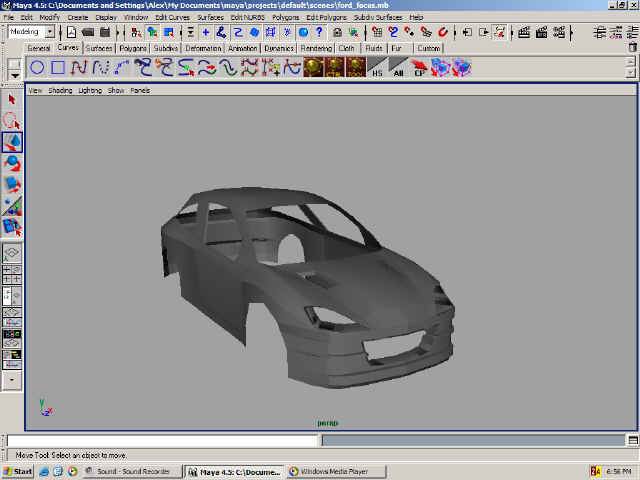
Here I have just converted one half to Sub-D and left the other poly. Don’t do it, I just like to compare and check ;)
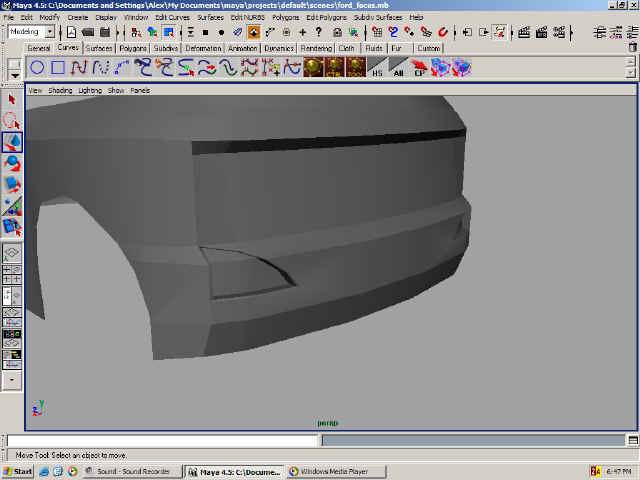
23. Now to define the back bumper. Same basic principal. Split, and move.
What we have so far…
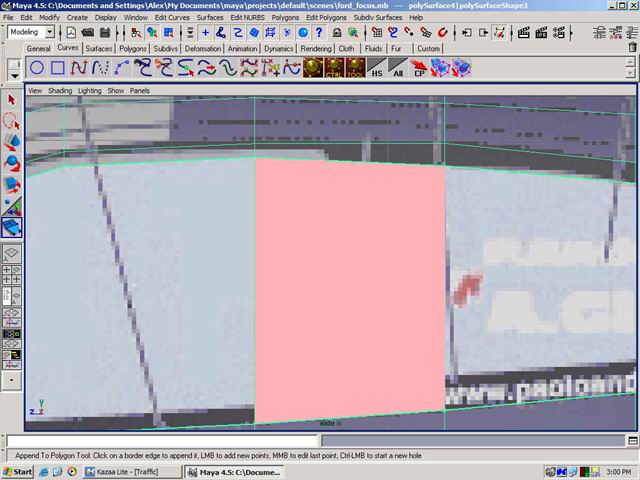
24. Now using Append To Polygon Tool create something like you see below. Just click on the edges and Maya should do the rest.
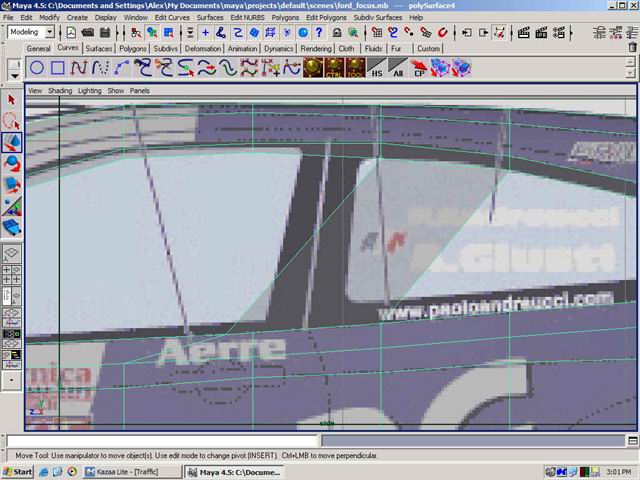
Now I have just tweaked the surfaces to my liking.
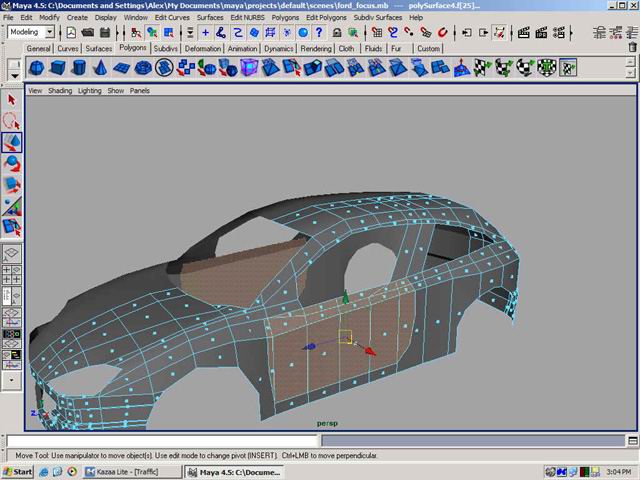
25. Let’s define the door. Split the roof and all the way down through the door like you see below.
26. Select the door faces and extrude them out a bit. Do the same for the bit between in the window.
Now I just want to say something. I am NOT planning to make an exact copy of the car. Just my own version. So if you want to make the exact copy stick to the same steps but tweak according to the image planes.
Sub-D test.
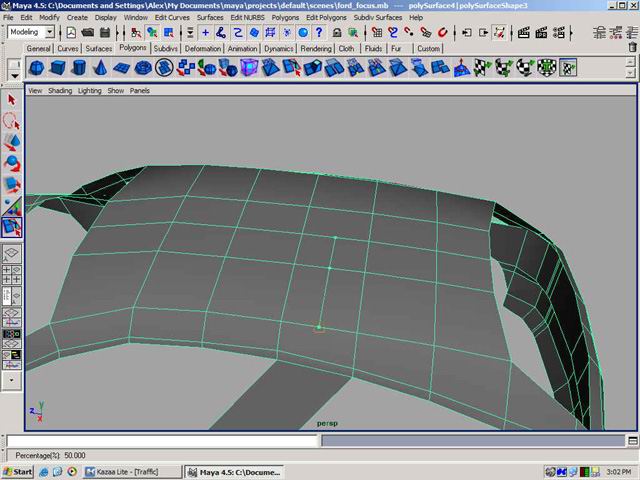
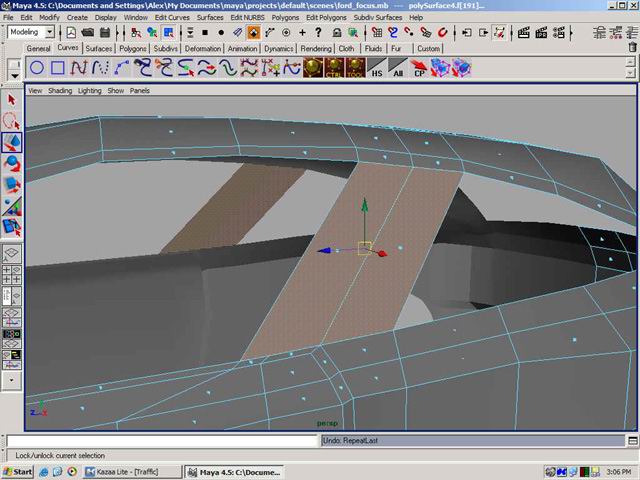
27. To add some variety to the boring hood of ours just split it like below and move the verteces down.
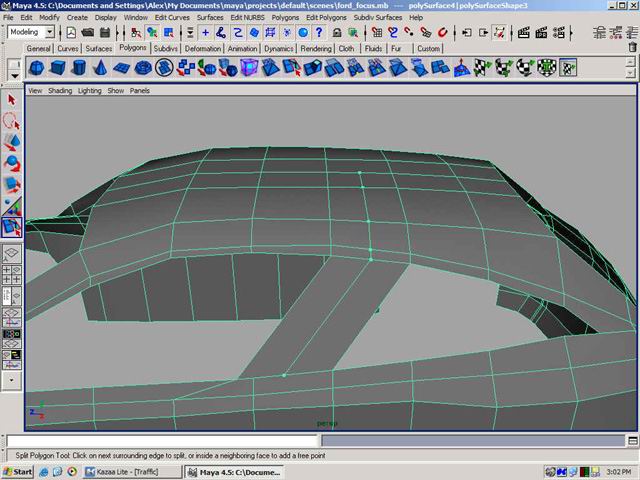
28. For the hood grills split again and delete the faces.
29. Now select the edges and extrude them. Scale them in and the extrude again then move them down.
30. Now for the back part again. Split as you see below and move the verteces.
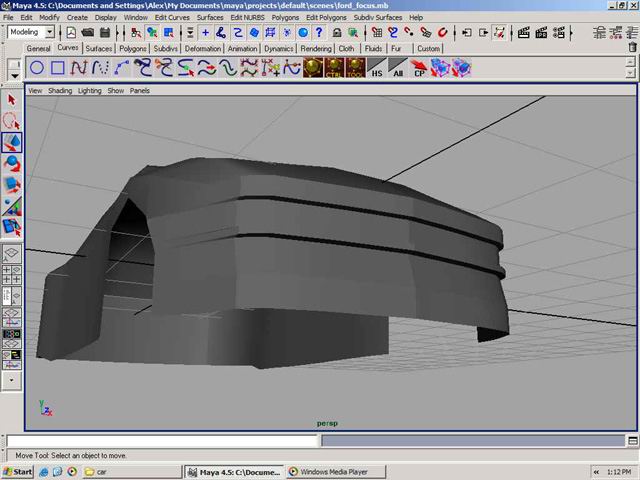
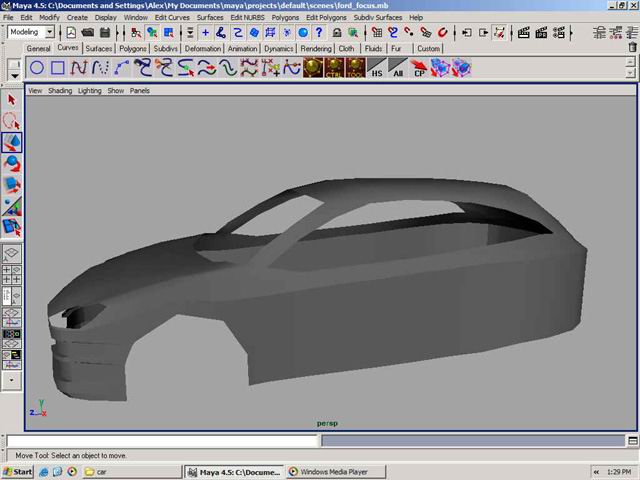
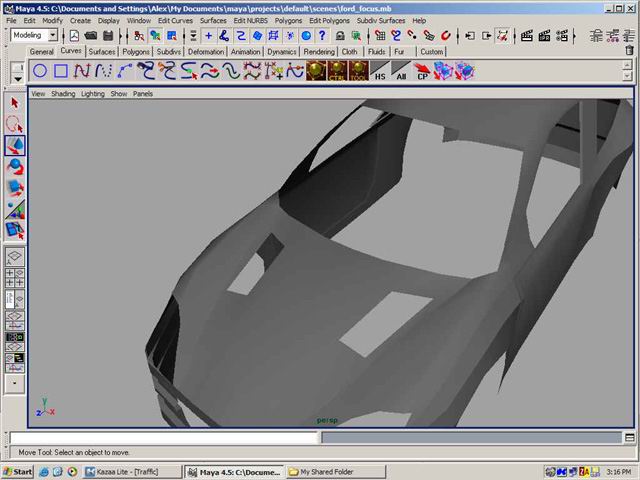
Some progress pics for you.
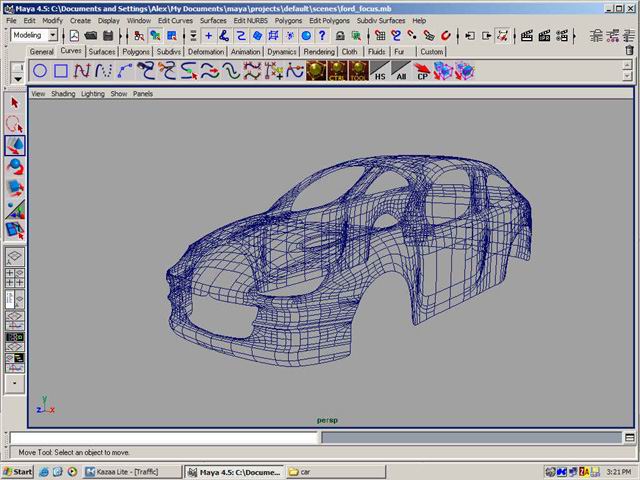
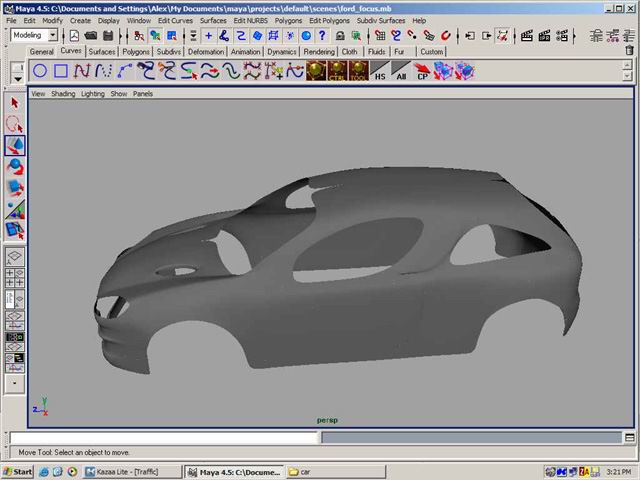
Now this is not how we are going to convert to Sub-D. This is a very quick way to preview the product.
31. Now go to the back of the car and split to form the shape for the back lights. Use any shape you want.

32. Now select the faces and extride them. Scale them a bit. Extrude them again and move in. Now you might notice that this is not how I have done the other openings but I am just trying to show you more techniques how you can do it.
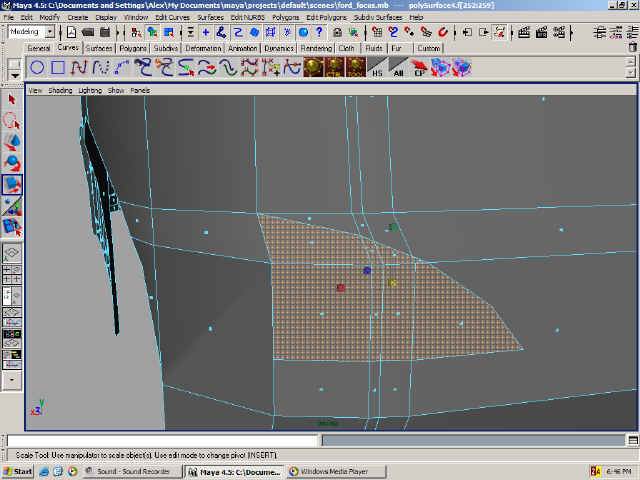
33. Select the edges for the wheel and extrude them. Scale them in once again and then extrude again and move in.
34. Same for the headlights.
Don’t worry about the weird black spots.
35. Same for the grill.
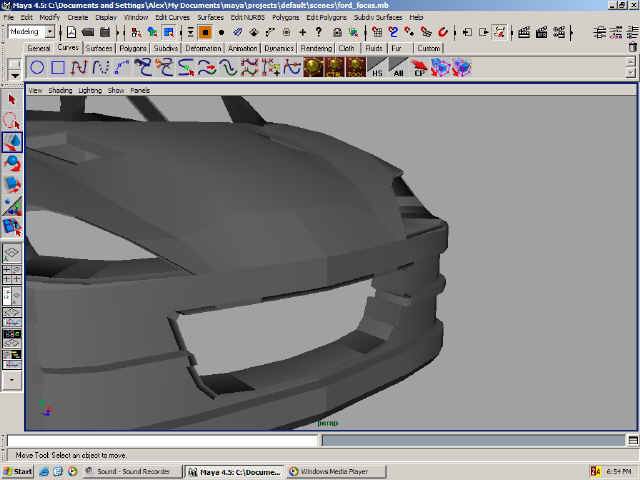
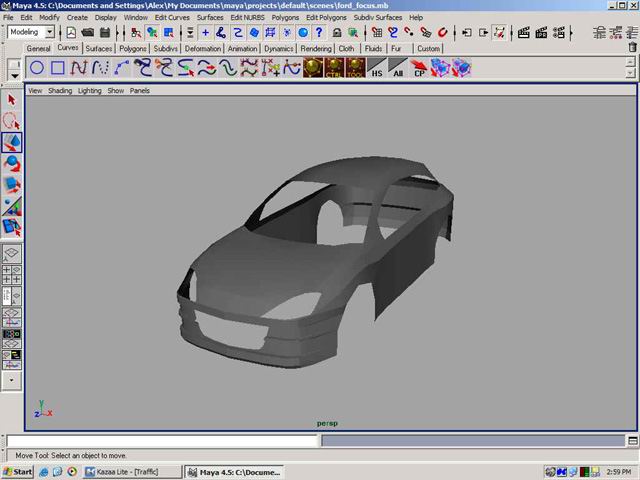
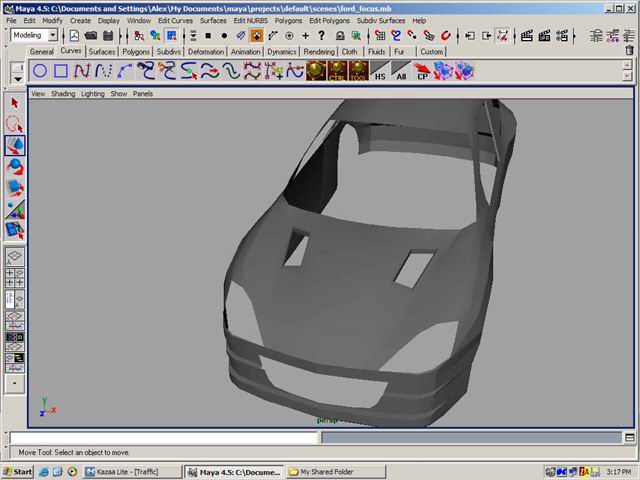
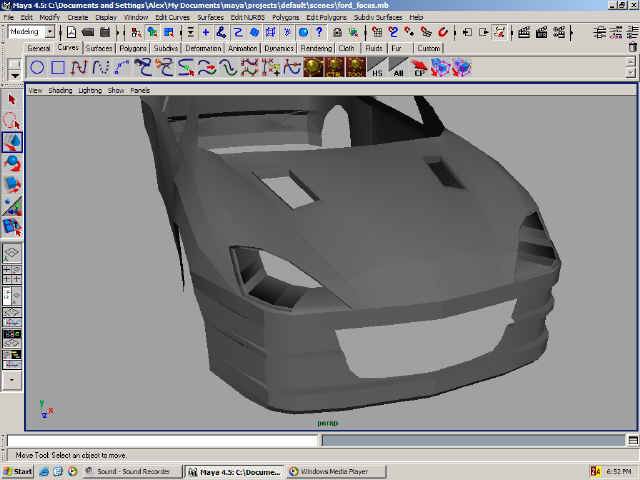
And here we are!!
Basic shape done!
Next part we will be converting to Sub-D and then adding panel detailing.
So what do YOU think of the tutorials so far? Do you have any comments? If you do please e-mail me here
Bye.
- Part 1 — Set up the image planes for good reference.
- Part 2 — Create the wheels for the car
- Part 3 — Start making the low polygon model of the car
- Part 4 — Convert the car to Sub-D


About The Author
You might be interested in