Modeling a Cup and Assigning a Material
Hey, lets make some cups to set on that table we modeled earlier.
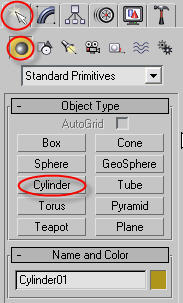
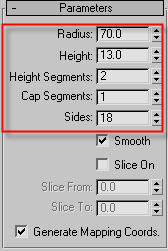
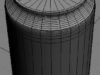
1)Click on the Create Tab, then click on Geometry, then choose Cylinder. This will create a….cylinder. Give it the following values.
2) Convert your cylinder to Editable Poly by selecting it, right clicking, and going to Convert To, and select Editable Poly. Now we can edit it.
3) Select the Edge tool. Then select an edge like the one shown below.
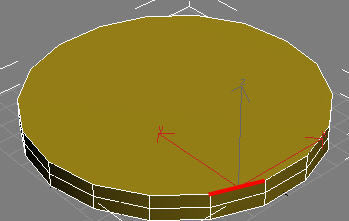
4) Yay, now select the rest of the edges on the top.
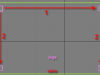
5) Now go into front viewport and choose the Uniform Scale tool, which looks like this.
![]()
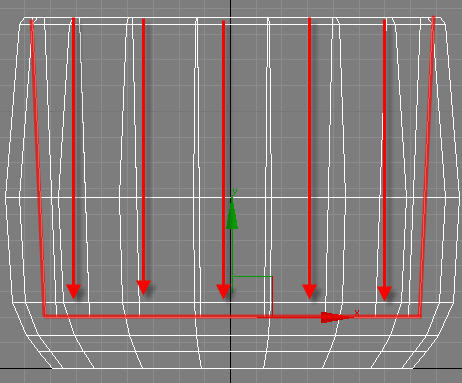
6) Now scale up the edge so it looks like this. Then scale up the middle band of edges to make it look like this.

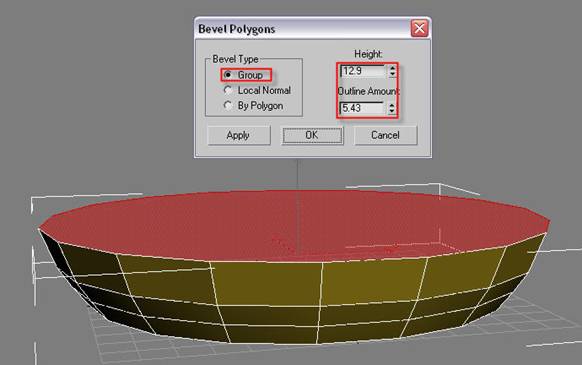
7) Now using the Polygon tool, select the polygons on the top. Then Bevel them so they look like this.
8) Now Bevel again.
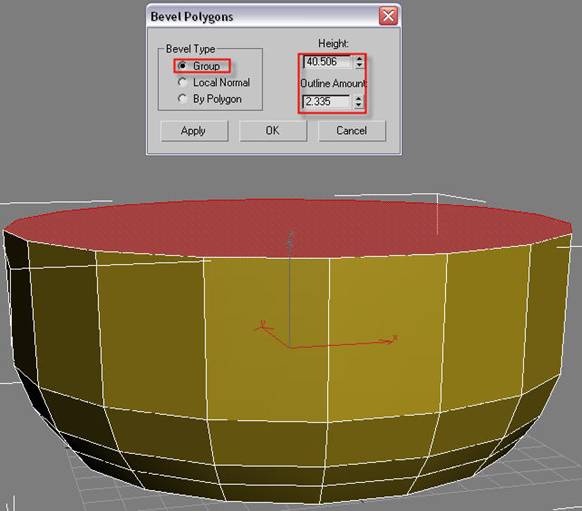
9) Keep doing this until you get something like this.
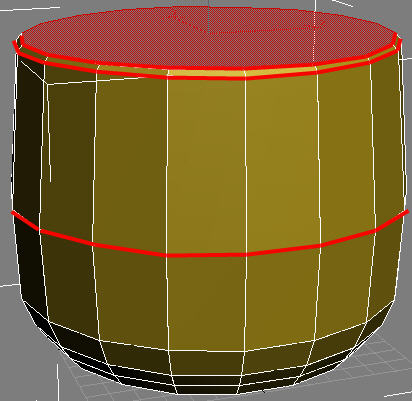
10) When you get to that point, click the Inset button. And put an appropriate value in.
11) Now click on the Bevel button again, but this time, we are going down instead of up. Put the height negative and the bevel amount negative.
12) Apply Meshsmooth Modifier.
Ok, now we finished modeling but we need to give it a glass material.
1) Press “M” to open the material editor. In the material editor, you can assign textures or materials to objects in your scene.
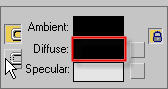
2) Change the diffuse color to black.
3) Then, open up the Maps menu, and next to Refraction, click on the NONE button to assign something to it.

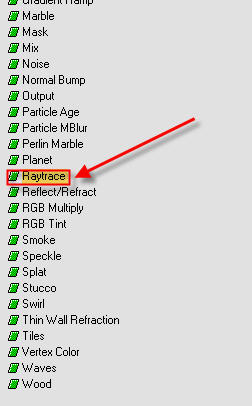
4) From the list that pops up, choose raytrace .
5) Now, go back to the Maps rollout by pressing this button.
![]()
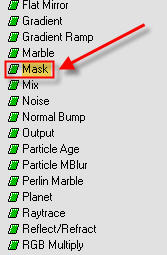
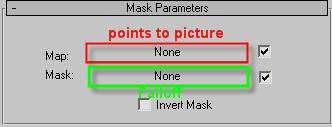
6) For Reflection, click on the NONE button to choose. Select Mask.

7) Now you will see something like this. Click on the NONE button on the top, select bitmap, and choose a picture for the cup to reflect. Press the Back to Parent button ![]() and in the bottom NONE button, click it and select Falloff.
and in the bottom NONE button, click it and select Falloff.
8) Now select your cup object, and in the material editor click on this button. ![]()
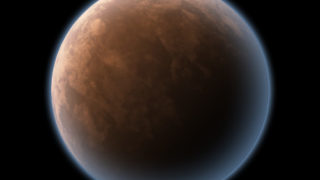
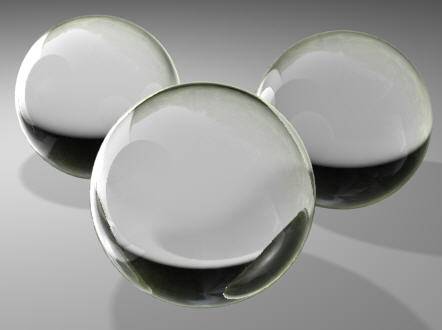
Viola! Your cup has a neat glass material. To show the effect of the glass, I applied it on some spheres. Here is what it should look like.

About The Author
You might be interested in