Computer case modelling
Hello everyone. In this tutorial I’m going to show you how to make a computer case .This is an easy to follow tutorial. I’ll explain everything as well as I can. I used3D max 7 but I think it can be done using even 3D max 4 or 5.
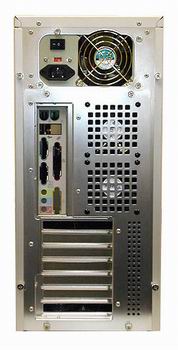
I alwaysstart by searching the web for reference pictures and I suggest that you do the same. The case we are going to make is a concept one from a few pictures I found. Of course you can make your own design.

OK let’s start:
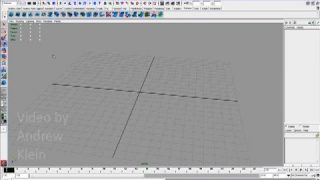
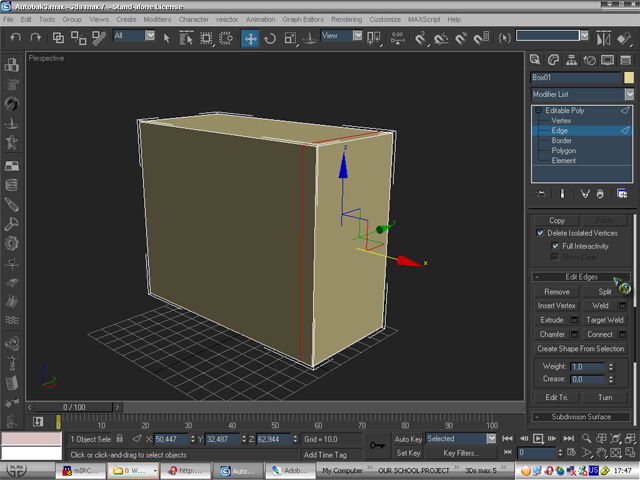
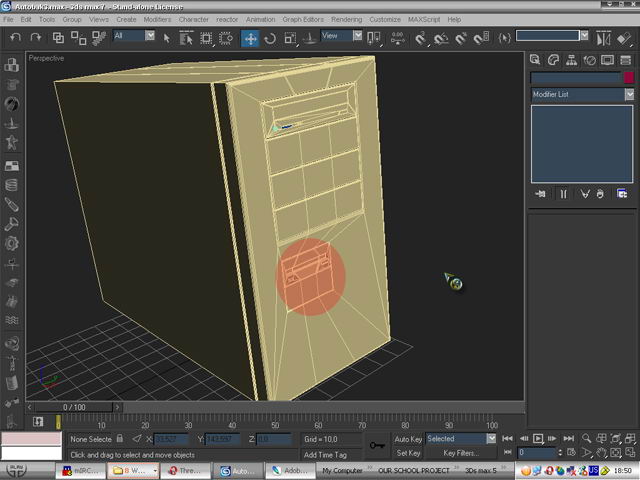
First make asimple box and convert it to editable poly.

Now we are going to separate the front part of the case from the body. Just cut an edge where the front part should start.
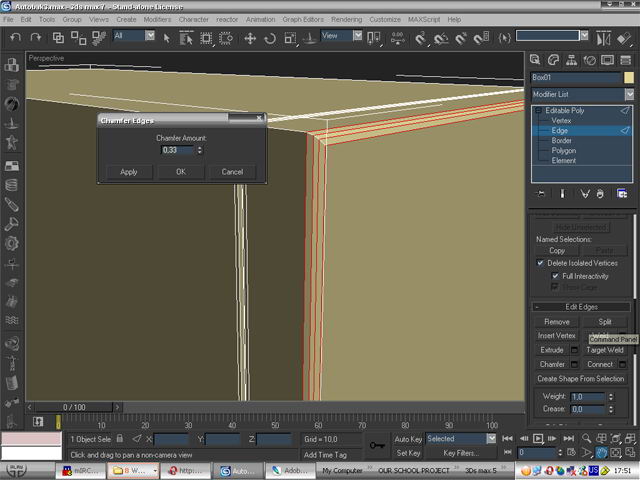
Now chamfer this edge.

Cut another edge between those 2 we just created and extrude it in.
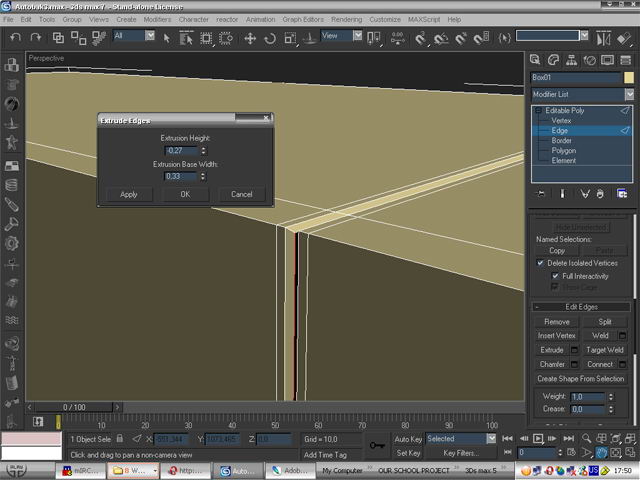
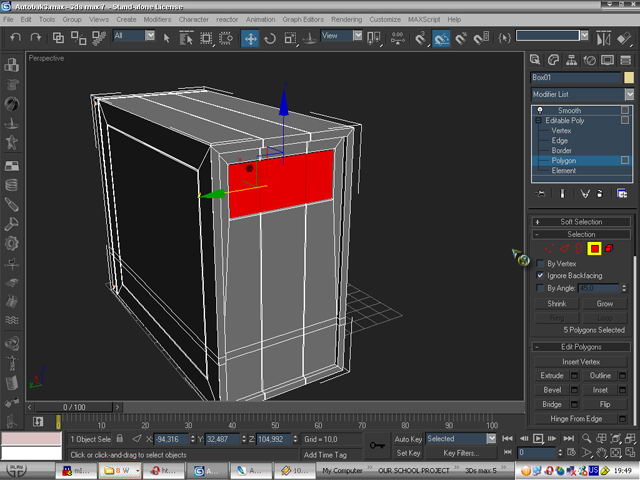
Now we are going to soften the front edges of the case. Select those fron tedges and chamfer them then click apply and chamfer it again but this time with a lower value
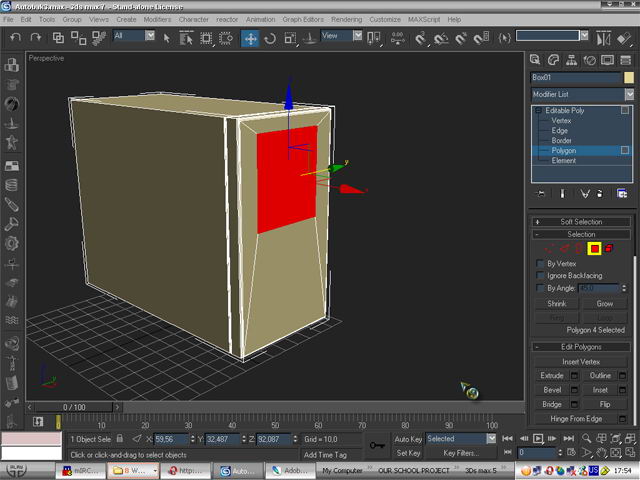
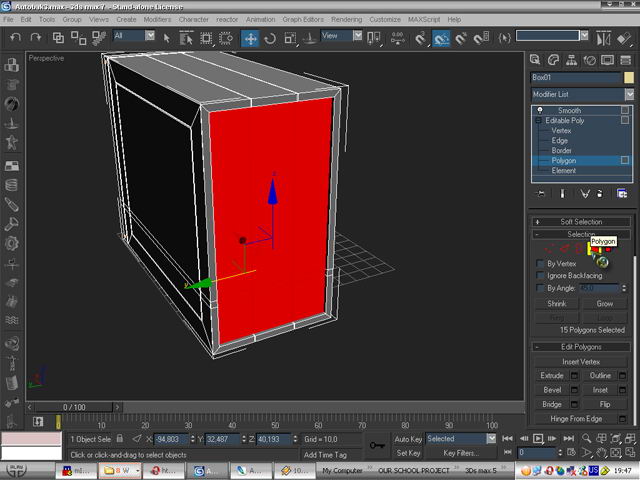
Now selectthe front polygon and inset it

Using the scale tool simply play around with thesize of the polygon until it is perfect(Note that this polygon will be our 4places for CD-rom)
Nowdivide this polygon in 4 using the cut tool or the connect tool if you areworking with edges.
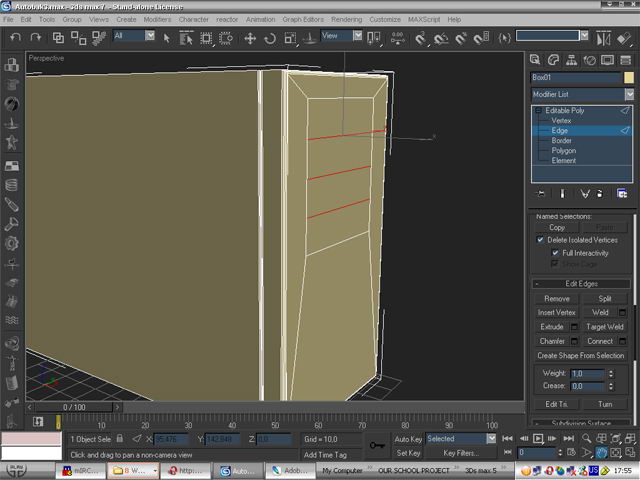
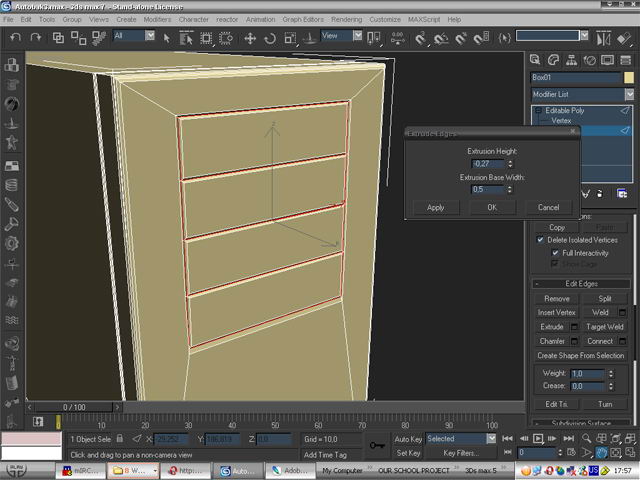
Ournext step is to select all the edges that will form the places for CD-rom etc. and extrude them in like so:
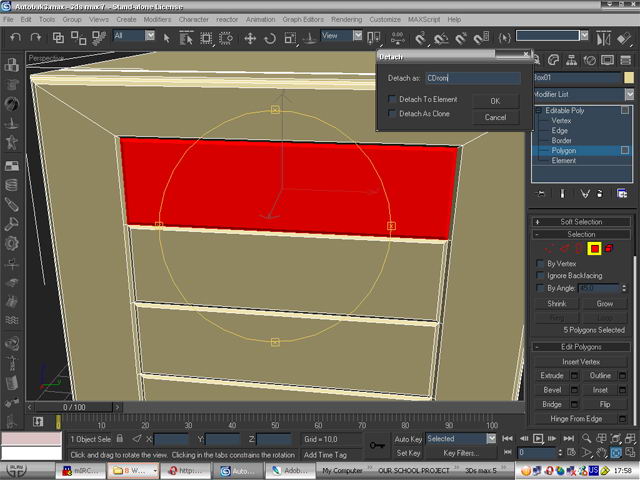
Detach the part which wewill use to make our CD-rom (you can use some of the other 3 places there ormake more than one CD-rom, RW etc. it is up to you)
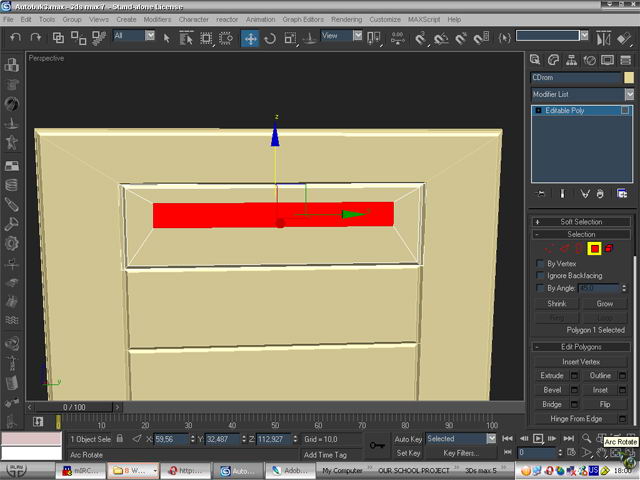
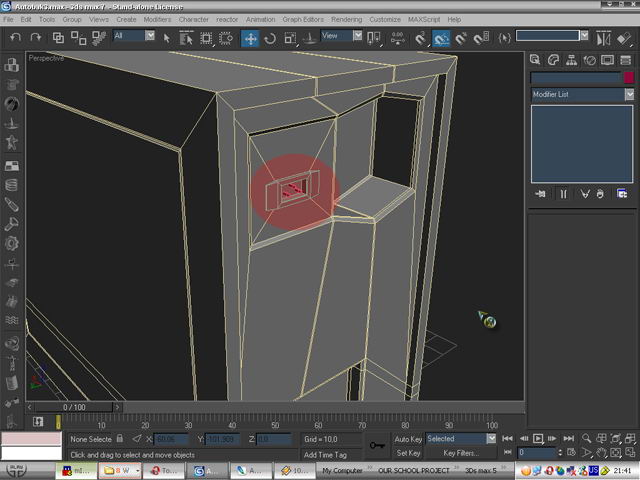
Again using the insetand the scale tools make something like the picture:
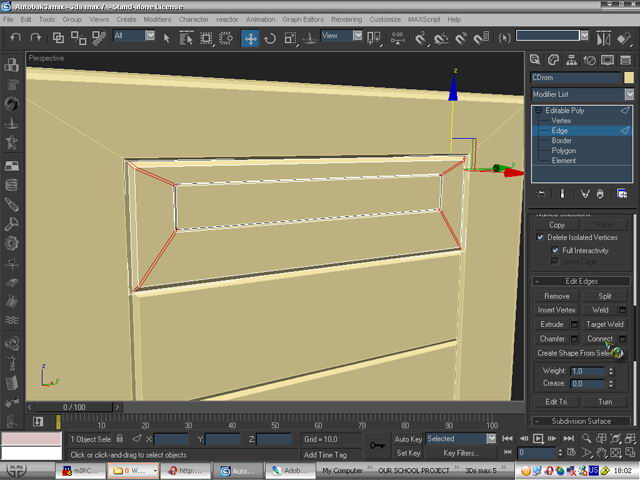
This will be the place for the part of the CD-rom thatyou actually put CDs in. Select the border edges and extrude them in and chamferthe corner edges.
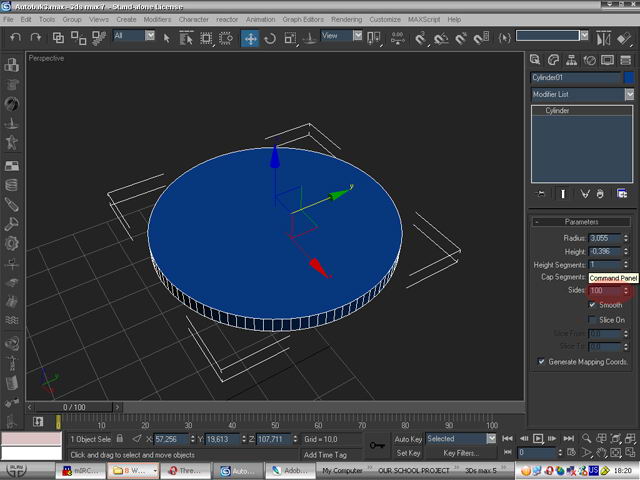
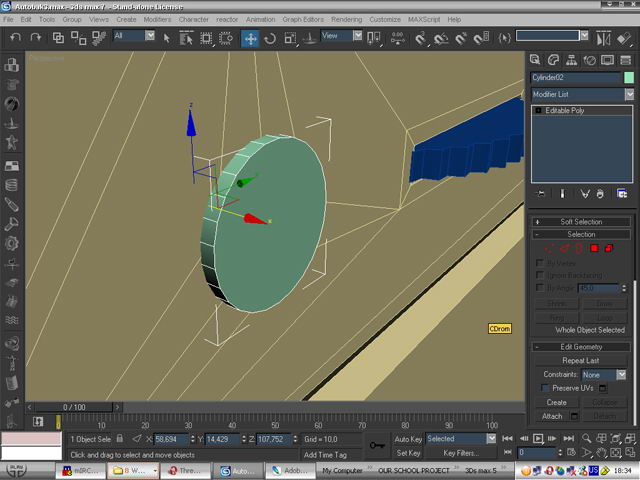
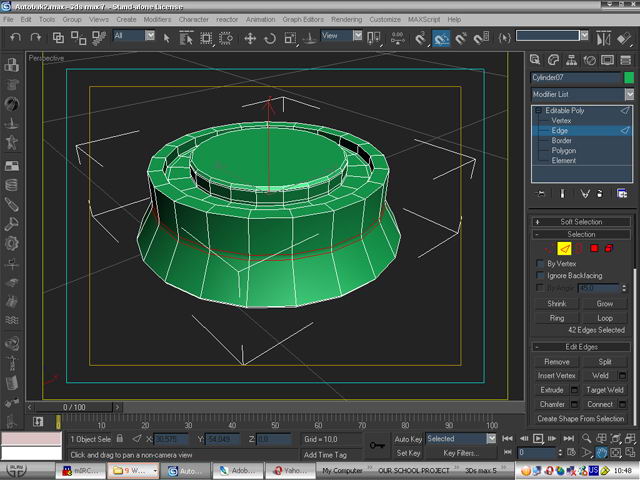
Nowusing the same techincs make the button the light the hole and the slider ofthe CD-rom. This is how you create the slider’s wheel. Make a cylinder with 100sides.
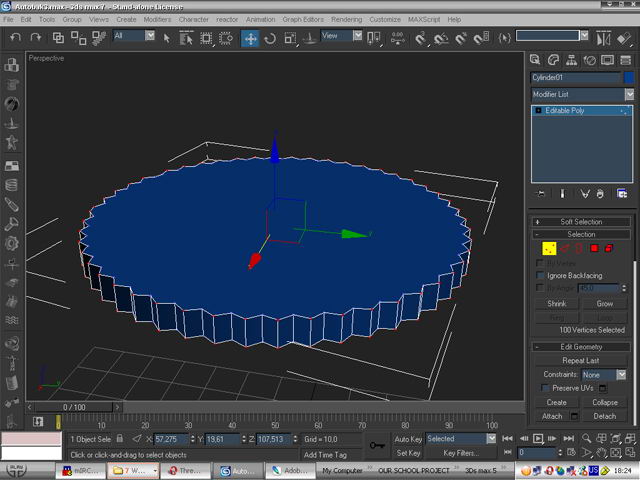
Select everysecond row of edges and scale them out until you have something like this:
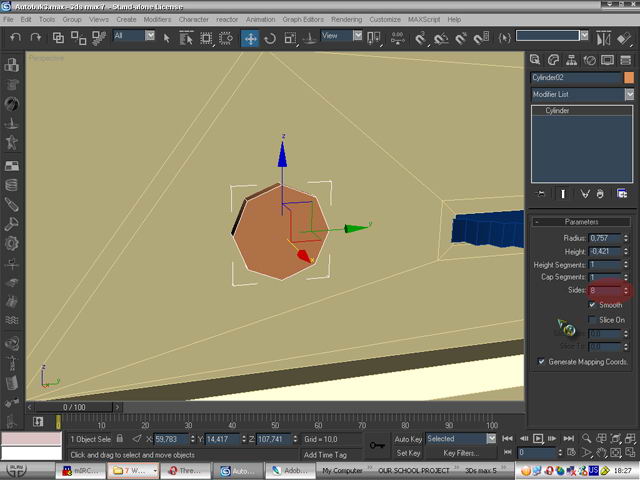
Create the hole by using a8 sided cylinder
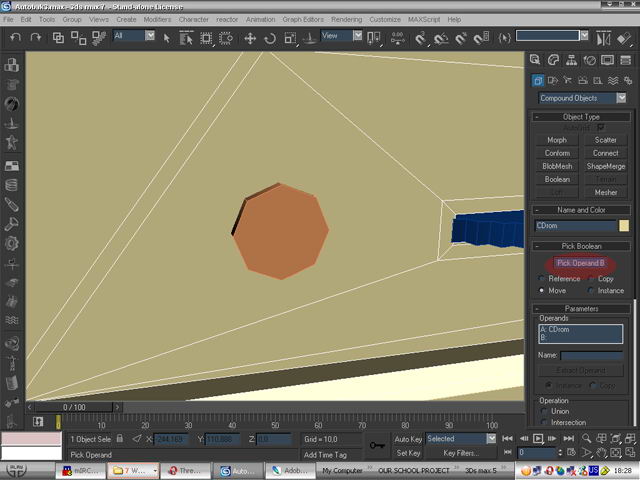
Place the cylinder whereyou think your hole should be and then select the main body of the CD-rom. Goto create/compound objects/Boolean/pickobject B and select the cylinder this will create a nice hole in which byusing another cylinder you can make the the inner side.
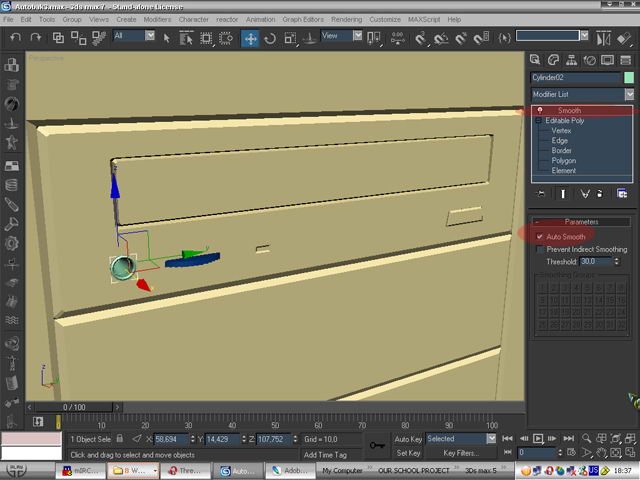
After you are done just add a smooth modifier.
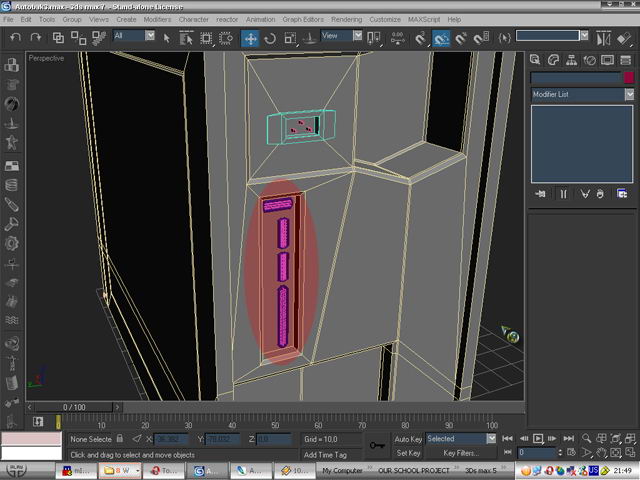
Using the techniques you learned create the place forthe floppy.
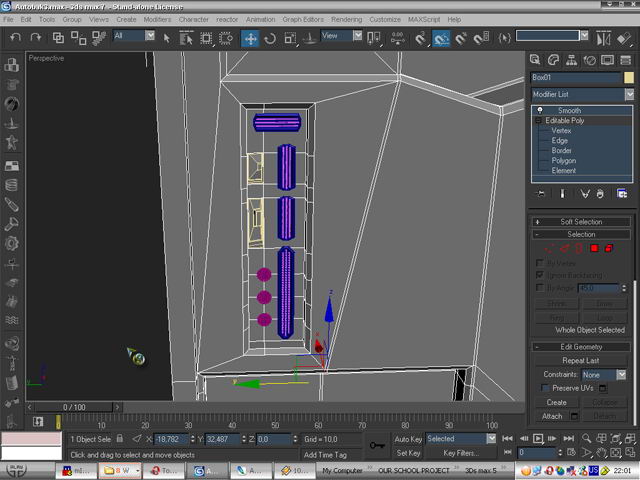
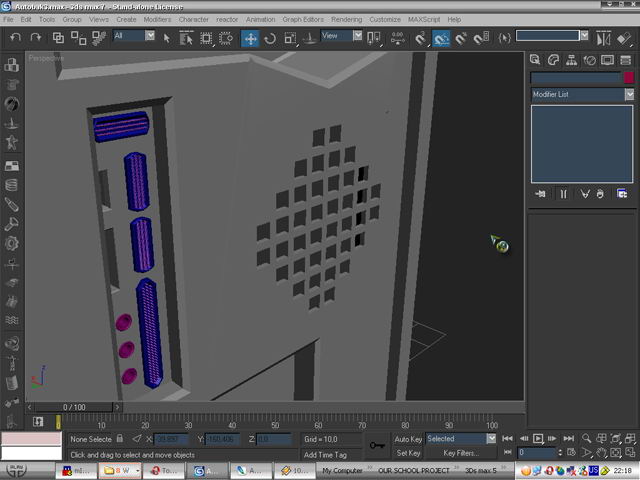
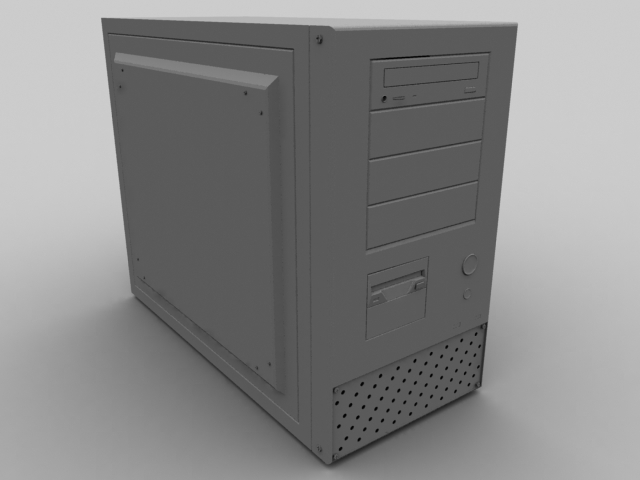
Now createthe ON and the Restart button with the little lights under them and delete thepolygons that we will use to create a grill.
In theplace of the deleted polygons create a rectangle and a lot of circles whichwill be the holes of the grill. Attach all the circles to the rectangle.
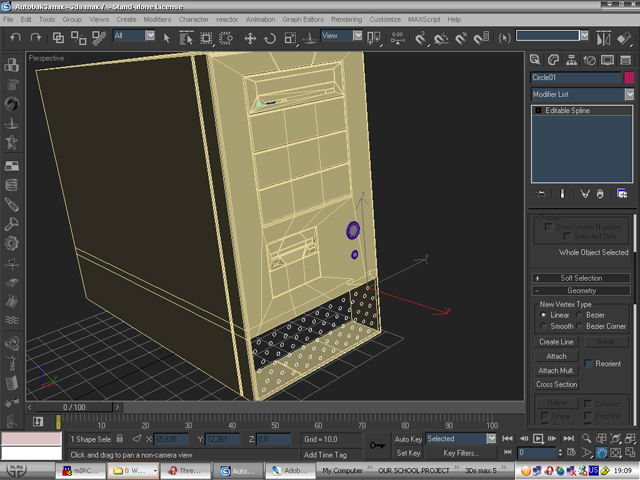
The extrude it so it willbecome a 3D object. Select all and make it gray color so we can see better.
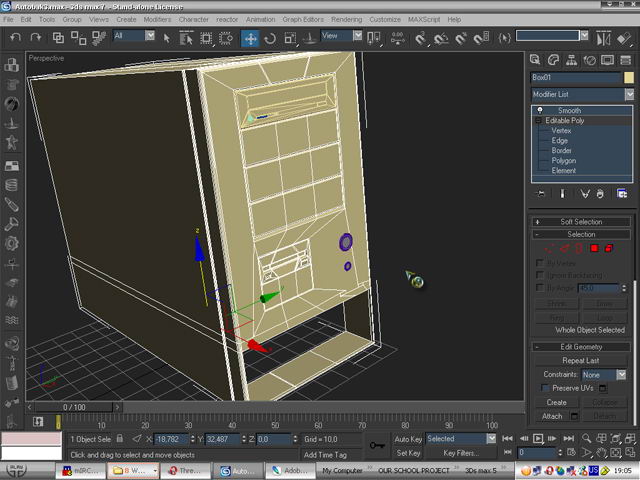
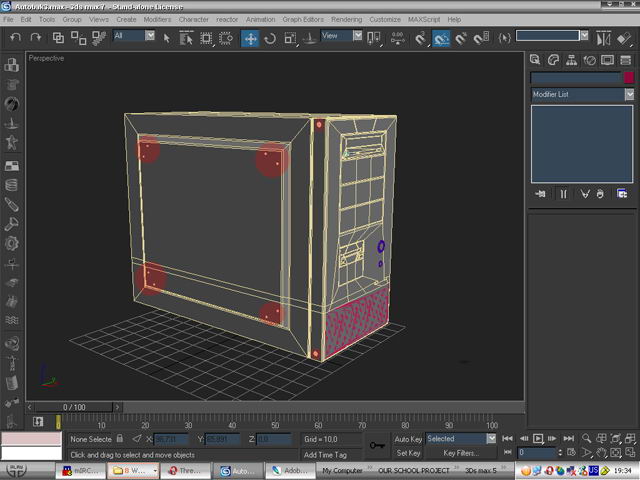
Now give the side of thecase some detail.
Nowfor the bolt if have followed this tutorial carefully it will be easy to make abolt like the one the picture:
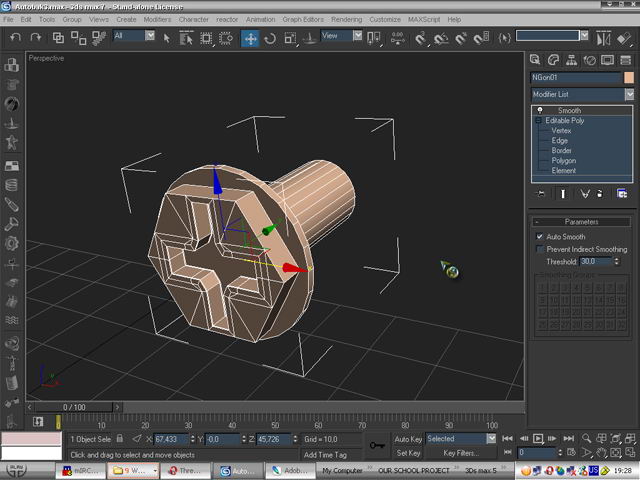
Note: I haven’t made the screw of the bolt because it will not be seenanywhere but if you want to make it take your time) .
After you make the bolt just place copies of itwhere it is needed.
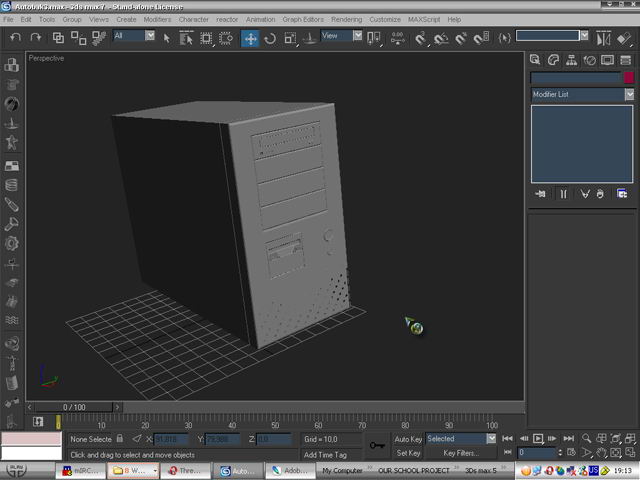
Add somedetail to the other side of the case too:
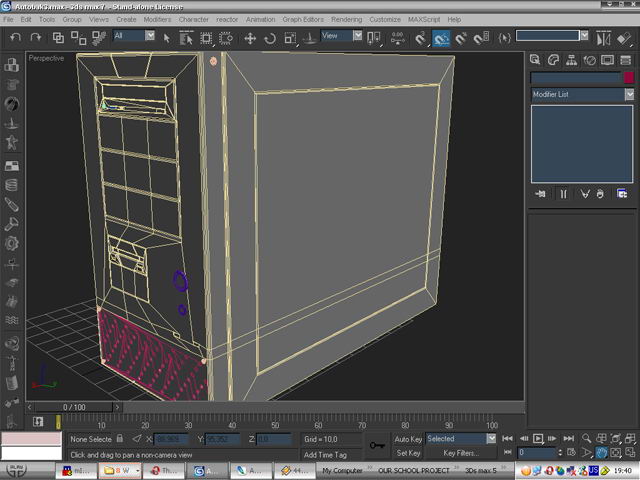
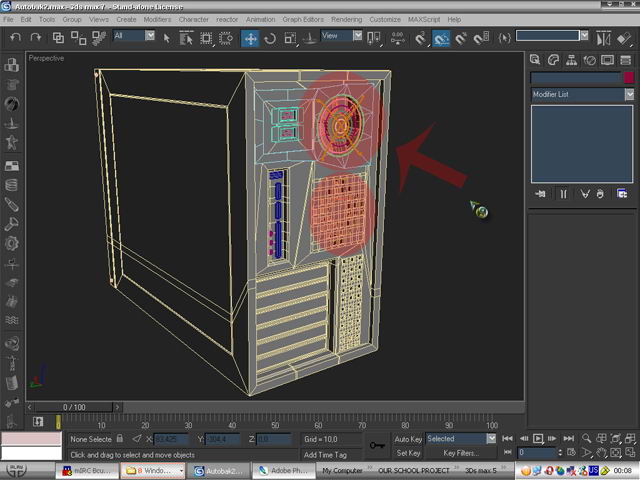
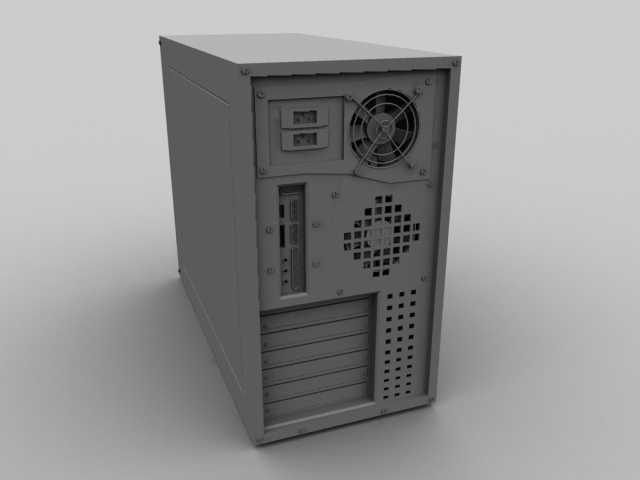
Now let’s move to the back. Start with extrudingthe back polygon.
Again by extruding edges make the place for the supply the main fan and theplaces for video, sound card etc.

It is easy to create all the little part at the back so I’mnot going to explain it just see the pictures and try to do something likethat:
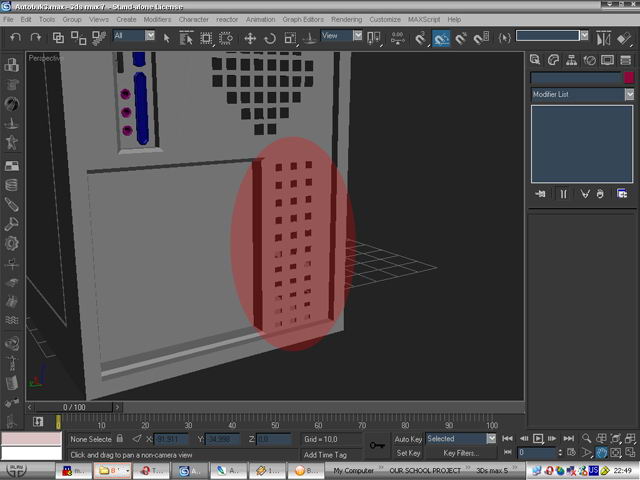
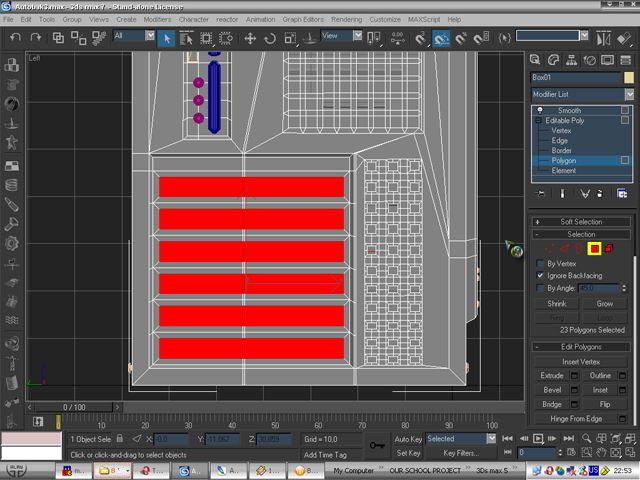
We aregoing to create some holes for the second fan. Select the polygon where youwant to make the holes for the fan and click a few times on the tessellatebutton. This will add some more polygons.
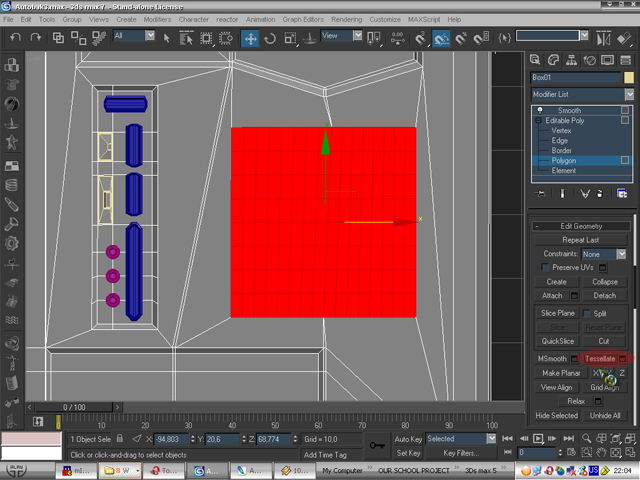
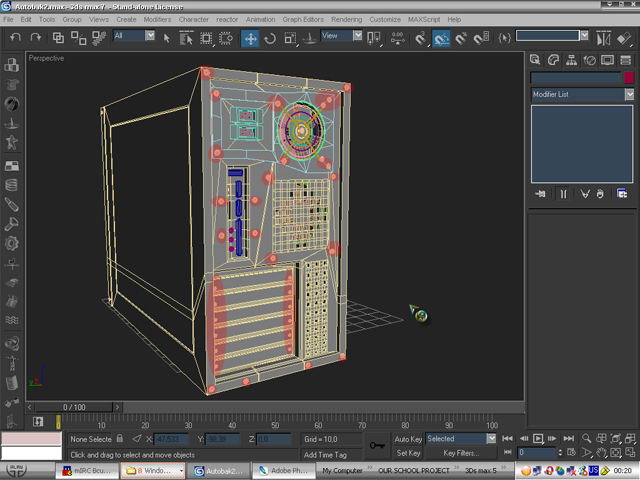
Now select the polygons that you want to be the holes and delete them.After that select all the borders of the deleted polygons and shift + drag themback. This should be the result:
Do the same one more time to create more holes for the ventilation of the case.
Now work on the places forthe video card, sound card etc.
It is time for the fan startby creating a plane and giving it a shape like that in the picture. After thatextrude it and chamfer some of the border edges.
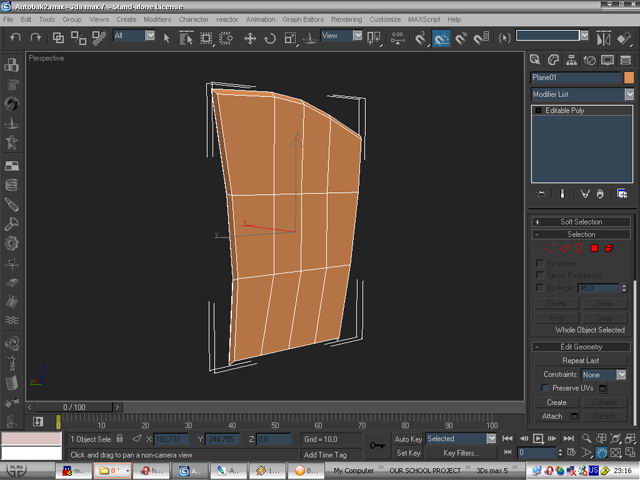
Then add acylinder and copy the fin several times. Everything else do just like in thepicture
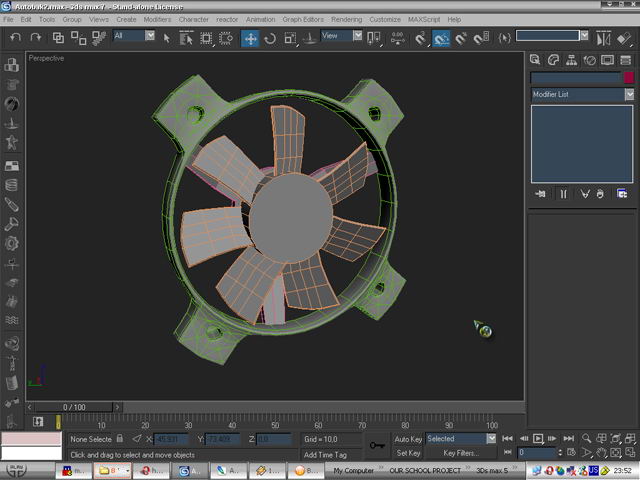
Now place the fans in the places you see at thepicture and create the metal circles which protect the fan.
It is time for the bolts.Place them as in the pictures.
Finally for the little“legs” of the case start from a cylinder
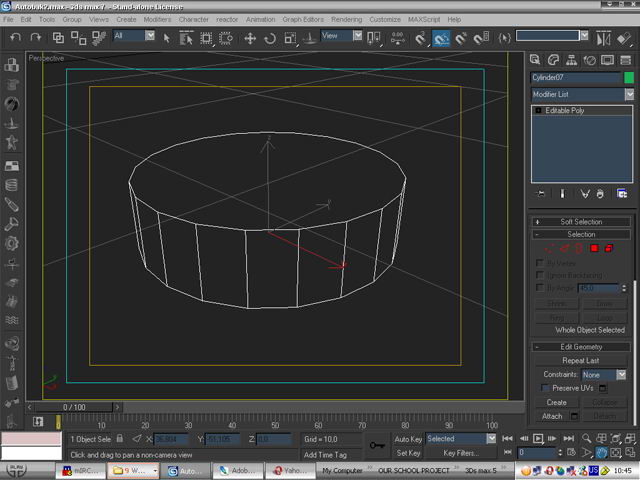
and do somethinglike that
Put the “legs” in place and we are ready.
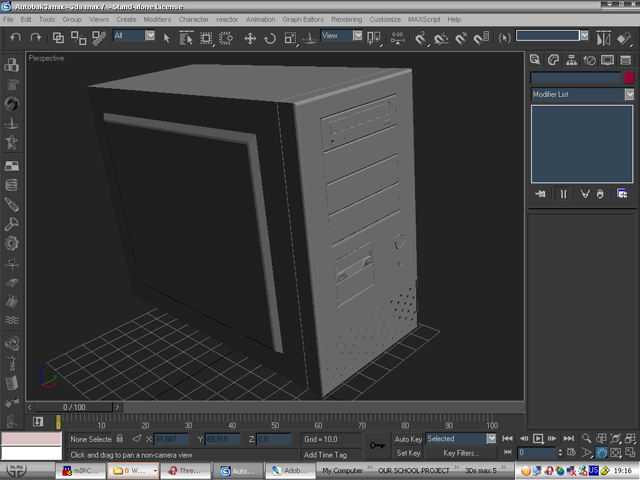
If you render now you willhave something like that:


About The Author
You might be interested in