Creating Normandy SR1 in 3DS MAX
Introduction
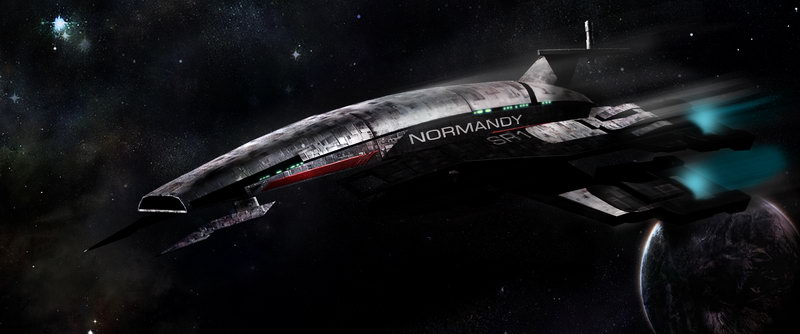
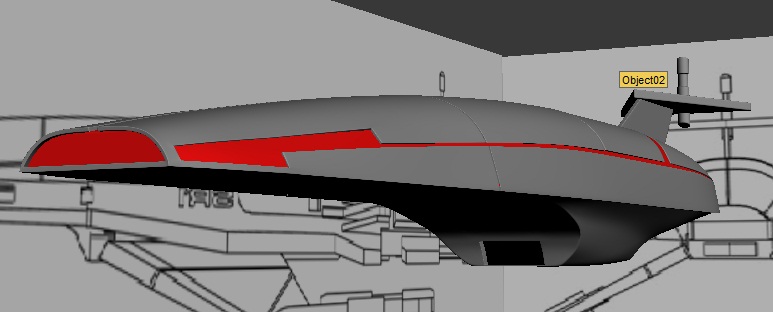
In this tutorial I will show ho w to model Normandy Space ship from mass effect.
Downloads
Before you star you might want to download these files.
Reference:
Texture:
Step 1
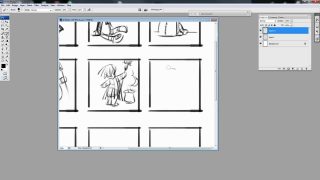
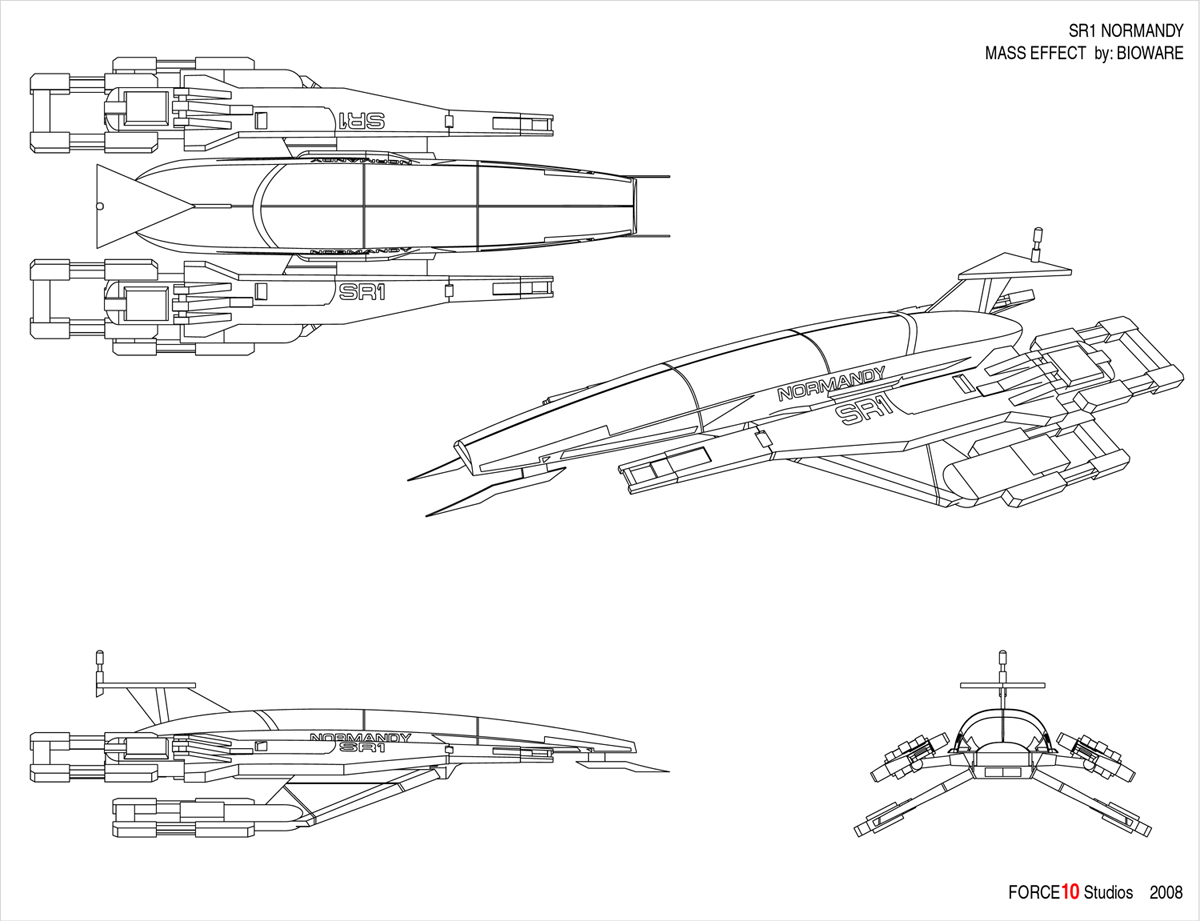
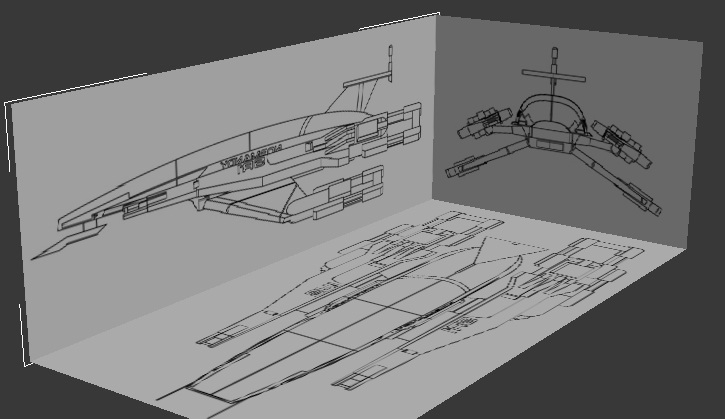
I will begin as usually by finding a reference for the model. I found this sketch on www.gamespot.com. When you making complicated things like that you need to make shore they perfectly aligned. And after I placed them like that I will freeze them so I won’t be clicking on them for any reason. If you struggling to create reference you can use this tutorial it will help you: http://www.3dm3.com/visits/862.
Step 2
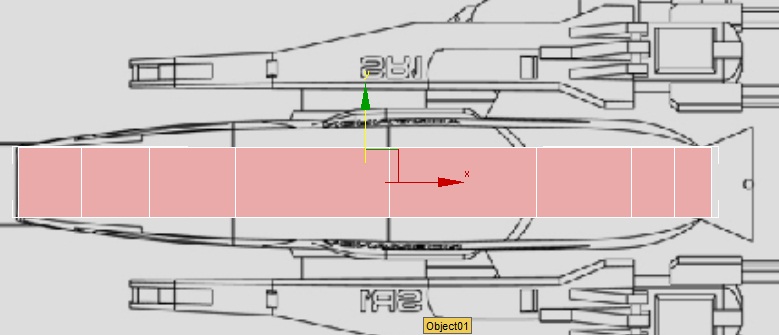
I will start by creating a plain along the edges of my ship. I only want to start creating the front bit cause all the metal shields will be separate models.

Step 3
I will convert my plane in to editable poly or mesh witch ever you like to work with. Then I will align the vertices along the reference from front and side like on the image.
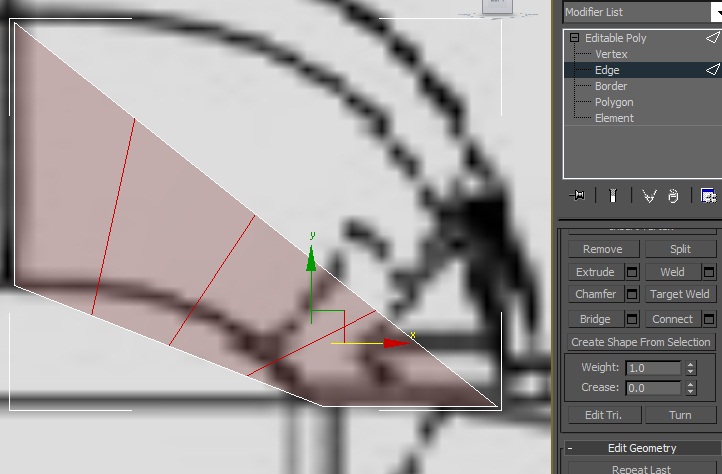
Step 4
Then using divide tool I will create 3 new adjust like on the image. And one again align them along the sketch

Step 5
I will do exact same thing on the side to give it more polygons. And once I’m finished I want to make shore that my edges go along the sketch edges so I can have exact same details.


Step 6
Now select the polygons I’m showing on the image and delete them. We won’t need them because our inside shield will be separate object.

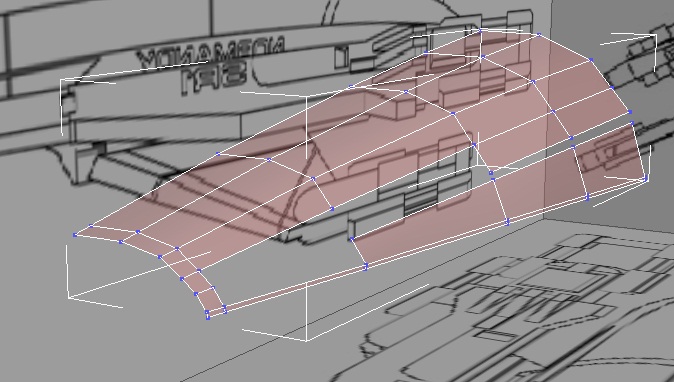
Step 7
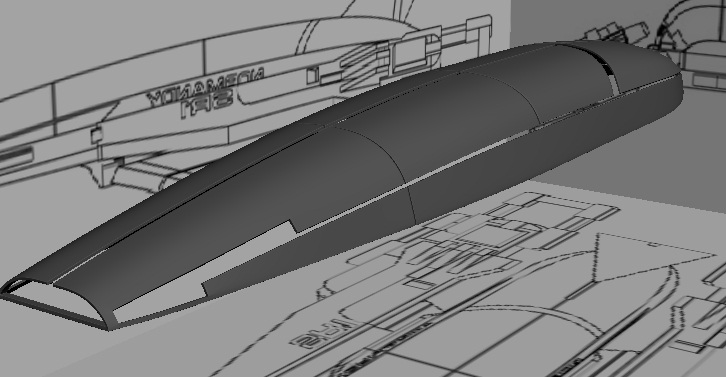
Just make final alignments and you should get something like I show on the image, don’t worry if it didn’t work out this is the hardest part to make all polygons neat and proportioned, if you will do this tutorial for couple of times you will get there.
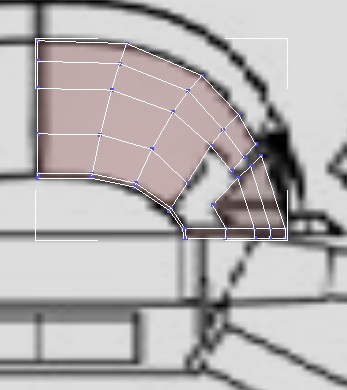
Step 8
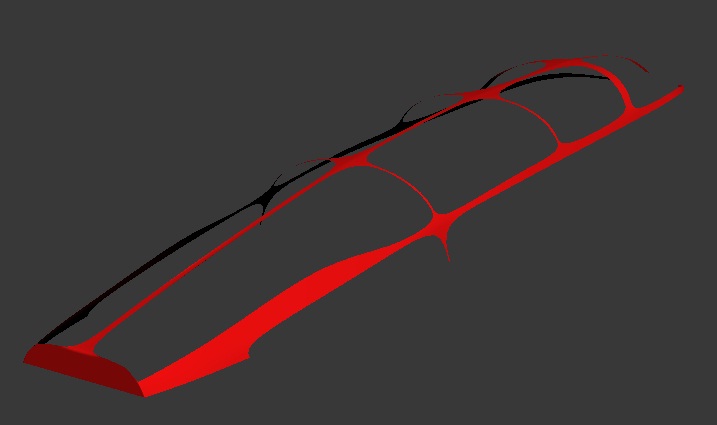
Now I will select the barded and I will extrude it like I show on the image to give this shield depth, now it will look thick and heavy.
Step 9
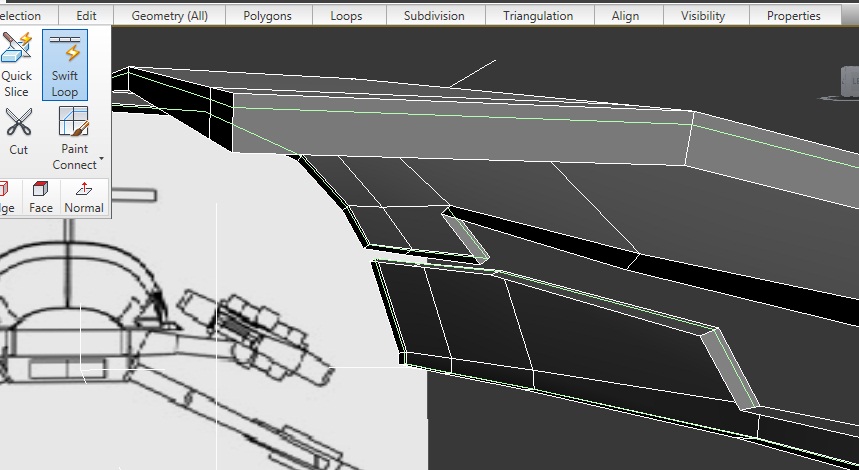
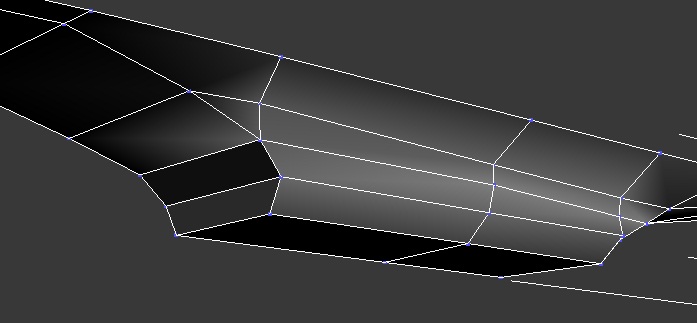
Now that is where it gets really tricky. I wanted to create a really high poly model so I need to use edge thickening in order to make my edges round and nice looking. But it is also going to be a very complicated model in the end and if I will do edge thickening I will have allot of problems with polygons later. So what I’m trying to say is, if you want to create a model for a game or something like that don’t do next step but if you making a cgi
Movie or something then it’s going to give it allot of butty. So using swift loop I will add an edge loop along the border like on the image.
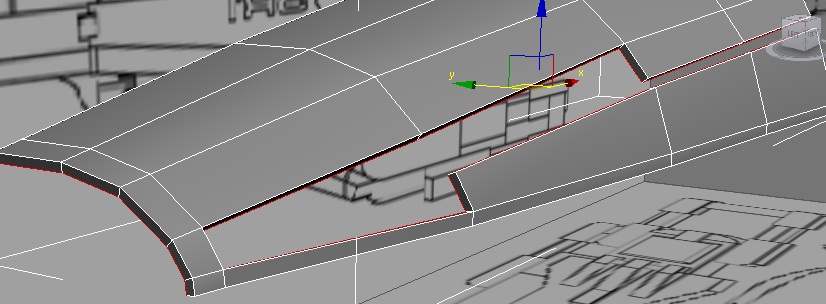
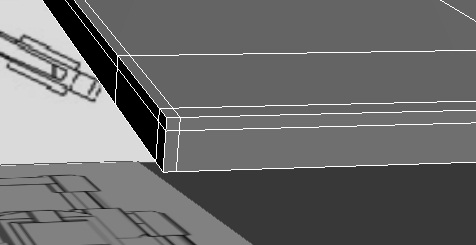
Step 10
Then using exactly the same tool I will add another loops along the edges from the other side so you should get something like I show on the image.
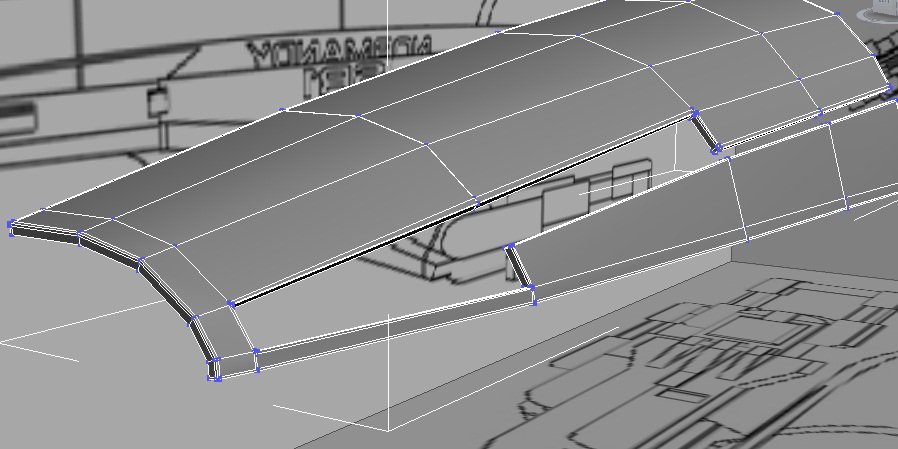
Step 11
Now all you want to do is do the very same thing with any edge you want to be sharp.
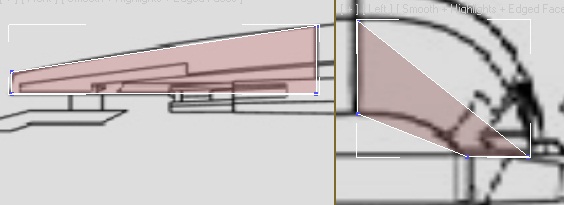
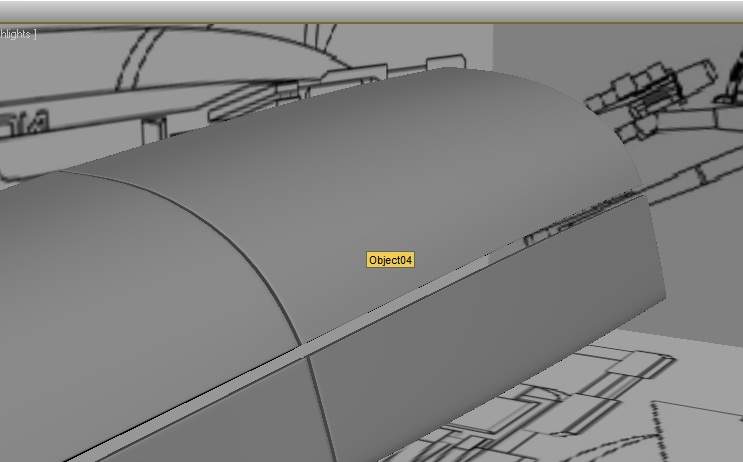
Step 12
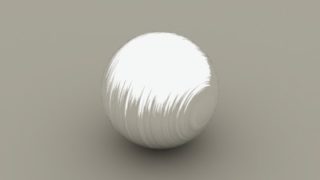
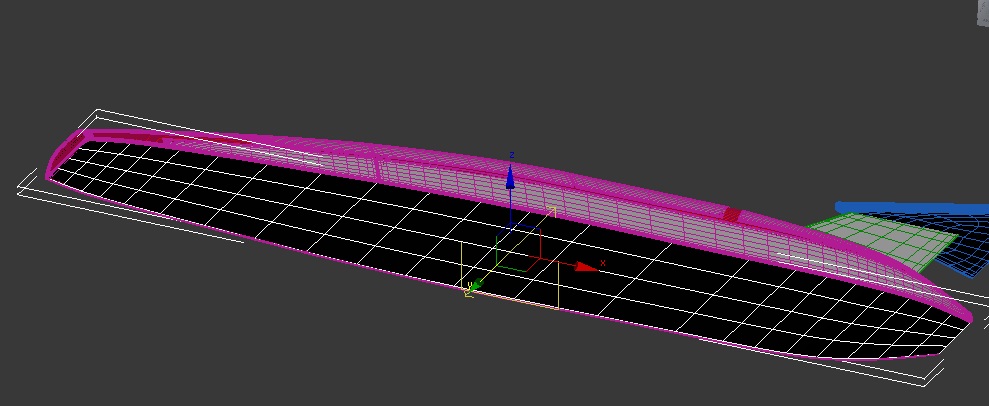
Now if you will add turbo smooth multiplayer to this object it should look like mine, really nice and smooth kind of thing

Step 13
Now what I did is created another plane and aligned it along the first one and followed exactly the same steps to create it so you should have no problem at all with it.
Step 14
And then another 2. It is really easy and should not be too hard to make.
Step 15
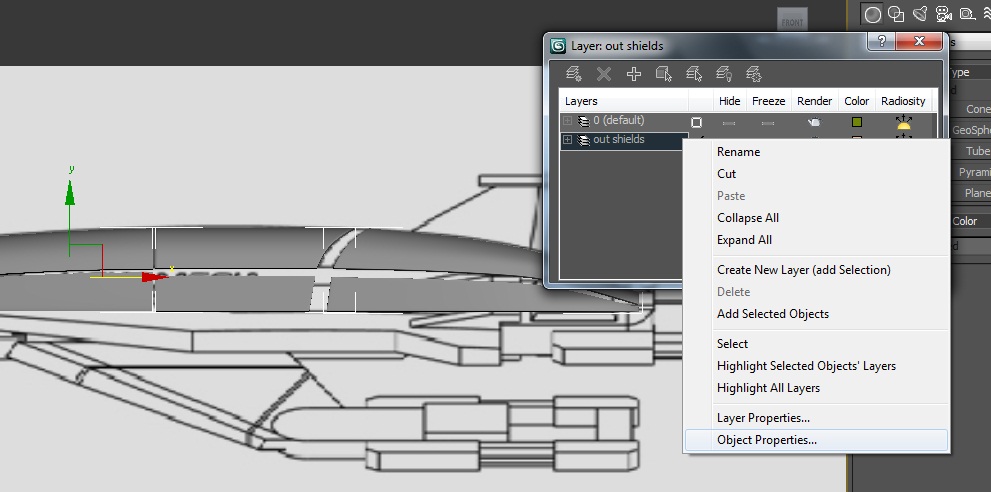
Now if you make a model with that contained out of different objects, the best thing is to make layers other wise you will lose yourself in the end. So just go to layer menu and select your shields and add them to one same layer.
Step 16
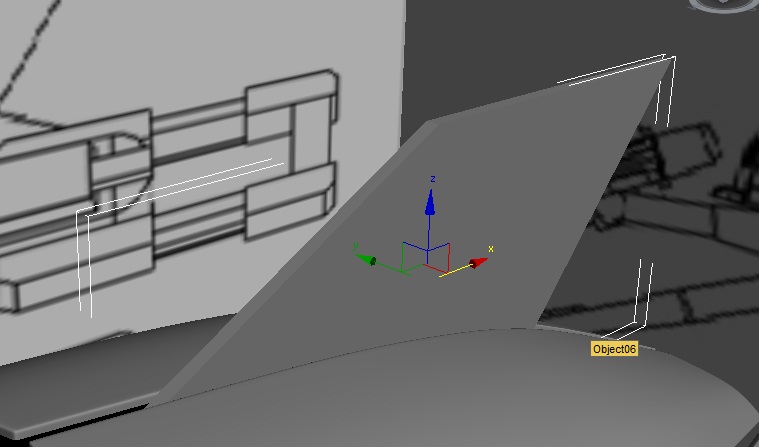
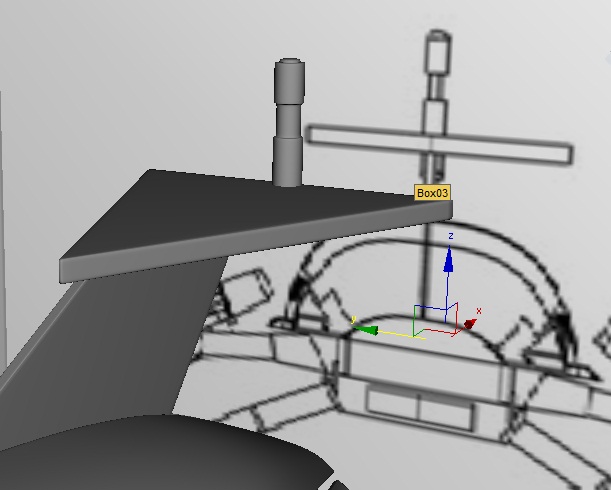
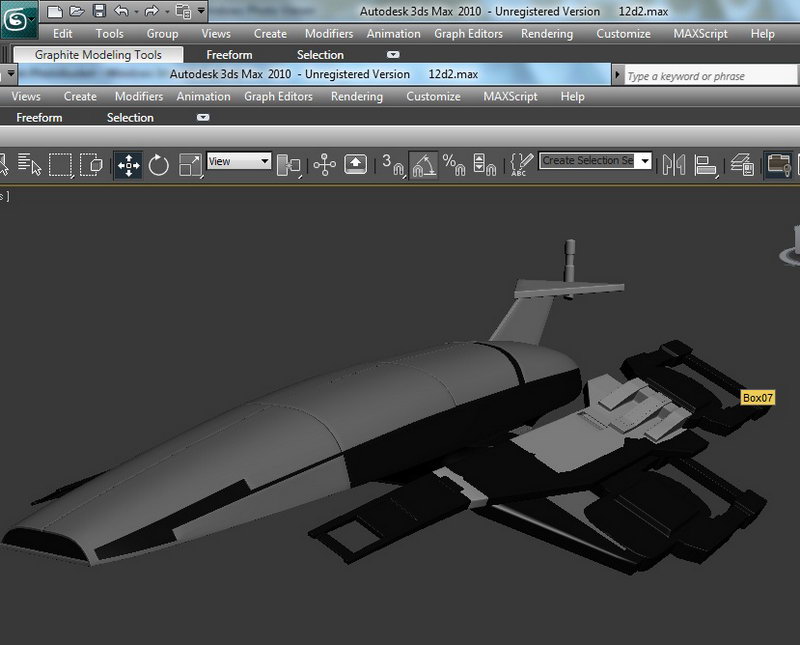
Now we will create a tail, I just simply created a box, aligned it and added some edge thickening so it looks nice like the rest of the ship.
Step 17
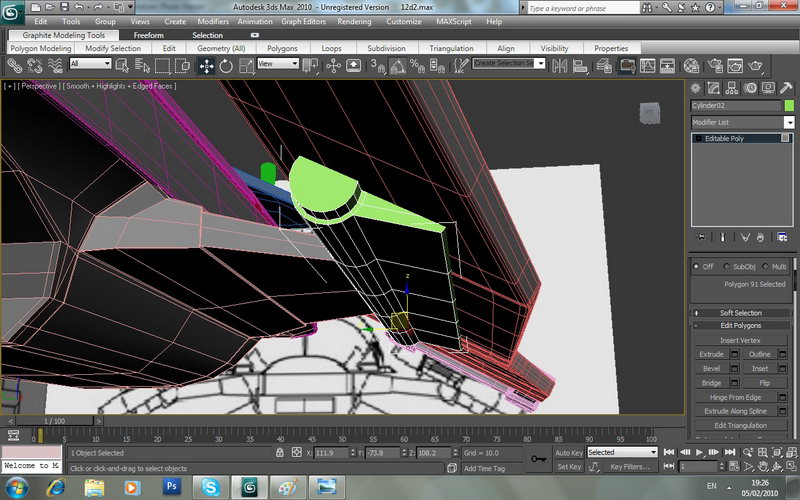
Same thing I did for the second part of it and I also created a cylinder and extruded parts of it to create antenna. And once again I created a new layer and added them separately from the other parts.
Step 18
Now it’s going to be a bit boring. We will need to cover all our little gaps in our main shields. I will create a plane, select an edge from the side and will hold shift drag it, then I will align it and do so until I will cover all my little gaps, it’s not hard but its time killing.
Step 19
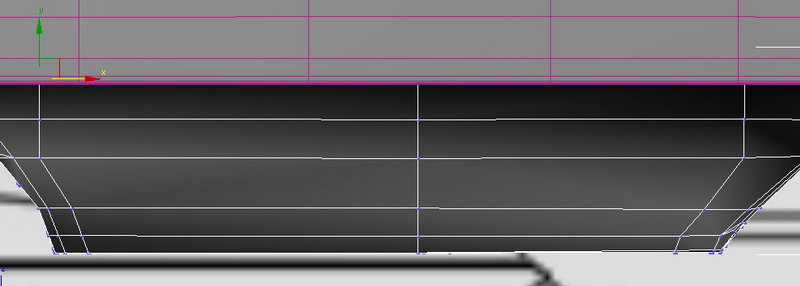
Now it’s time for the bottom part. I had a big problem to create a bottom part because you can’t see it on the reference and I couldn’t find any shots of that ship from the bottom so I had to improvise. So if you will think that I did it wrong you can do it your way. So create a plane, divide it and align along the bottom of the ship from the top view.
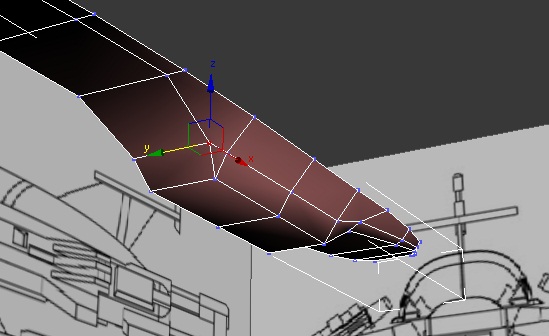
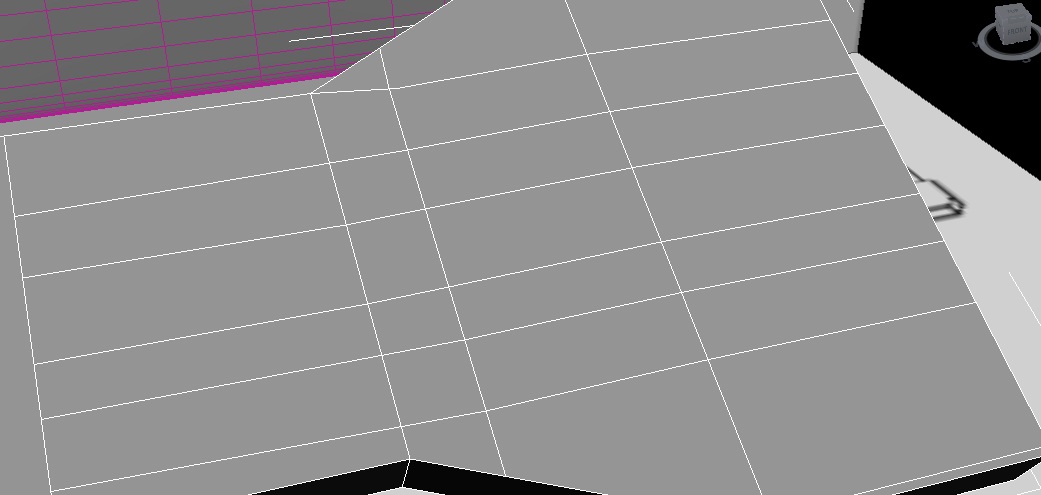
Step 20
Then I will divide it along and I will drag down the centre polygons for our bottom part like on the image.
Step 22
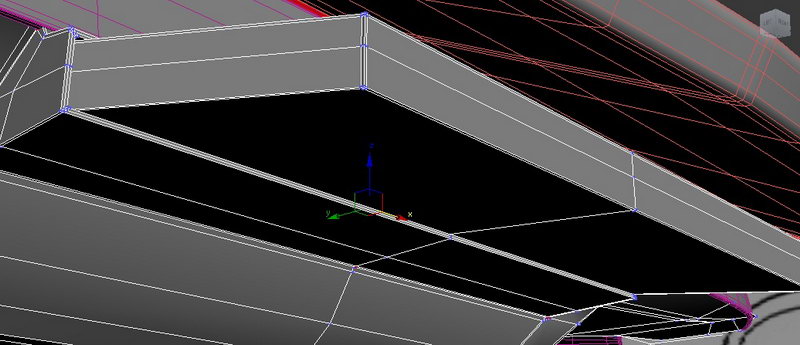
Then I will extrude the polygons and align them how I think is right.
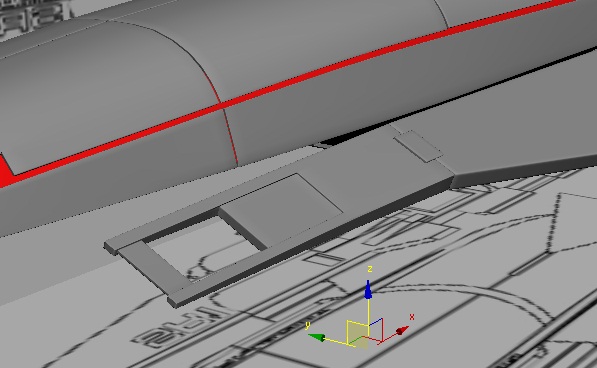
Step 23
Then I just added some edge thickening and I deleted the cargo whole to put door in there later.
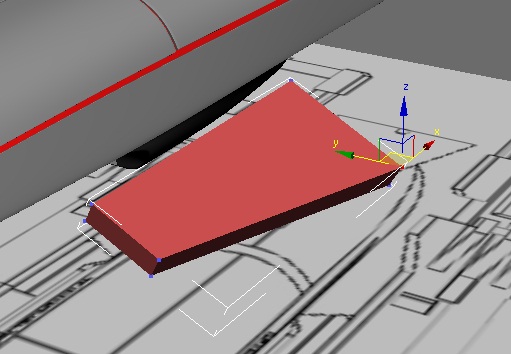
Step 24
Now I will start creating wings. I will use a box and I will convert it to editable poly, then I will align it along my wing on reference.
Step 25
Then keep extruding it and aligning until you will create the center part of the wing.
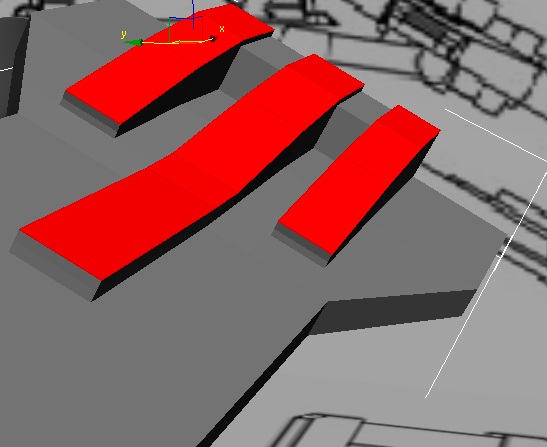
Step 26
Then divide it and extrude 3 big metal bars on the end. Don’t know what that is but I think it’s important :).

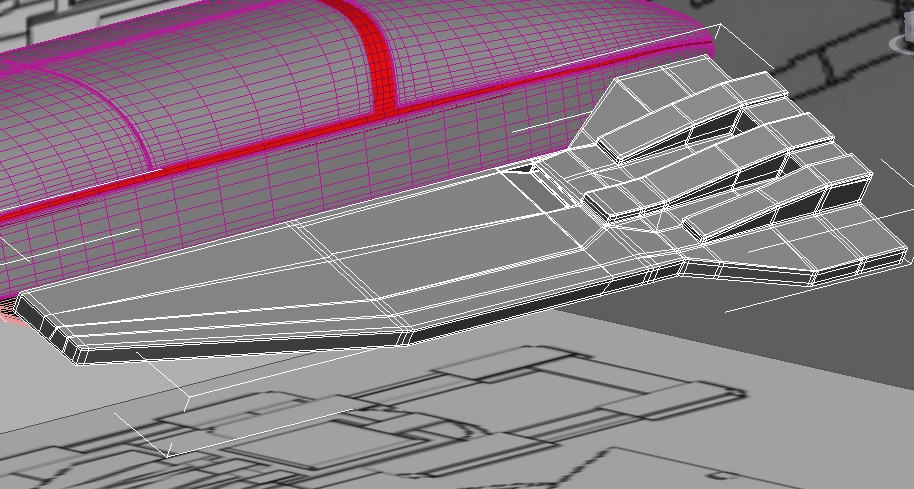
Step 27
So once you will finish you should get something like that.
Step 28
Now I will create a new box to create a front part of the wing, it will be much simpler.
Step 29
Now a new box for the back of the wing.

Step 30
Then as usually we will add some edge thickening and here we are.
Step 31
Now I will divide my bottom part of the ship to connect it with our wings and I will extrude the polygons to get something like that.
Step 32
Now to make shore the wing don’t look like its holding on nothing I made this handle, just usual cylinder and I extrude one of the sides to make it look like that.
Step 33
Sane way I created the bottom wings and I copied the back of the wing from the top once cause they look the same.
Step 34
Now on the original ship they have these weird looking blades on the front, you don’t have to add them if you don’t like them but just for tutorial sake I will create a pair by simply using a box dividing it and aligning.

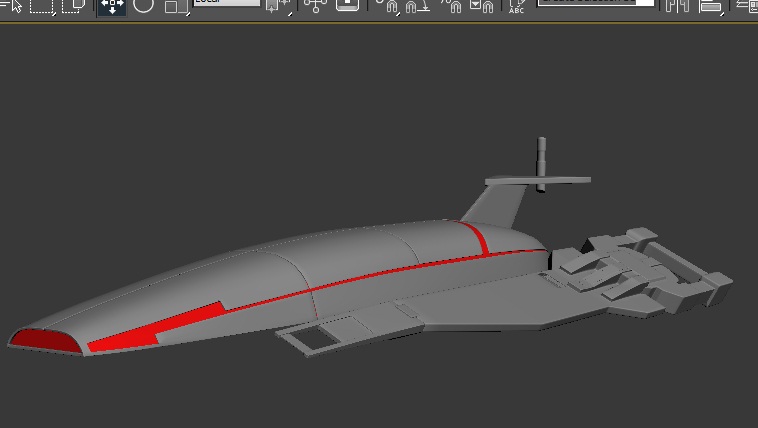
Finish
And now I will simply add my textures, symmetry and render it in mental ray using usual Omni lights and ray trace materials. For that part you can find couple of tutorials online, it is a whole new topic.


I hope you liked my tutorial. If you like my tutorials than you could do me a favour and tell me what would you like to learn how to create cause I totally out of ideas :) so if you want to learn something just post a comment on this tutorial and I will take a look if I can help you out.
 About the Author
My name is Alex Jerjomin. I’m originally from Russia but at the moment I live in UK. Every since I both my first video game I always wanted to create my own game designs and my own characters. so since 14 years old I’m leaning 3d max and other 3d applications. Now I’m 20. Starting my 3d Educations in Hertfordshire University next year and hoping to work in game industry.

Copyright © Aleksandrs Jerjomins (Exclusive Publisher)
Edit by Stryker
Source: http://www.3dm3.com

About The Author
You might be interested in