Indoor Lightning With Mental Ray
Step 1: Setting up the scene
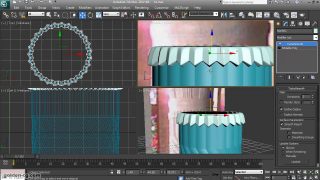
Ok, first of all create a cube and convert it into and Editable Poly, then inset one side into a small box and delete it. Then add a shell modifier with "outer amount" equal to 5.
Then inside of the box, make a small teapot…just as an example

Step 2: Setting up the lights
Now create a camera inside of the box, and set it into a nice angle.
Create a “MR Sky Portal” with the flux direction facing the inside of the cube and fit it into the window we created.
Refer to the image below to know if you are missing something…this image shows you what your scene should look like until now*

Now create a “Daylight” and click on “Yes” when a message box appears…center your mouse in the top view into the cube, and drag out the light…
Now so you can manually control the direction of the light, open the settings (control parameters) of the light and check “Manual”.
Now that you can manually control the light using the standard “Select and Move” tool, position it facing the window so the light can enter the room (cube)…
Now go back to the settings of the light, and change its “Sunlight” from “Standard” TO “Mr Sun”.
And its “Skylight” from “Standard” TO “Mr Sky” and click “Yes” when the message box appears.
Now in the settings, go down to “mr sun basic parameters” and set the shadow softness to 5 with the shadow samples to 128.

Image Description: The settings of the "Daylight" system

Image Description: how the light should be positioned…
Step3: The Floating Flamingo?
Ok, now is the step that will make the scene look realistic…
So, press “8” and make sure the “exposure Control” is set to “mr photographic exposure control”.
Then under it, in the preset selection set…select “physically based lightning,indoor daylight”
NOW RENDER THE IMAGE!
And that’s it, pretty simple right?
Now the rest is up to you if you want to make some minor changes to tweak the image….
Oh i forgot the last step that can change your life forever…Never forget to check out my website: http://mohdsportfolio.weebly.com/


