Reflections Part One
Overview
You just finished your photo-realistic model of a car. You have asigned a blinn shader and you’ve cranked up reflectivity 100%. You’re all set in mental ray with raytracing. You hit render and your car looks matted, no reflections.
(NOTE This is a beginner’s tutorial. Most average Maya users will have already learned to use this concept)
The reason for this happening is that your car has nothing to reflect. In this set of tutorials you will learn how to make a perfect reflection in Maya.
Set-up
Open Maya and create a new scene. Your menu set should be rendering and your shelf should be rendering as well. Import the test model at the bottom of this tutorial. It will be needed to follow the instructions exactly, but you could easily use your own model.
Now go to create-polygonal primatives-plane. Scale it up so that it is large enough for the robot to sit comfortably on top of.
(NOTE You may have to move the plane down so it is sitting underneath this model, not intersecting it.)
Select the model.
With it still selected create a blinn shader from the rendering shelf. This will automaticlly a sign it to the robot
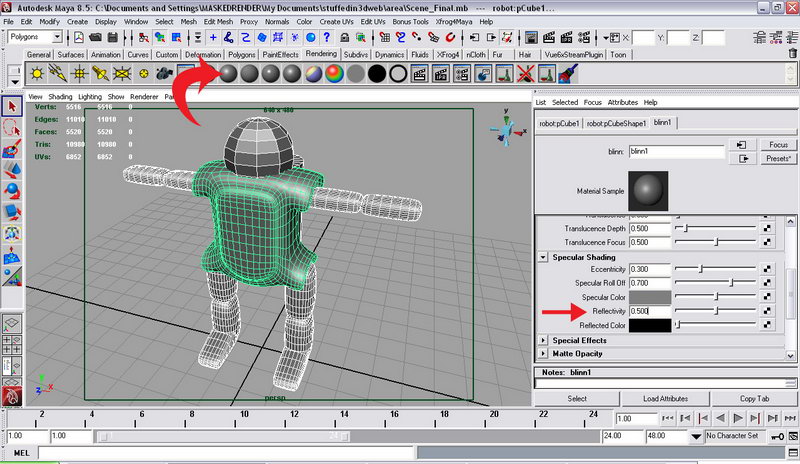
The attributes editer should automaticlly open. Roll down till you find reflectivity and set it to 1.00
Open up the render settings window. On the render using roll-down menu, set it to mental ray.
(NOTE IMPORTANT From now on mental ray shall be refered to MR and the render settings should be refered to as RSW.)
Render it. The results you will see will not be much different than what you usually get. In RSW click the tab mental ray
(NOTE The tutorial will get tougher here so follow the instructions carefully)
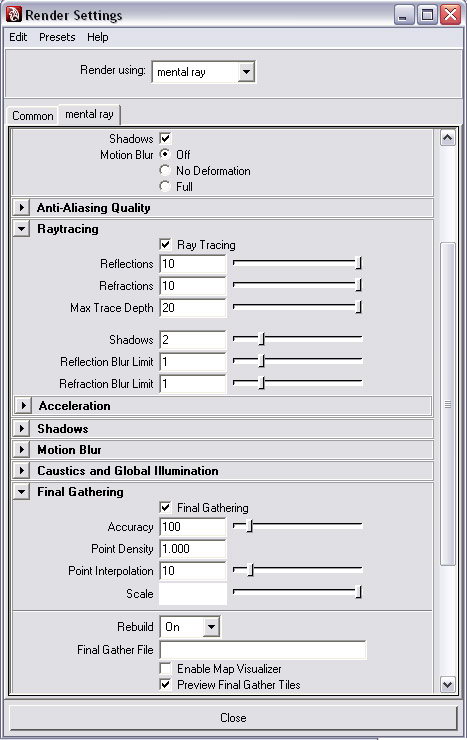
Set the render settings to as followed. Set the render production.
- Ray tracing=yes
- Final gather = yes (This will calculate the amount of light you have in this scene. For example, doors, walls, etc.)
- Under the raytracing tab
- Shadows=3
- Under the final gather tab
- Acuracy=200
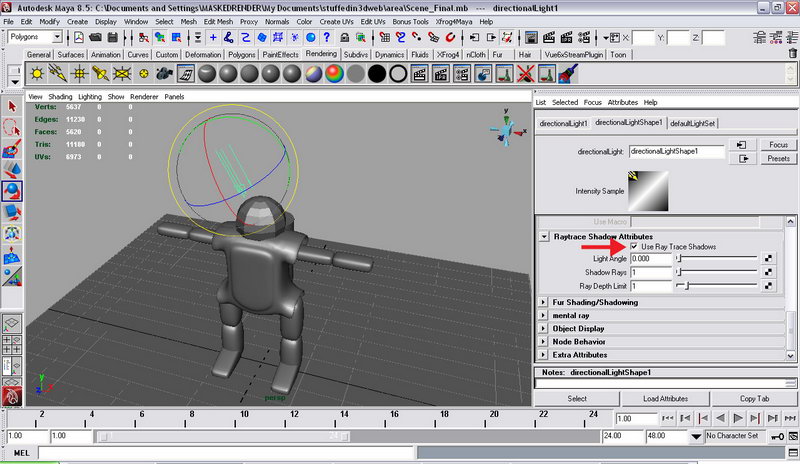
Create a directional light. Rotate it so it is shining down on the robot. Go to the attributes editer(make sure it’s selected). Find the shadows tab. On the raytracing attributes check the use raytrace shadows. This will make sure that raytracing is used for the generating of shadows.
How Reflections Work
Now let’s explain what the reflection really is. As we all know reflection is reflecting the object that is in the scene depending on the angle of view or the angle of the surface. To see this in a real life example go to http://www.mitsucars.com/MMNA/jsp/eclipse/08/index.do?loc=en-us
As you can see the eclipse has a bright high-light running down the side of the car. But it’s really not a high-light. That’s a reflection of most likely a light box in the studio.
In Maya we use similar techniques.Using a polygonal plane with a special material assigned to it. Then strategically moving it around the scene. Another big tip while working reflections in maya is to put your model inside a box. Therefor you can control how light or how dark the envirnment you work in is.
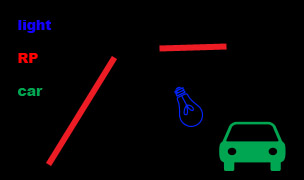
Now let’s set up our reflecting planes (NOTE Reflecting planes are refered to as RP and they are really just polygonal planes with a material I will tell you how to create later)
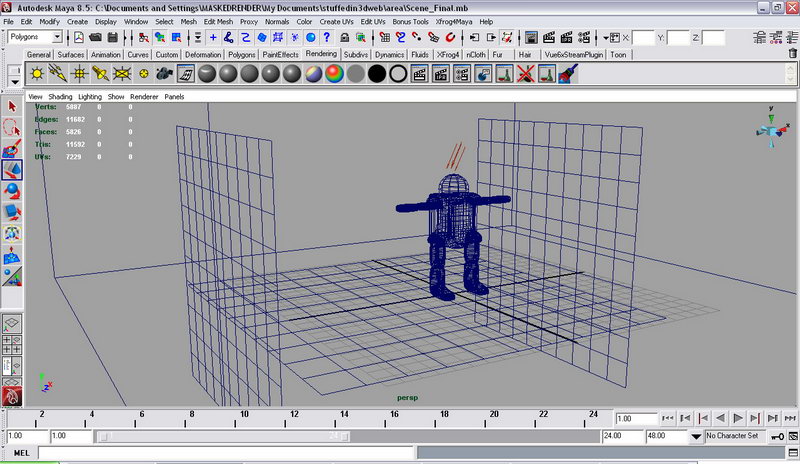
Create a box and scale it so it encases the robot and the plane. Make sure you leave a lot of space around the objects.
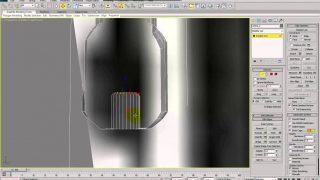
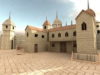
Create a poly plane (RP) and put it on the left side of the robot just out of camera view. Create another one and put it on the right side of the robot just out of camera view. Now rotate them to a vertical position. They should look like the image below:
Now open up the hypershader by going to Window-Rendering Editors-hypershader. Click on the create Maya node and change it to create mental ray node.
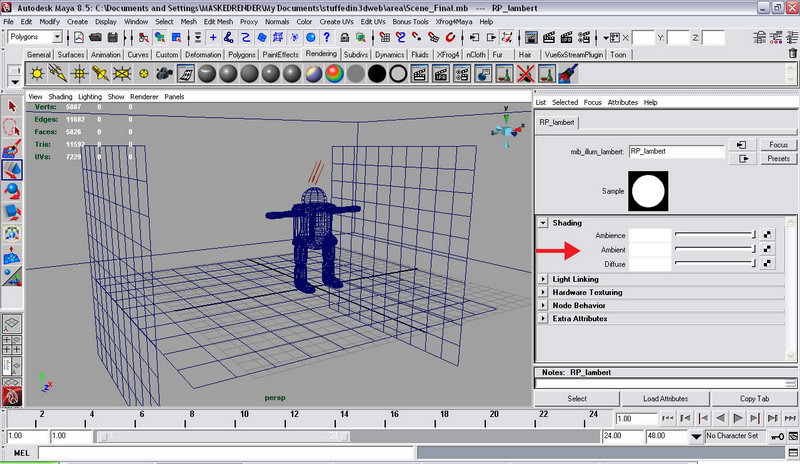
Open the materials tab and create the node mib_illum_lambert. Set all of its attributes to white and rename it to RP_lambert. This will be the color of all the reflection planes.
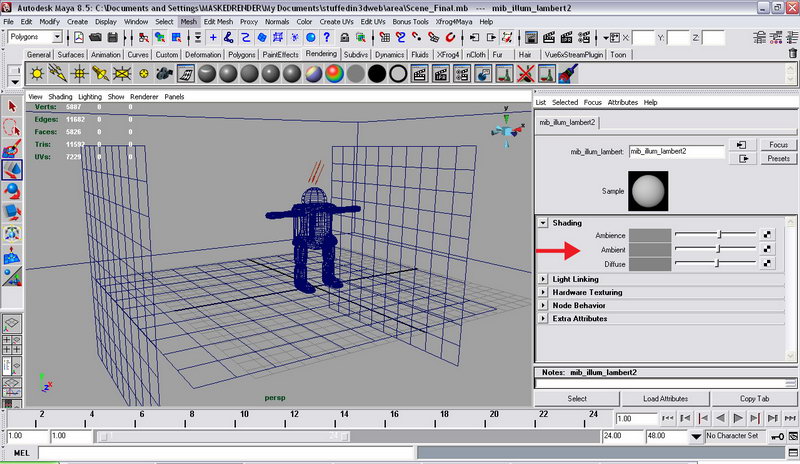
Create another mib_illum_lambert and set its attributes to light gray. This will be the color of the box surrounding the scene.
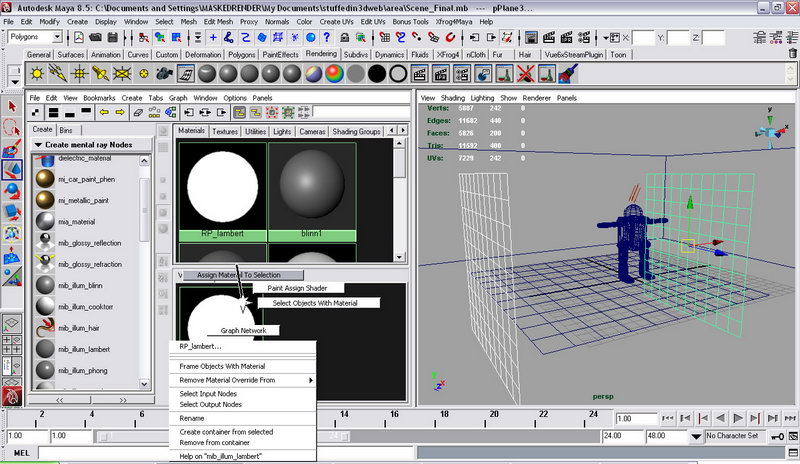
Select the two reflection planes. Right click on RP_lambert and hit assign material to selected.
Select the box, right click on boxs shader, and hit assign material to selected.
Select the plane the robot is standing on and rename it FL (Floor Plane). Go to vertex mode on FL. Select the rear vertexes and pull it up over the robot’s head and out of camera view.
This will become a backdrop.
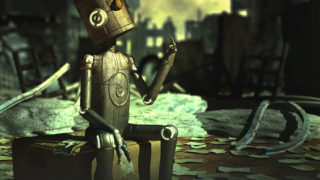
Render. And there you have it. A basic light rig you can use for your high reflective applications. The robot should look like it has a high polish chrome finish.
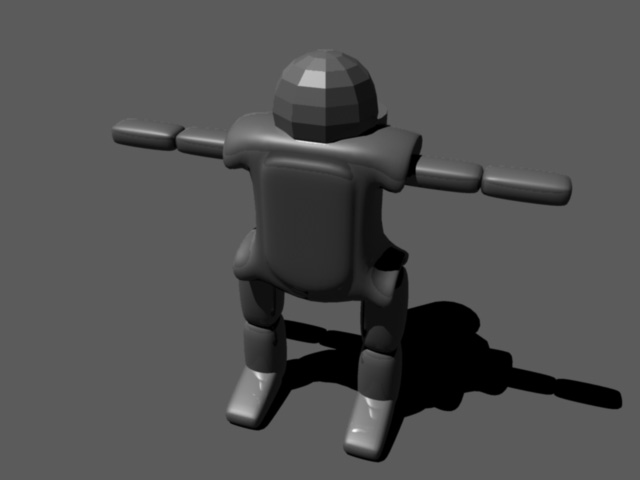
In the final render I created an extra camera by going to create-cameras-camera. With it selected, I set the angle of view to 43.00 to help clip out the RP.

About The Author
You might be interested in