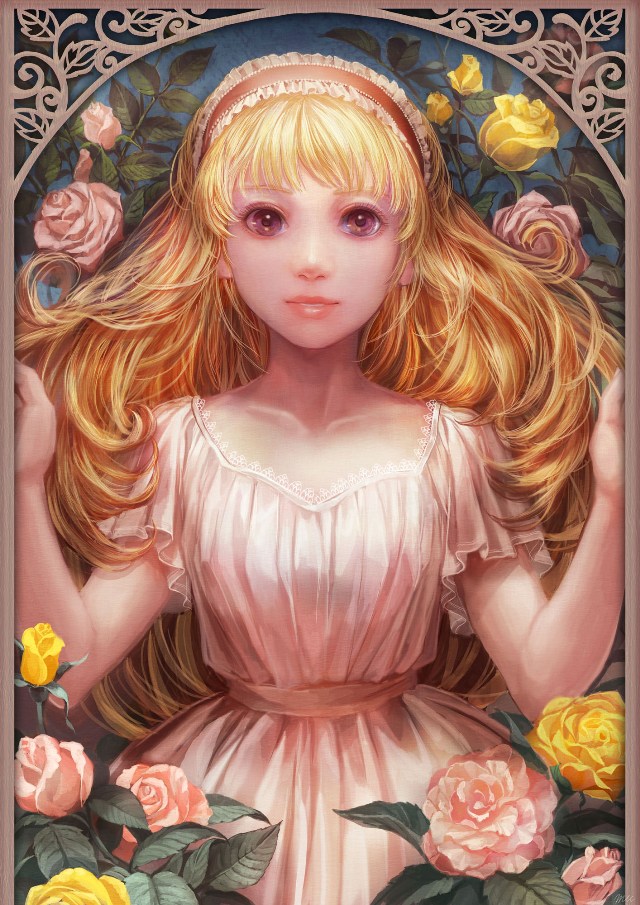
Making of “The girl with roses”
In this tutorial Mariko Umeda shows us the process of making “The girl with roses”
STEP 1: Sketch
The theme is “girl””rose””mood like a Japanese comic for girls”.After choosing a theme, depicts a rough image with a large brush.At this point, in addition to the color that will actually use, it uses a complementary color.Realism is not their main focus.

STEP 2:Base Drawing
In this condition, It give priority to prepare “color”.

I put the details of the rose,hair and clothes.

STEP 3: -Add sense of depth and contrast
It determine the detail and color, add a rough sense of depth and contrast.I create “BlendMode : multiplication layer”, and use airbrush for painting.

STEP 4: Creating frames
I create a decorative frame.

STEP 5: The portrayal of depth and detail
Trying to use the base color was painted.At the same time,use color dropper to pick up shadow color.
I draw attention to the overall appearance.
 >
>
STEP 6: Background drawing

STEP 7: Add texture and lightingl

STEP 8: Final
The finish to add warmth to the picture.
To put the paper texture,I create “BlendMode.COLORDODGE”layer it use “img_008_texture.jpg”.

And I create “BlendMode.OVERLAY”layer, add depth and clearer light.
To put the paper texture,I create “BlendMode.COLORDODGE”layer it use “img_008.jpg”.


About The Author
You might be interested in