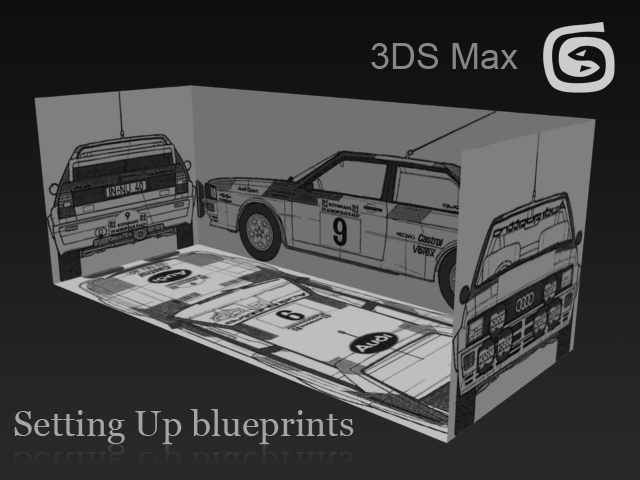
Setup Blueprints in 3DS MAX
Introduction
This tutorial will teach you to create 3d blue prints for vehicles and other miscellaneous objects for 3ds Max.
Things you will need
You need basic knowledge of 3ds max.
Internet coverage of course: D
Set up the blueprints for 3ds Max
Load up your internet browser go to the address (www.the-blueprints.com) – you may have to sign up to get. The images in a big size. Navigate to their data base by clicking on (The Blueprints Database) Located on the navigation bar.
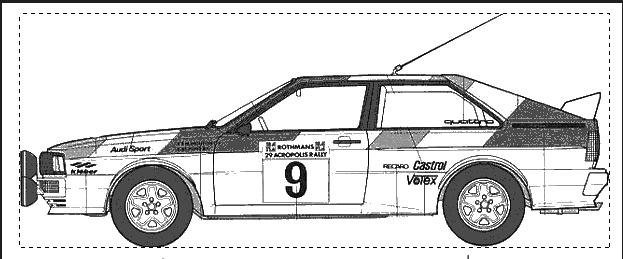
Choose your category in my case I am making a Audi Quattro so I select cars then Audi an scroll to Quattro. (Tip = search for a blueprint with four views especially when doing cars it gives you more freedom when you come to model).
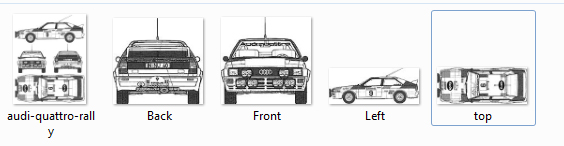
Now that you have selected your car, plane or whatever you are making you need to save out the image with this saved we are going to split it into 4 pieces or however many you have in the image.
Front, Back, Top, Bottom and side.
Now open your image in Photoshop or any other editing program and begin to cut out each of the views on the image and put them in separate documents. (Tip = make sure you get right up to the edges of the car).
Once you have cut the image go file new then click ok. Then press ctrl + V then save it as a Jpeg repeat the steps for all of the views at the end you should have 4 files labelled front, back, side and top.
Going to 3ds Max
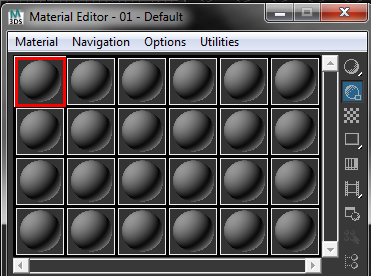
Open 3ds max and go into the material editor click the first material.
Tip: Material editor can be accessed using the M key on your keyboard.
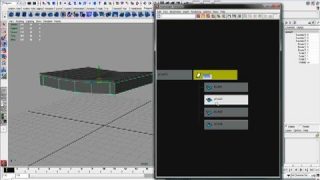
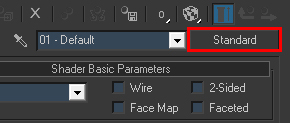
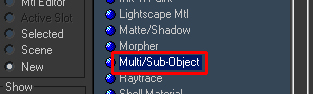
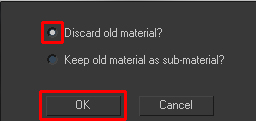
Then the select the box that says “Standard” when this is clicked it reveals the Material/map browser from there select “Multi/Sub object” and Discard the old material and click ok.
Moving on we want to change the amount of materials we have in this section these will be our images so go ahead and change the value under the “Set Number” button. For this example i am selecting four yours may differ depending how many views you had on your original blueprint.
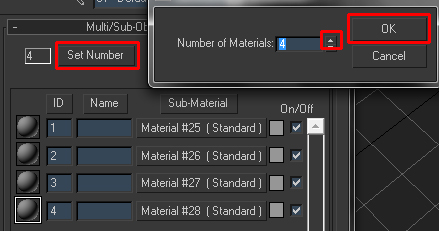
Don’t Forget to Label the four materials under.
Tip: It always helps to name things for future reference
Column “Name” and row “1” = Top
Column “Name” and row “2” = Back
Column “Name” and row “3” = Side
Column “Name” and row “4” = Front
Now that’s done we can start editing the materials for the sub objects. Select the Material next to your material named top.
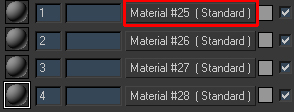
We now notice that it has changed to a Standard material at the moment your material looks like this
+Main material–
—–Sub-Material —Top <== This is where you are at the moment
—–Sub-Material —Back
—–Sub-Material —Side
—–Sub-Material —Front
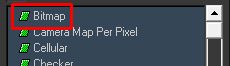
Click on the little box next to the diffuse colour and select Bitmap from the Material/map browser
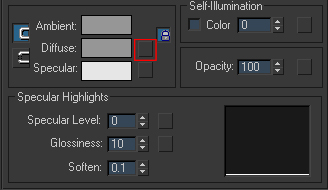
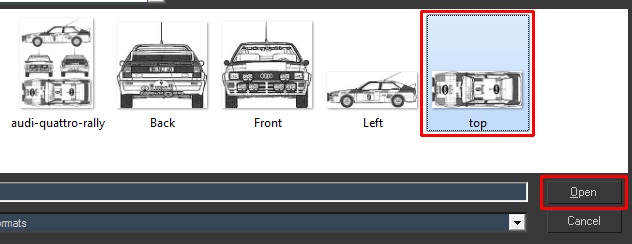
You want to now select the Image we saved earlier we are in the top material so it makes sense to select
the top view of the four images
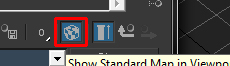
Now click the chequered box this will enable the bitmap to be visible in the viewport
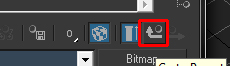
Next, back to the Main material by clicking Go to Parent which is this button here
Now repeat the steps for Back, Side and Front and changing the Bitmap for each materials.
Making it 3d
Now here comes the fun part.
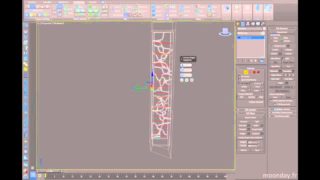
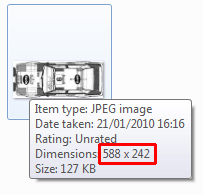
Make a Plane and make its dimensions the size of the top viewportyou can see the dimensions of the image by hovering over it on a windows explorer window
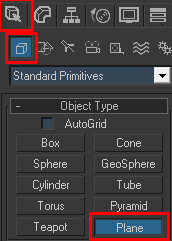
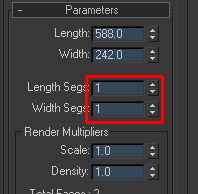
Make sure the plane has only 1segments.
Important! = don’t set the dimensions to the same as mineall blueprints are different sizes make sure you take the dimensions from the image!
Make 3 other planes all the correct sizes in my case I havecreated 4 planes
Top Plane = Width – 588 Length – 242
Left Plane = Width – 588 Length – 236
Back Plane = Width – 250 Length – 242
Front Plane = Width – 250 Length – 242
Set them up like so i am guessing you have basic knowledgeof moving other objects if not i am sure there are other tutorials about that.

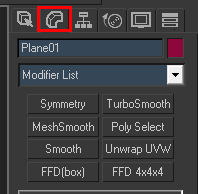
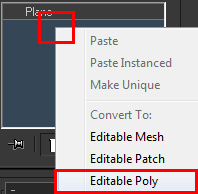
Now we have our planes set, time to setup the material idsconvert the bottom plane to an editable poly this can be done by right clicking the “Modify”tab and right clicking the modifiers stack and click editable poly.
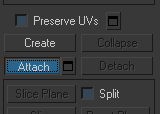
Select attach from the Edit geometry rollout attach theother 3 planes.
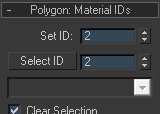
You should now have one editable poly select each face usingthe face slection tool and assign the material ids accordingly:
Top face = 1
Back face = 2
Side face = 3
Front face = 4
Now you have set the material ids it’s time to assign thematerial to the object go into the material editor (M) click and drag the material on to the object.
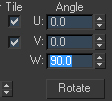
If the materials appear incorrect it could be that yourtextures are rotated the wrong way to fix this go in to the material and change the rotation of the texture itis affecting.
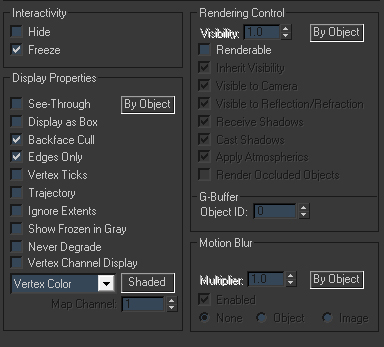
To make life easier it helps to set the objects propertiesset them like this:
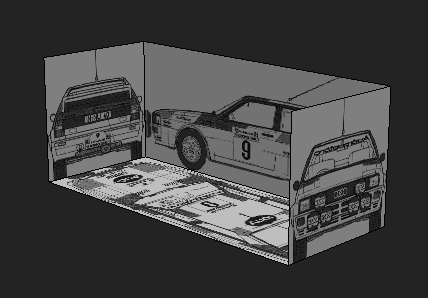
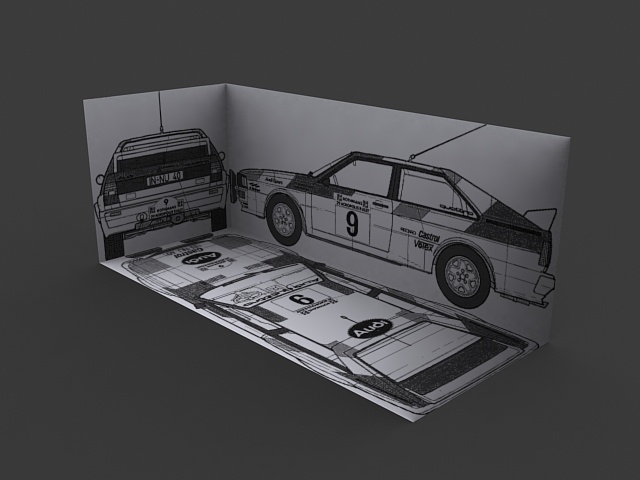
Final Result
About the Author
 My name is David Hewitt I am 17 Years of age soon to be 18 comeMarch I have plans to become a 3d asset creator and learn new skills I amcurrently studying at my upper school but I am planning to go to Hertfordshire Universityto study 3d games art. I enjoy making models and I hope this tutorial helps a lot of people.


About The Author
You might be interested in