Making of an Angel
How to draw an angel in Photoshop
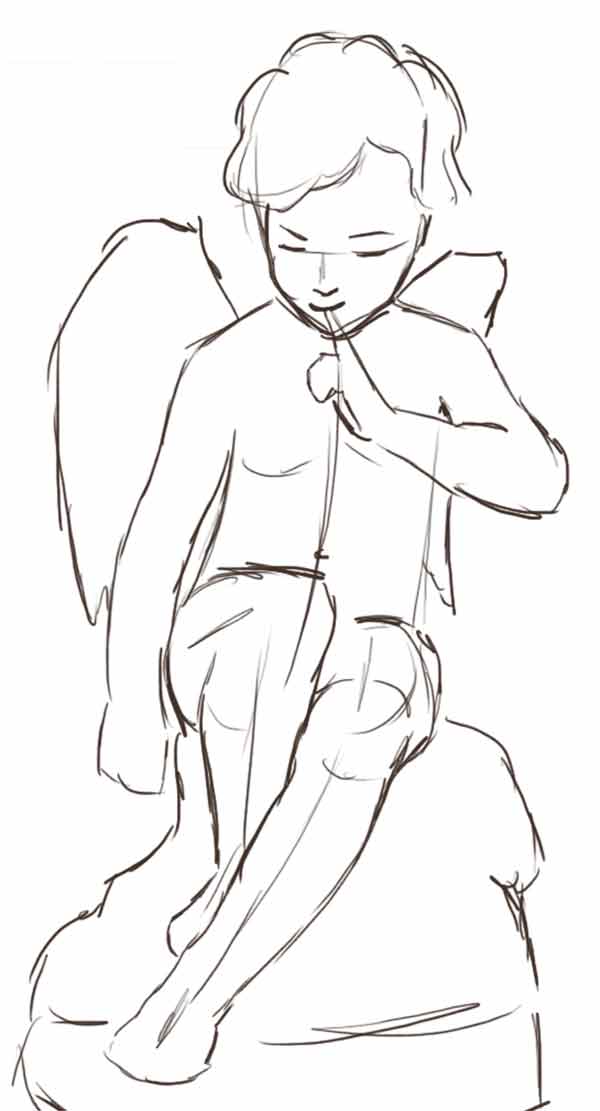
Step 1
Create un new document of 1100 x 2000 px
Sketch the character with a black brush of 5 px and 100% of opacity on a new layer
This layer will always stay on the top
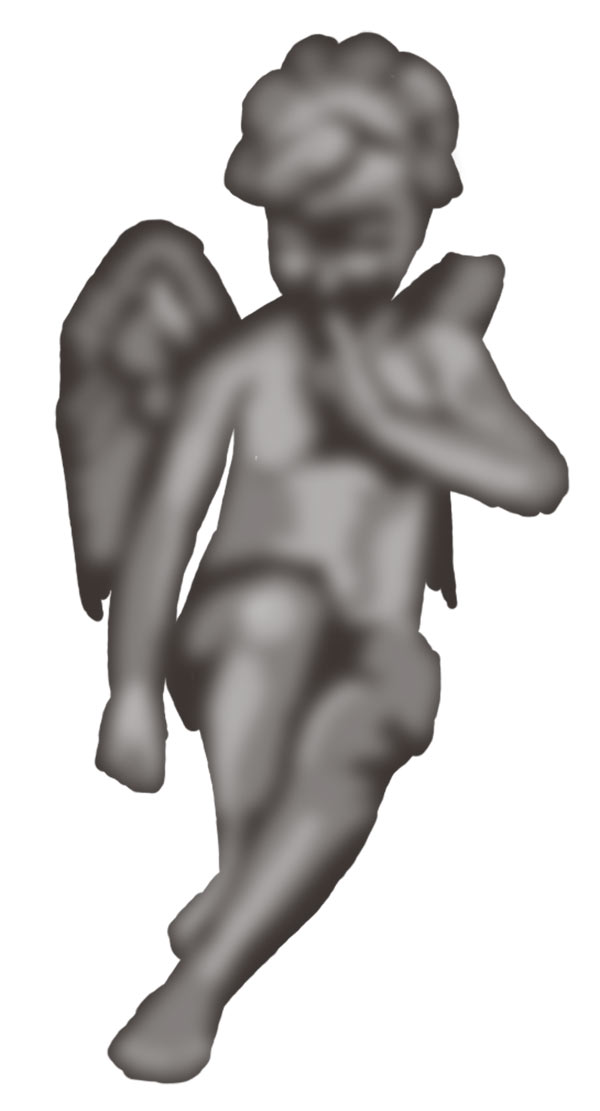
Step 2
Create a new layer and fill the shape you sketched with a dark color
Use a hard brush of 25 px and 100% of opacity
Create a new layer “Light I”. Apply large lights with a soft round brush of 20 px and 35% of opacity
Apply a gaussian blur of 8 px on the layer “Light I”
Step 3
Create a new layer “Light II”
Draw more defined lights with a soft round brush of 10 px and 35% of opacity
Apply a gaussian blur of 4 px
Then you can merge all the layers (not the sketch)
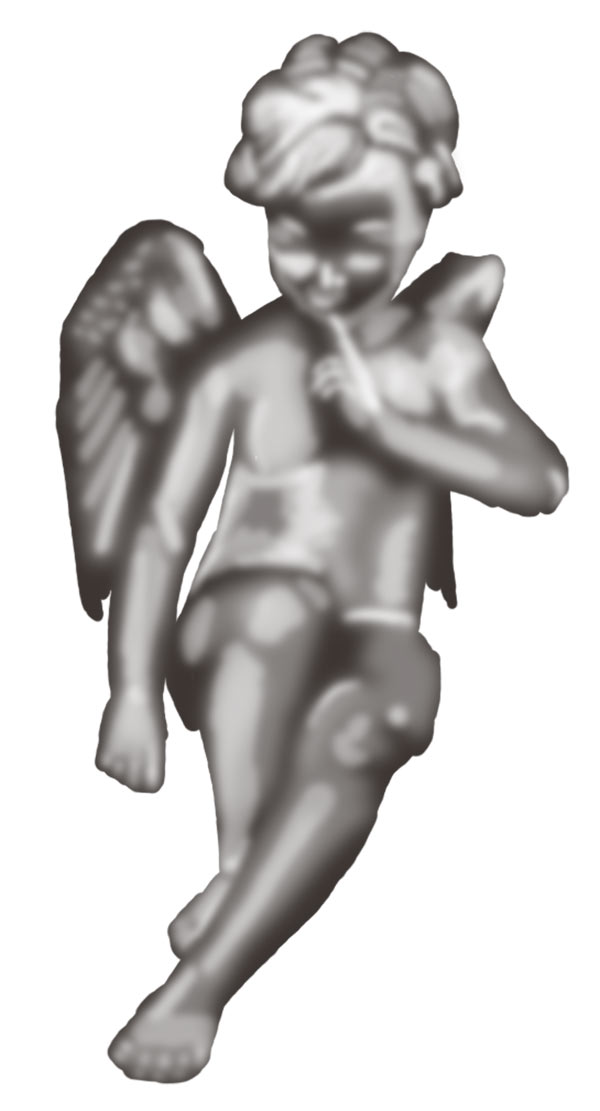
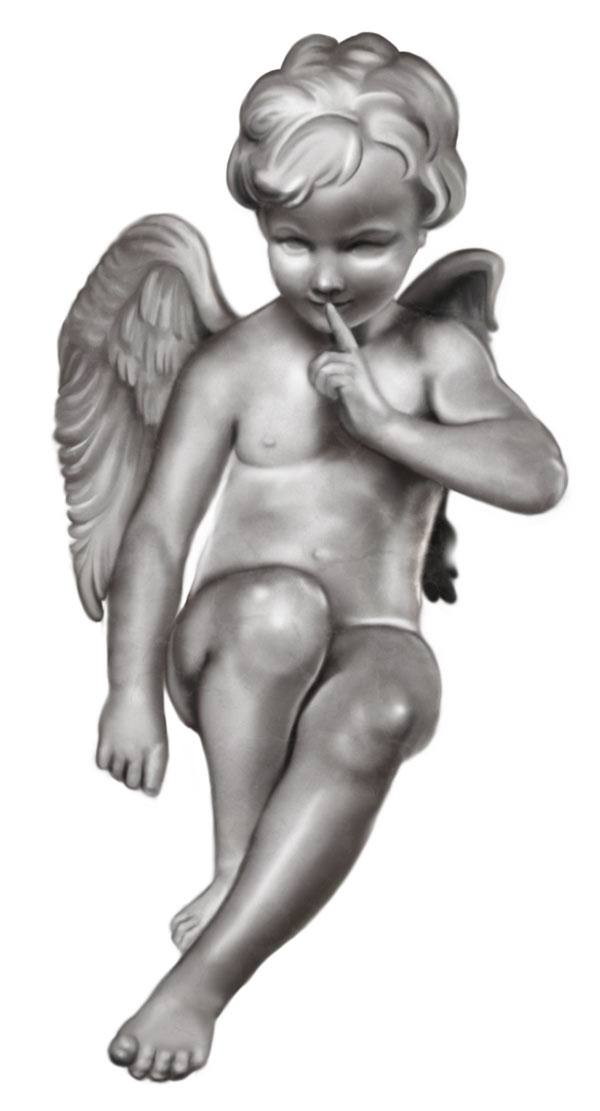
Step 4
This part is the most important part of the work.
We will work on the details with 4 different tools :
The first tool you need is the smudge tool to mould the body. The smudge tool simulates the actions of dragging a finger through wet paint.
Width : between 10 and 40 px. Strength :between 50% and 70%
You also need two soft round brushes , white and black, to add more lights and shadows.
Width : between 10 and 20 px. Opacity : between 5% and 10%
Use the eraser if you need but only to erase outside the shape of the character
Width :between 10 and 20 px. Opacity : 100%
For this drawing, I’ve worked on the same layer for shape, lights and shadows. But, you can work on different layers if you prefer : I explain this process in my tutorial about how to draw semi-realistic character. The method I use here is simple but you have to be careful when using smudge tool.
As I said, I always work on the same layer in this part of the work. I add some white or black with my brush and I smudge, and I do that a lot of times to achieve my drawing.

Step 5
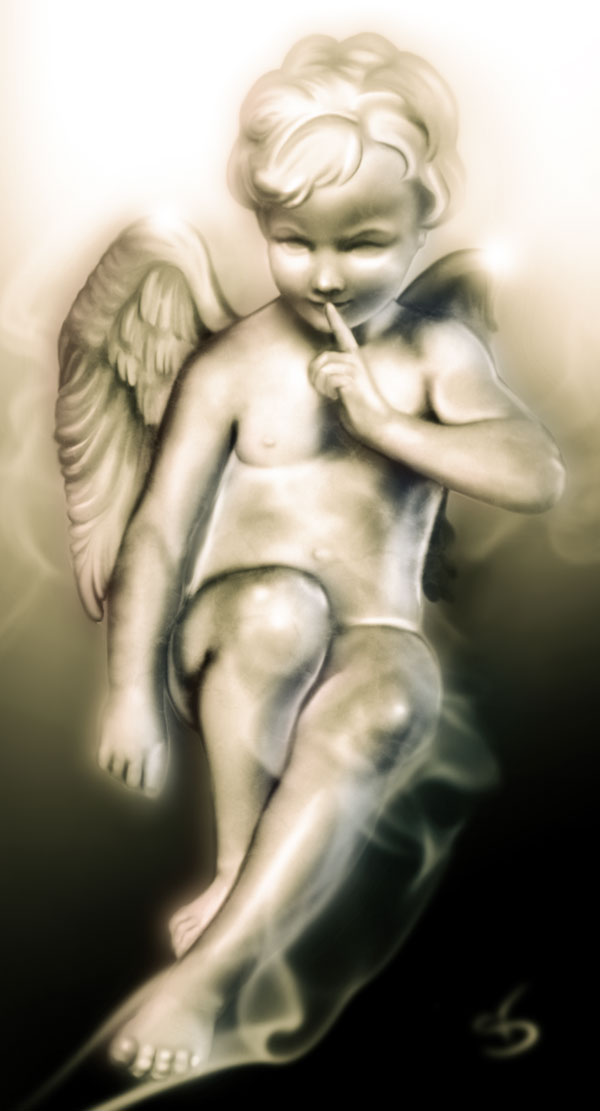
Add sharp highlights to create the shiny effect on the surface of the marble : Nose, cheek, Knee, elbow, fingers…
Use a soft round brush. Width : 10 px. Opacity : 5%
Don’t forget to always take into consideration the source of light.
After having completed the details, add some contrast if needed : You can use contrast/brightness or curves.
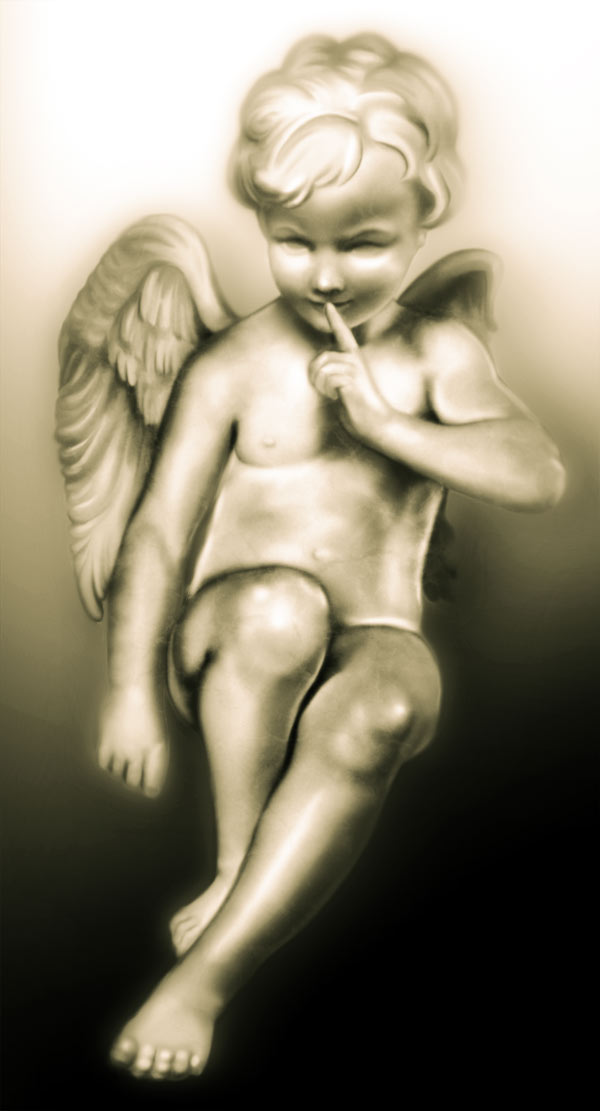
Step 6
At this stage, you can create several layers of texture (I will explain textures in another tutorial)
Create a background, use a simple black-white gradient. Sometimes a simple background is more efficient than a detailed background with a lot of details
To color the picture, create an adjustement layer “gradient map” : black (0%) 2c2d1d (22%) 9f936a (48%) ead9c0 (78%) white (100%)
Step 7
Add some effects like smoke or some lights on your picture
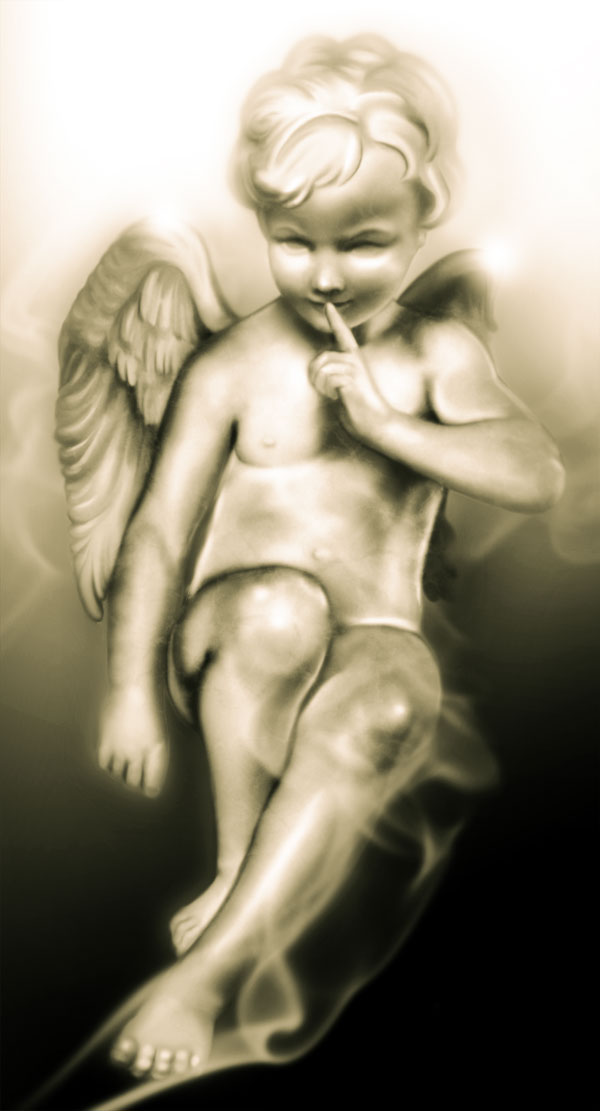
Step 8
On another layer (put it on the top) add some red and blue lights to give a 3D effect to your picture (see picture 9).
Choose “color” in the layers panel and an opacity of 50%. Add a gaussian blur if needed.


About The Author
You might be interested in