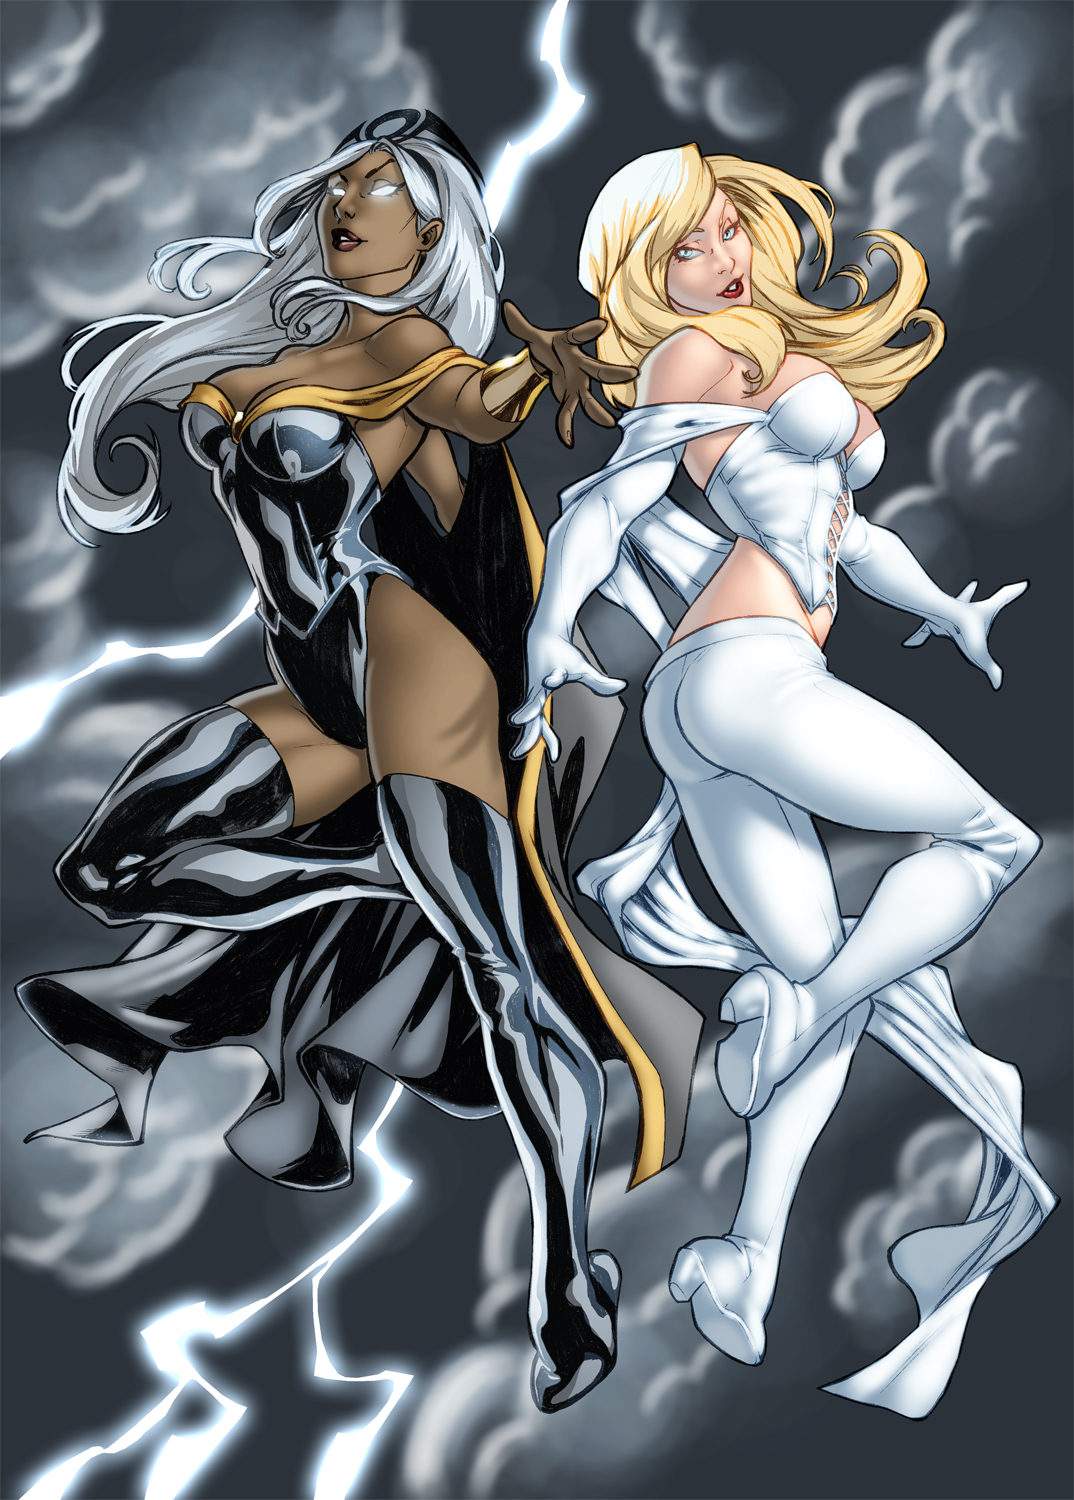
Tutorial “Coloring classes:Emma Frost and Storm (Part 3,4)”
This is the 3rd and 4th part of my coloring tutorial. I hope you find it helpful!
Part 3 : Rendering Emma Frost
Now let’s get down to the interesting part, the rendering of our characters. Let’s start off with Emma Frost, because she’s a little less complicated.
Before rendering, we need to prepare some things. First let’s decide on the brush because the technique here varies depending on your equipment. I’ll show you two different settings that I learned from two great colorists.
Paintbrush (with Wacom Tablet) – learned from Marte (Fig.23).

The Mode setting changes between “Hard Light” and “Normal”, depending on your needs. This isn’t enough though; we still have to go to the brush setting and change some things. To go to your settings, click on the button in the top right hand corner with your paintbrush selected. You should get a menu similar to the one in Fig.24. Change your settings to match.

Paintbrush (with Optical Mouse) – learned from Andy Poole (Fig.25 & Fig.26).


Now I have to say that with a mouse it’s a lot harder, because you constantly have to change the “Opacity” between 15% and 30% and, like the brush above, we’ll keep changing the Mode setting between Hard Light and Normal.
So now we’re set, let’s get going on the rendering.
Emma’s skin and costume
First off let’s change some layer settings. Create a new layer above your flats/character layer and while keeping your finger pressed on the ALT key, pass your cursor between the layers in the layers panel until the cursor changes to what seems like 2 circles overlapping. Then click and you should now have a setup similar to the one seen in Fig.27.

With the flats layer selected, use the magic wand tool to select Emma’s skin, then change to the layer above and fill it with the bucket tool. Here I used the color #b99c93.
Some of you might be asking how I knew to choose this color, or what made me choose it. There is no sure fire way with skin colors. In this case I took into consideration that Emma Frost is usually depicted as having a very pale, soft complexion and so I went for a colder, darker purple. But don’t worry, because if we get to the end and find that the color isn’t right then we can change it easily.
Now it’s important to note that the next few steps are some of the hardest and yet most important parts of the whole process. If you get this wrong in the beginning it’s very hard to fix when you’re finished.
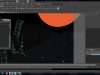
Let’s define the light source(s). As you can see in Fig.28, I decided to add two light sources. Obviously the one on the left comes from the lightning, while the one on the right comes from an overall area. I could have opted for a dark and moody image, where the only light sources came from the right, but I guess I just wanted to give more impact to the characters.

Let’s start rendering. Start with the same color used on the skin, but with the paintbrush setting on Hard Light, and build it up until you have something similar to the image seen in Fig.29

With the brush at normal setting, go back in and add the shadows. Then choose a very light blue color and add in the light source from the lightning until you have a result similar to the one shown in Fig.30. (At this point, I also went back in and tweaked the color use the Hue/Saturation, to give her a rosier complexion).

You can use the exact same technique to color her costume. Nothing new. I have to point out though, that you need to be very careful with the light source. Keep the direction and you should end up with something like Fig.31.

Emma’s Hair
This is one of those sections that confuse everyone. I often have no idea how I’m going to color the hair so that it doesn’t look ridiculous. I’ve seen people using different brushes and achieving realistic effects, but I’m going to show you the technique that I prefer the most.
First, fill the hair on the top layer with a dark brownish yellow color (#ffffff, as shown in Fig.32).

Using the Lasso tool, select a portion of the hair, keeping in mind the flow of the hair (Fig.33).

Press CTRL-H to hide the selection (I like to use this to see the effect with seeing those moving selection lines). Now go over the area with your paintbrush, building it up towards the light source, but making the selection smaller than the first selection (Fig.34).

Keep using the same technique to build the hair up until it looks something like Fig.35.

You can use the same technique for the eyes and lips in this case, just because they’re shinier and the lights are more defined.
If all goes well, you should now have something like this (Fig.36).

Part 4 : Storm & Finishing Off
Well after a long time, the finish line is finally in site!
I’m not going into as much detail on rendering Storm as I did Emma Frost, because most of the techniques are the same – pick a dark color and build up towards the light source.
So let’s color Storm’s skin, cape and hair exactly the same as Emma’s character. Then go in and use the same technique as the hair on the metal parts and on her shiny costume (this is because they reflect the light in a more defined way than the skin or something soft).
When all is said and done, your image should look something like Fig.37.
Right, let’s finish this baby off now!

Outline & Effects
At this point, if you save this picture, your line art won’t show up and since we also want to add some effects above the line art, we can’t as long as it’s a channel.
So first off we go to the channels panel and while pressing on the CTRL key, click on the line art channel. This should select your line art (Fig.38).

Next go to the Layers Panel and create a new layer above all your other layers and fill it with black. (You’ll notice that your outline seems very heavy now; just go to your channel panel and switch off the line art channel) (Fig.39).

I didn’t add too many special effects in this piece, but here’s a rundown of what I did decide to add:
I created a new layer above the line art layer and with a soft brush I put first a shine on Storm’s bracelet, then I very soft glow to her eyes (Fig.40).
I then went back to the line art layer and, using the eraser tool, I erased out the lines on the lightning to give it a better look.
If you do the same then your picture should look like this (Fig.41).


Line Holds, Or Something Like That
Now this is a technique that I learned by watching John Rauche’s videos, but it’s so cool that I often use nowadays.
Line Holds, usually refer to the coloring of the line art in certain places to give a cool effect, but here’s a trick that might be easier:
Select everything by pressing CTRL-A (Fig.43).

Copy everything using CTRL-SHIFT-C (this a great trick I learned a while back, it copies everything on all your layers within the selection). Press CTRL-V to paste the new layer (Fig.44).

With the new layer selected, drag your line art layer over the mask icon. You should have something similar to the picture shown in Fig.45.

Unlink the layer and the mask by clicking on the chain and make sure you have the layer selected and not the mask (Fig.46).

In the top menu, go to Filter > Blur > Gaussian Blur and change the setting to the same as Fig.47 and click OK.

In the top menu, go to Edit > Fill and change the setting to the same as Fig.48 and click OK. In this case, I went and filled it with the same setting again, just give the line some more weight.

Now, throw away your mask and in the pop window, choose “Apply”. Then turn on your effects layer and change your image to CMYK Mode, by going to Image > Mode > CMYK.
There you’re done and you should have something along the lines of what can be seen in Fig.49.
I hope you enjoyed this tutorial, and I hope that it helped some of you out!


About The Author
You might be interested in