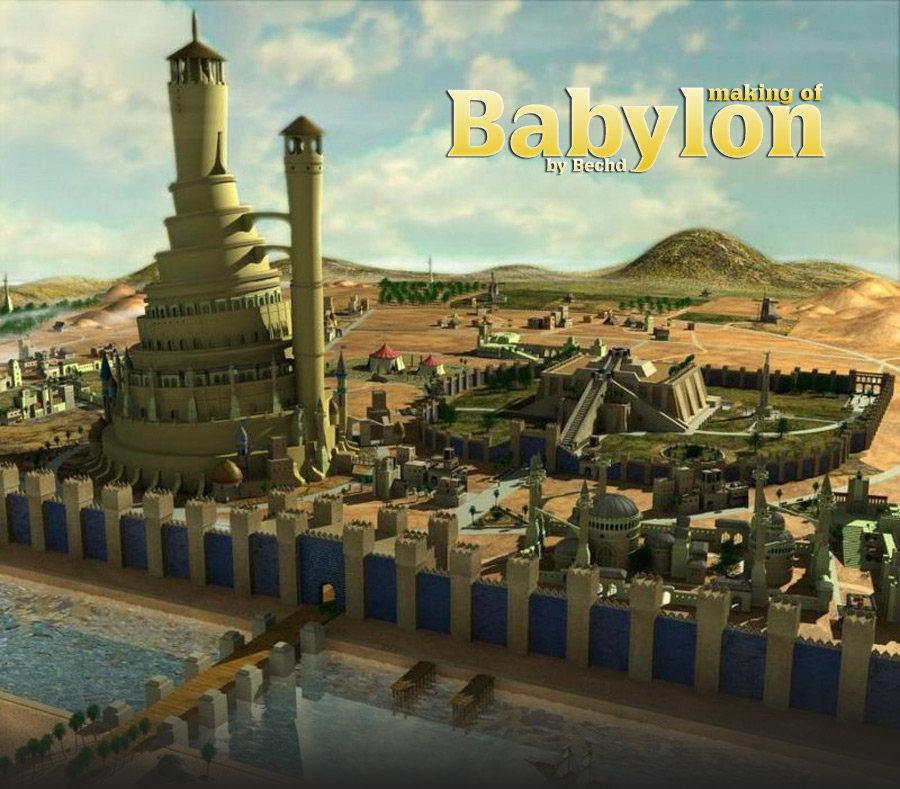
Making of Babylon
This making of is about planning a scene, modeling and managing the scene. You will probably be surprised but the most important steps for this particular scene were the Planning and the Managing.
| This tutorial is about planning a scene, modeling and managing the scene. You will probably be surprised but the most important steps for this particular scene were the Planning and the Managing. The Modeling comes third in this kind of scene (a general view with no particular details). PlanningFor this project I wanted as much historical accuracy as I could get. So, like always, when I start a new project I googled “Babylon” and looked for images. Here’s what I came up with: |
|
|
|
|
|
You can see the resemblance. Next, off to the sketching part! I must confess I have no sketching talent whatsoever. So Planning meant modeling a Low Poly variant of the scene. Now here’s my first mistake: |
 |
|
|
|
| You have to think at your computer capabilities. My computer was a Core 2 Due Laptop with 1GHz of Ram, clearly not capable of rendering this type of view. So if your computer is not very powerful just pick another angle (maybe something focused and the rest in blur). Now for my scene I had to model two main structures (the ziggurat: yellow building and the tower) and fill ALL the rest of the view with buildings, plants, people… One good idea for this kind of view is to use water because it reflects part of the scene so you don’t add even more elements to an already crowded project. At this point I started modeling everything in separate scenes and merging them with my initial low poly scene as they are completed. |
|


ModelingFor the ziggurat I used the Ur Ziggurat that still exists today. |
|
 |
 |
|
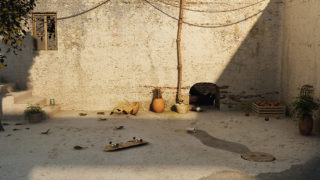
This level of detail is alright, because this is a central building, but then I started modeling the yard of the ziggurat. From this point I started to over-model everything. This was fine for this stage of the scene but as things got crowded the computer become more and more unresponsive. |
|
|
|
|
| The yard look s fine but look at the insane level of detail I used for the monument: | |
 |
 |

|
And this is (real size) what you can see in the final render: This is clearly unnecessary, but wait and see my next models.
|
 |
|
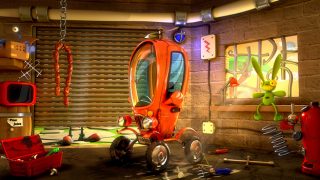
A nice way to fill the space is to use the same model several times, but be careful – if this gets spotted it reduces the value of your scene. Here’s my next model used twice in the scene (rotated at 90 degrees): |
|
 |
 |
|
|
|
|
At this point working with the scene became excruciatingly slow – so I finally started to reduce the level of detail of my models. These are the tents – separate model render and final view (see fig above) Still I was not completely ready to give up my high level of detail as I inserted some circus trailers witch you can’t clearly see in the separate render and you definitely can’t see in the final render: |
|
|
|
|
|
At this point I was completely stuck. I could only render part of my scene and trying to modify something became an adventure – the program frequently crushed. |
|


Scene ManagementThis actually meant Layers. I think I ended up with 50 layers for the complete scene. Here’s a piece of advice: use layers from the beginning for a crowded scene. Now I had to select thousands of objects and add them to individual layers. |
|
|
|
|
|
Here’s the advantage of layers. You hide everything but the part you are working on right now. |
|
 |
|
| Now it was a matter of filling up the remaining empty space. So I just threw in some medium poly mills, some fog and more plants (see above) Still I had a problem: the front part of my scene was still empty. So I decided to model a mega-structure. I don’t know if you can see it but the structure is modeled after Hagia Sofia from Istanbul (of course I changed it a little) |
|
 |
 |
|
|
|
|
Lastly I modeled the Tower of Babel – a little tilted to the left (that’s why it collapsed). |
|
|
|
|
Related linksEmail: becheru_dan@yahoo.com Profile: bechd.3dm3.com |
|


About The Author
You might be interested in