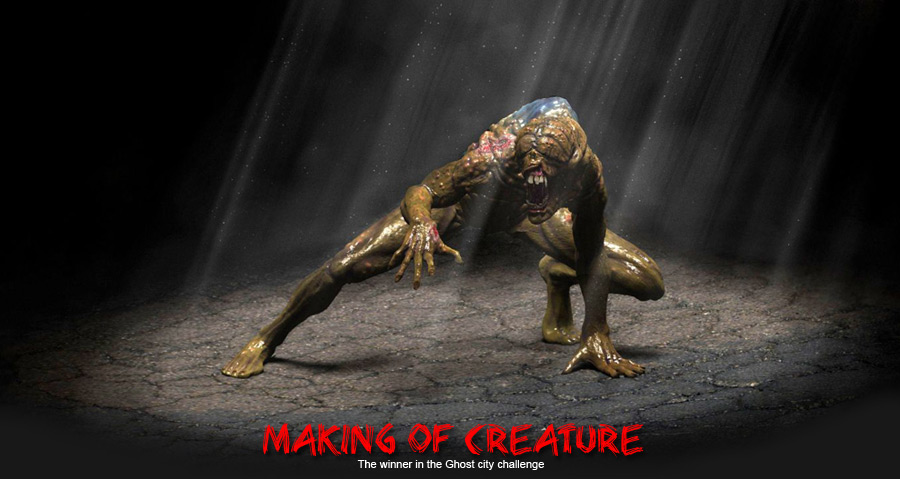
Making of “Creature”
On this occasion I would like to show you how I made my Ghost City entry.
|
Hi my name is Tomas Ivankowski and i’m a freelance artist specialising in creating creature and character 3d models. On this occasion I would like to show you how I made my Ghost City entry a.k.a Freddy and give a big thumbs up for the organizers of the challenge and all that took part. Thanks guys it was fun!! :] To create Freddy I used Zbrush 3.1. and a bit of Photoshop at the final stage for some tweaks and corrections. After doing a couple of fast sketches I started playing around with the zsphere feature. I tried to get the base as simple as possible to make it very easy in the first couple of subdivision levels which for me are the most important in the whole creation process. After acquiring the wanted shape of my adaptive skin I started to sculpt. I like to work on a vortex by vortex level (on first 4 or 5 sub levels ) to get everything right, it takes a lot of time but gives me more confidence that the model is going in the right direction. I gave the head an extra sub level to get more detail out of it as it would be the ‘center’ of my work and the bit that would attract the most attention. As the theme of the competition was a nuclear disaster I tried to stay as close to real life mutations as possible. Body and limp deformation, skin burns, blisters and open wounds where what came into my mind. I used a lot of real-life reference from photos which consisted of burns, skin sicknesses, cuts and things like that. It wasn’t a pretty site. The inner mouth area was done strictly with the use of zspheres, the teeth took the most time to finish whilst the tongue was done in pretty much a couple of minutes. Textures for these subtools where made out of reference photos like rotten teeth and infected gums. For the body and the head I used a very simple texture as I’m not very good in this section of creating. Couple of basic colors mixed together, simple strokes and couple of ref photos for the wounds and blisters. At this point I must say that I just love the new poly painting feature, it makes it much more easier for creating the colored bit of you model unlike the older Projection master which was a bit… unhelpful and clumsy :]
|
[pagebreak]
|
For the street subtool I used a 3d plane tool and used a reference photo to create the texture and material details. The most helpful feature was the stencil feature. its very easy and simple in use plus the effects are quite good. Another nice add-on to the new version of Zbrush was the transpose option… cant say anything about it besides the fact that I love it, it might be a bit tricky to get it right when you first start using it but after a little while you can get nice effects whit it. With the materials I tried to achieve a slimy skin effect so I mixed a few base ones together like toy plastic, matcap grey and a few more. The render part was the one that I didn’t like and found hard. Zbrush is a very, very good program for modelling but when it comes to rendering… well its not that good :] I lost a lot of detail at this point.
And here’s where Photoshop came in, al the thing that went wrong or everything that should be there but wasn’t was added by hand. couple of layers, blendings, strokes with standard brushes, simple effects and Freddy was ready. :] The final model consisted of 7 subtools and had a bit more than 11 million points in total. |


