The Making of Last Ride
I am proud of doing this making of and I will try to explain how I made this work. Used 3d software: Cinema 4D 9.6 student version.
|
Hi, my name is Patrik Duda. I am 15 years old and live in Czech Republic. I am proud of doing this Making Of and I will try to explain how I did this work. Used 3d software: Cinema 4D 9.6 Student Version. 1st Step – ReferencesMy favourite site about references and blueprints is http://www.the-blueprints.com/ 2nd Step – Modeling / VehihlesFor complicated models like cars or helicopters I prefer “point to point“ method. If the model have something of round shape I start there. For example: when I model cars I start with dashers. Then I go from the front of the car to the rear. But there are many ways of course. For making wheels I use Bolean operations. First I make main shape then I use Bolean field to make next four parts. I make Bolean field editable and connect all five parts. After that I connect polygons to the middle of the wheel and continue with extrude and inner extrude to make shape look like I want. Thanks to another Bolean operation I create holes in the wheel, where the bolts will be. The result:
|
||


3rd step – materials / vehiclesFor paints on cars and helicopter I use shader included in Cinema 9.5 – Danel. For glass I use another shader already included in program – Banji. I don´t model tires with detailed samples. I only use bump texture. Maybe it doesn´t look as real as modeled sample, but in this scene all tires are blured, so I don´t need it and the render will be a little bit faster. When I do lights I use HDR maps in enviroment chanal for better result. Text on objects is mapped and painted in Bodypaint, but the carpaint on Viper I did by using vertex map and texture with alpha chanal. I think that´s all about vehicles and here are some pictures (without lighting).
4th step – modeling / buildings and enviromentModeling of buildings is easier then modeling cars or helicopters. Because buildings in this kind of city are just segmented and extruded “boxes“. So I don´t use ptp method, instead of it, I do model from cube. If I want to create a window all I have to do is to use inner extrude, then extrude and delete inner polygons. I don´t want to model interior for every building, I found some textures of rooms…
|
5th step – materials / buildings and enviromentSo I apply textures on planes and place them into the windows. Add some bricks to bump and alpha channels…and here are the results below. Leaves of palm trees were made with alfa channel textures. I use a big photo of city as an enviroment. Then I apply the photo on the sky object. I want to do scene really wet. So every object that I want has another copy which has material of rain drops (water shader in bump channel, activated reflectivity and transparence). Rain is nothing more than visible light of rain drop shape with no illumination. I place the rain drop into the particle generator and apply the motion blur. For better render time I render the rain as a texture with alpha channel. Then apply the texture to the plane object and result is here
|
|||


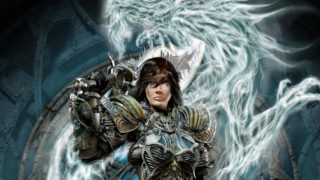
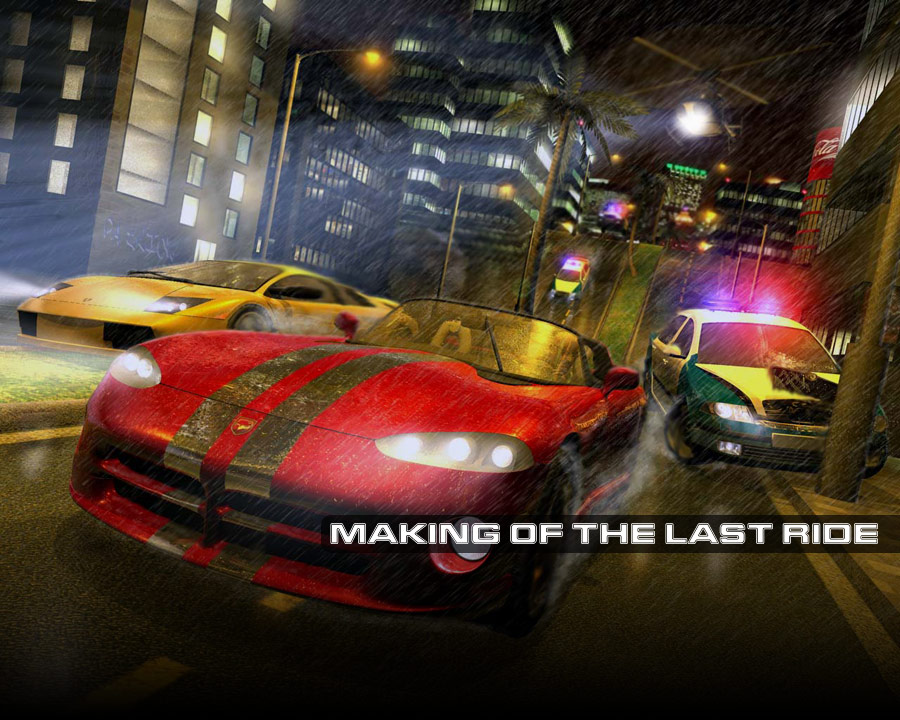
6th step – composition, lightingComposition wasn´t as simple as I thought, because I want to place a lot of models into the scene. My concept of the scene from the begining was as follows: the midnight race of two cars (Lamborghiny Murcielago and Dodge Viper) with police cars (Skoda Octavia) behind them. And this fast chase is lighted by huge reflector on the police helicopter (Bell). Also I want one of the car to be crashed and one of the police (which is going down from the hill) car to be flying in the air – to add more action to the scene. Originally the crashed car was Lamborghiny, but I decided to crash police car. Lamborghiny is more aerodynamic then Viper and look better from the “front – side“ view (to my opinion). So I place the Lamborghiny to the left side of the picture to point up speed. I want man in the Viper to be visible. So I place Viper nearest to the camera. I want reflector with volumetric light which will shine through the palm trees to do scene more atmospheric, so I placed Bell. The last thing is to place other police cars (one of them I want to be in the air) so I place them to balance the composition on the hill. Each lamp have its own lights with hard shadow and there are also several lights with soft shadow. So the scene is completed. And color render without postproduction is here. Final step – postproductionSome parts of the picture need to be finished, so I create some water around the cars and use blur on the background and cars to “make them moving“. Here is the final render of the color version. And because I love Sin City I make a stylized version. Thank you and I hope you enjoy my “little“ making of :)
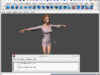
3DM model creation |
|
|||


About The Author
You might be interested in