Character Walk Through
Hello there. Welcome to my character walk through I’m not sure if you can call this a tutorial as I will just be showing different stages in the building of a character called Kreacher
Kreacher is a house elf character taken from the harry potter books
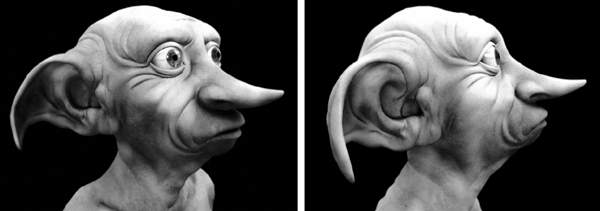
But first and what I will be showing the modeling of is the house elf Dobby
I thought it would be good modeling practice for me and a good start before I model my own version of a house elf.
I start off with a single polygon then extrude from that. Many people have lots of different ways of making a start on there models, most people usually start with a box then shape it and slowly add more and more detail. I sometimes model like that but for this I will be working in my extruding method, so sorry if its not to helpful but when I know what I’m going to make I find it a bit faster
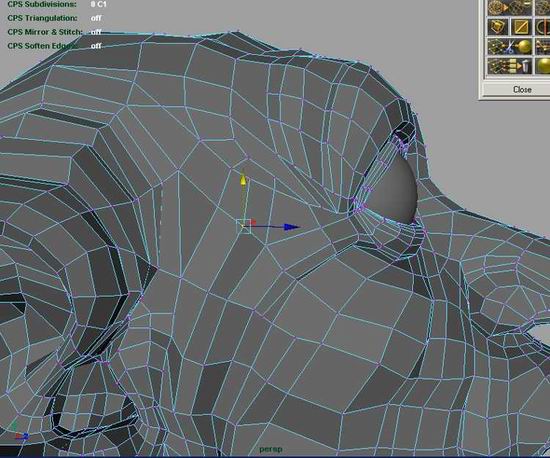
I’ve extruded the edges to start forming the shape of the bottom part of the eye
the basic shape of the eye
a side view
I extruded the marked edges
side view
extruded the marked edges. Also I’ve highlighted the flow of the eye lid
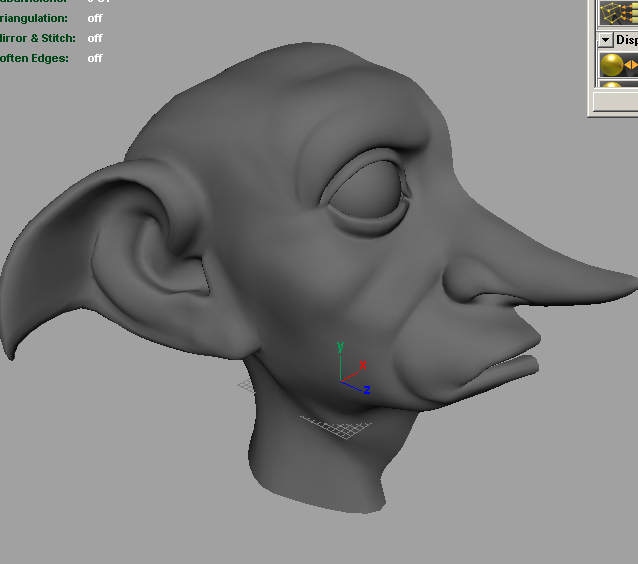
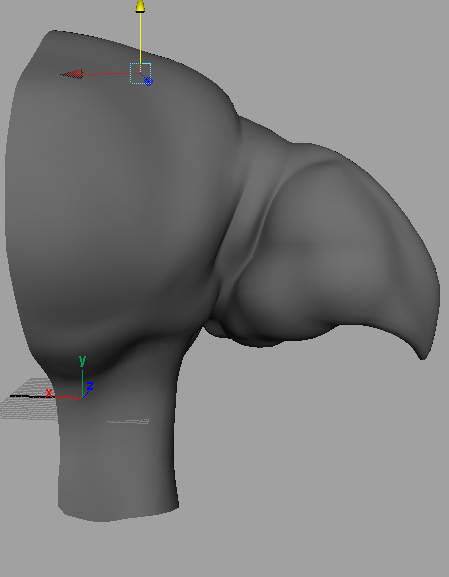
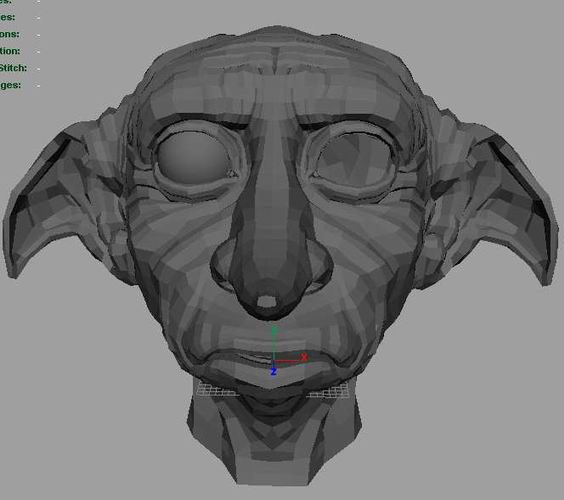
here’s the head so far
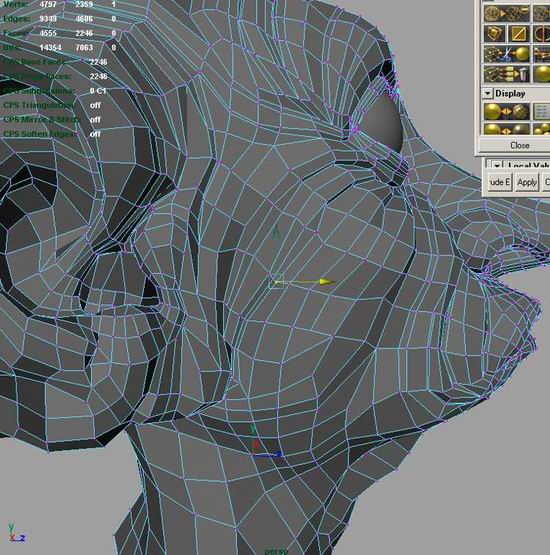
starting to shape the nose

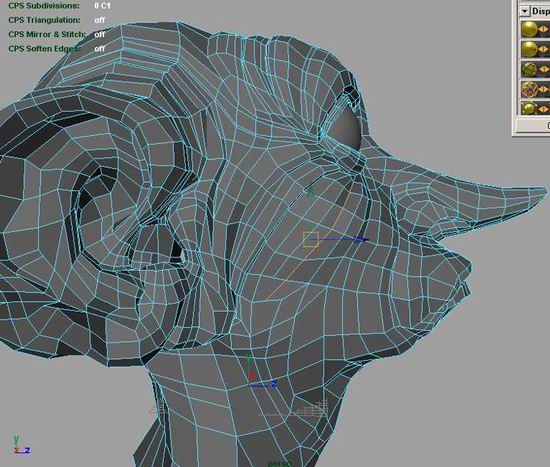
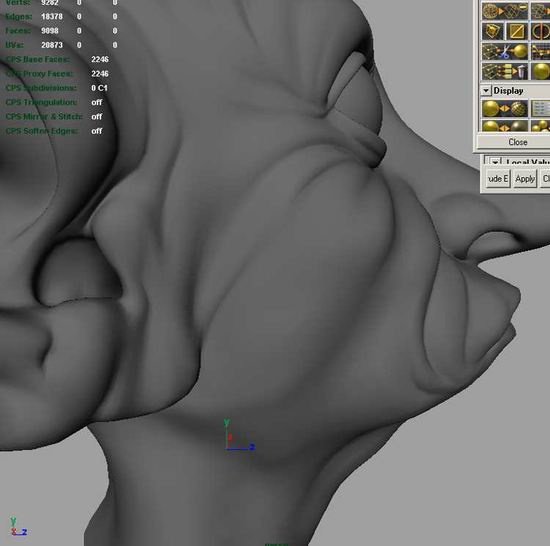
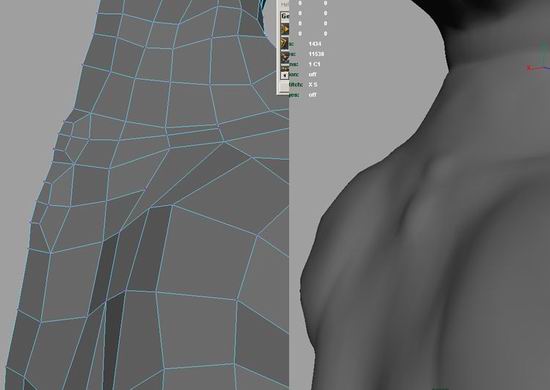
using a lattice to shape the head

head is starting to take shape now
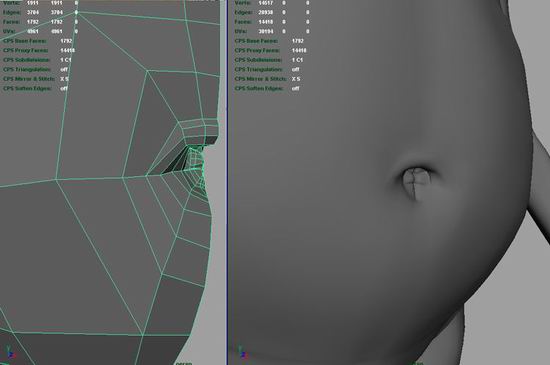
making sure all the edges run into the nostril


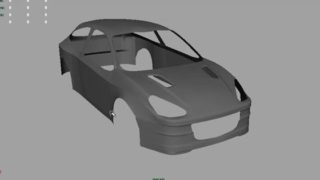
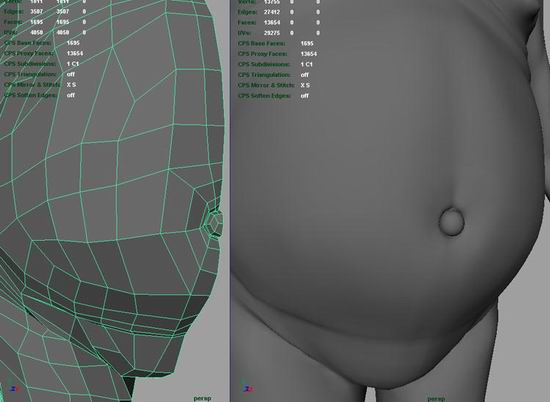
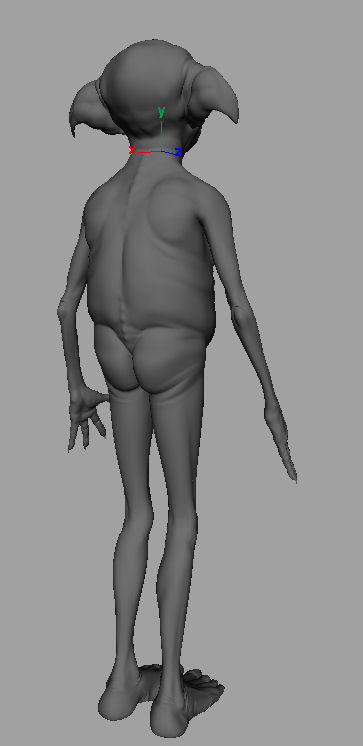
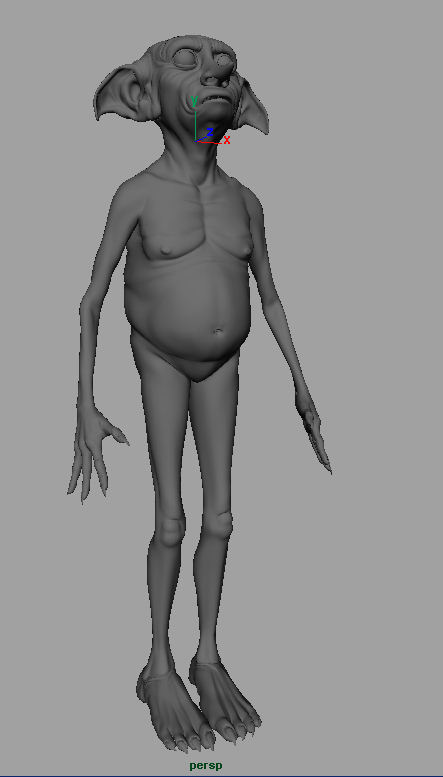
making a start on the body. Sorry I will be skipping some parts
making a start on the body I will be skipping some parts


sorry i’ve skipped quite a bit here. it would go on for bloody ever otherwise
boring
better
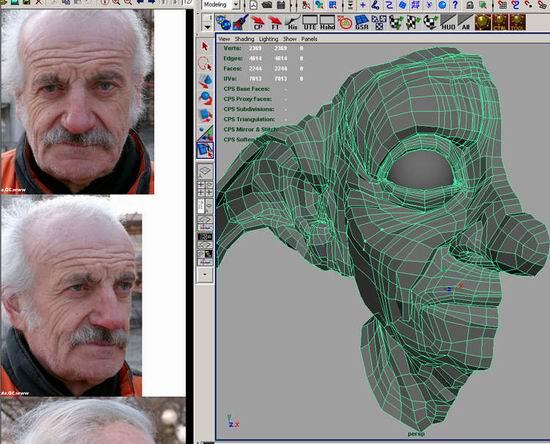
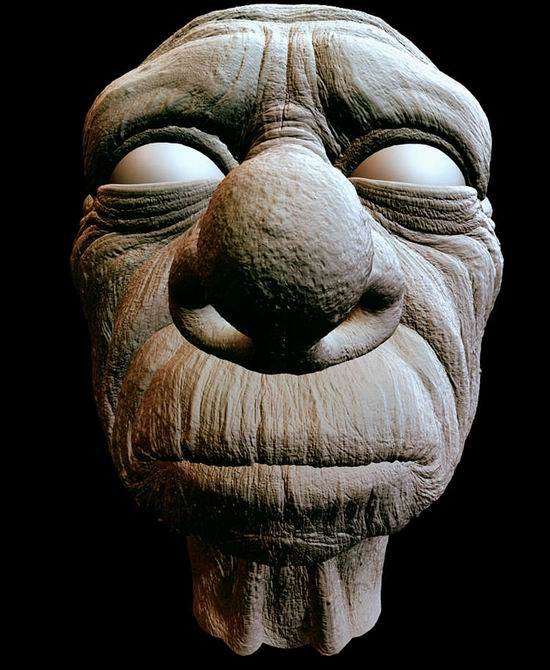
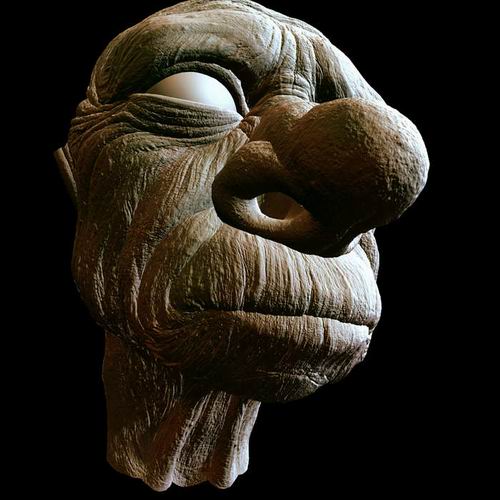
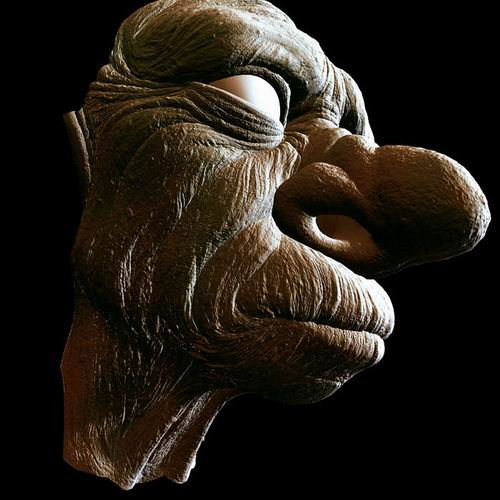
Now for the next bit. For modeling the head of Kreacher I wanted a really interesting head with a lot of character and while coming up with the head I modeled various heads based on photos of people. I picked out pictures of people with interesting features and lots of character. these photos are from http://www.3d.sk/
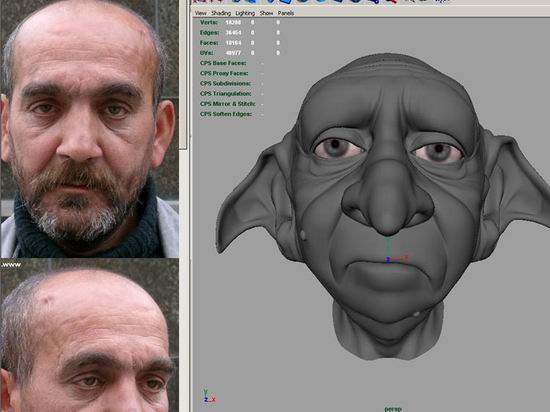
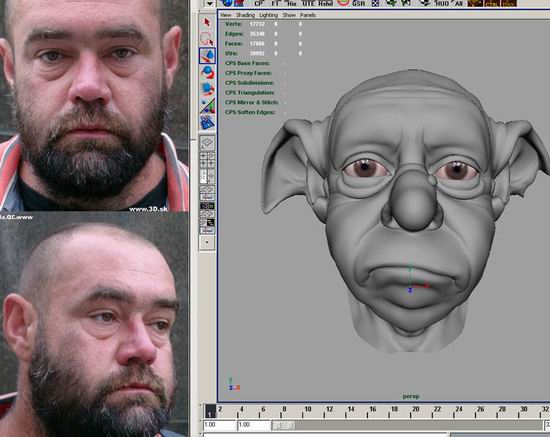
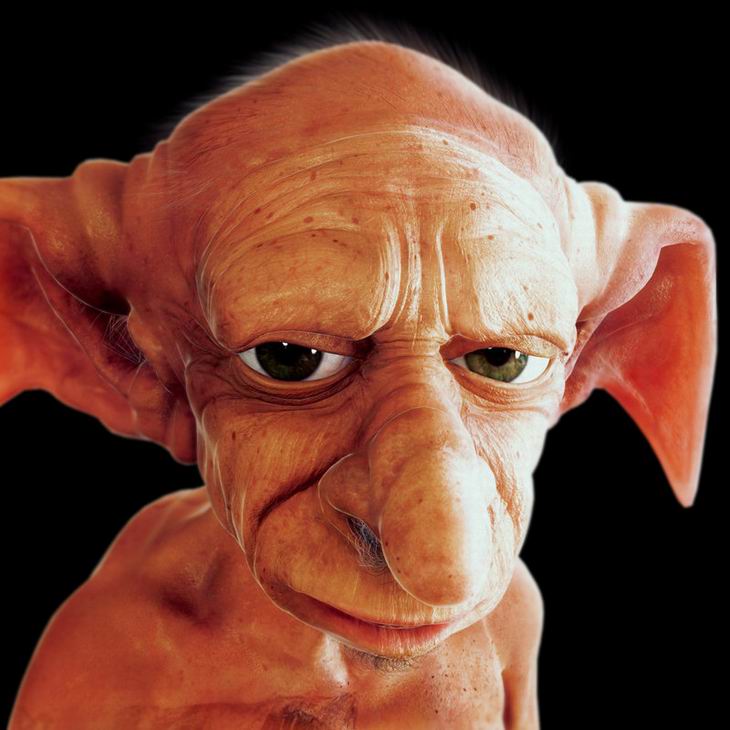
For the Final head of Kreacher he was kind of a mix of all the heads that I made picking out a the different features and characteristics that I liked.
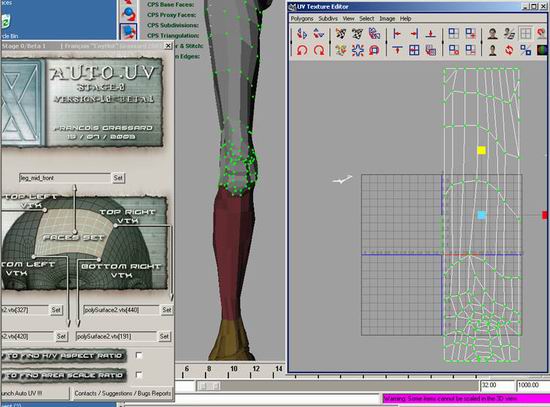
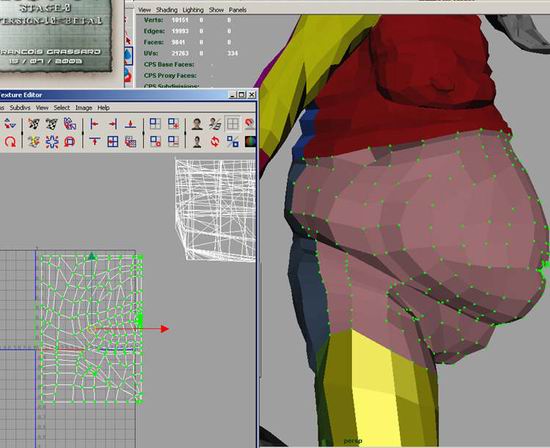
I’m moving on the UV mapping now. the body was split up into different uvmaps using sets. For mapping most of the body I used a auto UV plug-in by Francois Grassard I’m not sure if he ever released the plug-in so I guess your have to e-mail him if you want to try it out. email Address will be on his site

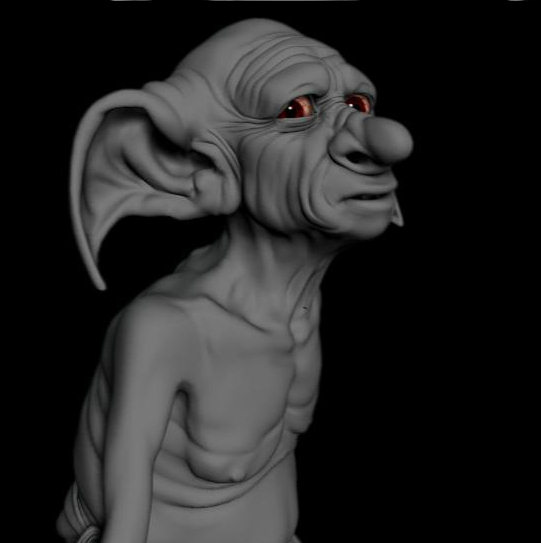
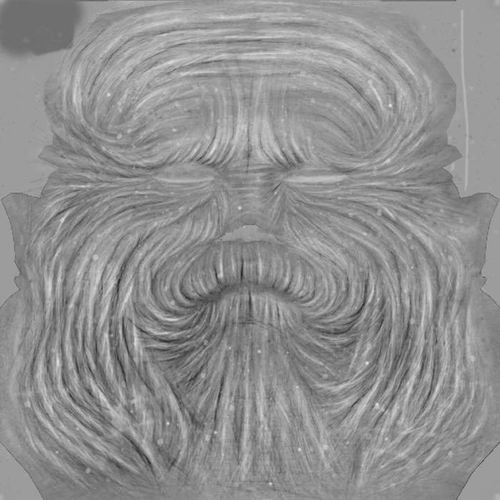
Now here’s a small bit about the textures, mostly the bump map. This character is meant to be really old and have lots and lots of wrinkles.
In the final version he’s not as old looking as I would of liked. I did model him with the intention of taking him in to zbrush and adding a lot of details like lumps and bumps and wrinkles then making a displacement map from it for the lower res version. But after testing I just don’t have the memory or using the right renderer to achieve this.
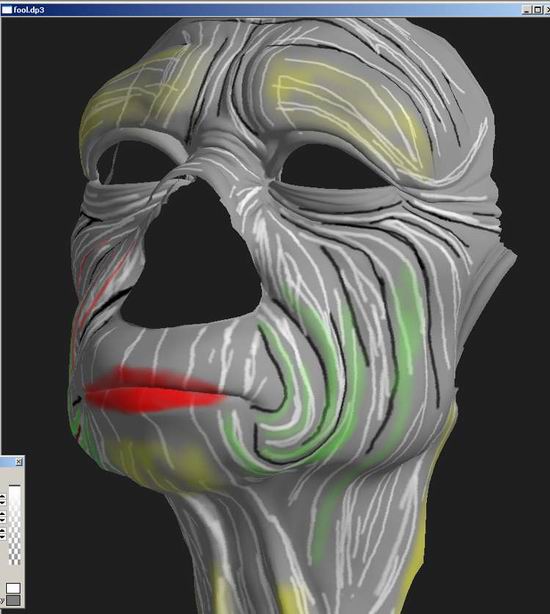
Anyway for starters on the bump map, the textures for just his face were 4096 by 4096, which was reduced to 3072 by 3072 for the final texture. I first painted the above map in Deeppaint 3d. I just quickly painted lots of lines that I wanted my wrinkles to run, so its easier for me to paint when I open this texture in photoshop.

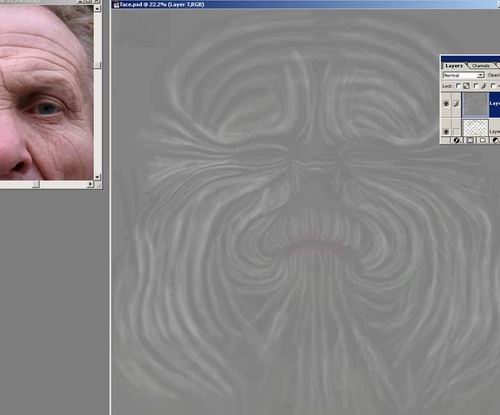
Now here’s that texture opened in photoshop I’ve put a 50% gray layer on top of it and turned the opacity down a bit so I can see the texture I painted in deeppaint , I will be painting on the gray layer using colour dodge and colour burn
using colour dodge I’ve started painting lots of wrinkles following the lines of the layer underneath
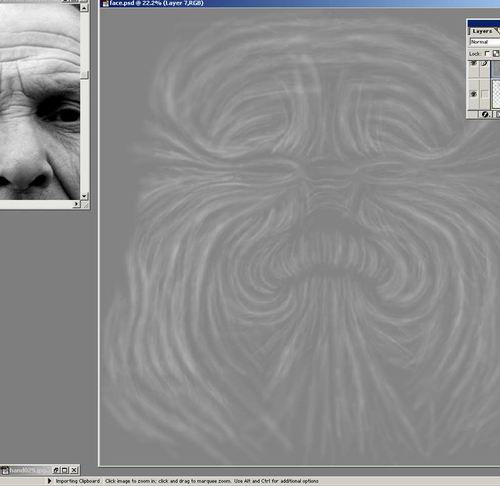
using colour burn as well now
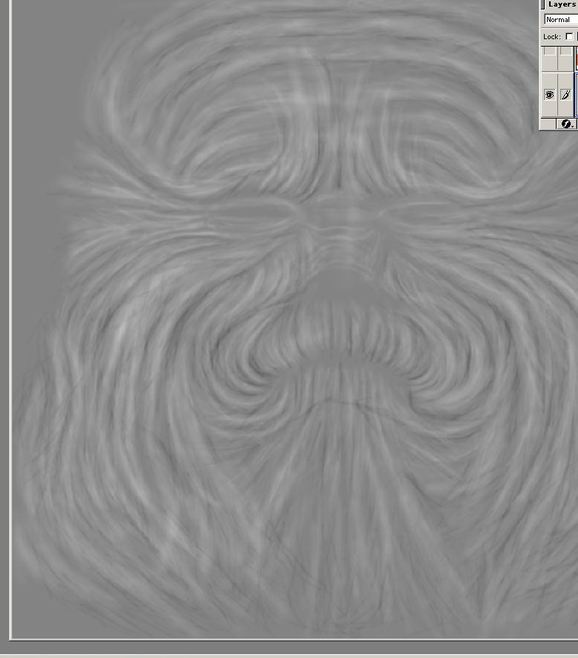
sorry but I’ve moved along quite a bit now this is now the almost finished bump map some different layers have been added. Some spot layers also some layers with very fine wrinkles
here’s some bump map tests, some displacement was used in these pics. For the final version I just used normal bump mapping

For the colour maps to save some time I used some high detail photos from http://www.3d.sk/
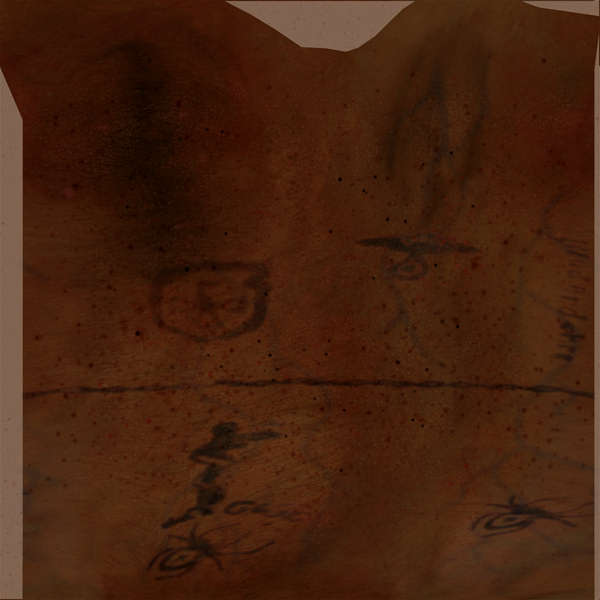
To add to these maps I painted lots of spot maps and colour maps that I could quickly apply to each texture. above is the texture for his right lower arm
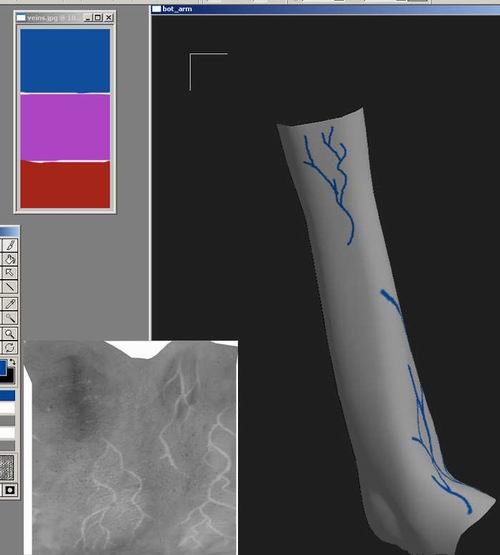
veins were painted in deepaint
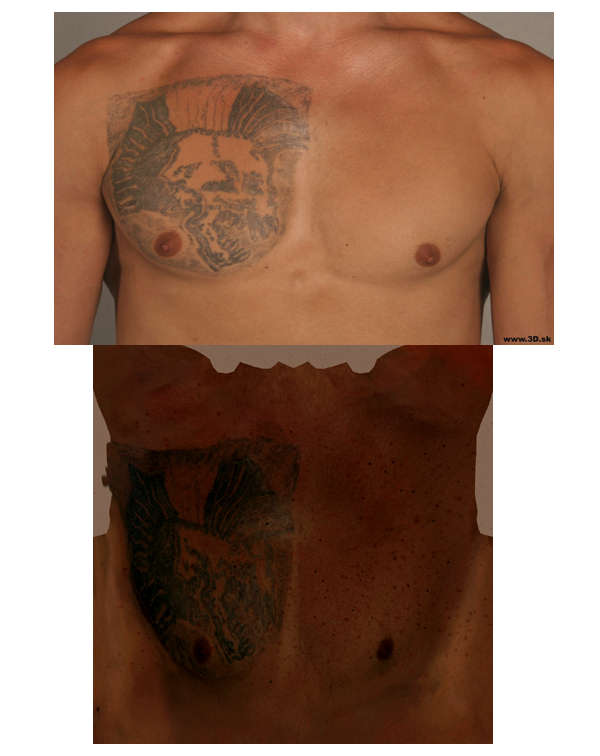
chest photo from http://www.3d.sk/ and final chest texture
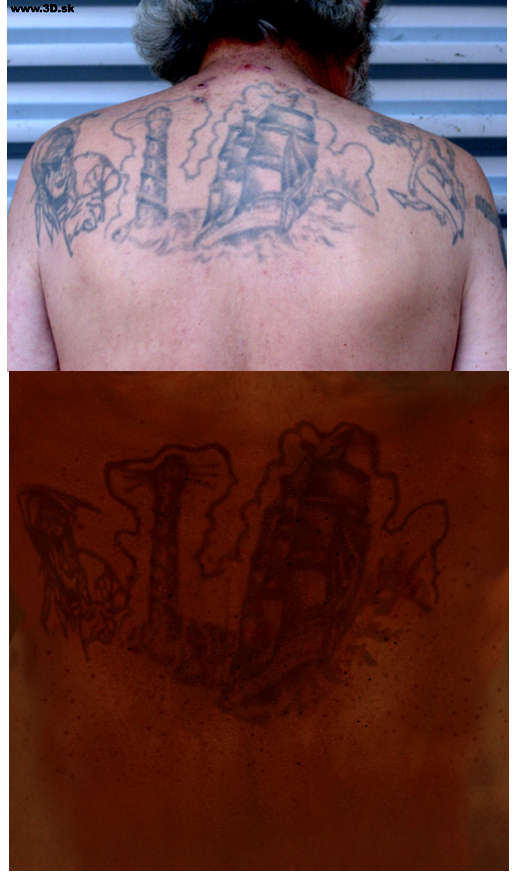
back texture
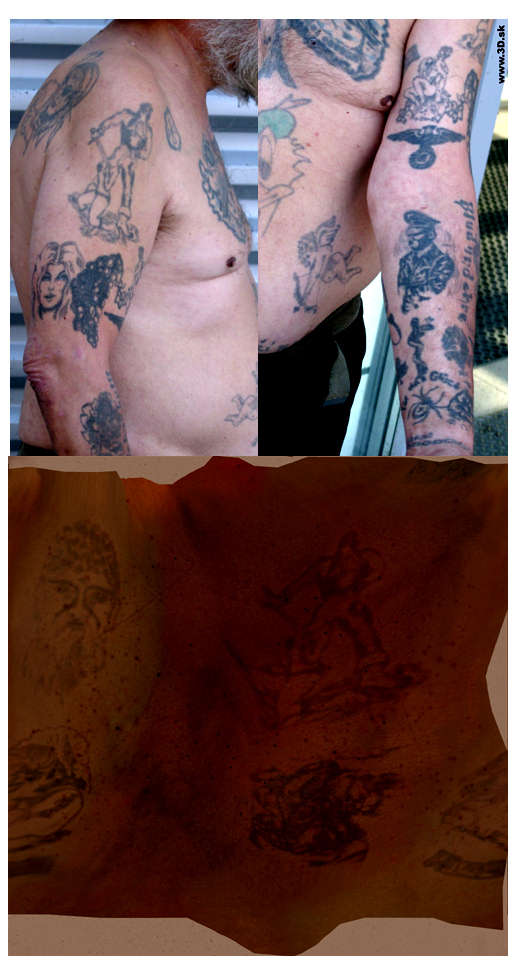
top arm right texture
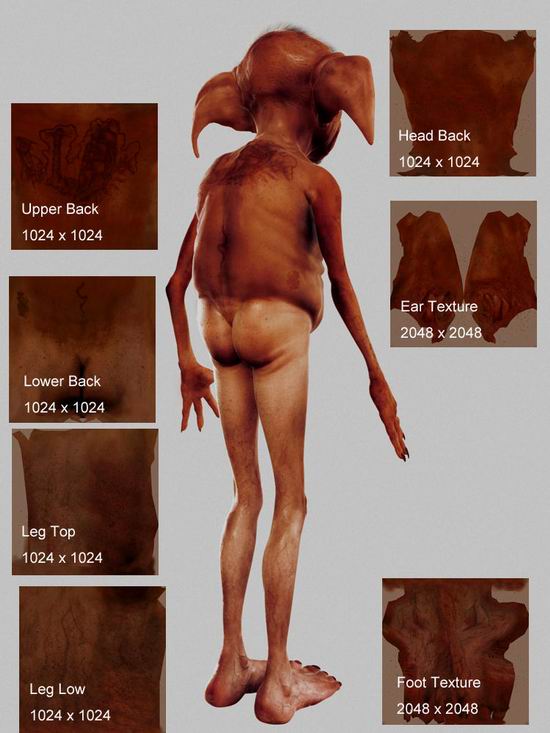
Here’s a Couple of pics showing the textures. All the 1024 sized textures were originally 2048 but were all reduced in size when finished

that’s it Byeeeeeeee

About The Author
You might be interested in