Making of Maniche Caricature
I made this image for a contest, where we´ve got to illustrate a Portuguese football player, as it was Euro 2012’s time.
Introduction
I decided to choose Maniche because of his facial expressions that are really cartoonish. He has an amazing hair style, a strong nose, and a singular upper lip.
Reference material
Before starting to sketch I’ve googled some references of Maniche trying to find his better expressions and the overall shape of his body and face (Fig.01).

Fig.01
Sketch
Drawing little thumbnails can be just enough to get the idea of your work. I can tell you that even a single drawing in the paper of the restaurant table can be just great for the beginning of a new project. That was my approach, and then in Photoshop I started to draw more versions of the initial sketch with a basic brush with low opacity and shape dynamics turned on (Fig. 02).

Fig. 02
Sky, Grass, Ball and Corner Flags (3D elements)
As I am a 3D artist, every time I can I put some 3D elements in my works. In this illustration I thought it would be great to have my character in the top of the football field, like he was the king of football, right under the clouds.
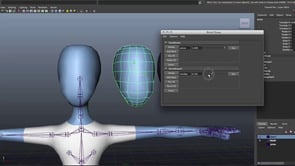
So, in Maya, I created just a single sphere and applied a Fur system for the football field (Fig. 03). I started with the Grass Preset, and I’ve tweaked it the way I needed. You can get really interesting results by changing the noise values in the Details tab, for the specular, length, base color, baldness, inclination and so on. That’s the way you avoid the 3D look and you can get a more realistic one.

Fig. 03
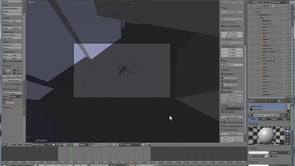
To create the clouds I used a Fluid example from Visor (faster clouds.ma). That’s always a good choice to start with one of this examples, and then tweak them the way we want (Fig. 04). I changed some Shading values, as well as color, incandescence and lighting.
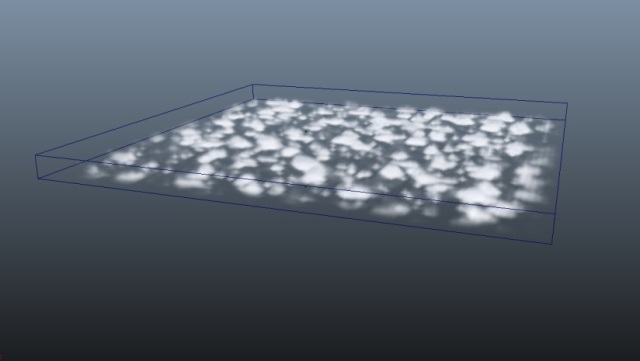
Fig. 04
For the sky I used just a polygon plane with a surface shader and a gradient connected to it, so I could get a very flat surface.
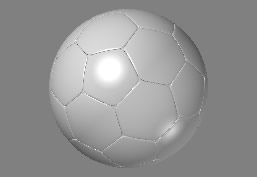
For the ball, I created a polygon mesh (soccer ball), and give it some irregularities with the Sculp Geometry Tool, and by applying it a noisy bump map (Fig. 05).

Fig. 05
The flags were created with one cylinder and one plane, and I made this plane Cloth, gave it a wind direction and an air field, and created the Cache, so I could choose the right shape I needed by scrolling the timeline (Fig. 06).
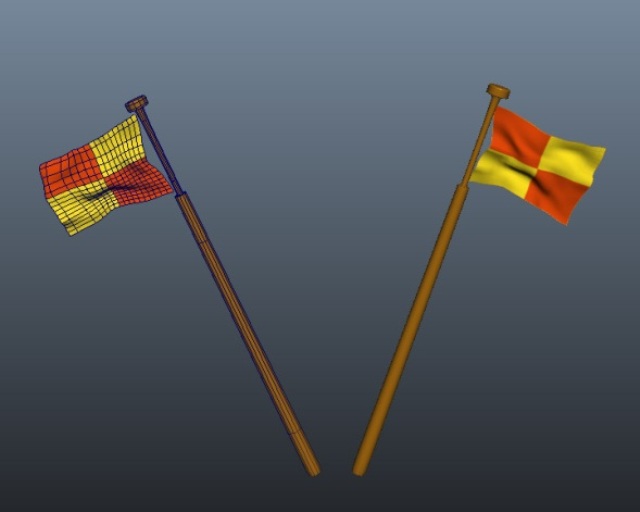
Fig. 06
Painting
The painting process was quite simple. It’s all about having time for refining more and more and adding details and color variations.
I started to paint flat colors, to see if I liked the mood of the illustration. Then I began adding more tones for the skin, adding the folds on the shirt and shorts and painting the contact shadows, like occlusion does (Fig. 07).
For the beard I’ve used a wet brush to create that noisy look, and for the hair I’ve used a simple brush with some tweaks in the shape dynamics, transfer and scattering (you can change this values by pressing F5 after picking the Brush Tool).

Fig. 07
Post-Production
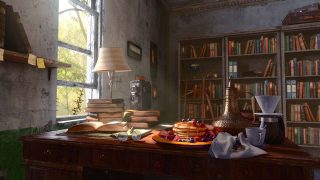
The final stage was giving the image a warm look, and to do that, I put a Lens Flare effect behind the football field, painted some orange tones in his right ear (to simulate the subsurface scattering) and in the right side of his body (to create the light wrap effect).
I’ve noticed that I didn´t like some proportions and some positions of the body, so I used the Liquify filter that is really great for tiny adjustments.
And to finish the image I painted the white corner lines as well as his shadow in multiply mode, some specular points in his lips, eyes, teeth and skin wrinkles (Fig. 08).
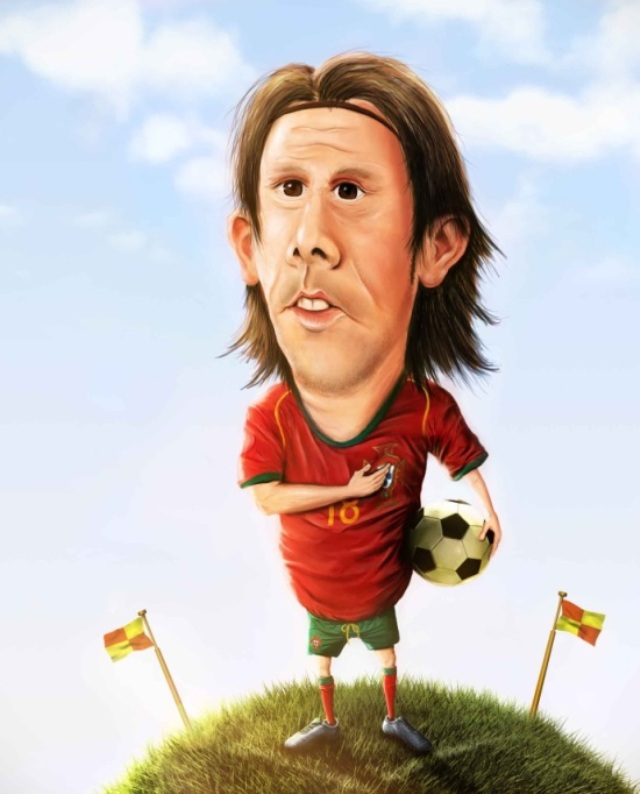
Fig. 08
Conclusion
As you can see, my tutorial as a more artist approach rather than a technical one. Instead of pointing you the values I choose for different situations, like the clouds, grass and so on, I’ve tried to show you the thinking process to create this illustration.
Once again I’ve mixed 2D and 3D elements in my work, and I intend to continue doing this better and better, because I’m passionate by these two kinds of art.
I had a really great fun creating this image and this tutorial, so I hope it can be useful for you.

About The Author
You might be interested in