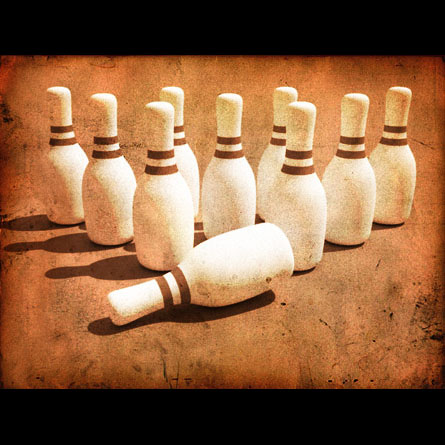
Bowling Pins
This is my 4th 3dsmax tutorial and it should be very easy to complete. This tutorial will go over how to quickly create a realistic bowling pin in 3dsmax and I included the texture for the model within this tutorial down below. If you happen to have any issues or need help completing a part of this tutorial, then please email me at Necksmasher@3dm3.com and I will quickly get back to you as soon as possible. This tutorial does not explain on how to get the render achieved as shown above. Now let’s start!
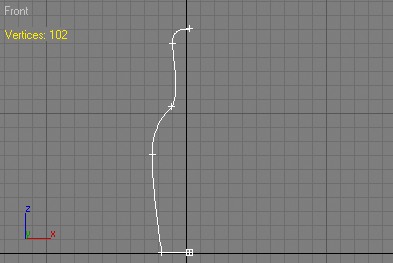
First, open up or reset 3dsmax. The first thing you are going to want to do is go the create, splines, line in the menu on the right. Then create the basic shape of a bowling pin. Try to make the spline as close as possible to my example:
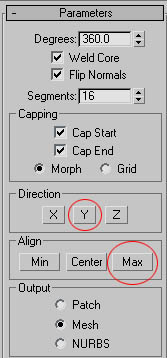
Next, add a “lathe” modifyer to the spline. And set your parameters as shown below. (Make sure you set your direction to Y and your alignment to Max. Those settings are marked with red circles to help you out.):
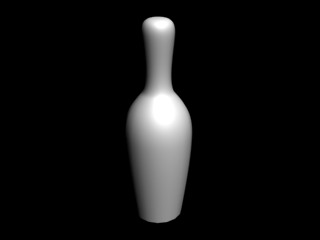
Now your spline should look like a somewhat convincing model of a bowling pin so far Do a quick test render to see if you need to adjust any of the spline segments for the shape. Save your scene real quick as “bowling-pin-spline.max” and then convert your bowling pin to an editable poly. Here is my test render of what my bowling pin looks like so far. Your model should look similar:
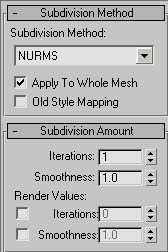
Well it looks ok so far, but it’s missing something. First, add a quick meshsmooth modifyer to the bowling pin model with Nurms selected with either 1 or 2 iterations (visually, you won’t really see a difference at all so I recommend only adding one iteration.):
Now we can finally make it look more realistic with a nice and quick bowling pin texture. Below is an example bowling pin texture that I created in Photoshop. Just right-click on the image and save it in your maps folder located in your 3dsmax directory:
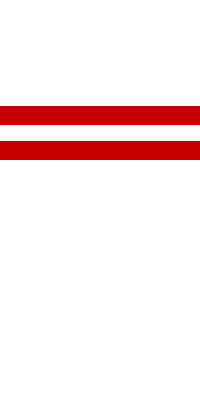
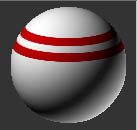
Then after saving the texture, go back in 3dsmax and open up the material editor. Select one of the free material slots and make sure the material type is set to standard. Go into the maps rollout and set the above bowling pin texture in the diffuse slot. You don’t need to adjust any of the map settings because the texture should fit perfectly (if it doesn’t for some reason, then just set the “V” offset a little bit.) This is how the material should look like:
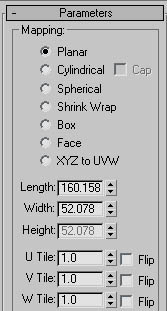
Once you get that done, you will need to add a UVW Mapping modifyer to the bowling pin model. Set the mapping to “planar” so that it will look like a normal bowling pin:
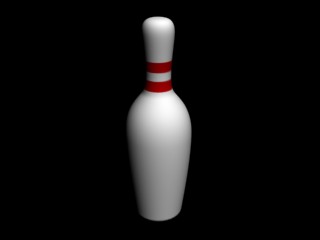
And that’s it! All you need to do is make another test render of the bowling pin and make sure it looks right. If not, then adjust some of the settings for the mapping. Here is my last test render:
If you have any questions, comments, or if you want to just show me your work then please email me! I will appreciate any mail from you guys. I hope you enjoyed taking my tutorial, and please be sure to check out my new tutorials that I am writing.
All renders/material content used are copyrighted by Necksmasher © 2005 for 3dm3.com


