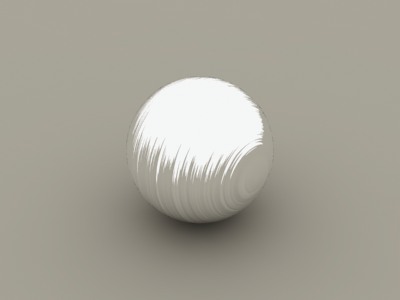
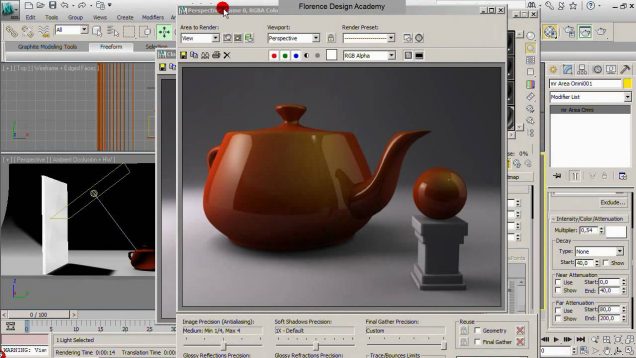
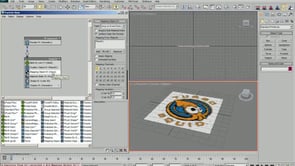
QuickMax is a new series of simple 3dsmax tutorials that I created, which will feature all aspects of the program itself, including modeling, texturing, lighting, and animation. Welcome to section one, this will feature the 3dsmax Material Library. Section 1: Materials VRay Materials 2: How to make a nice VRay brushed chrome material (To complete […]
Introduction This tutorial will teach you to create 3d blue prints for vehicles and other miscellaneous objects for 3ds Max. Things you will need You need basic knowledge of 3ds max. Internet coverage of course: D Set up the blueprints for 3ds Max Load up your internet browser go to the address (www.the-blueprints.com) – you […]
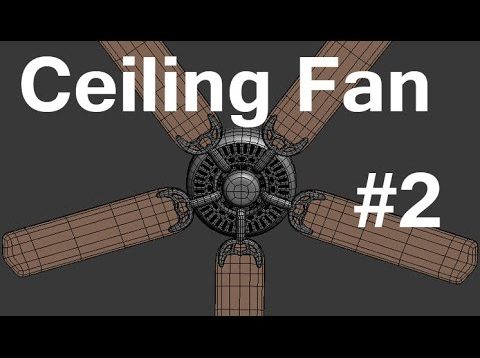
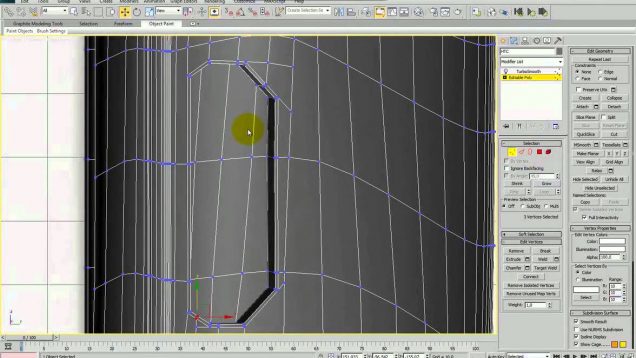
In this video I’ll show you how to use 3D Studio Max to model the second of several ceiling fans. Reference: http://ecx.images-amazon.com/images/I/61SzLvUIYdL._SL1500_.jpg Please remember to leave your comments and if you really need something answered send me an email at 3dtut@outlook.com. Also, giving me a thumbs up and subscribing shows you find my videos helpful. […]
The snatch of this car was and binding by chains, but Z4 can breaking this chain, so Z4 unleashed. Hello, my name is Mohamed Abuyhia from Alexandria Egypt. It is the first time for me in the cars modeling I was thought that it is complicated but after this try I found that it is […]
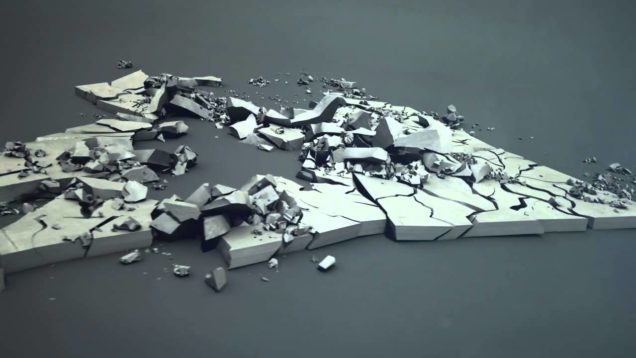
The main idea of the project was to develop an antithesis of other benchmark productions which are mostly boring and aesthetically weak. Michał Staniszewski from the demoscene Plastic group came to us with a draft of an interesting, action-filled story with a unique design and aesthetics that would be as close as possible to an […]
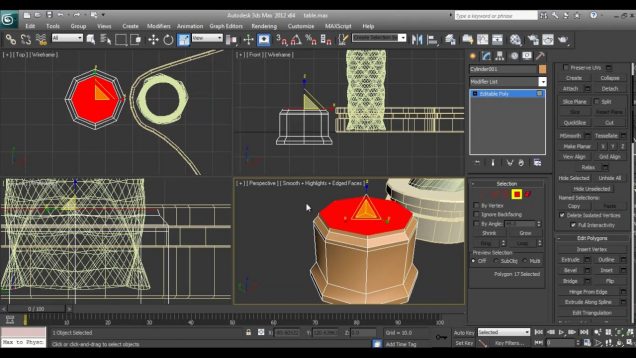
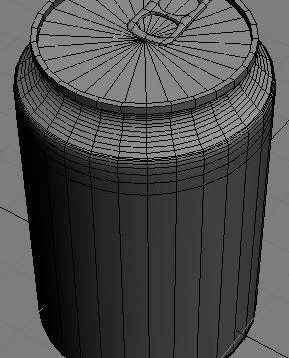
1) Open up 3ds Max. Go to the Create tab, click on Shapes, and then select Line. This will allow us to draw an outline of the soda can. 2) Go into the Front viewport and draw the outline like you see below. Make sure you don’t connect the first and last vertex. 3) When […]
This tutorial will describe how I modelled my foot model from a sketch . The method I used is polygonal modelling. Here, as you see I have a foot sketch which I found from net and I draw one myself too. I’ll start the modeling process using the hand sketch as a blueprint, you should […]