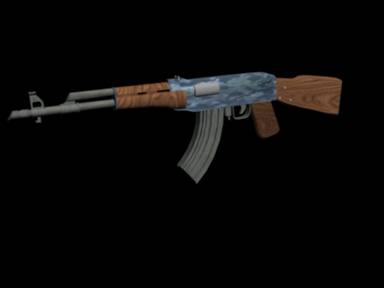
AK-47 modeling tutorial by coa
Hi my name is Aleksandar. This is my first tutorial. In this tutorial I’m gonn’a tryto help you to step by step model a AK 47 IN 3DS MAX 7. I assume you have beginner or advanced experiencein modeling. There are many pictures so I hope it will be no problems :}We will only use BOX & CYLINDER to make it easier &simpler as possible.
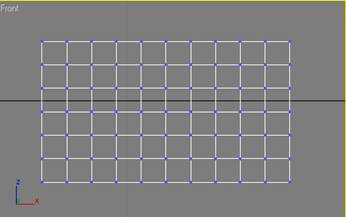
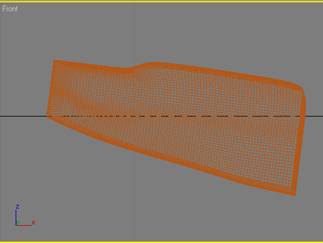
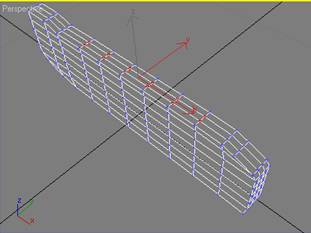
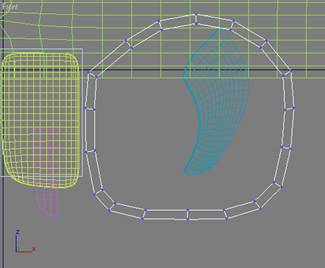
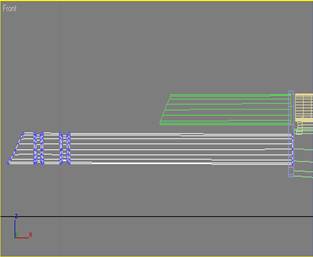
First we are going to make a rear part of the rifle.Startwith the Box in the Front view create box length:6 weight:10 high:0.8 [lengthsegs 6,weight segs 10,hegh segs 3] (zoom to get a better view) Convert it toeditable poly and set the vertex view. Shape it to look something like this.
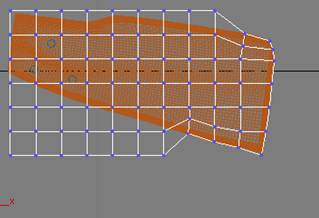
You can do it like this or you can slightly rotate the box tomake it a little easier.
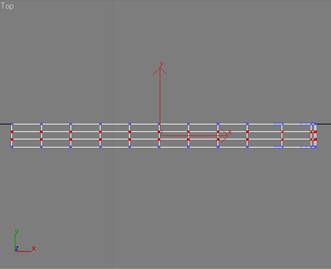
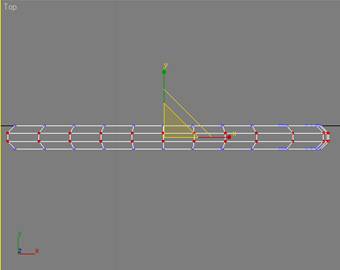
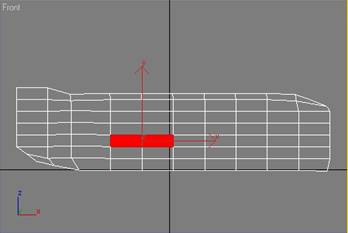
Now in the top view select the following vertexes.Make sureyou have selected top and the bottom.Now scale them a bit
![]()
![]()
![]()
![]()
![]()
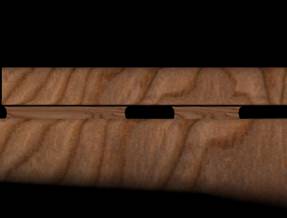
Then select the box and then in the modify tab selectMSmooth set the value to 1-3 (how you preferred it to be)
You should get something like this, apply some wood materialon it and that part is finished. Now for the second part.
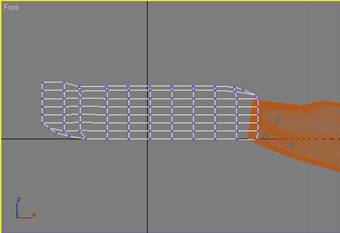
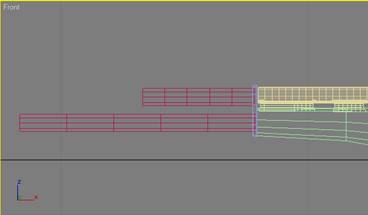
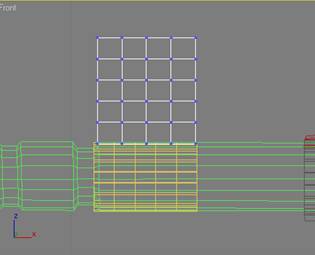
Create a box in the front view length: 3.5 weight:13.4high:0.8 [length segs 7,weight segs 10,hegh segs 3] convert it.
To editable poly. shape it something like ths. Select thislike in the picture bellow and move them up a little.
![]()
![]()
![]()
![]()
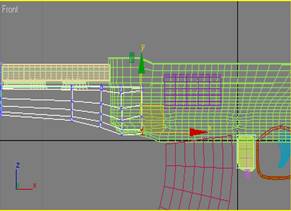
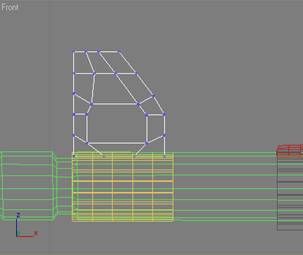
Switch to polygon view, select the following polygons andextrude them inside. Create a box L:8 W:3,4 H:0,8
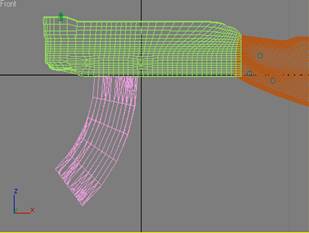
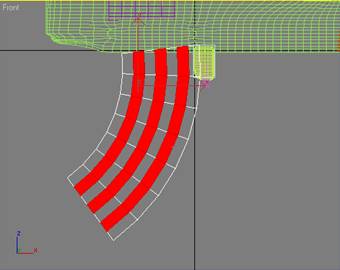
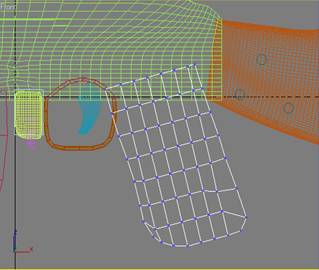
Leave the same number of segments as before.From themodifier list select bend and enter Angle:-60° Direction:0 make sure that the Y axis is selected.Now rotate the boxY:30° .To add a bit more detail to the clip select. These polygons and extrude them,you can MSmooth the clip ifyou want. Create another box Length:1,4 weight 0,9 Height :0,8 and place it behind the clip,create another smaller boxunderneath the first one and chamfer it.Now create a tube also in the front view R1:1,142 R2:1,245 Height 0,554 height segments5,cap segments 1,sides 18.Convert it to editable poly and move vertex as shown,you will need do delete the top half ofthe tube as we don’t need it.create another box,bend it to make the trigger then MSmooth both boxes.
![]()
![]()
![]()
![]()
![]()
Create another box behind (handle) length:5.395 weight:3.178 high:0.8 [length segs 7,weight segs 7,hegh segs 3]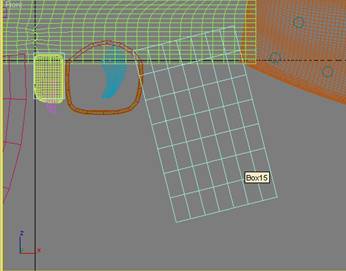
Rotate it for about 15-20°, Select the faces in the middleand scale them like before to give it a smooth shape, apply. Dark wood material on it.In the Left view create a cylinderradius 0,445,Height : 5,5 H segs 5,cap segs 1 sides 10. Shape it like in the picture and make the bottom flat,scalethe bottom edges to look like this.
Do the same process for the lower one, only this time the topshould br flat, make it a little bigger.
Add the two boxes beetwen them and round it towards inside
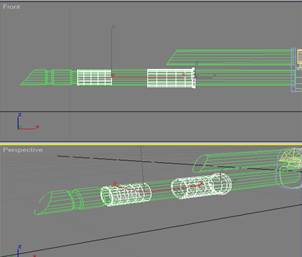
In the Left view crate a cylinder radius: 0,942 Height: 0,156 sides 10 the rest of the settings are the same. Move it on the cylinders we made before and shape it to fityour cylinders outer lines.In the left view. Create a cylinder radius 0,395 Height: 4,5(top one), for thelong one radius 0,395 Height: 9,5
And arrange them as on the picture below,it’s time to adddetails to it
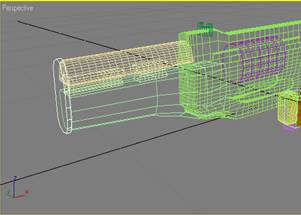
Just move the top vertex until get shape like this. Add twotubes around them. Just see the picture below and scale the front part of the lower cylinder asshown
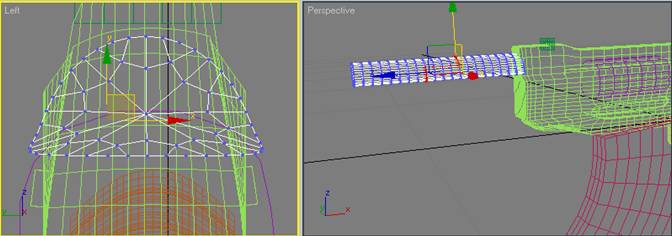
Create a box in the front view Length: 1,288 Wight: 1,144Height 0,2 Length segs 5 ,Wight segs 4 Height segs 3 Convert it to editable poly (as always),setthe vertex view,Shape 2 look similar 2 this. And delete themiddle polygons

The result should look something like this. If you have anyquestions please send me mail to shit@verat.net

About The Author
You might be interested in