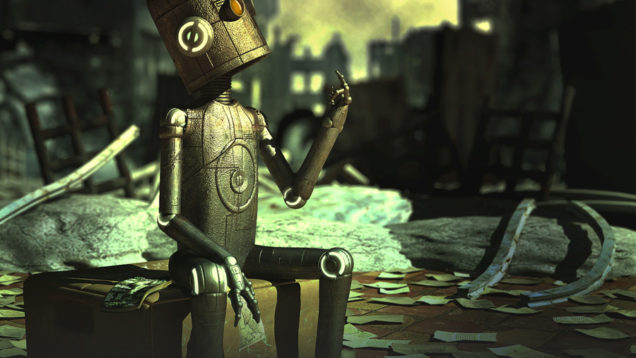
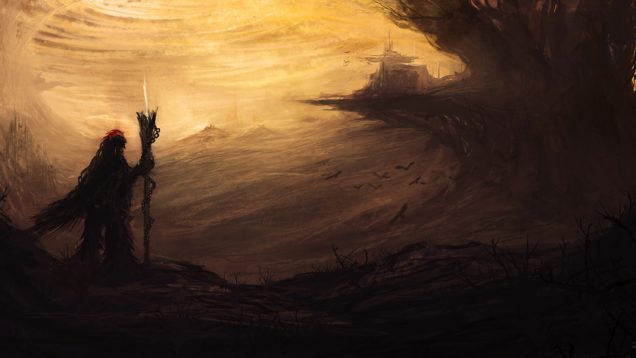
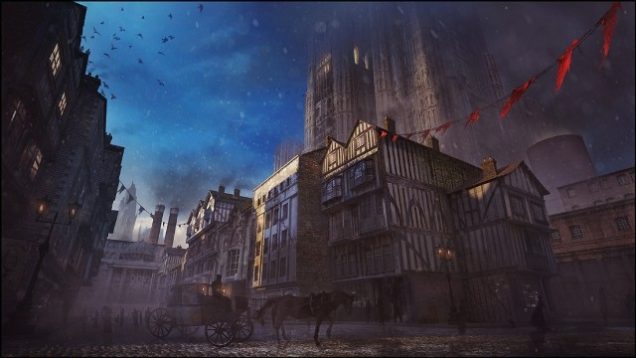
Hi,this is my..3rd making of specially for 3dm3.com this time I decided to share more to you abot the making of one of my artworks the child of the apocalypse.
In this tutorial I will go through my usual workflow with simple steps (trying to make it as simple as posible), to build a scene, from the preparation for the project (Pre-Pro) untill the final render, as always using Discreet 3D Studio Max, for the modelling, mapping and lighting, and Photoshop/Bodypaint for the texturing based […]
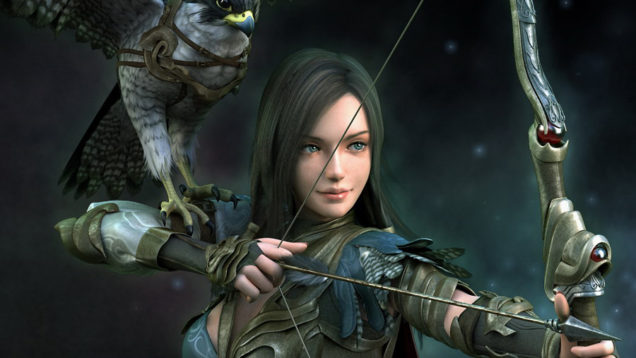
Helena the Archer is a project I made for fun. The inspiration behind her came from Korean online game artworks, where beautiful girls dressed in armor and carrying weapons.
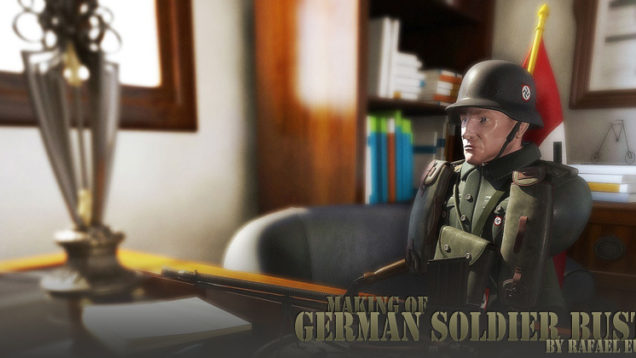
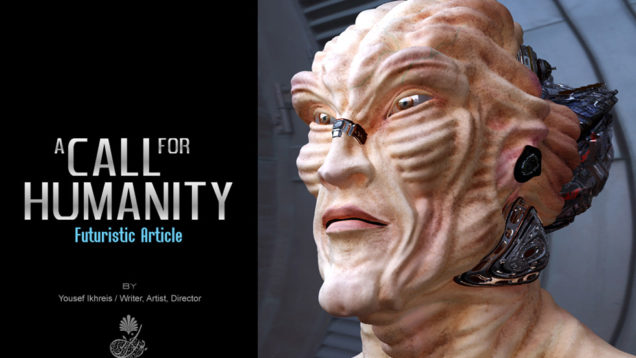
The idea of creating a bust of a soldier, came the need to not have seen anything of this digital character so controversial. I maturing the idea of seeking references and finally ended up setting the project staff.
Challenge the elements. Master all kinds of terrains with unparalleled elegance. It’s the dawn of an new era. The first of a new kind. Introducing the Mercedes-Benz X-Class – the world’s first premium class pick-up truck – coming in 2018. Just like the X our film defies all classic rules of car commercials. Artful image […]
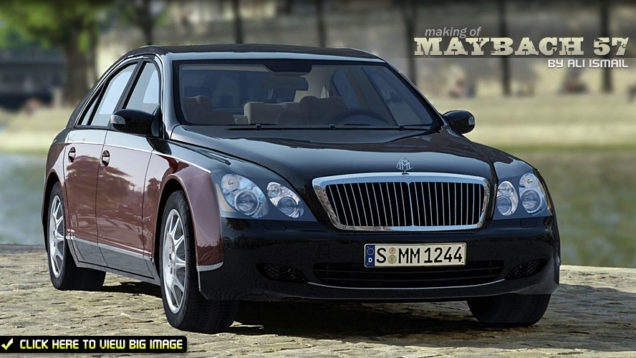
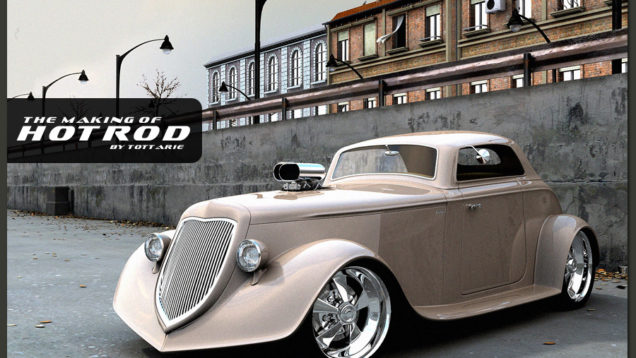
I made this image with 3dsmax7 and rendered it with V-Ray the background in the image is a photo, anyway I made this Maybach 57 model a while ago but it was rendered at first with a white background and subtle reflections…
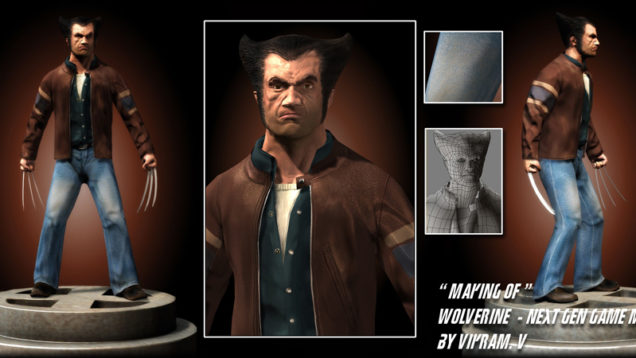
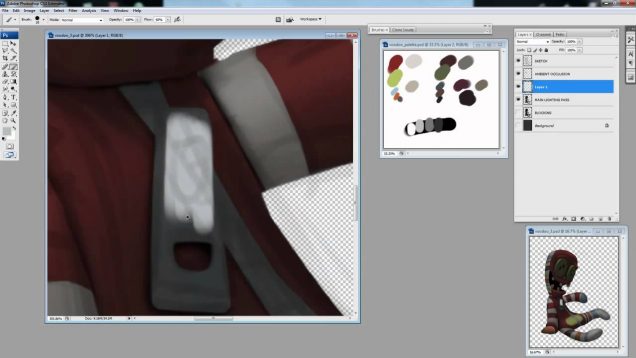
I wanted a completed next-gen model for my show reel, and Wolverine is my favourite comic book character. So, I decided to make a game model of him. I chose this outfit for him, because I felt that among the numerous wolverine models, already done out there, none that I know of has this outfit […]