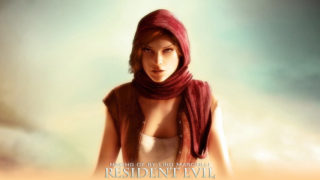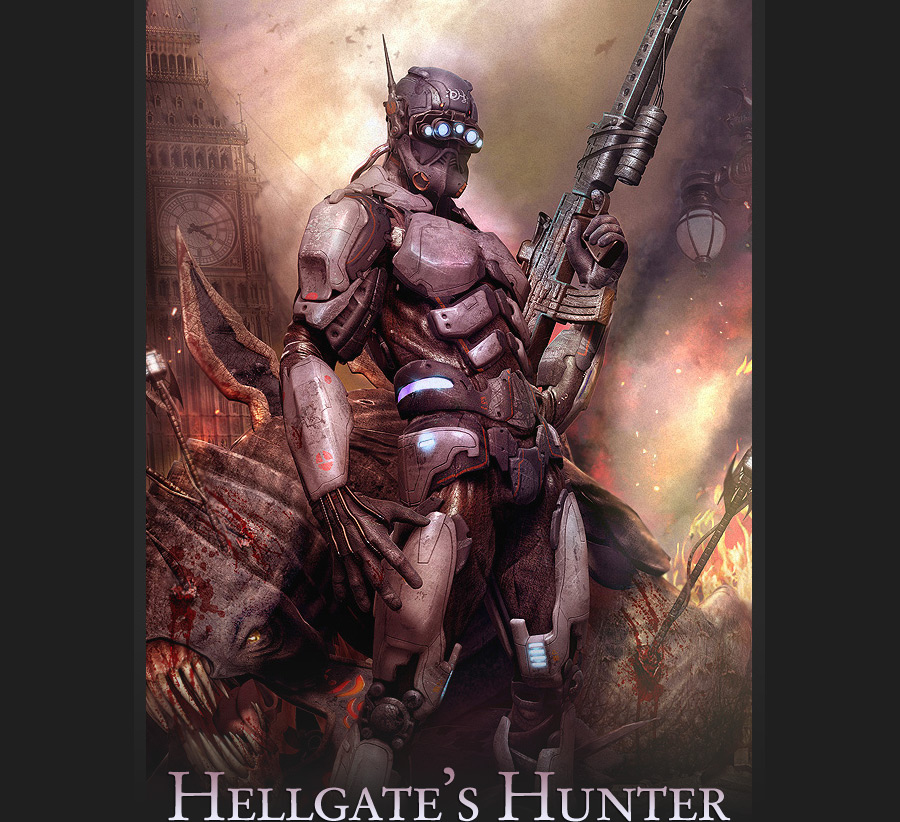
Making of Hellgate’s Hunter
The Hunter model has been made for the Hellgate London cinematic , made by Blur Studio.Later on I decided to make an illustration for my own fun, using some additional models I did previously. Hellgate London is developed by Flagship Studio.
ModelingThe Hunter model has been made for the Hellgate London cinematic , made by Blur Studio.Later on I decided to make an illustration for my own fun, using some additional models I did previously. Hellgate London is developed by Flagship Studio. I tried to stay as close as possible to the given reference…nothing orthographic, just a ¾ sketch depicting the main proportions, some details here and there and the color scheme for texturing.Not having a hyper-detailed sketch is good to me, since there is some kind of room for personal touches , and pushes yourself to figure out visual and mechanic detailing solutions still keeping the overall feeling unaltered.
I immediately recognized 3 kind of elements I had to deal with…a generic male body covered wit a dark grey undersuit, a dark blue light rubber armour and a metallic light blue heavy armour, so my modelling workflow was basically bounded to these priorities…the body first which sets the figure proportions, later on it would have been covered with armour plaques. And so I did…due to the tight deadlines (and also because the body has not that very specific anatomic definition) I took a generic male model done previously and started changing his proportions with free form deformation box and soft selections. As you can see I left the facial features and most of muscle definition undefined, because those parts were supposed to be covered by the armour. Soft selection (see figure) is an extremely valuable tool for quickly tweaking of proportions, just be sure to flag also "edge distance" with an appropriate value into its rollout to have a very localized control of the falloff.
As you can notice in the stack figure , i also make a big use of the symmetry modifier during the modeling process…and turbosmooth with 2 levels of subdivision is constantly put at the top of the stack. Assigning a short cut to the "show end result on/off" button you can easily model at step zero and immediately see the overall smoothed result by pressing a button (i use the space bar in example) |
|
|
|
|
|
Once i`m satisfied with the general proportions of the body under the armor it`s time to proceed covering it with the metal plaques…of course the dark blue ones first, since they`re the closest to the body, then the light blue ones.
|
|


|
No special techniques here….once again the modeling is in subdivision with the very same stack as above. I usually start with a single quad , then i extrude edges all around , trying to stay close in volumes and shapes to the given reference … lot of turn around of the meshes, you need to observe the volumes from almost every possible point of view to be sure that the volumes and shapes are solid, and of course keeping an eye to not go too much far from the underneath body.When i`m satisfied with the general volume a shell modifier helps me to give thickness to the piece. In this phase i don`t usually bother that much about every single rivet, hole or cut, i just try to develop a good quad topology of the main volumes. Of course the topology is done taking count of the main cuts and holes, but the rest can be easily done with a normal map or a bump map, it`s up to you to decide how much a single detail is worth to be modeled or can be put into a bump map. I usually adopt a "chomfortable" criteria…it means that if something looks tricky to me to be carved or extruded into an existing geometry i usually put it into a normal map.When you make something for production you don`t usually have much time to model everything, so you need to set priorities. |
|
 |
 |
 |
 |
 |
 |
|
As you can see in the picture a lot of cuts are not currently modeled, they are done with a bump map. So basically all the modeling followed this workflow , most of the detailing as you can see has been left to mine imagination, and it has been a lot of fun! After modeling all the armor i modeled in subdivision some folds too in the underbody, just in those ares where they were more visible like the middle of the arms and the back of the knees.
This presentation renderings are done in mental ray…the material is a simple mental ray SSS fast skin material while the lighting is just a couple of photometric area lights and a back omni light with final gather on.
Texturing (materials)Basically , texturing wise , i divide the mesh by material .That meansh that every material share his unique texture sheet with very few exceptions. Every piece of mesh needs to be uvedited to achieve this ,I find very convenient and fast the use of pelt mapping, for complex shapes like these ones is the best choice.After the uvediting i usually render a template of the uv (after subdividing at least at step 1 the mesh) so that i have a base to paint over the diffuse texture.
|


|
The diffuse texture is a mix of photorealistic metal textures and painted rust/dirt. I used a free brushes collection made by Andreas Byström: http://www.ericknelson.com/wurp/dirtbrushes.abr
These brushes are simply great to create variations of dirt and rust, and having the uv template in a underlying layer helps me to place the dirt , scratches , decals and everything else exactly where i want it.
Material wise take in example the light blue heavy armour, the other few materials are similar with few exceptions like the leather undersuit and some chromed parts. Basically it`s a max blend material, the idea behind is to blend 2 different materials with the same diffuse map but different specular properties. This go give the idea that the scratched areas of the armor has a different more shiny metal underneath. You can also choose to have a totally different material sharing a different metal diffuse map as undelieing metal, but in this case i just decided i was chomfortable enough with the same diffuse texture. To blend the 2 different specular properties materials i used a grey scale mask where the darkest parts would have shown the more shiny underneath material.
|
|
|
Here again to paint the mask i used custom jagged brushes to get a natural feeling of random scratches. Specular maps are derived from the diffuse map , i usually put a hue saturation regulation level on top of the diffuse map, bringing the saturation slide to zero so that the picture results in gray scale. At this point i put another brightness/contrast regulation level on top to regulate the intensity of the specular parts.
|
Having both regulation levels into a folder and saving the psd document allows me to quickly change paramethers for fine tuning of the specular and it`s also interesting the possibility to drag/copy this specular folder on top of a different diffuse map, so mainteining the same specular values. the leather material is just a simple max material with a quite high specularity. Cables are chromed material reflecting a hdri map and glows are just self illuminated standard materials. Some sample materials:
|


|
The render is done in Brazil with a simple spot light and a very low intensity global illumination.
The illustrationAlready having a monter model i did sometime back for the game itself, the intention was to put bot the Hunter and the moster (Karnagor) into a nice composition showing both of them in a sort of relationship, moreover everything should have some hints that the scene was placed in London itself. The monster model was made in subdivision and most of his detail is by normal mapping (sculpting done in zbrush)
I asked to an artist friend of mine Antonio Mossucca http://www.3d50antonio.com if he was interested in helping me with the composition , i briefly explained him what i wanted to achieve and he came out with this nice sketches which are pretty close in terms of composition to the final picture: |
|
|


|
The only element i was missing was the big bang tower model, so i decided to make a quite low poly version…not much detailed because it was supposed to be a background element, most of the detail would have been given by a texture. I missed also a sort of weapon and a terrain.For the weapon i wanted something used by snipers…with scope, not really something futuristic …but i preferred something more adapted roughly to be used as a flametrower. So i collected some rifle references here and there and then i came out with this thing :
First thing i did was putting the hunter in pose … i honestly didn`t make any skeleton, i just used soft selection and free form deformations to do it, and it worked pretty well.Same for the monster in the background. The terrain was relatively easy to model…a grid plane cutted savagely to get some nice cracks…with some geometric rocks scattered here and there, no subdivision at all involved.
So when all the desired elements were textured and put into scene it was time for lighting and rendering ! Let`s say i didn`t want to achieve anything photorealistic, but giving istead a paintely feeling. To achieve this , especially when dealing with 3d images the post process done in a 2d application is crucial. So in this cases (and about the things i like to do most) it`s often a waste of mine to spend a lot of time in realistic and complicated shaders…most of their properties will be washed out during the post process work, so better be plain with materials and lighting. The basic light setup consists of a main spot light (better if not much coloured) and a back omni light. Few omni lights for the glowing parts here and there. I didn`t involve any global illumination, just a plain scanline render because another pass of ambient occlusion will be involved later.
Later on i made an ambient occlusion pass to be composited later , to obtain it in Brazil there`s a very simple way using the render pass control and the white plaster materials.Then it`s time for heavy post processing! |
|
 |
 |
|
Let`s open Photoshop …i usually starting fixing a mood … a color scheme. The base render did not have much of a dominant colour on purpouse, i prefer to have much more control in post about this, i love flexibility.In this case i wanted some warm tones, so i started painting the background clouds with brown/red tones…nothing much extreme in saturation. |
|


| Put the ambient occlusion layer in MULTIPLY mode…opacity of the level around 20 per cent…i also put a hue saturation level connected to this layer in order to shift the hue of the figures to brow/reddish tones to match the lighting of the background. As you can see the rendered big ben has been put in a layer behind the main figures and colour shifted too. Painted some smoke in the foreground in a separated layer with a soft edged brush with low opacity. | Time to add some fire here and there on another layer! I made an extensive use of some real footage fire pictures collected on a black background sometime back i bought a cd called Pyromania full of these pictures, they`re pretty easy to composite in hard light mode (since the black goes away) and remains only the flame. I also painted a yellow hilight in soft light mode over the leg of the moster , because i espect some light of the fire over it. |
|
|
|
| Time to add some smoke on a new layer. I wanted the smoke to move in the direction of the composition , painting it is rather simply. a round hard edged brush firts…for midtones and shadows, then it`s a matter of blending the “blob” togheter with the smudge tool leaving the hard edges in the areas where the light source is supposed to hit. The burn tool at this point helps to enhance the brightest parts of the smoke. I introduced some painted sparks close to the fire…and some debris floating around in the air too, they give a “chaotic” feeling to the picture and helps it to look less static. | Time for a colour balance…things were going to be a little monochromatic, so i introduced some blueish tones in the background and in the shadows through the colour balance tool (ctrl-b), i also noticed that at high resolutions some textures were going to loose definition. A quick trick to reduce this effect is to put a grayscale high resolution sample of a similar texture in overlay mode over the interested areas. |
|
|
|
|
The final picture…as you can see i made the tones even more warmer and saturated adding a general orange soft light layer. Some fog has been adde in the background to give to the scene a little more depth…added some blood painted blotches on the monster and brightened some areas of the hunter to make him pop up more from the rest. The lamp in the background is a paintover of a real london lamp.
About the artistMy name is Alessandro Baldasseroni 34 years old, born and raised in Milan. Im currently employed at Venice based Blur Studio Inc. (CA), in charge of character modeling. Ive been working in the industry for seven years, starting as a generalist at Milestone, a leading Italian game development company. Later on, I started freelancing for various worldwide popular studios, from Flagship Studio, to MassiveBlack and now Blur Studio. In October 2007, Blur decided to hire me full time. I still love to make digital illustrations in my spare time and my artworks have been featured as covers and articles in many international 3D magazine publications and Ballistic books. Read Interview with Alessandro Baldasseroni on 3DM3. Related Links:Website: http://www.eklettica.com |
|


About The Author
You might be interested in